After installing PrestaShop 1.6 to your hosting account you will want to begin to make the store yours. This includes adding products and categories, and possibly changing themes. One of the most important aspects of branding your site and making it yours, however, is to add your own logo. PrestaShop 1.6 has a default logo. This is simply for display so you can visualize how it sits on your site. Follow along below as we guide you on changing the logo for your PrestaShop store.
How to change your logo in PrestaShop 1.6
- Log into the PrestaShop admin interface.

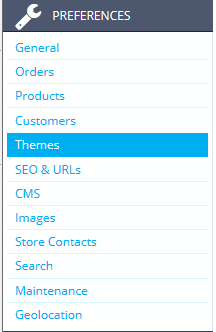
From the left side menu, click on Preferences and then Themes.

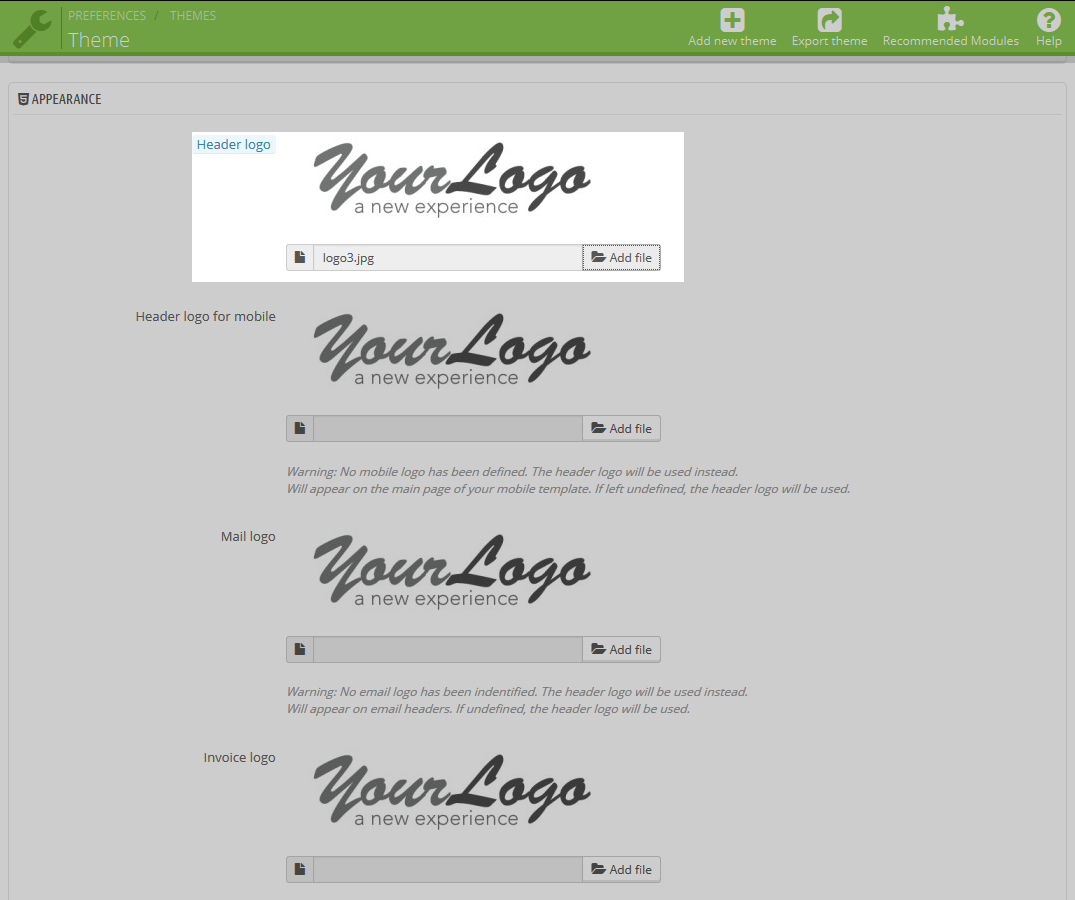
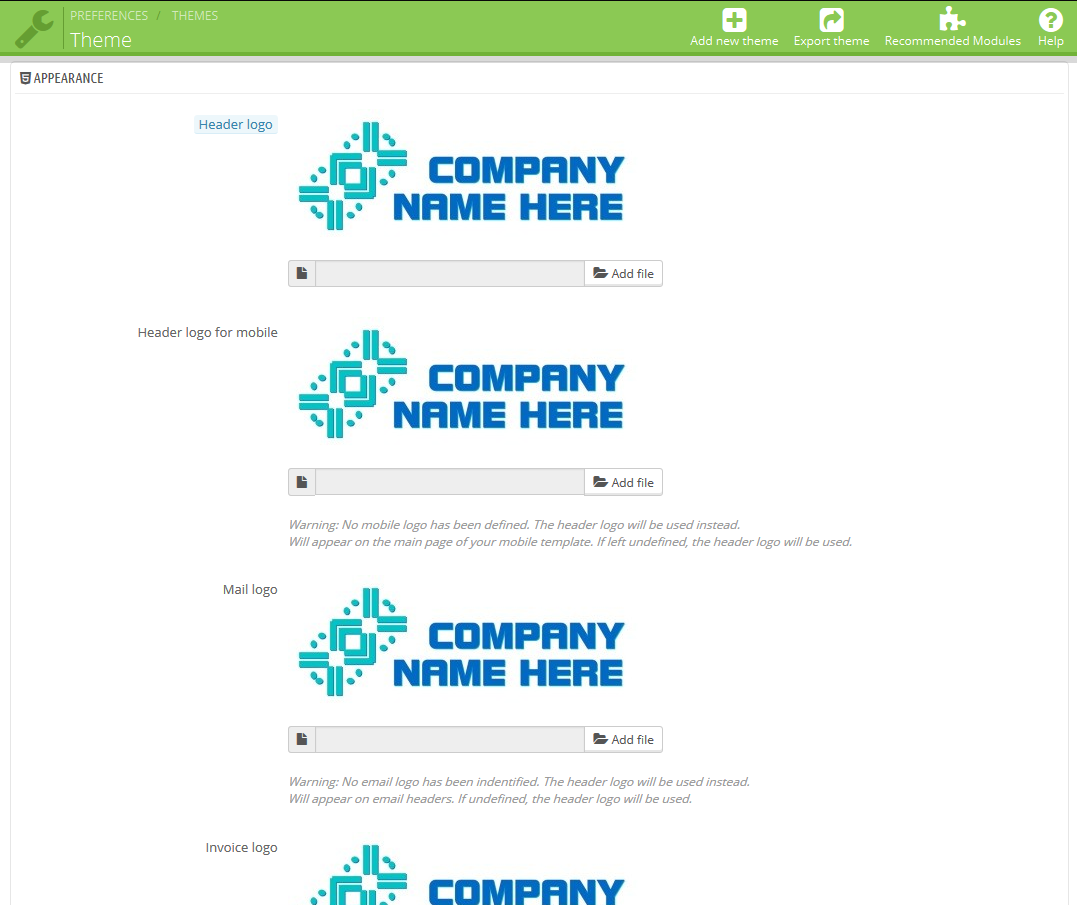
This page is the main Theme page, however the logo manager is also here. Scroll down until you see the Header Logo. This is located in Appearance section. Click on the Add File button to search and add your new logo file from your local computer.

Once you have added the file, scroll to the bottom of the page and click on the Save button. The logo will now be changed to the one you added.
Note: If you do not have specific images for the Mobile, Mail or Invoice logos they will use the header image by default. If you wish to have different images for any of these, simply repeat the process using that logo section.
| Old Logo | New Logo |
|---|---|
 |  |
I too am have having trouble loading a logo. I have read and attempted to do everything on this thread with no such luck. Any additional tips?
Sorry for the problems with the logo. We would need some information about the problems you’re having in order to try and help you. The information provided here tells you how PrestaShop 1.6 works in adding a logo. If you need additional assistance you may also want to try using PrestaShop’s Community Support forum.
Hi Team,
how can u manually decide the size of the logo or any other banner I upload in my size? I dont like the outsize and I would like to know if this can be edited? all the time I upload a picute in 1 of the category the size never autoadjust as the correct size please see below:
Maing page: Kingsauze.cz —- I would like my logo sighly smaller
https://kingsauce.cz/index.php?id_category=12&controller=category&id_lang=1&live_configurator_token=1bead94789423f59eb84143c8d1938c1&id_shop=1&id_employee=1&theme=theme6&theme_font=font4
If you’re trying to change the size or do something that is beyond the scope of the application then you may need an extension/addon that can help you do it. This issue is discussed in the PrestaShop Community support forum. Please review the link and it may provide the answers you’re looking for.
hi,
regarding changing the 404 page not found please I need further explanations, going to the theme file ….is not enought as an explanation…
Can you help me please?
Scott is suggesting you can edit the coding of the 404.tpl file to replace the icon. This will require some knowledge of code editing.
Alternately, you may be able to replace the logo image as described in this forum post from the official PrestaShop forums.
Thank you,
John-Paul
Hi Arnel,
I try to replace my logo (.jpg format) on Themes Preferences page. Here is the link where is the instruction how to change logo image in PrestaShop 1.6:
https://doc.prestashop.com/display/PS16/Themes+Preferences
There are 4 tabs with the theme’s appearance options.
I am using the first “Logo” tab. I click on the “Add File” button to add my logo from my local computer. The image does not show up.
What is the problem?
Thank you,
Tanya
Hello Tanya,
Thank you for contacting us. I first recommend enabling error reporting as it may provide a more detailed message.
Next, I would try uploading a different image as a test.
You may also have to clear your browser cache before testing.
Best Regards,
John-Paul
Hi,
I try to change my logo but no luck. Here is url for my website:
https://baublesandblitz.com
Could you please help me?
Thank you
Hello Tanya,
We would need to have access to your PrestaShop Administrator in order in order to troubleshoot the issue. When you follow the instructions above, where are you having problems? What graphic are you trying to use? Please provide us a little more information and we can look into the matter in more depth.
If you have any further questions or comments, please let us know.
Regards,
Arnel C.
Hi
This is my first time to you use prestashop (1.6.1.5) and trying to change logo but no sucess. Please advise. Regards
Hello Nusrat,
After you changed your logo did you clear your browsers cache as that can some times prevent the changes being viewed. Can you provide your website url so we may look at it as well? Do you have caching enabled on PrestaShop? If so please disable it until you make the changes.
Best Regards,
TJ Edens
Hello, how do I do if I need transparency in my logo. I mean, if I want my logo to let trough the same color as the page itself. What format should I use and what to do? thank you!!
Hello Adriana,
The image formats that allow transparent backgrounds are gif and png. Either one of those can do what you ask!
Kindest Regards,
Scott M
how to replace prestashop icone in the 404-page not found pages?
i would like to replace it for my one store icone
thanks!
Hello Patricia,
The 404.tpl page can be altered in any way you like. It is located in the /themes/ folder.
Kindest Regards,
Scott M
How and where can change the file-size for the new log,because my logo is smaller
(168×52) as the old logo,but im can not find the css files for changing ?
Hello Mike,
The image size should automatically adjust. I have tested with both large and very small logos and they appear as their normal size. Are you having any specific issue when uploading your logo?
Kindest Regards,
Scott M
i got problem: i have jpeg over 3mb logo and i add it to theme page and i try to save it but the page turn to white and not save.why?
thanks
Hello Enis,
Sorry for the problem with the logo file. Most likely, it’s because of a limit to the size of the file. You might want to work on getting the file size so that it’s much smaller than 3 MB (that would be a very large file for the logo image). The graphic should be below 1 MB. You may also need to check the PHP.INI file. Check out this article on Max file upload size.
I hope this helps to answer your question, please let us know if you require any further assistance.
Kindest regards,
Arnel C.
after changing the logos in the back-office, its showing , but when i refresh the “My shop” the logo still didnt change. Help
Hello Peacee,
Have you cleared the cache for the browser or tested on a different one to conform?
Kindest Regards,
Scott M
great help thx i could not chanch the logo for my webshop gifts4girls.nl, but your help was great thx
it’s allready good thanks