Our last article in the Managing WebServices course discussed how to create a new webservice in PrestaShop 1.5. This article will teach you how to configure the webservice within your back office. Follow the instructions below to configure your Webservice in PrestaShop 1.5.
How to configure a Webservice in PrestaShop 1.5
- Log into your PrestaShop 1.5 dashboard.
- Using the top menu bar, hover over the Advanced Parameters tab and click on the Webservices option from the menu.
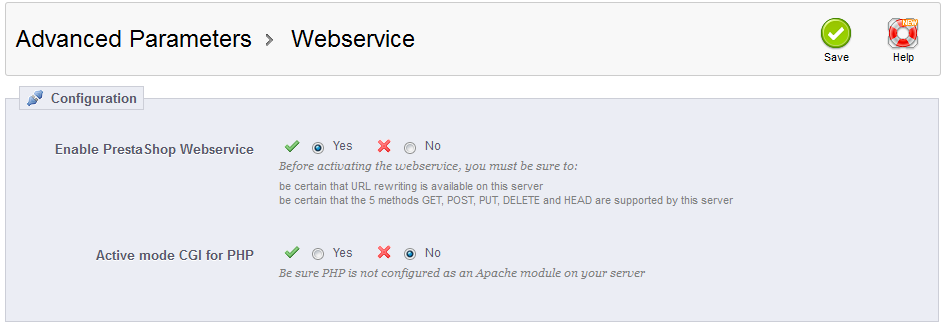
- This brings you to the Webservice list page. You will see the list of webservices you have created in the upper section. The lower section, named Configuration has the two fields that affect all webservices in the list.
Enable PrestaShop Webservice Enables the ability to use webservices. NOTE: before enabling webservices you need to: 1. be certain that URL rewriting is available on your server
2. be certain that the 5 methods GET, POST, PUT, DELETE and HEAD are supported by your serverActive Mode CGI for PHP This uses PHP as a CGI component instead of an Apache module. This is generally considered more secure. To use it, however, you need to have PHP not configured as a module. (Apache servers only) - After configuring your Webservices settings, finalize them by clicking on the green Save button in the upper right corner of the section.
Now that you understand how to configure your new webservice, check out our next article where you learn to edit, delete, and disable them.
