After you have enabled AutoSSL, the free SSL that’s auto-enabled forever, in WHM, then the next step is to make sure that the certificates have been added to your account. You can manage the certificates in the cPanel using the SSL/TLS interface. The following article applies to Shared Hosting customers as well as Reseller customers.
Please note this cPanel warning concerning the use of free autossl certificates with the shared IP address: If you do not have a dedicated IP address, web browsers that do not support SNI will probably give false security warnings to your users when they access any of your SSL websites. Microsoft® Internet Explorer™ on Windows XP™ is the most widely used web browser that does not support SNI.
- Adding an SSL Certificate
- Forcing the option to Run AutoSSL
- Deleting an AutoSSL Certificate
- How to Check AutoSSL On The Command Line
How to Add a Certificate using AutoSSL
If your AutoSSL option “Allow AutoSSL to replace invalid or expiring non-AutoSSL certificates” is set to on, then it will automatically replace any certificate that is expired within your server. You would not need to follow the steps below as the certificate would be installed. Note that this option is not set by default in order to stop the feature from overriding EV or OV certificate with a DV certificate.
- Login to the cPanel.
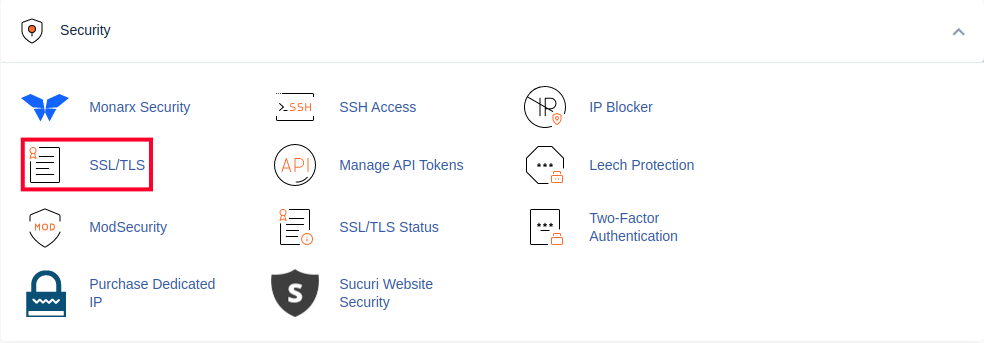
- Scroll down and click the SSL/TLS icon in the Security section.

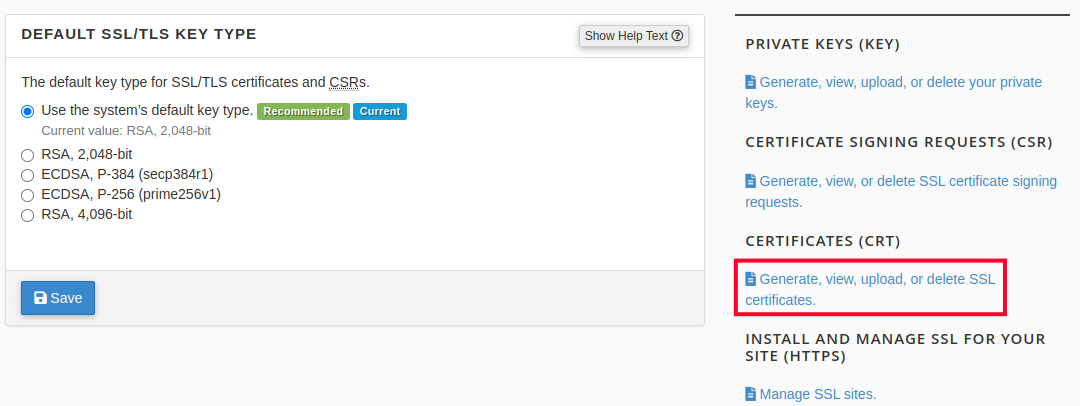
- Click the Generate, view, upload, or delete SSL certificates link under Certificates (CRT).

- Scroll down the list until you find the domain that needs to have the certificate installed. Click on the Install link in order to make sure that the certificate is installed.

- In order to see if the certificate has been applied, you can return to the main cPanel page and then click on SSL/TLS Status. Scroll down and you can see if a green padlock is applied to the URL where you installed the certificate.
Run AutoSSL in SSL/TLS Status Section
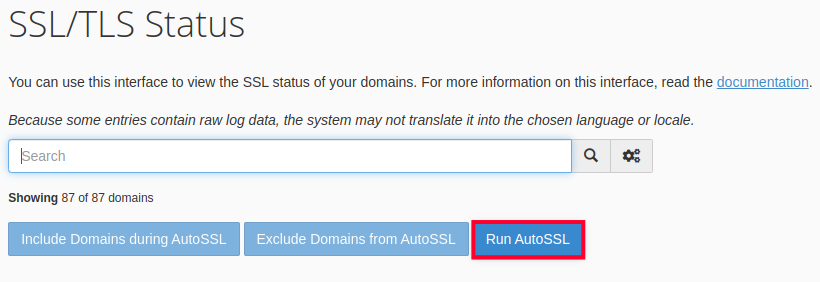
If AutoSSL doesn’t install on a specific domain, you can also force the installation in the SSL/TLS Status section.
- Login to the cPanel.
- Click the SSL/TLS link in the Security section.
- Click the Run AutoSSL button.

How to Delete an AutoSSL certificate
If your AutoSSL option “Allow AutoSSL to replace invalid or expiring non-AutoSSL certificates” is set to on, then it will automatically replace any certificate and apply certificates to the domains in the account. So, if you have multiple domains and you intend to have some domains with SSL and some without, then you should turn this option off.
- Login to the cPanel
- Scroll down and click the SSL/TLS icon in the Security section.

- Click the Generate, view, upload, or delete SSL certificates link under Certificates (CRT).

- Scroll down until you find the domain name with the certificate you wish to delete. To the right, click the Delete link.
- You will then see a message asking if you are sure you want to delete the certificate. Click the Delete Certificate button to proceed. You are finished when you see a message stating that it has been deleted.

Congratulations, you know how to add or delete SSL certificates in the cPanel interface. For more information please see our SSL Tutorials.
But wait, there’s more…
How to Check AutoSSL On The Command Line
Many users prefer to get work done on the command line, as this can often speed up various tasks, there is a cPanel script available that can check SSL status on the command line.
This script runs on a daily cron job. But it can be useful to run it manually in the event of troubleshooting unexpected issues.
Using the cPanel AutoSSL Script
To run this script, log into your server via SSH, and type in the following:
/usr/local/cpanel/bin/autossl_check
Useful Options
You can check SSL for a specific user using the --user option:
/usr/local/cpanel/bin/autossl_check --user=username
Likewise, you can check all domains in your cPanel configuration:
/usr/local/cpanel/bin/autossl_check --all
Be sure to check out related resources from the support center:


Run AutoSSL is not assigning any certificates. Also, when I go to SSH, the autossl_check command is not available (permission denied) as well as any other command in /usr/local/cpanel/bin.
Hello Jim – Sorry for the issues with AutoSSL. This issue was noted by our tech support team and they were working on it. It should already be resolved, if not, please contact or live technical support team for immediate assistance.
I get this error everytime i run autossl:
DNS DCV: No local authority: “umu.design”; HTTP DCV: The system failed to obtain filesystem information about “/home/umudesign/public_html/.well-known/pki-validation” because of an error: Not a directory
please help
I thought this may be due to a domain with DNS that is not managed on the server, but when I tested I was not able to replicate the error. If you’re hosted with InMotion I recommend contacting our live support team since this doesn’t seem like typical behavior.
If I have a third party SSL. Do I need to turn off FreeSSL?
Yes, you should delete the AutoSSL certificate.
Hello,
I’ve installed the free ssl certificate. How do I make sure people connect to the https version of my blog when typing its address?
Thanks
You can see how to force the use of HTTPS in this article: How to Force HTTPS using the HTACCESS file.
what should I do if the AutoSSL certificate is expired? I was using this certificate free.
AutoSSL should auto-renew. If it doesn’t, you can force the installation again. If that doesn’t work, you may need to remove the expired SSL’s and maybe even the HTTPS redirect on any domains not receiving a new AutoSSL within 24 hours. You could set the HTTPS redirect after AutoSSL completed.
Another option, although only for VPS users, would be to enable the following at the bottom of the Options tab.
Allow AutoSSL to replace invalid or expiring non-AutoSSL certificates.
This option will allow AutoSSL to replace certificates that the AutoSSL system did not issue. When you enable this option, AutoSSL will install certificates that replace users’ CA-issued certificates if they are invalid or expire within 3 days.
Unless you fully understand this option, do not select it, because the system could unexpectedly replace an expiring or invalid EV or OV certificate with a DV certificate.
Thanks. I done it for my site
You are very welcome! We are glad to help.
Thank you,
John-Paul
My site shows SSL is installed and all has been well until the last few days. All pages except the main (index.htm) page are not showing the lock and are “unsecure.” Not sure what’s going on suddenly. Appreciate any help. Thank you…
Hello and thanks for contacting us. Have you checked WhyNoPadlock.com ?