OpenCart 2.0 is the latest version of the ecommerce software. Unlike more general-purpose content management systems (CMSs) like WordPress, the OpenCart e-commerce software is focused entirely on helping you setup an online shop. You can quickly install it using the Softaculous option available in cPanel. This tutorial will step you through the process of installing OpenCart in cPanel with Softaculous.
Install OpenCart in cPanel
Once you access the OpenCart option in Softaculous and enter your settings, it can be installed with just a single click.
- Login to cPanel.
- Scroll down through the cPanel and click on the Softaculous icon to proceed.

- Type opencart in the search field then click the OpenCart option.
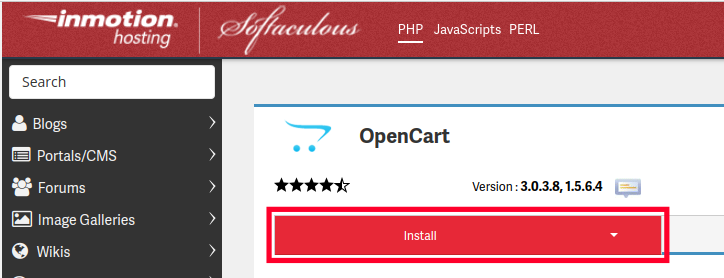
- Click on Install to proceed. In addition to the install option, this screen provides an overview, features list, and import option.

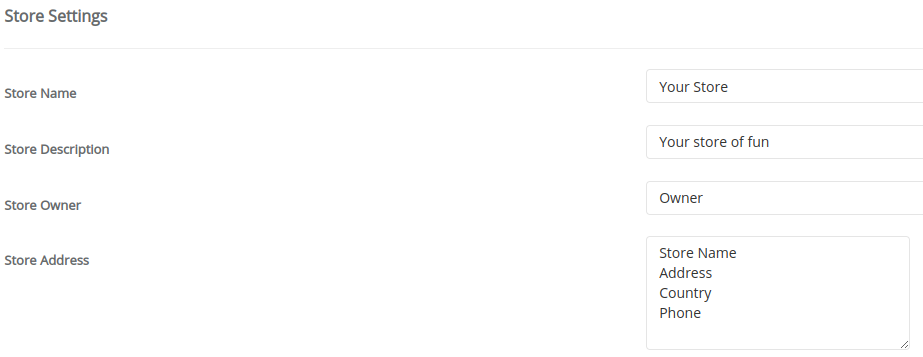
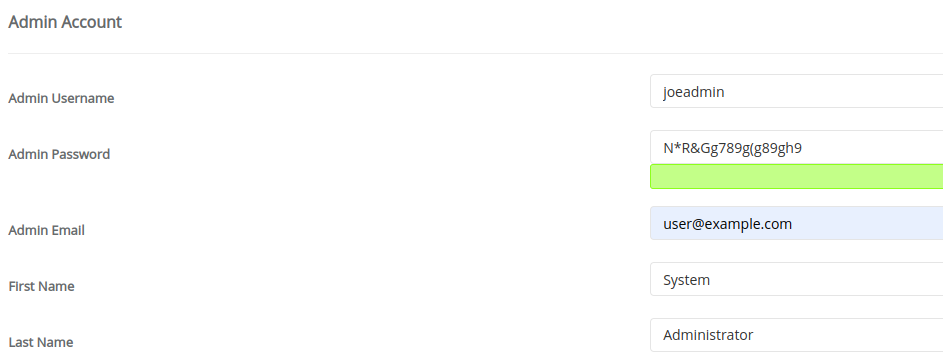
- The Install screen includes several main sections: Software Setup, Store Settings, Database Settings, Admin Account and Advanced Options. Fill in each option to meet your installation needs. Each option is described below:
Software Settings 
Choose the version you want to install Allows you to select OpenCart 1.5 or 2.0 for installation Choose Protocol Choose HTTPS if you have a SSL certificate for your site Choose Domain Choose he domain name you will use for the site In Directory Directory where the install files are setup. This folder must not already exist. If you wish for the URL to be only the domain name, then leave this field blank. Store Settings 
Store Name This is your store name Store Description Describes your store Store Owner Name of the store owner Store Address Address of the store Admin Account 
Admin User name User name for the Administrator login Admin Password Password used for the Administrator login Admin email Administrator’s email address First name First name of the Administrator Last name Last name of the Administrator Advanced Options Database Name Enter a name for the OpenCart database or leave as the default setting. Table Prefix Prefix used by the tables in the database. The default value is “ocss_” Backup Location Select if you want Softaculous Backups stored in the Default (softaculous_backups) or Home directory. - Click on the Install button in order to start the installation process. If you wish to preserve the settings used for the installation, add an email to the field at bottom of the screen where the installation details would be sent.
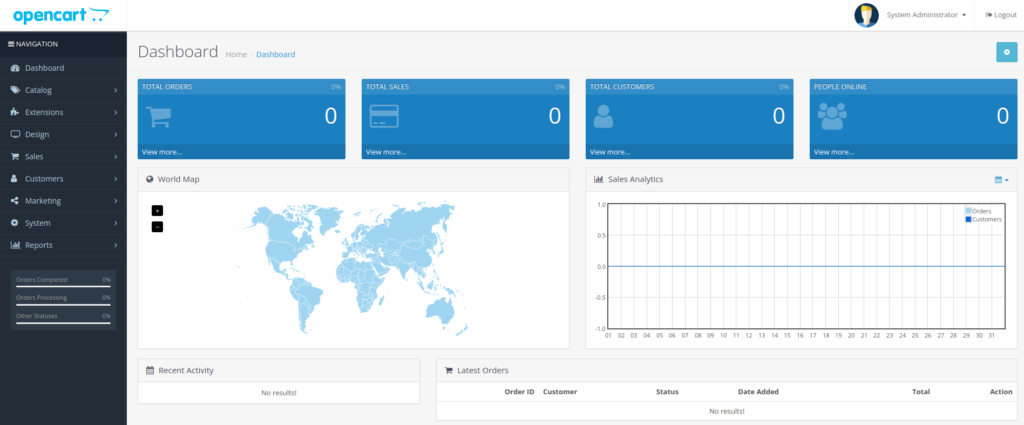
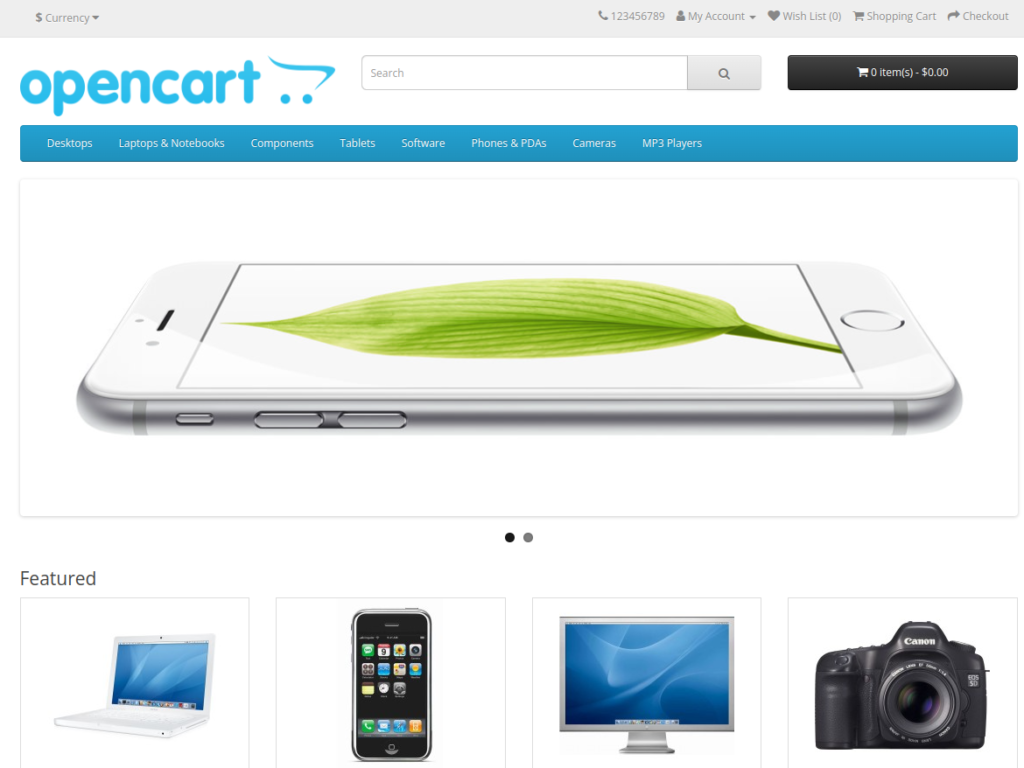
This completes the tutorial on how to Install OpenCart in cPanel using Softaculous. The back end Administrator Dashboard and the store front will look like the following:
Default Administrator Dashboard
Default Store Front


The article was helpful and pretty clear (although I couldn’t get the images to expand as the magnifier cursor would lead one to think they should). I did find one aspect of the article unclear. I presume that OpenCart is a WordPress plugin but I didn’t see that stated explicitly in the article. Is that a correct assumption?
Great question, Jonathan! OpenCart is actually its own, standalone Content Management System (CMS) entirely separate from WordPress. It’s much more focused on ecommerce than WordPress — fewer options, but set up to streamline making a store. I’ll edit the article for clarity and fix the image issue you mentioned. Thanks for pointing it out!