
You have a site in its own cPanel account, and you want it under a different account so you manage everything from one login. This guide shows you how to merge cPanel accounts by moving the site’s files, email folders, and MySQL database into the destination account, then removing the old account.
The example moves example.net from the account exampl2 into the account exampl1, which already hosts example.com. Replace these names with your own. The site runs WordPress, so the database moves too. The steps use cPanel and WHM version 138 with the Jupiter theme. Repeat the process for each additional account.
Note: This guide uses WebHost Manager (WHM), so it applies to InMotion Hosting VPS and Dedicated Server plans, where one server can hold several cPanel accounts. On those plans, cPanel licenses are priced by the number of cPanel accounts on the server. See cPanel License Pricing Explained for Every Hosting Plan for details. If you have root access and prefer the command line, use Merge Multiple cPanel Accounts into One Account Using SSH instead.
Warning: Moving a WordPress site can change how its security plugins behave. Deactivate those plugins before you start, then reactivate and reconfigure them on the new account when you finish. Keep the old account until you confirm the moved site works, because termination is permanent.
What You Need Before You Merge cPanel Accounts
- A VPS or Dedicated Server plan with WebHost Manager (WHM) access. See How to Log in to WebHost Manager (WHM).
- The cPanel logins for the old account and the destination account.
- An FTP client such as FileZilla. See How to Setup FTP with FileZilla.
Step 1: Back Up the Site’s Files Over FTP
Download the site’s files first so you have a complete copy to upload later. Connect with the old account’s own username (exampl2 in this example), not the destination account’s.
- Connect to the old account in FileZilla.
- Create a new folder on your computer for the backup.
- In the server pane, hold Ctrl and click the
etc,mail, andpublic_htmldirectories. - Drag the three selected directories into the new local folder.

Your files are safe on your computer. The database lives somewhere else, so export it next.
Step 2: Download the Database Backup
WordPress keeps its posts, pages, and settings in a database, not in the files you just copied. Export that database from the old account’s cPanel.
- Log in to the old account’s cPanel. See How to Log into cPanel if you need help.
- In the Files section, click Backup.
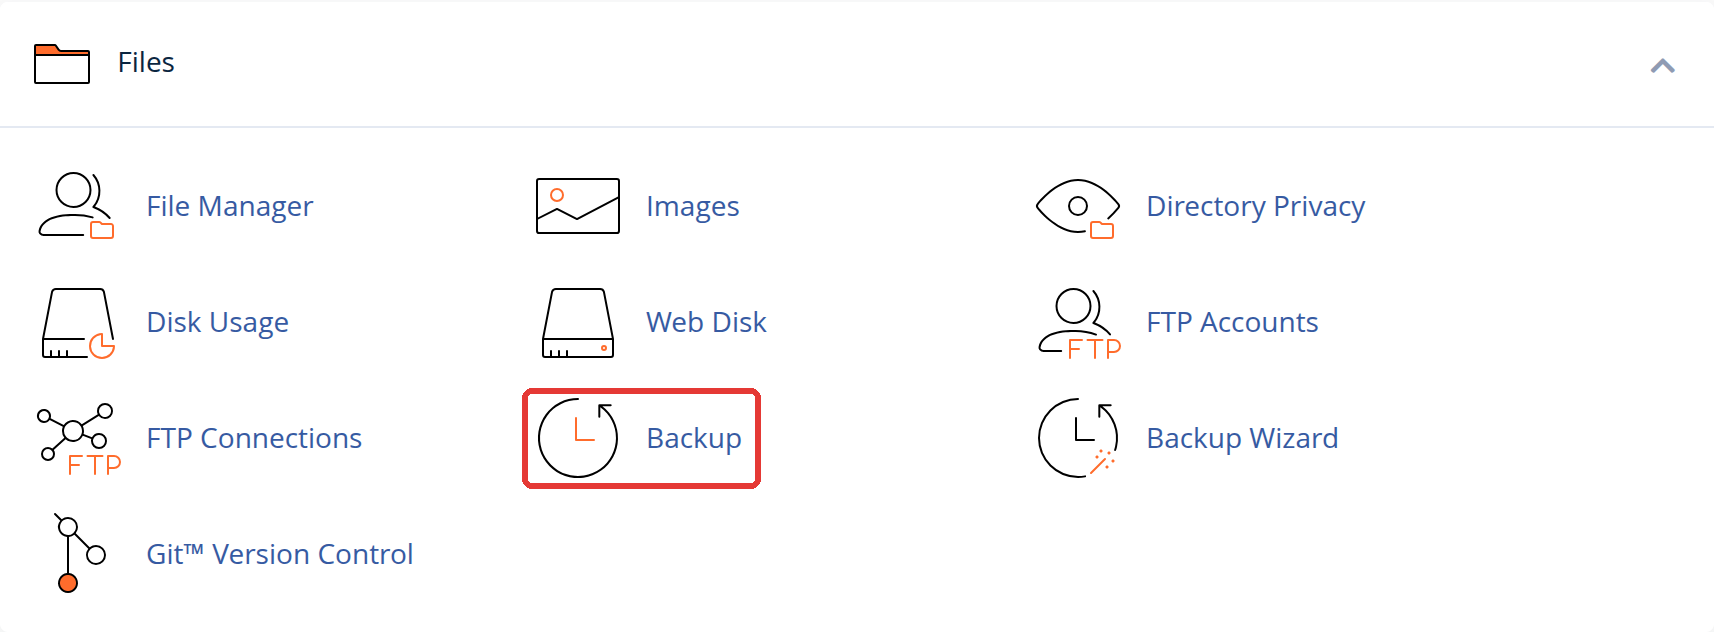
- Under Download a Database Backup, click the database name, for example
exampl2_wp1. Your browser downloads a compressed copy of the database as a.gzfile.

With files and database saved, you can now change the old account without risking the site. Next comes the step that makes the whole merge possible.
Step 3: Rename the Old Account’s Primary Domain in WHM
The destination account needs to add example.net, but the old account still uses it as its primary domain. Giving the old account a temporary primary domain frees example.net for Step 4.
- Log in to WHM.
- In the Search Tools (Ctrl /) box in the left navigation, type
modify, then click Modify an Account.
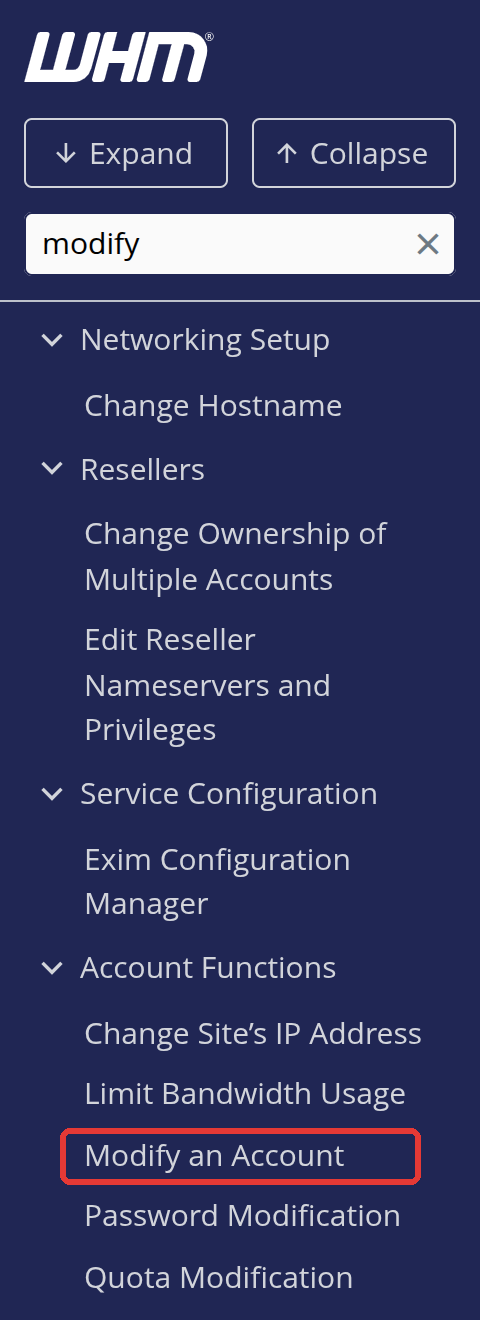
- If the server has more than one account, WHM lists them first. Select the old account (
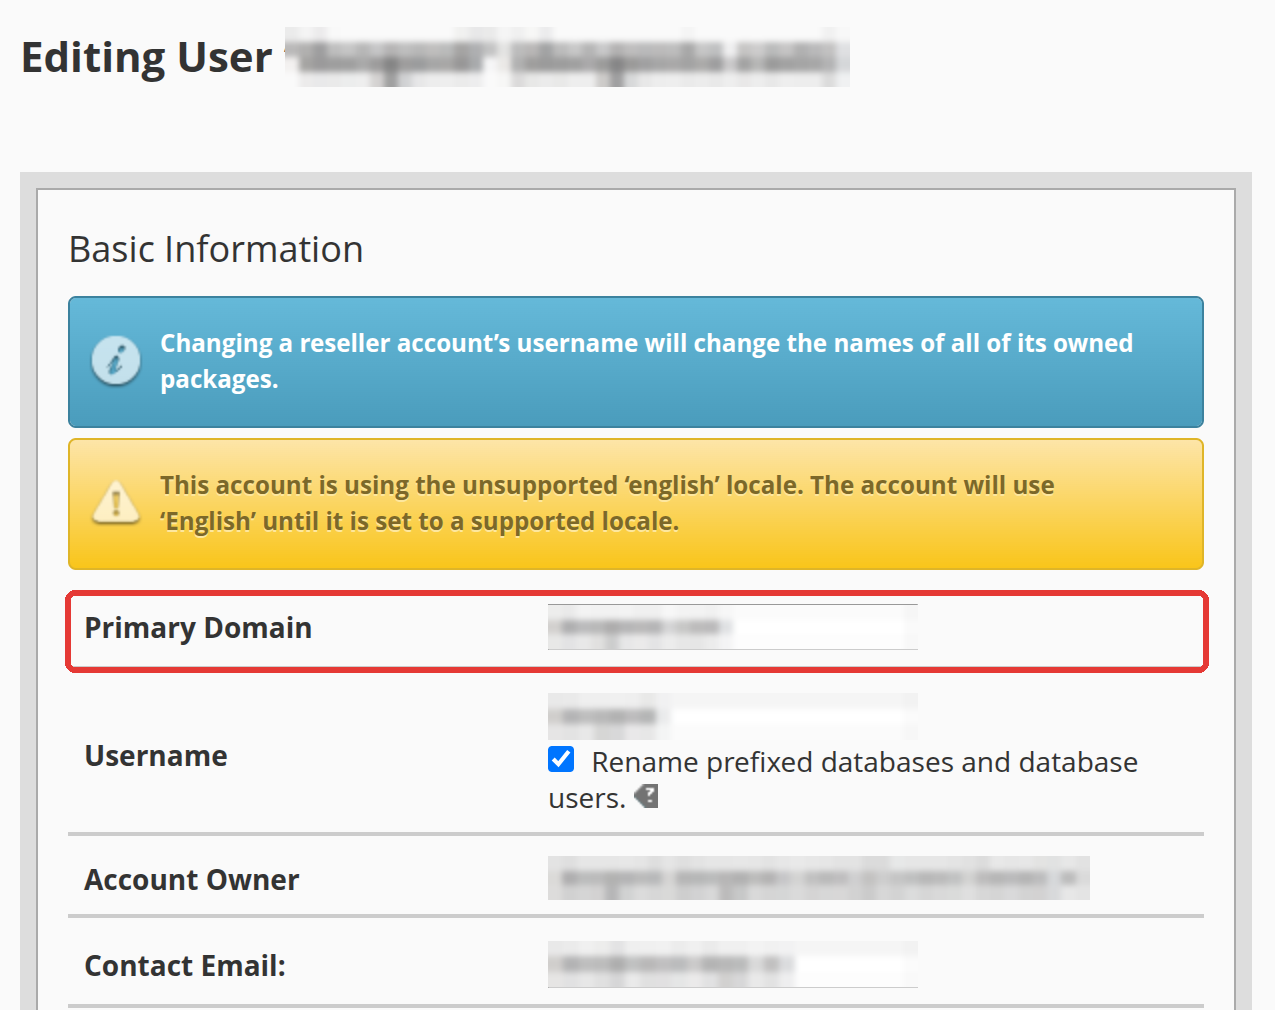
example.net), then click Modify. If the server has only one account, WHM opens its form directly. - In the Primary Domain field, add a temporary suffix. For example, change
example.nettoexample-temp.net. - Scroll to the bottom of the page and click Save.
The real domain name is free. Open the destination account to claim it.
Step 4: Create the Domain on the Destination Account
Current versions of cPanel no longer have an Addon Domains icon. You add domains from the Domains interface instead. For more on adding domains, see How to Add Addon Domains in cPanel.
- In the WHM Search Tools (Ctrl /) box, type
list, then click List Accounts. - Find the destination account (
exampl1). In the Quick Links column of its row, click the cPanel icon (its tooltip reads cPanel). WHM logs you in to that account’s cPanel.

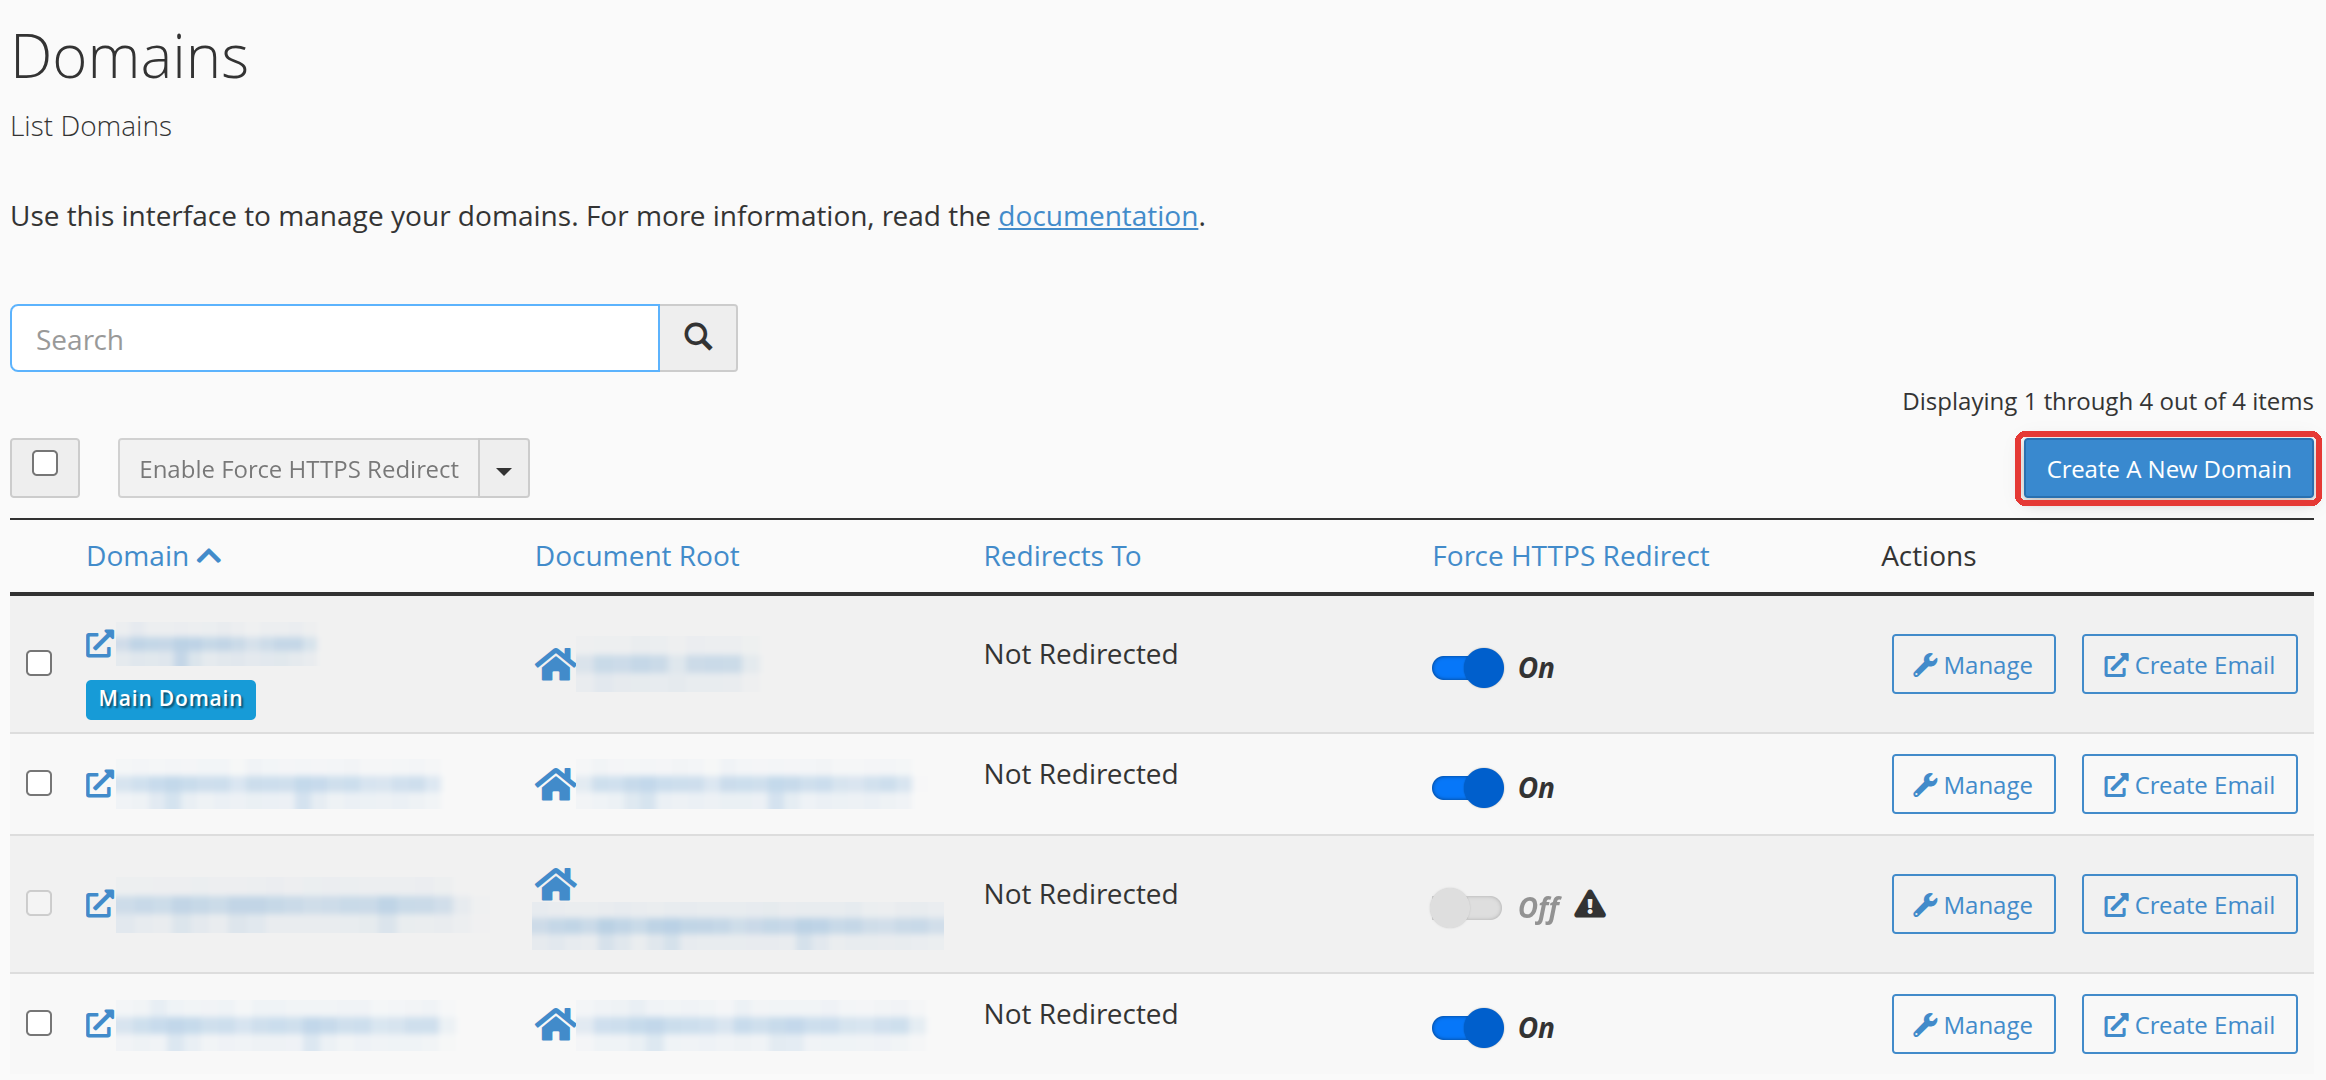
- In the Domains section, click Domains.
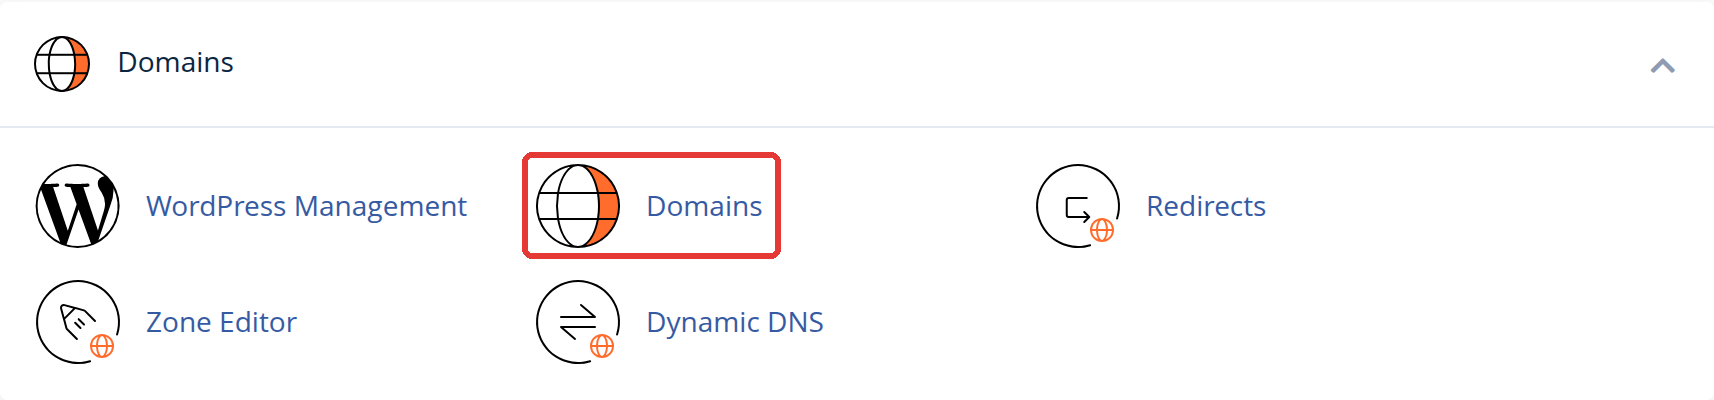
- Click Create A New Domain.
- Leave Registered Domain selected.
- In the Domain field, enter
example.net. - Clear the Share document root (/home/exampl1/public_html) with “example.com” checkbox. This gives the new domain its own folder, so its files stay separate from
example.com. - Check the Document Root (File System Location) field that appears. This is the folder that holds the domain’s website files. cPanel fills in the domain name, which puts the folder at
/home/exampl1/example.net, besidepublic_htmlrather than inside it. Keep it, or enter a folder underpublic_html(such aspublic_html/example.net) if you prefer. Remember the folder for Steps 5 and 8. - Leave the Subdomain field as cPanel fills it in.
- Click Submit.
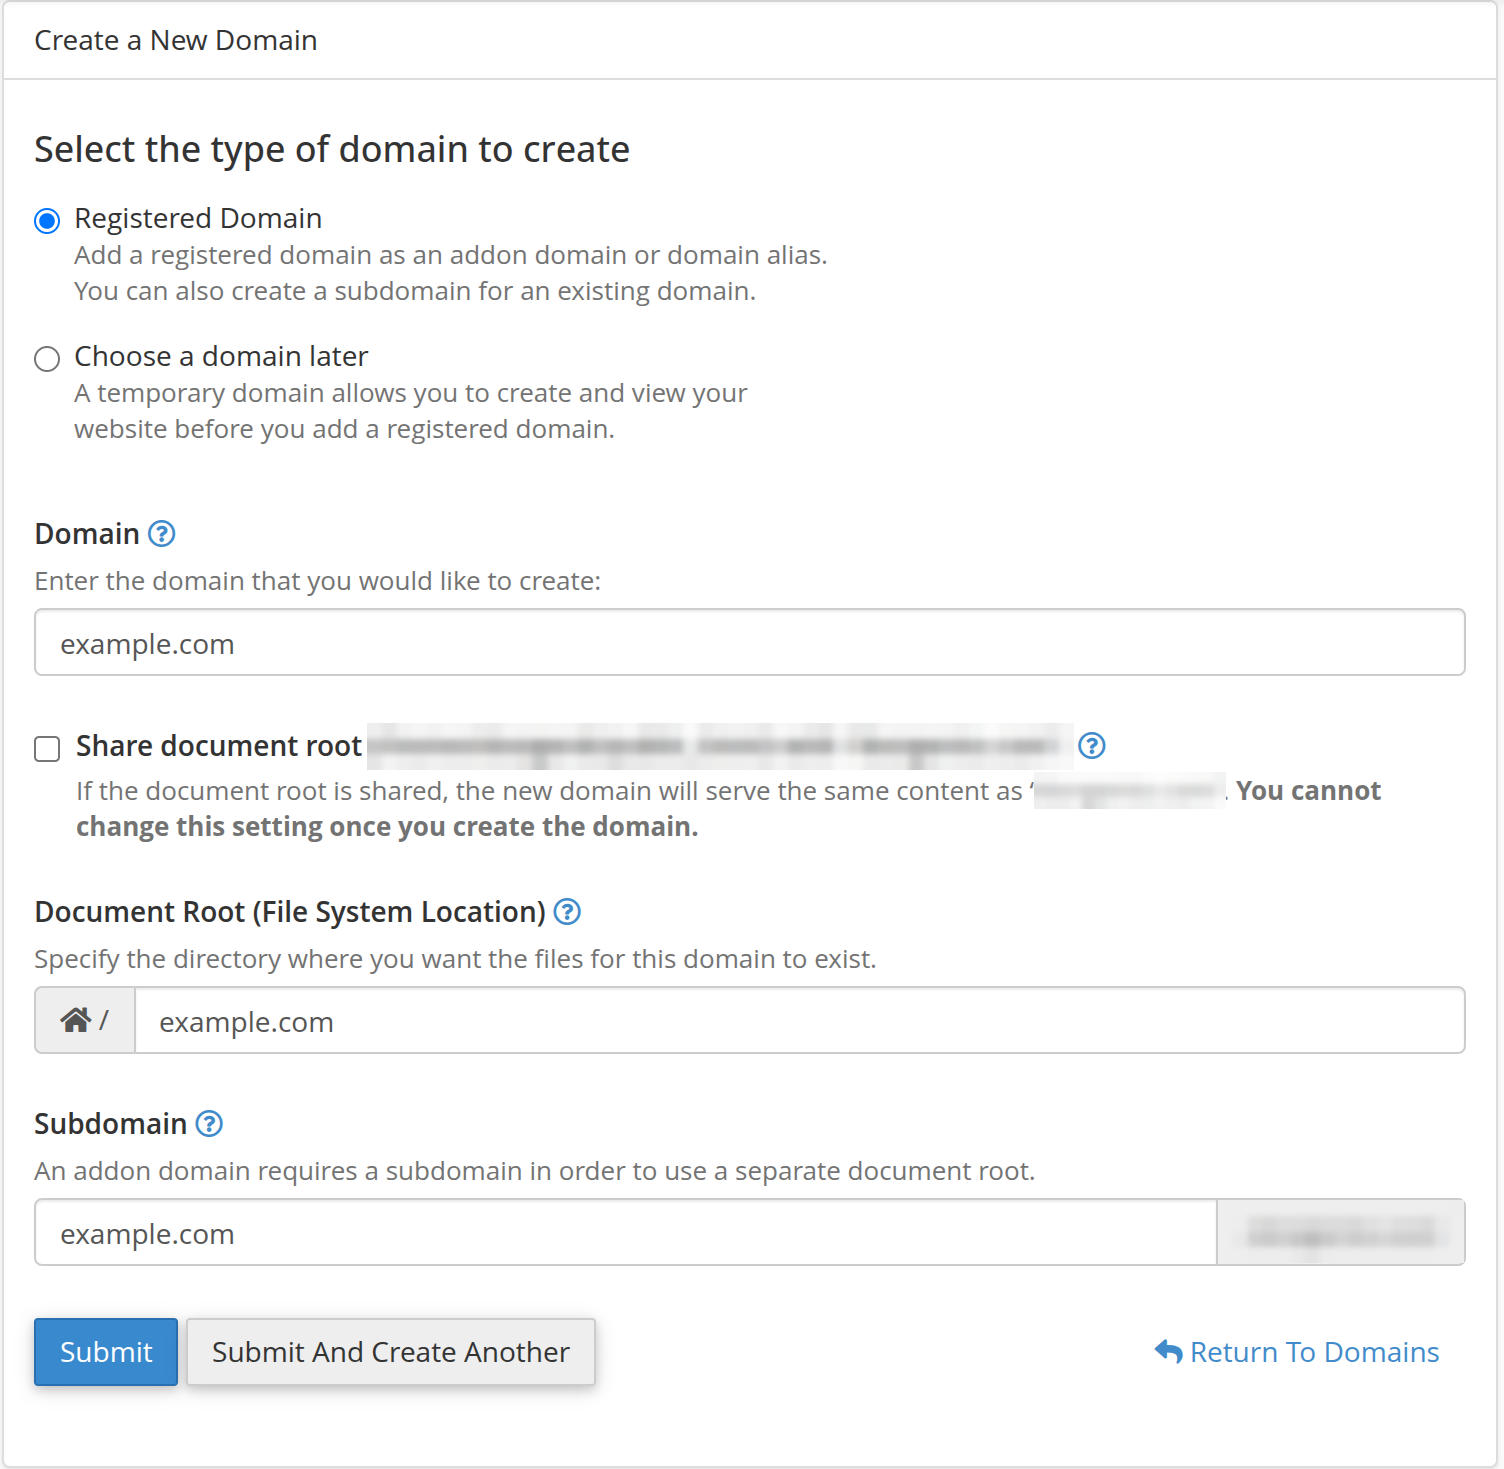
Note: cPanel needs the subdomain to give the new domain its own document root, so do not delete it. The form has no FTP username field. In Step 5 you connect with the destination account’s own username.
The domain now exists on the destination account with an empty folder waiting. Fill it with your site.
Step 5: Upload the Files
Upload the folders you saved in Step 1 to the destination account. Connect with the destination account’s username (exampl1). If the old account had email accounts for example.net, their data is in two folders: etc/example.net and mail/example.net, which holds the mailboxes. If it had no email accounts, skip to item 5.
- In both FileZilla panes, open the
etcdirectory. - Drag the
example.netdirectory from your computer to the server’setcdirectory.

- In both panes, open the
maildirectory. - Drag the
example.netdirectory from your computer to the server’smaildirectory.

- On your computer, open
public_html. On the server, open the document root you set in Step 4: theexample.netfolder in the home directory (/home/exampl1/example.net), or the folder underpublic_htmlif you chose one. - On your computer, press Ctrl+A to select all the files.
- Drag the selected files into the server’s document root.

The files are in place, but the site still points at a database that belongs to the old account. Build its replacement next.
Step 6: Create the New Database and User
cPanel starts every database and database user name with a prefix based on the account’s username. A database created under exampl1 is named exampl1_ followed by a name you choose, so the old exampl2_wp1 name cannot carry over.
- Log in to the destination account’s cPanel (
exampl1). If you are still logged in from Step 4, stay there. - In the Databases section, click Database Wizard.
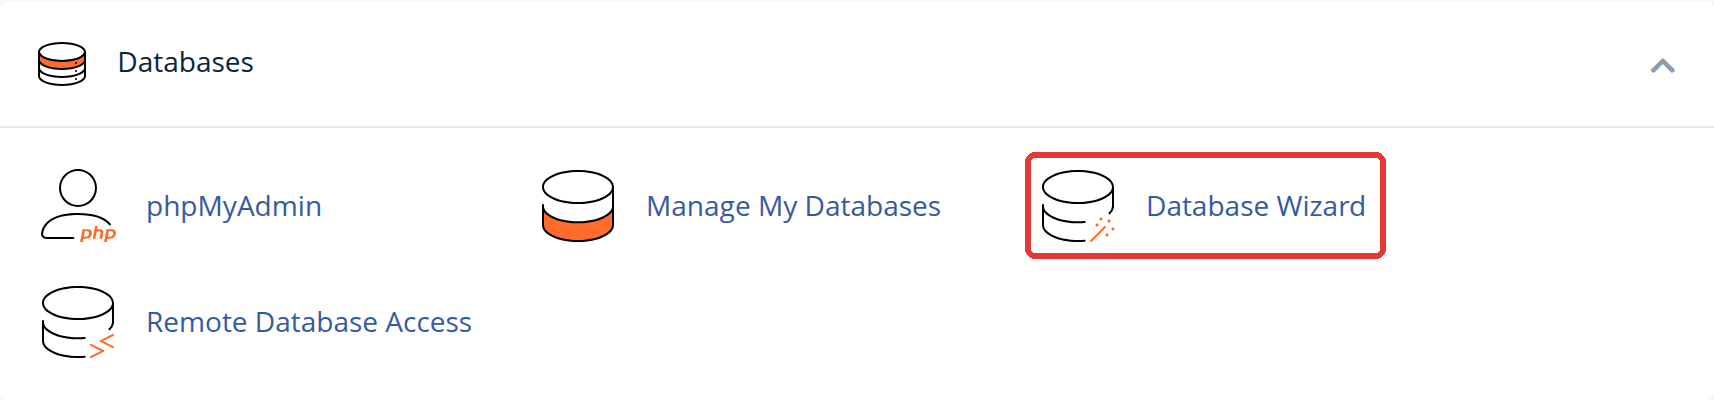
- On the Step 1: Create A Database screen, type a name in the New Database: field after the fixed
exampl1_prefix. This example useswp2, which createsexampl1_wp2. Theexampl1account already has a database namedexampl1_wp1. - Click Next Step.
- On the next screen, enter
wp2in the Username field. This creates the userexampl1_wp2. - Enter and confirm a strong password, and store it in a password manager. You need it in Step 8.
- Click Create User.
- Select ALL PRIVILEGES so the user can manage the database, then click Next Step.
- Click Return Home to go back to the cPanel home page.
You now have an empty database with a user attached. Fill it with the backup.
Step 7: Import the Database in phpMyAdmin
phpMyAdmin reads the compressed .gz file you downloaded in Step 2 and rebuilds every table inside the new database. For more detail, see How to Import a MySQL Database using phpMyAdmin.
- In the Databases section of cPanel, click phpMyAdmin. phpMyAdmin opens in a new browser tab.
- In the left tree, click
exampl1_wp2. - Click the Import tab.
- Under Browse your computer: (Max: 50MiB), click Choose File (some browsers label it Browse), then select the
.gzbackup file from Step 2. - Scroll to the bottom of the page and click Import.
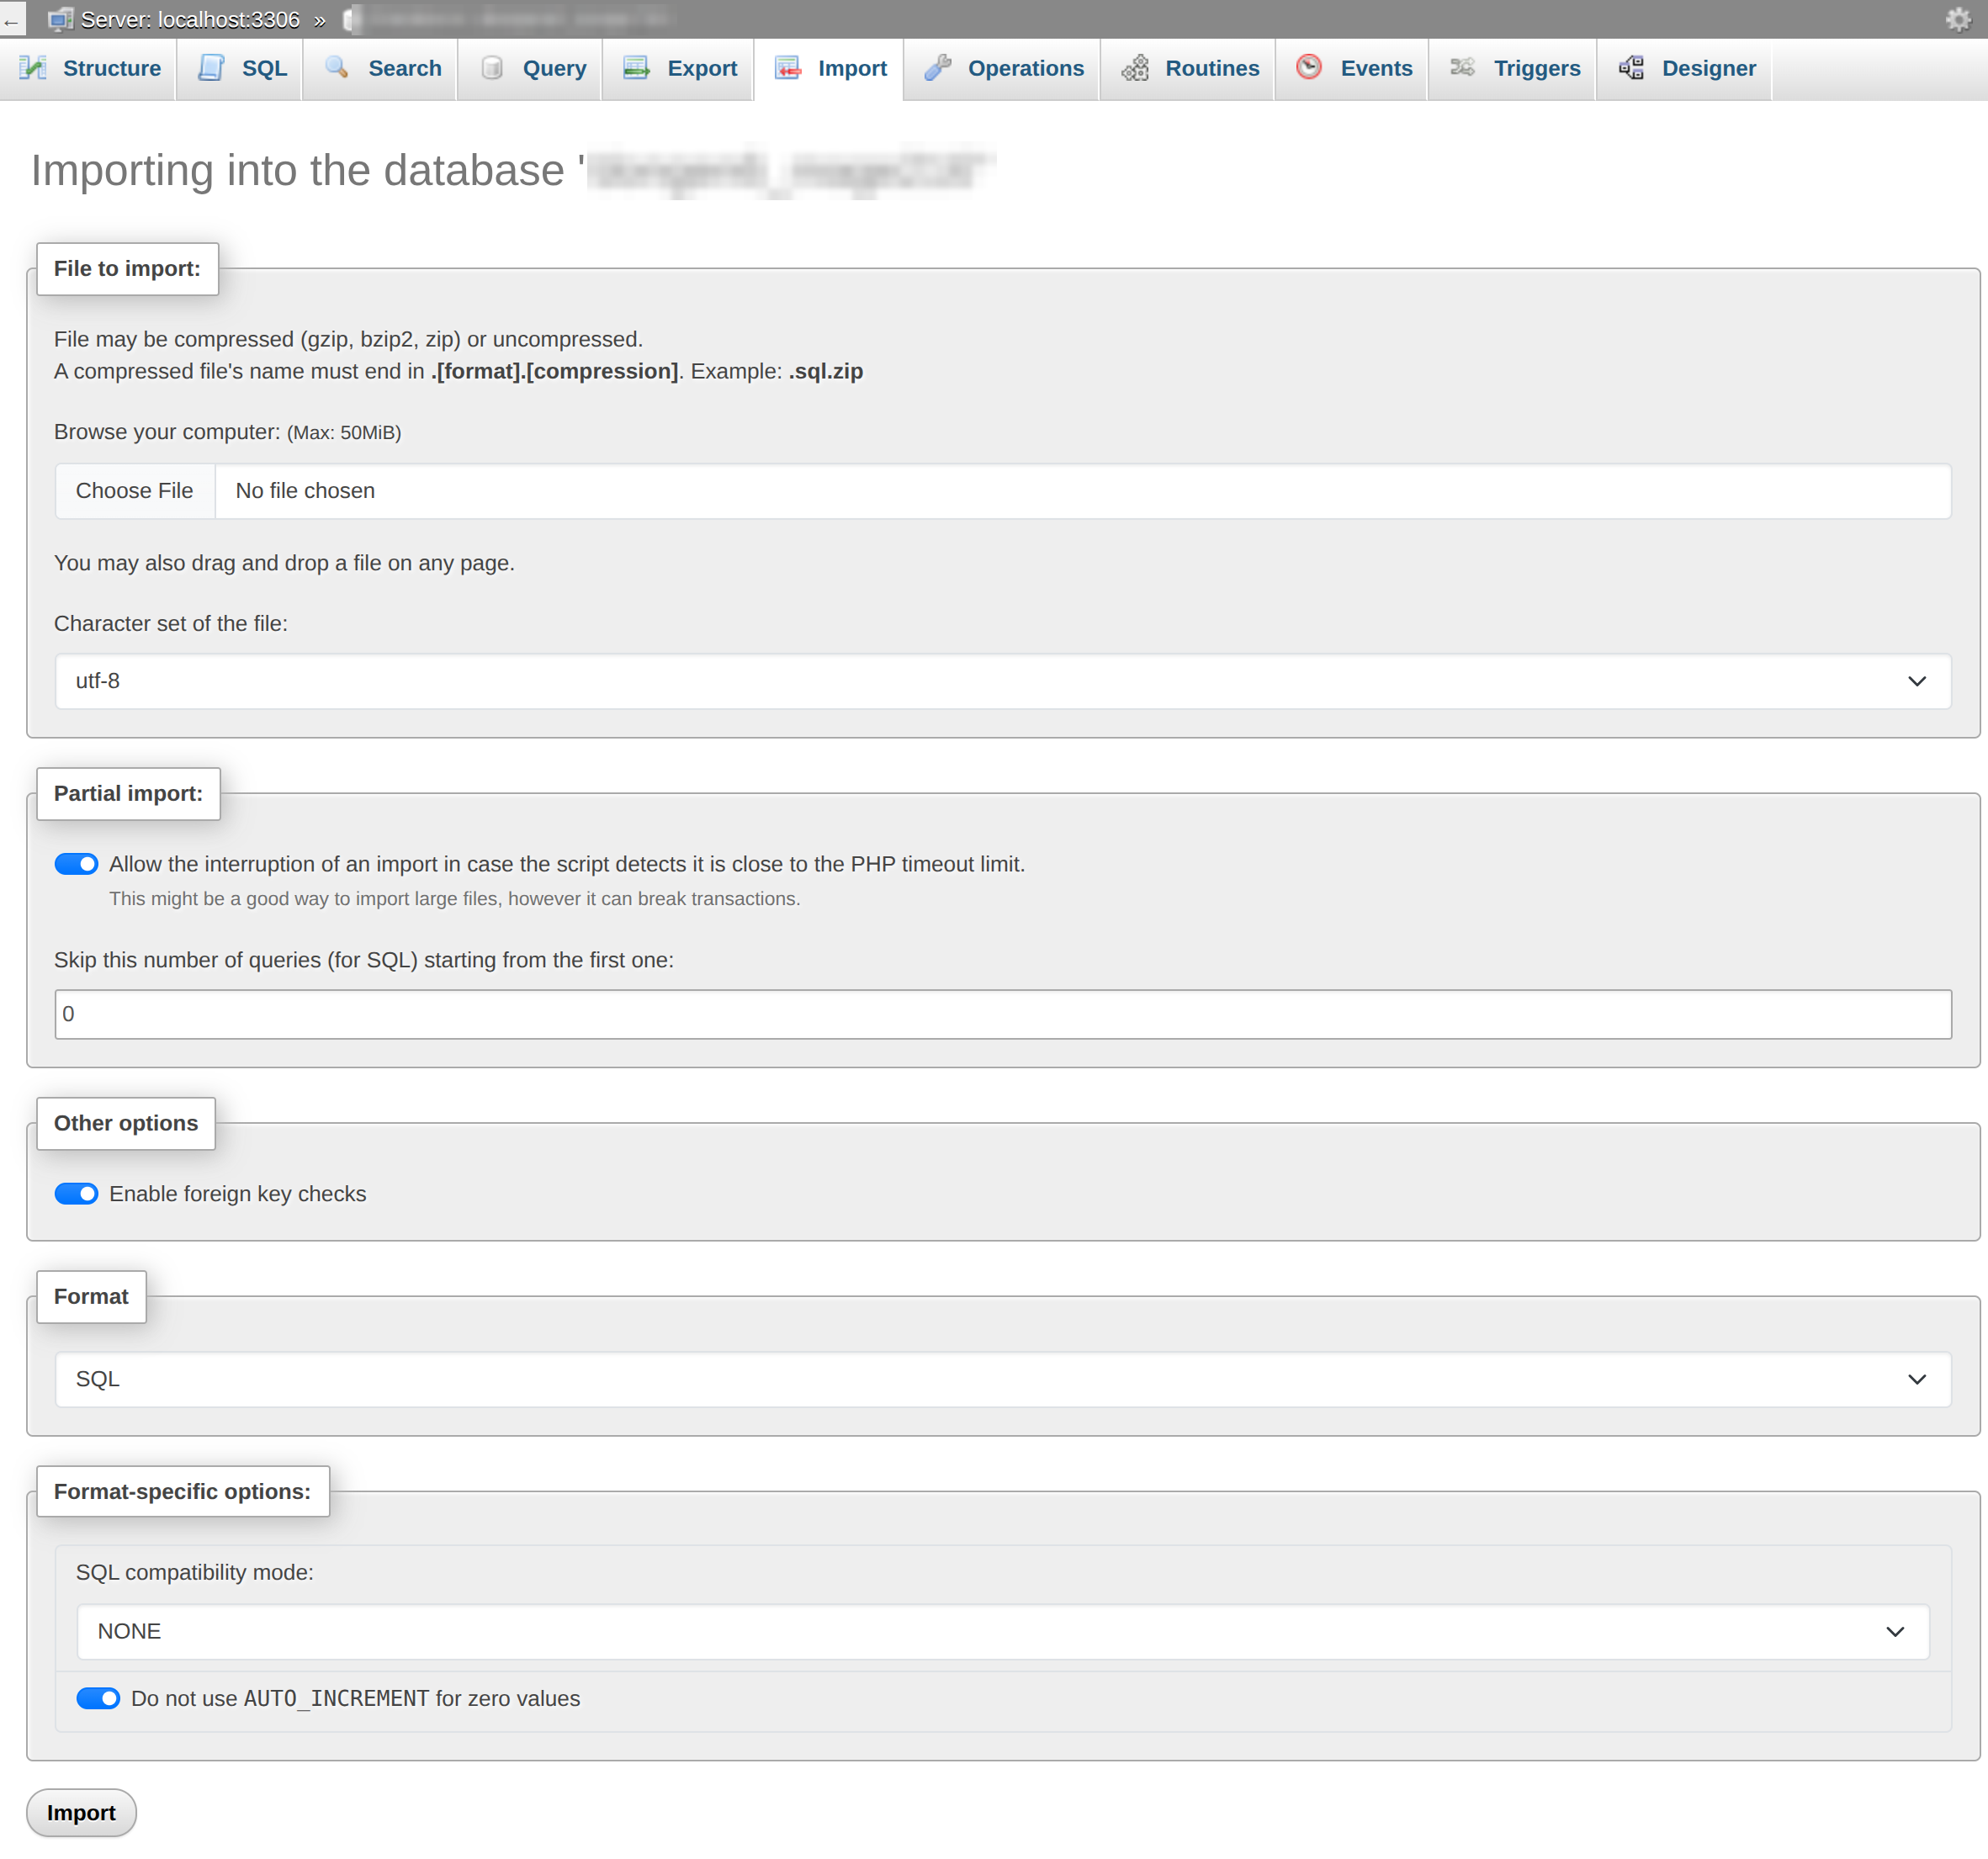
Note: The Max value next to Browse your computer is the largest file phpMyAdmin accepts, 50MiB on the server used for this guide. If your backup file is larger, import it over SSH instead. See How to Import MySQL Databases in Command Line.
When the import finishes, check that the left tree lists the database’s tables under exampl1_wp2. The site’s configuration file still names the old database, so fix that now.
Step 8: Update wp-config.php
WordPress reads its database name, user, and password from wp-config.php. Those values still point to the old account’s database, which disappears when you terminate the account. For more on this file, see Editing Your WordPress wp-config.php File.
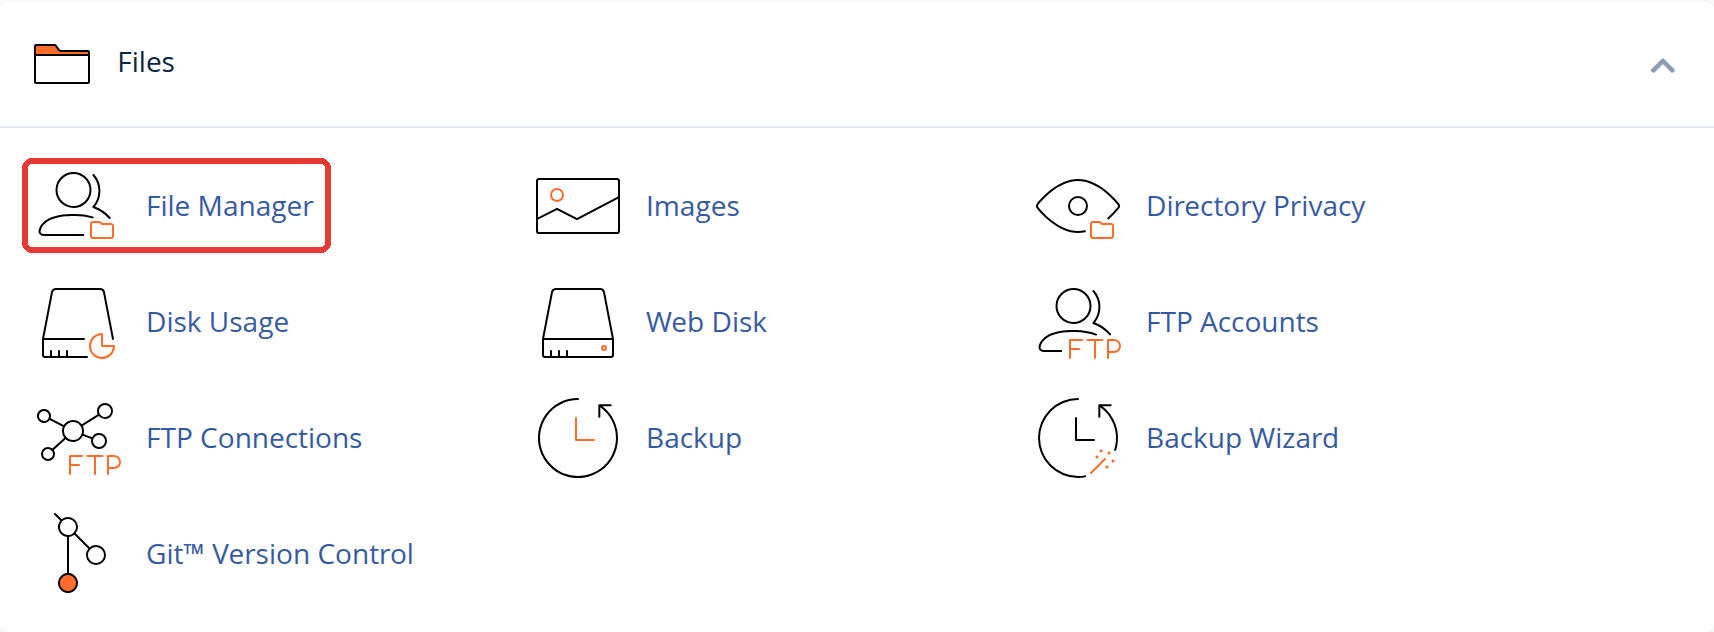
- In cPanel, in the Files section, click File Manager. File Manager opens in a new browser tab.
- Open the document root for
example.net:/home/exampl1/example.net, or the folder underpublic_htmlif you chose one in Step 4. - Right-click
wp-config.php, then click Edit. - Click Edit again in the pop-up window. The editor opens in a new browser tab.
- Find the database lines. They look like this:
/** The name of the database for WordPress */
define( 'DB_NAME', 'exampl2_wp1' );

/** Database username */
define( 'DB_USER', 'exampl2_wp1' );

/** Database password */
define( 'DB_PASSWORD', '<old-database-password>' );- Replace the values with the database, user, and password you created in Step 6. Use your real password in place of
<new-database-password>:
/** The name of the database for WordPress */
define( 'DB_NAME', 'exampl1_wp2' );

/** Database username */
define( 'DB_USER', 'exampl1_wp2' );

/** Database password */
define( 'DB_PASSWORD', '<new-database-password>' );- Click Save Changes.
Tip: Browse to example.net and click through a few pages before you go on. If the site loads, the old account is safe to remove.
Step 9: Terminate the Old Account
Warning: Termination removes the account’s files, databases, and email. Confirm the moved site works before you continue.
- Log in to WHM.
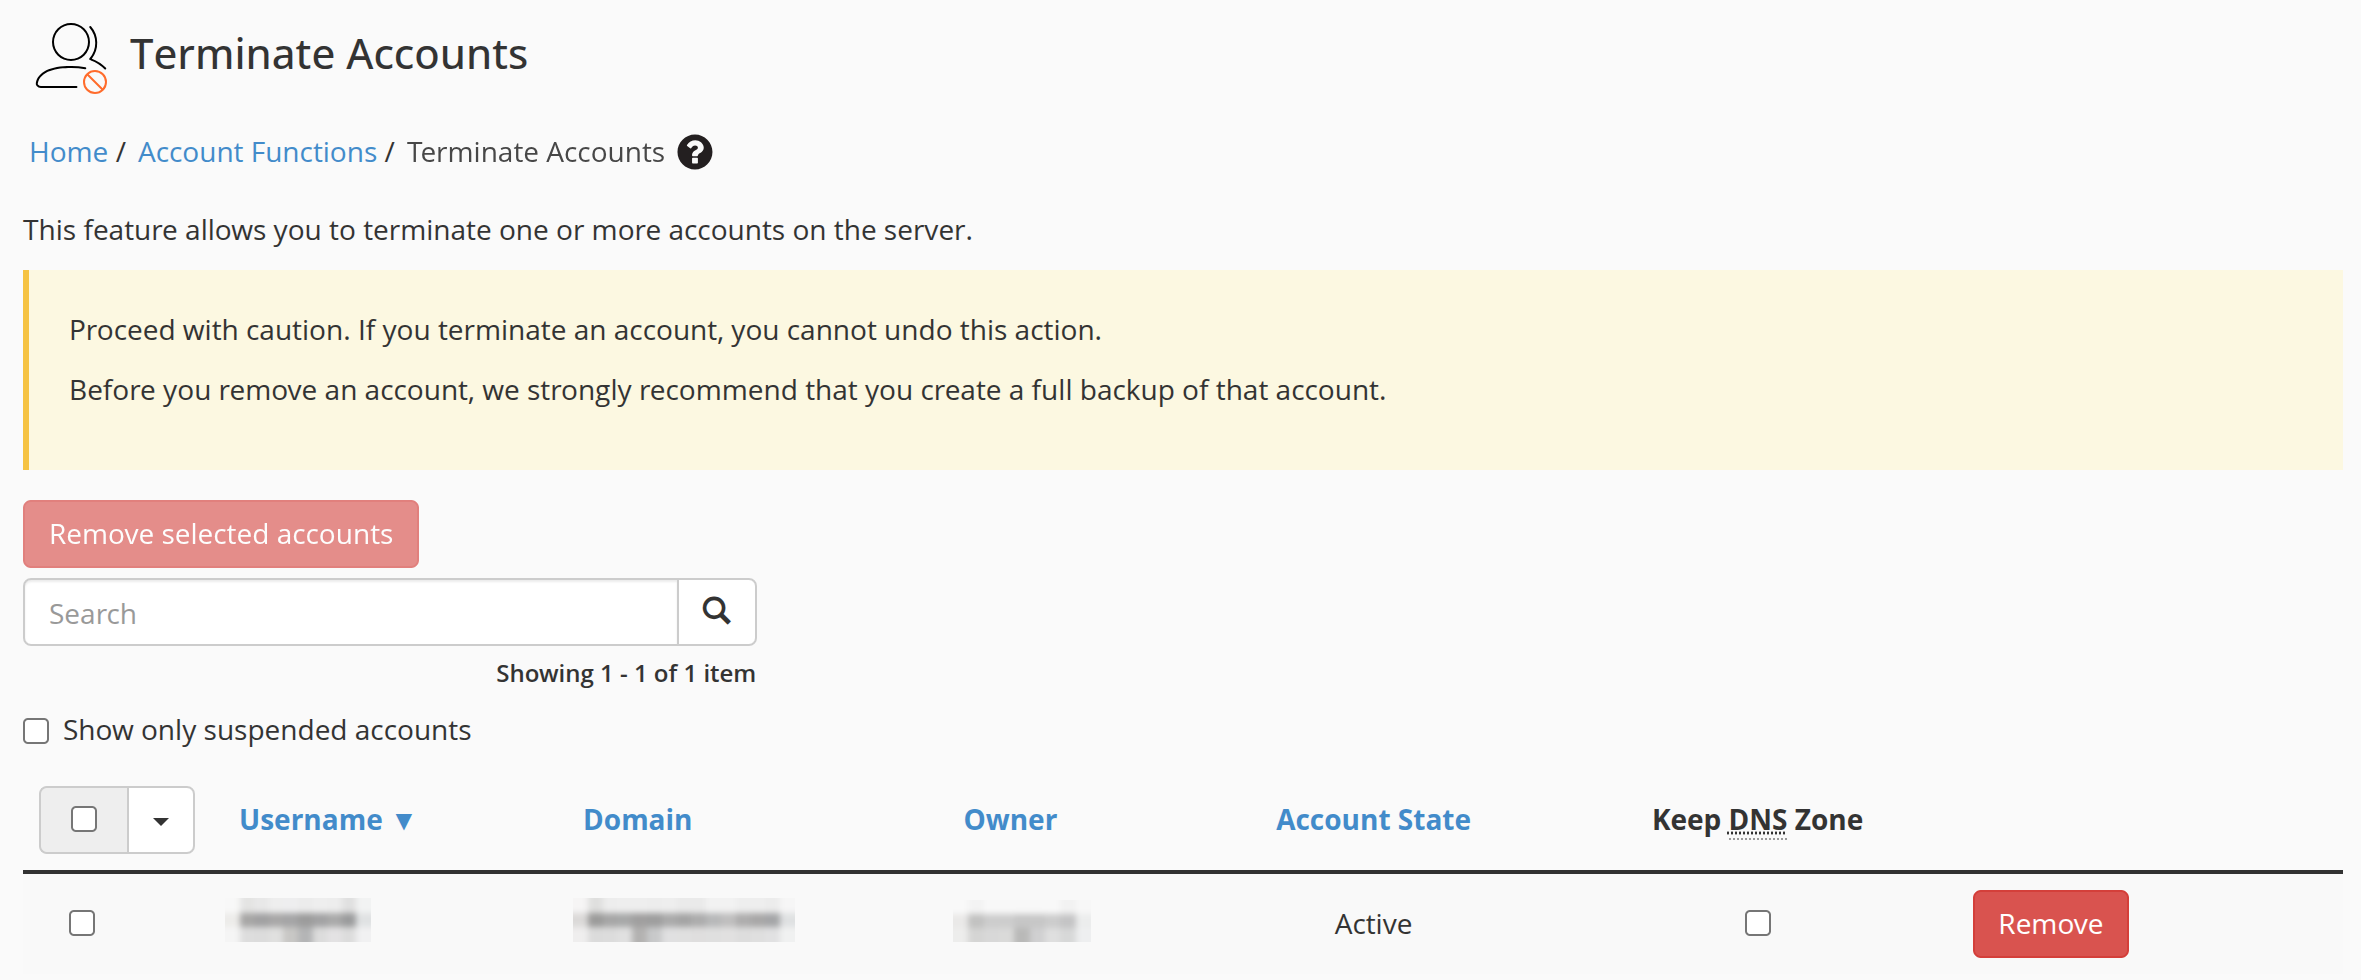
- In the Search Tools (Ctrl /) box in the left navigation, type
terminate, then click Terminate Accounts. - Find the old account’s row. Its domain now shows as
example-temp.net. - Leave the Keep DNS Zone checkbox in that row cleared unless you need the old DNS zone to stay on the server.
- Click Remove in that row.
- Click Yes, delete this account to confirm.
Troubleshooting
cPanel will not create the domain
The old account probably still owns example.net. Repeat Step 3, confirm the old account’s Primary Domain field shows the temporary name, then try Step 4 again.
The site shows a database connection error
One of the three values in wp-config.php is wrong. Recheck the database name, user, and password against Step 6, and confirm the user has ALL PRIVILEGES on the database.
The site loads but pages or images are missing
The upload may have stopped early. Open the document root in File Manager, compare it with your local public_html backup, and upload any missing files.
Conclusion
You moved example.net from one cPanel account into another, and you now manage both sites from a single cPanel login. Repeat these steps for each account you want to consolidate. If you are moving to a plan that supports only one cPanel account, confirm the moved site loads and your WordPress security plugins are reactivated before you change plans.