If you get an error in webmail that says “Mailbox Quota Exceeded” you can correct this error in cPanel. This error is due to having too much mail in your account or the quota size was set too low when the address was created in cPanel. One option is to simply delete emails to lower the size of your existing mail box.
Another solution is to raise the quota that you set for the email account in cPanel, which is explained in this guide.
Increasing Email Quota in cPanel
- Login to your cPanel.
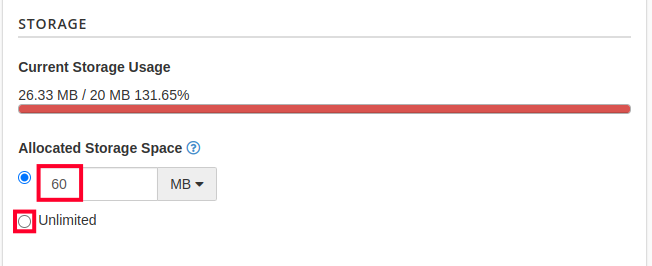
- Click on the Email Accounts icon under the email heading. You’ll see that our ‘[email protected]‘ account storage section is labeled in red.

- Click on the Manage link next to the email address you are working with.

- Next, you’ll want to either change the numerical value for the size of the mailbox or you can set it to Unlimited.

- Scroll down and click the Update Email Settings button. You will then see a success message pop-up on the top right of the screen. You should then see the Storage for the account in green again.

Cannot Change MailDir Size! Error
At times, when you try to update the mail box quota size, you may receive an error message. If you get this error message, don’t worry it is easily corrected.
- Login to cPanel.
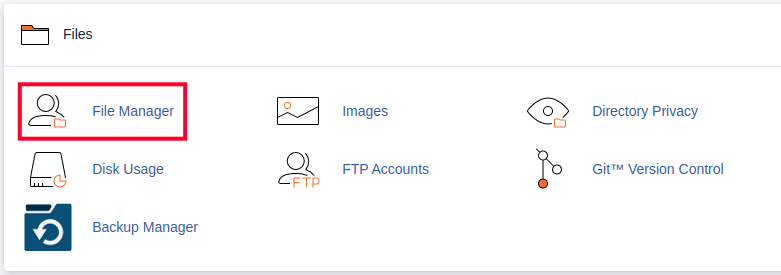
- Click File Manager, under the File section.

- Now, select the “mail” folder from the file tree in the left side pane.
- Open the email address folder for the account you were attempting to change the mailbox quota for.
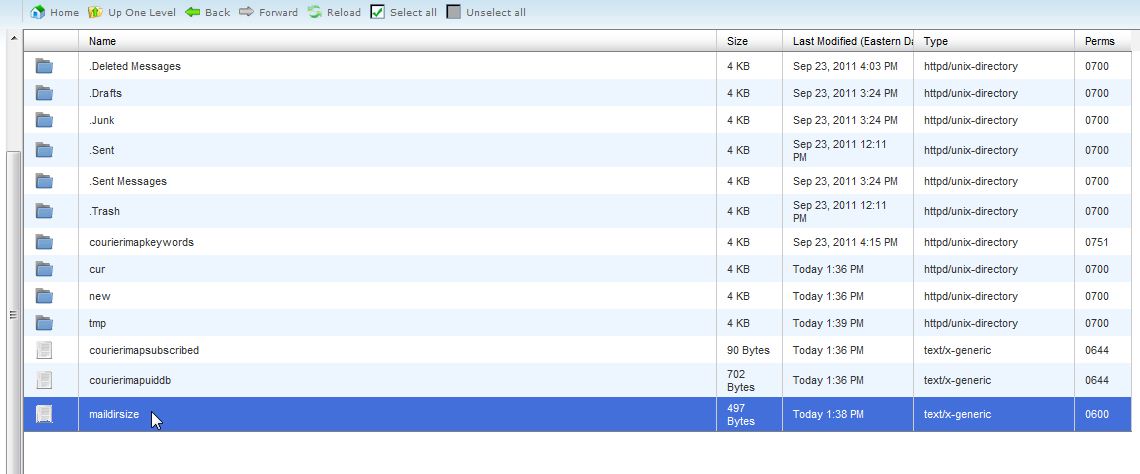
- Find the “maildirsize” file and right-click on it, then select delete. Once the file is deleted you will have the ability to change the mailbox quota as the above steps instruct you.

Congratulations, now you know how to fix the Mailbox Quota Exceeded error! If you want to help avoid this error, be sure to configure mailbox quota notifications.


Are there different costs for each quota size. What are my options and pricing for each?
Hi Tracey, the maximum storage per email inbox will vary from plan to plan. If you take a look at the Shared Hosting plans, for example, under the listing “Email Storage per Inbox,” you’ll see that the storage per email ranges from 1 GB to 20 GB. This is similar on our WordPress Hosting plans, though our VPS and Dedicated Hosting plans give you full control over this (and other settings). I hope that helps!
This can not help in outlook account
Hello Sameer,
What parts are you saying does not work for outlook? Also this is supposed to be done on the server not within the client itself.
Best Regards,
TJ Edens