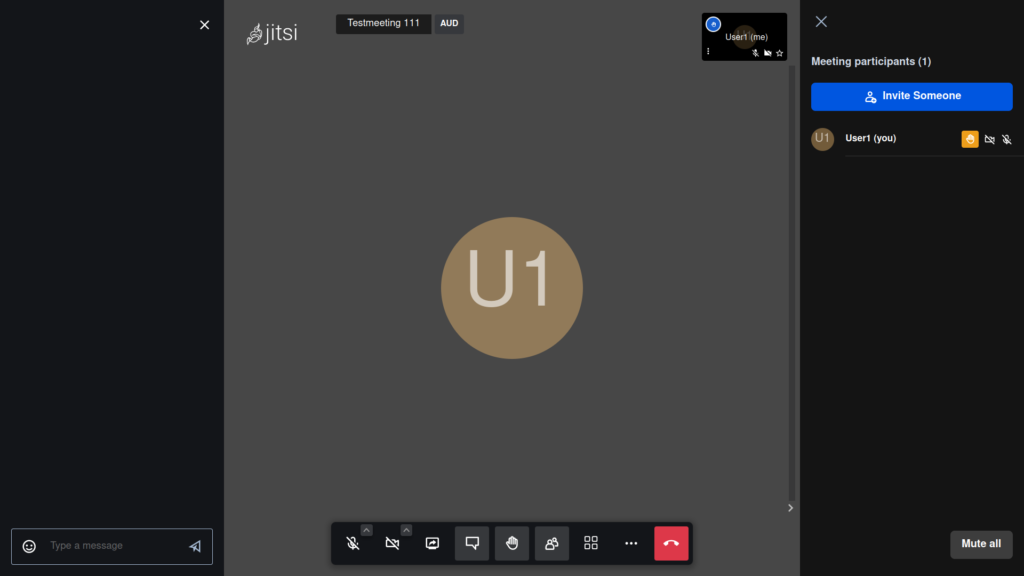
Jitsi Meet is a free open source video conference web application available for free use online or with desktop software. Like Google Meet and Zoom video conferencing, you can easily create a Jitsi meeting in your browser using https://Meet.Jit.si within seconds without installing additional software or browser extensions. Or, you can learn how to install Jitsi Meet on Ubuntu server hosting.
Jitsi Meet doesn’t require an account to use any of it’s ever-growing features:
- Group chat
- Screen sharing
- Collaborative document editing
- Mobile apps for Apple and Android devices
- Integration with Google and Microsoft calendars
- Integration with other popular collaborative software
This Jitsi installation guide will cover the following:
How to Install Jitsi Meet on Ubuntu Server
Prepare for Jitsi Meet Installation
- SSH into your server as root.
- Check your server hostname:
hostname
If desired, you can change your hostname to a fully qualified domain name (FQDN) or subdomain. - Open ports 80/TCP, 443/TCP, 4443/TCP, and 10000/UDP using your firewall – CSF, Firewalld, etc.
- Open your hosts file:
sudo nano /etc/hosts
- Add your hostname as a loopback IP address, replacing “example.com” with your Jitsi domain:
127.0.0.1 localhost example.com
Install the Jitsi Meet Application
- Download the Jitsi repository key:
wget https://download.jitsi.org/jitsi-key.gpg.key
- Add the Jitsi GPG key to your keyring:
sudo apt-key add jitsi-key.gpg.key
- Delete the key file:
rm jitsi-key.gpg.key
- Create a new Jitsi repository sources file and add the Jitsi downloads URL. You can use this one-liner to create the file and add the URL automatically at once (then skip to step 7):
sudo echo 'deb https://download.jitsi.org stable/' > /etc/apt/sources.list.d/jitsi-stable.list
Alternatively, you can create the new file manually before proceeding to the next step:sudo nano /etc/apt/sources.list.d/jitsi-stable.list
- Add the following to the file:
deb https://download.jitsi.org stable/
- Save your changes.
- Update your Ubuntu server to receive the Jitsi package list:
sudo apt update
- Install the Jitsi Meet suite:
sudo apt install jitsi-meet
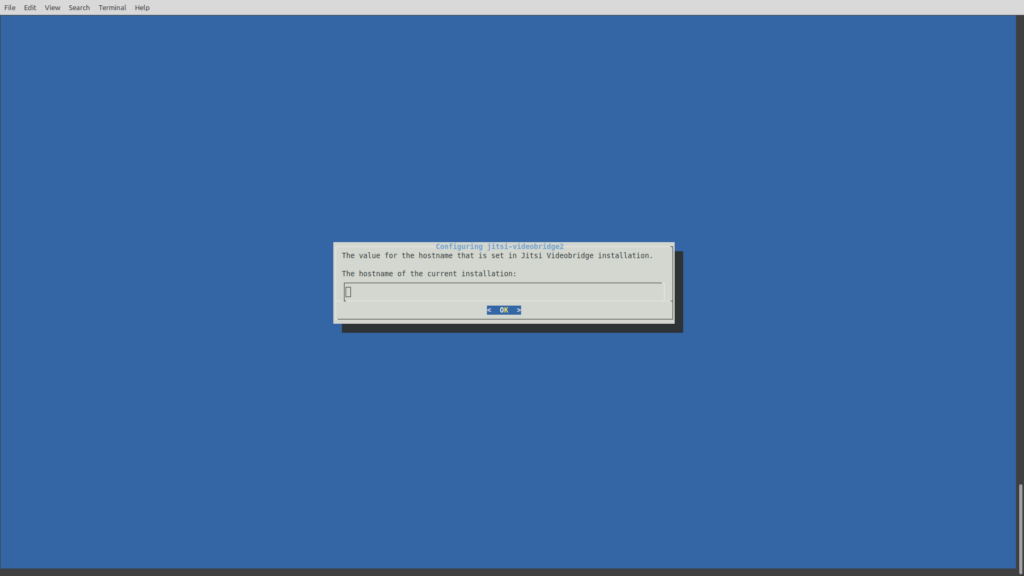
- During the installation, you’ll be prompted to type the domain you’ll use for Jitsi Meet. Type your hostname, and press Enter.

- You’ll then be asked whether to generate a self-signed SSL certificate or use a pre-existing SSL. If you don’t have one already, select Generate a new self-signed certificate and press Enter.
- Read and accept the license terms.
- Once the installation is complete, install Certbot.
InMotion Cloud Server Hosting customers are recommended to use PIP as
snapis not supported at this time. - Generate SSL certificates for your domain and edit your Apache configuration file to automatically use HTTPS (port 443):
sudo certbot --apache
If you’re not using Certbot, Jitsi has a certificate generation app you can use:
/usr/share/jitsi-meet/scripts/install-letsencrypt-cert.sh - Provide an email address for SSL expiration notifications.
Create a Meeting
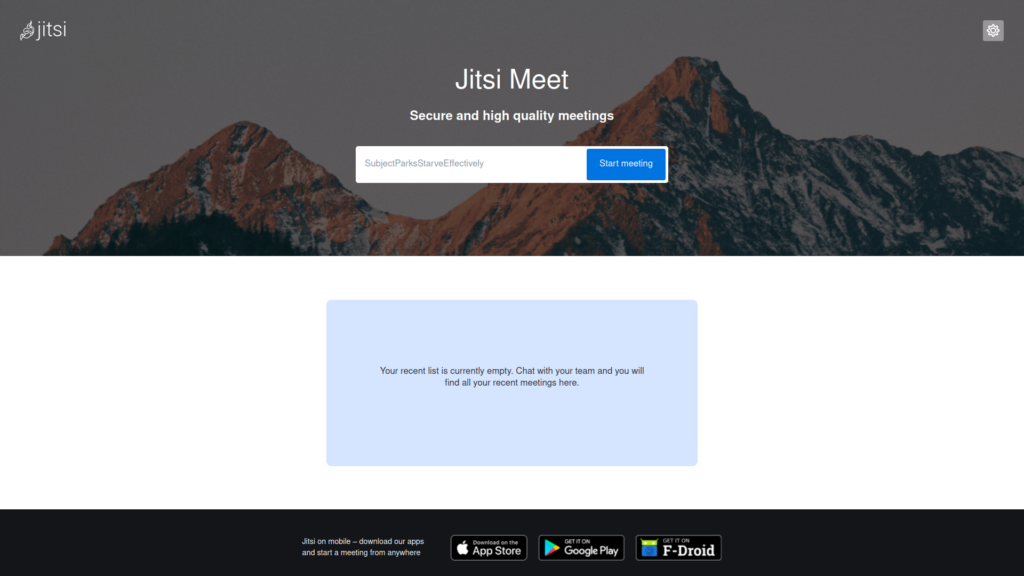
- After installing Jitsi Meet, visit your Jitsi hostname in your browser to view your new private conference application.

- In the upper-right corner, select the settings (gear) icon.
- Here you can configure your camera, microphone, display name, Gravatar email, and language settings.
- Select OK to save changes.
- Type a meeting name and select Start Meeting. Created meetings will be stored in the recent list at the bottom of the page.
- If the room resets within a minute, install Java.
sudo apt-get install openjdk-11-jdk
- Set Java 11 as the default version:
sudo update-java-alternatives --set /usr/lib/jvm/java-1.11.0-openjdk-amd64
- Restart Jitsi services:
sudo systemctl restart {prosody,jicofo,jitsi-videobridge2} - Try to recreate a meeting. If you continue to have issues, check the troubleshooting section below or contact Live Support directly.

Create Jitsi Admin Users
While not required, we recommend creating Jitsi admin users to restrict who can create meetings. To do this you’ll need to configure the Prosody component that provides XMPP communication between users.
Edit the Prosody Configuration File
- Edit the Prosody configuration file for your Jitsi Meet instance, replacing “example.com” with your Jitsi hostname:
nano /etc/prosody/conf.avail/example.com.cfg.lua
- Look for the line that states
authentication = "anonymous"(around line 30). Changeanonymousto:internal_plain
- After forcing username and password authentication to create conference rooms, you may need to allow anonymous users to join meetings created by an authenticated user. If you want to allow unauthenticated users, add the following code block to the end of the Prosody file, replacing “example.com” with your Jitsi hostname:
VirtualHost "guest.example.com"
    authentication = "anonymous"
    c2s_require_encryption = false
The “guest” subdomain is only used internally by Jitsi Meet.
- Save changes. Guests must have the exact meeting URL to visit authorized rooms.
- Open the Jitsi Meet configuration file, replacing “example.com” with your hostname:
nano /etc/jitsi/meet/example.com-config.js
- Find the
// anonymousdomain: 'guest.example.com',line. Remove the two leading slashes and replace “example.com” with your hostname. - Save changes.
Edit the Jicofo Configuration File
- Edit the settings for Jitsi Conference Focus (Jicofo), the service that authenticates users:
sudo nano /etc/jitsi/jicofo/sip-communicator.properties
- Add the following line to the end, replacing “example.com” as necessary:
org.jitsi.jicofo.auth.URL=XMPP:example.com
- Save changes.
- Type the following command to create admin users with a password, replacing the username, hostname, and password as necessary:
sudo prosodyctl register adminuser example.com $tr0nGp@sswORD
- Restart the three services to apply changes:
sudo systemctl restart {prosody,jicofo,jitsi-videobridge2} - Create a new Jitsi room.
- Upon entering the room, you’ll be asked if you’re the host. Select I am the host.
- Enter the user credentials you created with the prosodyctl command earlier.
- You’ll then receive moderator rights to the conference.
Doing More with Jitsi
Troubleshooting
If you need to troubleshoot issues after you learn how to install Jitsi Meet on Ubuntu, you’ll likely need to check the three log files below.
Jicofo logs:
/var/log/jitsi/jicofo.log
Prosody logs:
/var/log/prosody/prosody.log
Videobridge:
/var/log/jitsi/jvb.log
Jitsi Integrations
There are third party integrations for integrating Jitsi Meet with Mattermost, Moodle, and more. You can also embed your meeting using HTML. Remember to replace “example.com/meeting-room” with the actual URL of your Jitsi conference.
<iframe allow="camera; microphone; fullscreen; display-capture; autoplay" src="https://example.com/meeting-room" style="height: 100%; width: 100%; border: 0px;"></iframe>
Congrats on learning how to install Jitsi Meet on Ubuntu.
With our Cloud Server Hosting, you can deploy a lightning-fast, reliable cloud platform with built-in redundancy – ensuring the availability of your environment!


I completed the install but where is jisti URL ? how to locate it ? The tutorial seems disconnected in betweem.
Hi Riyo, the Jitsi URL will be the site directory you installed Jitsi to in Step 7 of the installation process. You’ll need to make sure that the site is up and running and accessible so that, post-install, the software will be too. Hope that helps!
Hi, after running the last command, i get this error at the bottom and im quite unsure as to how to fix it 🙁 would you know?
jitsi-meet-prosody
jitsi-meet
jitsi-meet-turnserver
E: Sub-process /usr/bin/dpkg returned an error code (1)
Hello and thanks for contacting us. Unfortunately, although this article will need to be updated shortly, I’m unable to replicate that error on our Ubuntu Server. Please share more info on how you got to that error or contact our Managed Hosting team for further assistance. You can also check the Jitsi community forum.
I installed Jitsi behind pfsense and the user conect to the conference but no have video and sound.
Hello and thanks for contacting us. I recommend temporarily opening ports 4443 and 10,000-20,000 to see what resolves your issue per related GitHub issues and GitHub README.
sorry,, i have problem, my jitsi show “Apache2 Ubuntu Default Page ” why? help me.. install success
Hello and thanks for asking. Do you remember what you typed for step 7: “intended hostname or domain”? You may need to change your configuration file to point to a different file path.