In this article we will outline how to install and use the KeePass password management software on your Windows computer. This software is useful for managing usernames, passwords, and other sensitive information used for your various digital resources within an encrypted database file.
This article will cover:
Use KeePass to keep track of all the usernames and passwords for your Shared Hosting account!
Why Use KeePass?
Keeping up with the many passwords used in your daily internet routine can be difficult. Oftentimes, users resort to creating Microsoft Word documents or Excel spreadsheets to store their sensitive login information for their favorite websites and digital services. While this does indeed keep your usernames and passwords easy to reference, it is not a secure way of storing your most important information. In an era that demands heightened cybersecurity, secure password management solutions such as KeePass are essential.
KeePass stores your usernames, passwords, and other text data within an encrypted database file that can only be opened by a user-designated passphrase. This file is easy to move between your various devices, providing a convenient and secure password management solution. While this software can be installed on computers running the Windows and Mac OS X operating systems, this guide will focus on how to install it on a Windows computer.
How to Install KeePass
The KeePass installation process requires you to download the KeePass installer and run it on your computer as follows:
- To download the KeePass installer, first go to keepass.info.
- Click on Downloads.
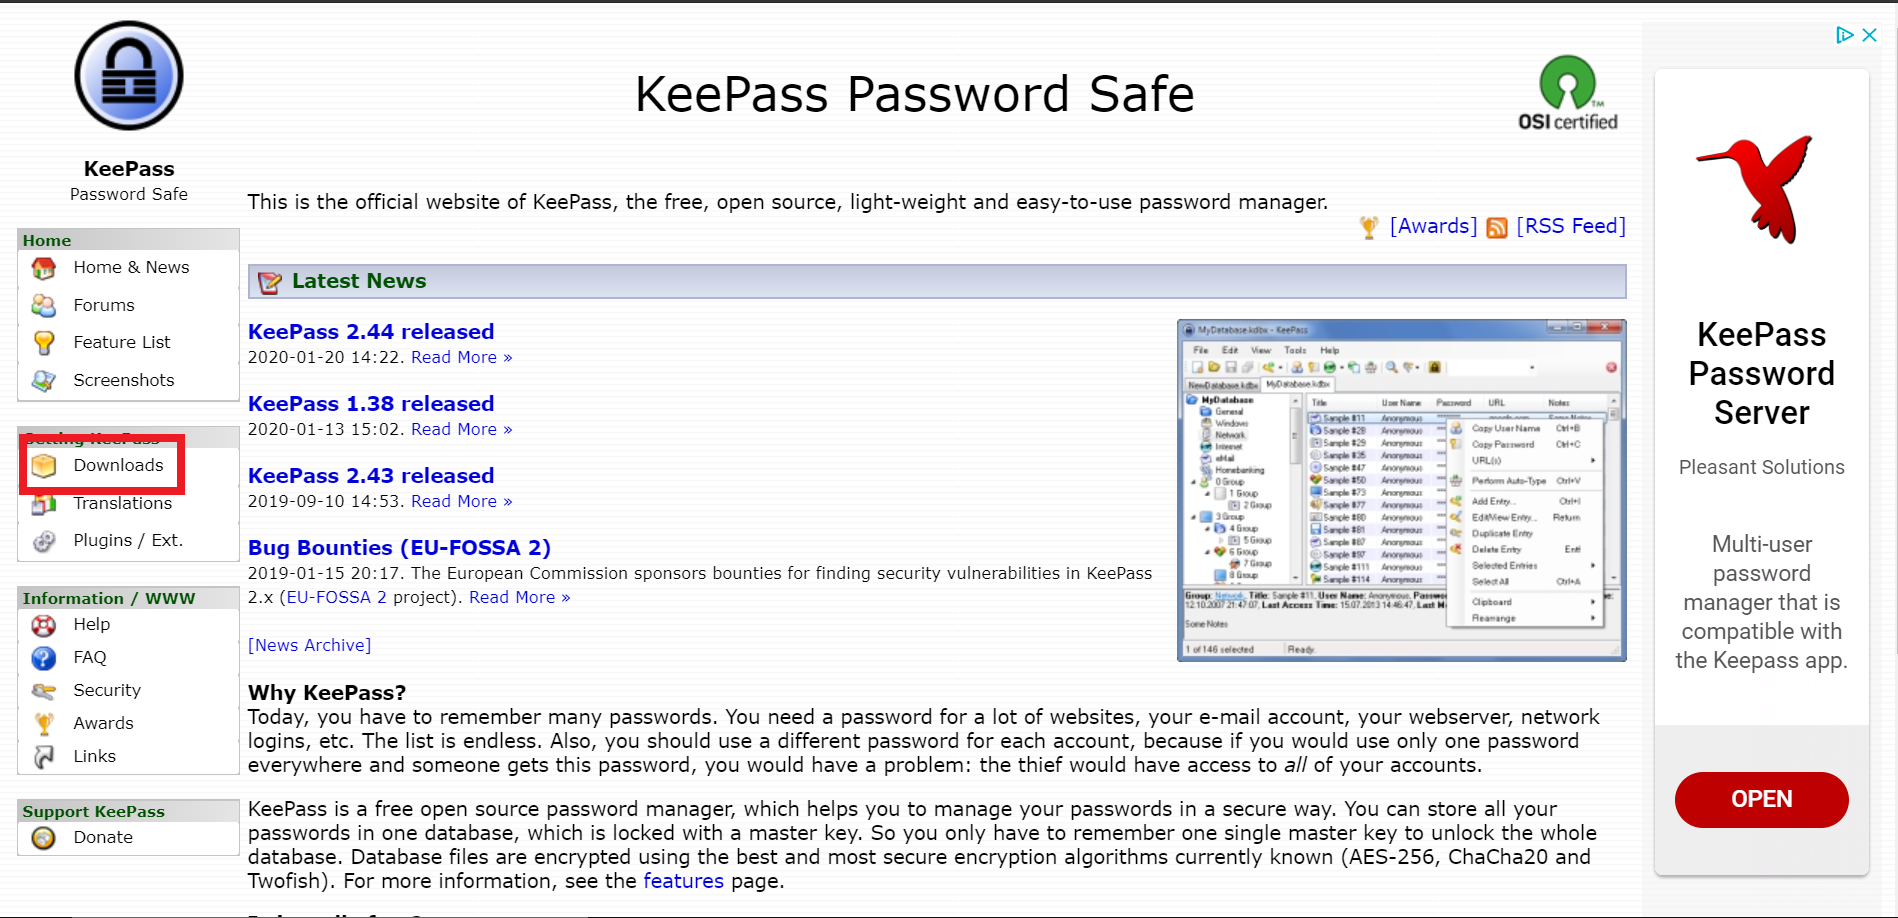
- Click Download Now for the KeePass-2.4.4-Setup.exe file.
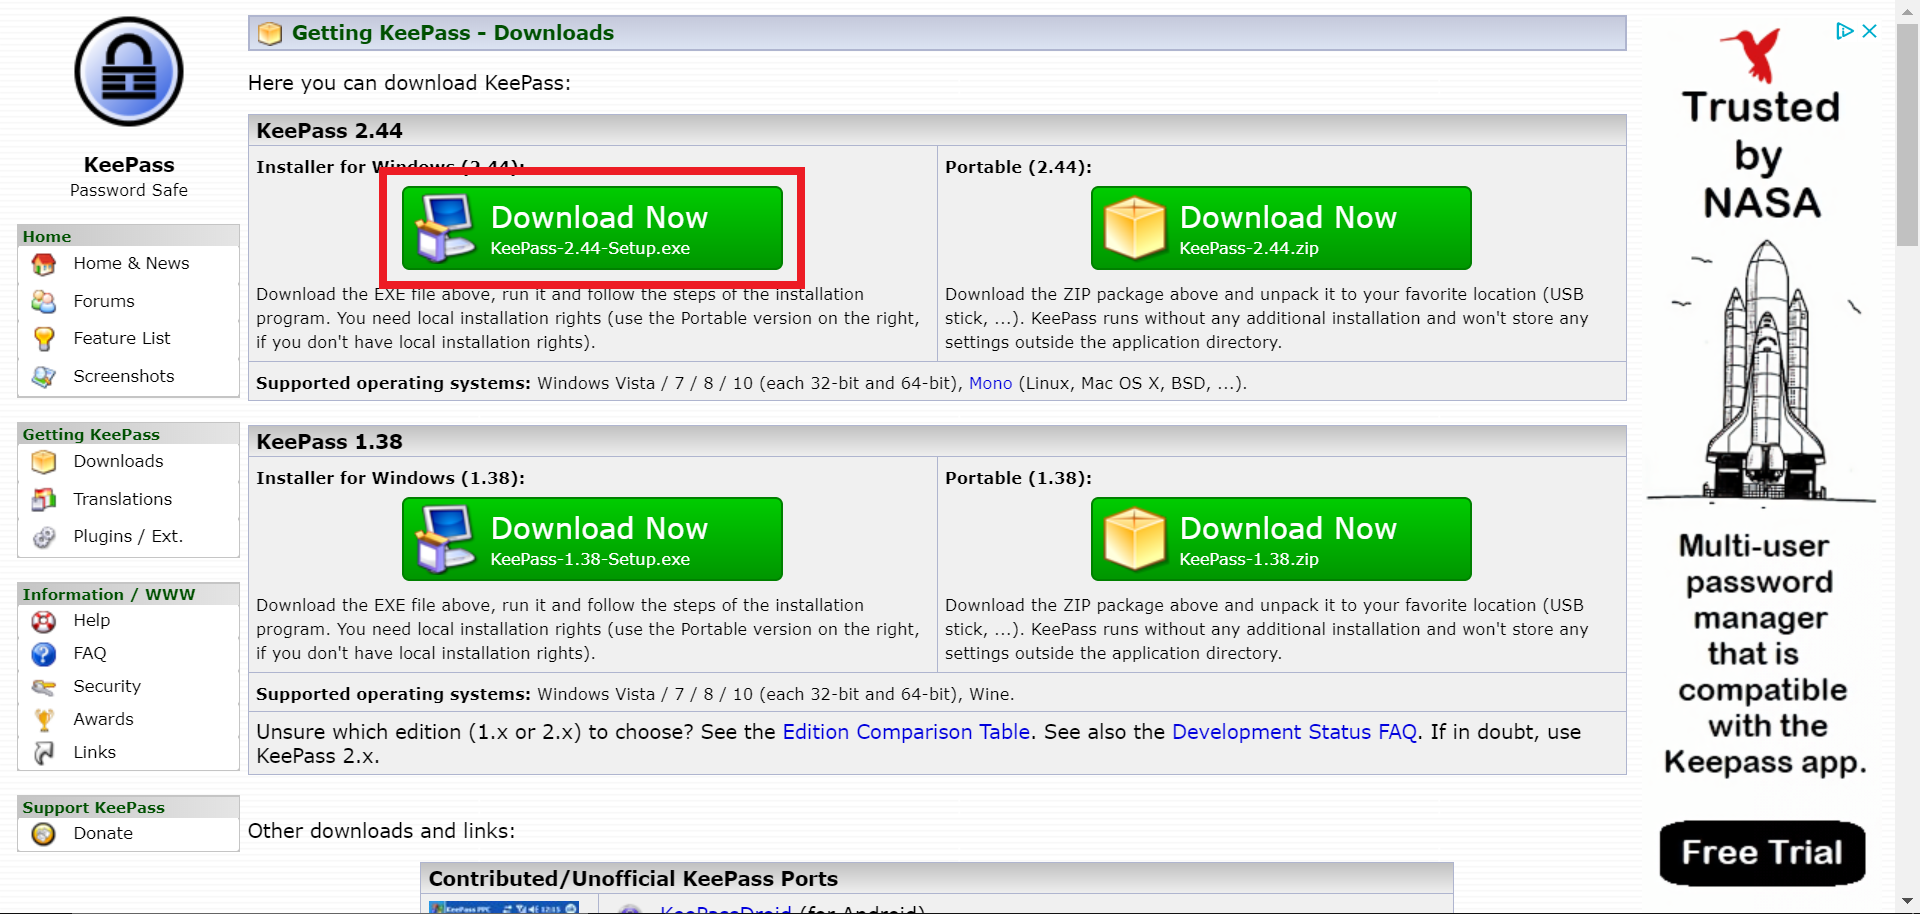
- Your browser should now bring you to the SourceForge website to download the KeePass-2.4.4-Setup.exe file.
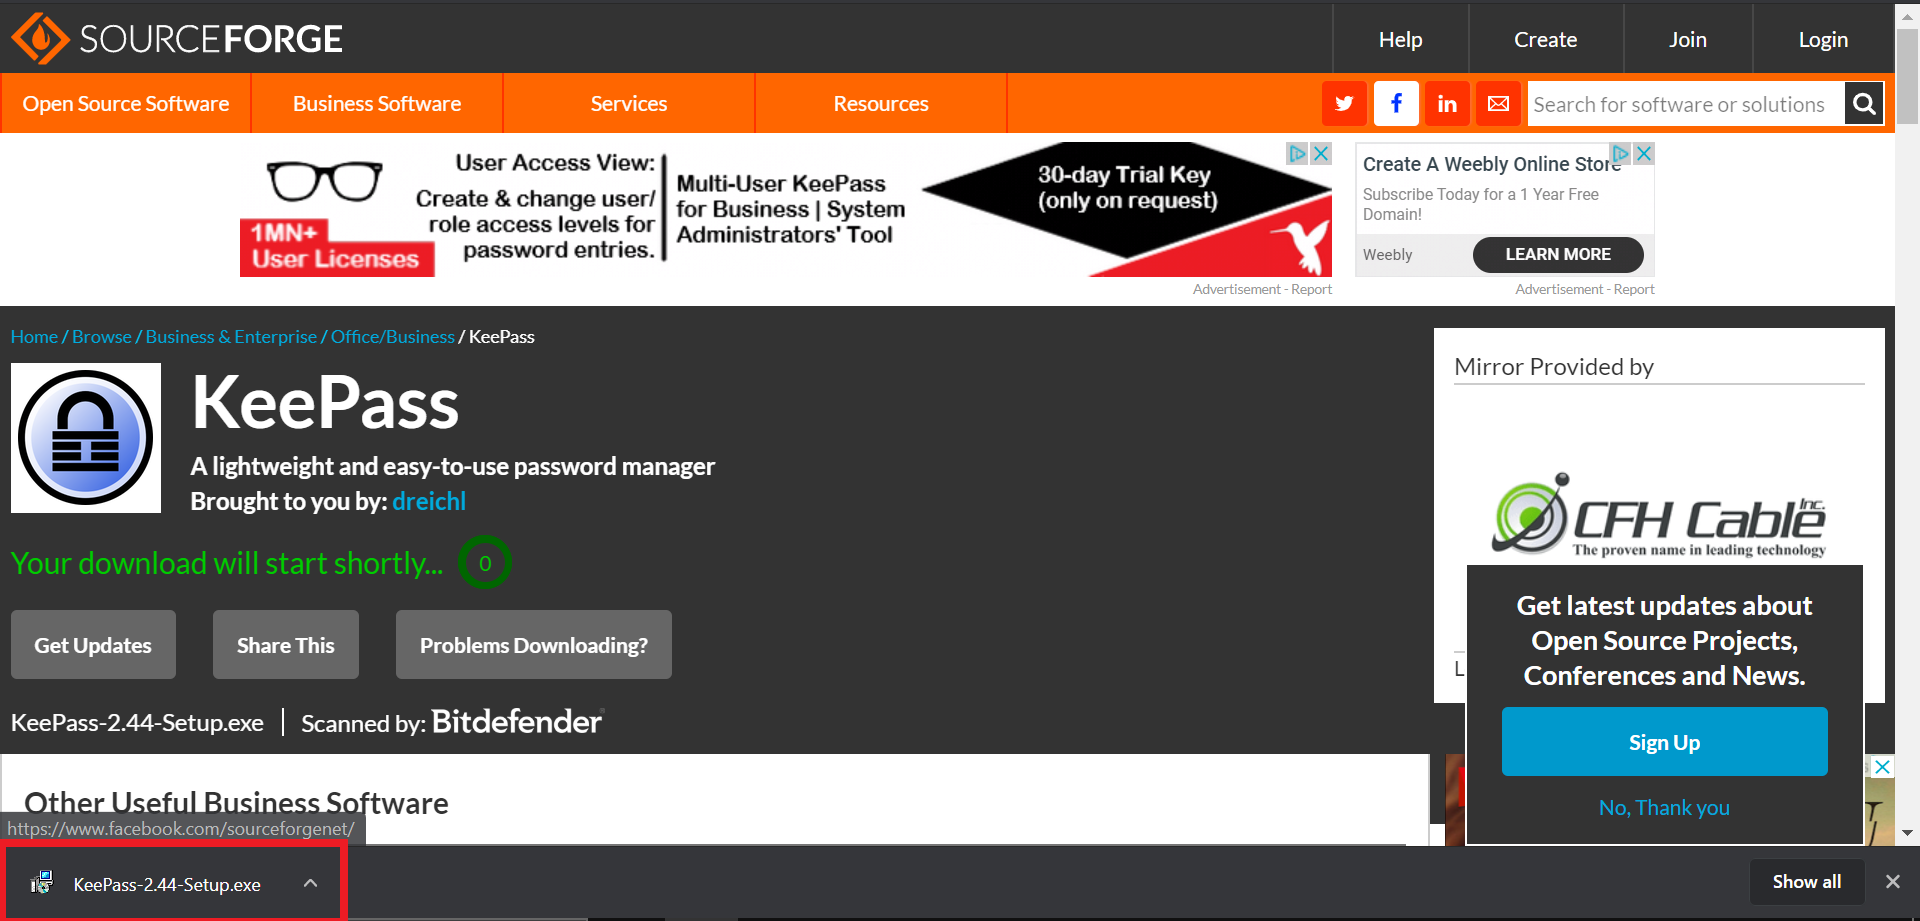
- Once the download is finished, double-click on the .exe file to start the installer.
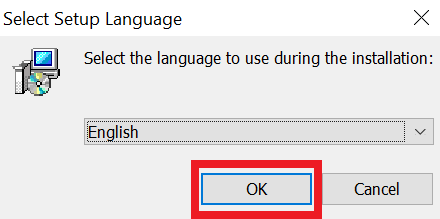
- The installer will run and ask you to select your language. Once you have selected your language, click OK.
- Accept the license agreement and then click Next.
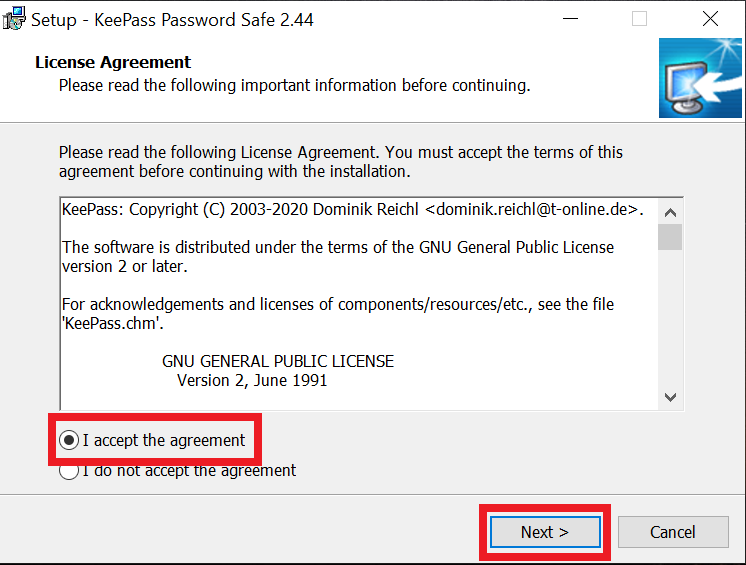
- The next page will ask you to set the destination where KeePass will be installed. Afterward, click Next.
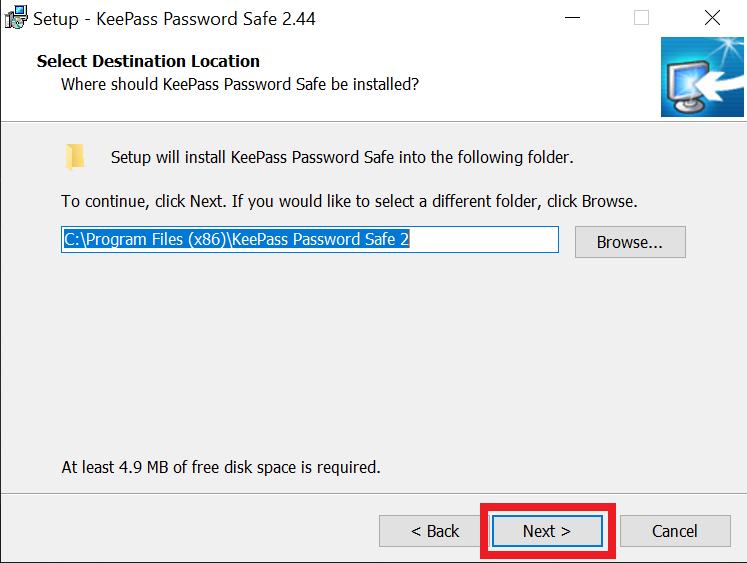
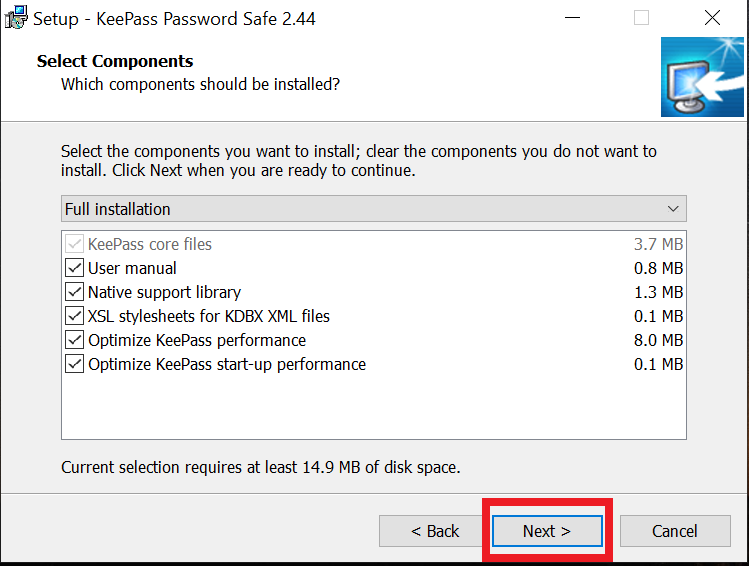
- The following page will ask you to choose which components you wish to install. By default, all of these are selected. Click Next.
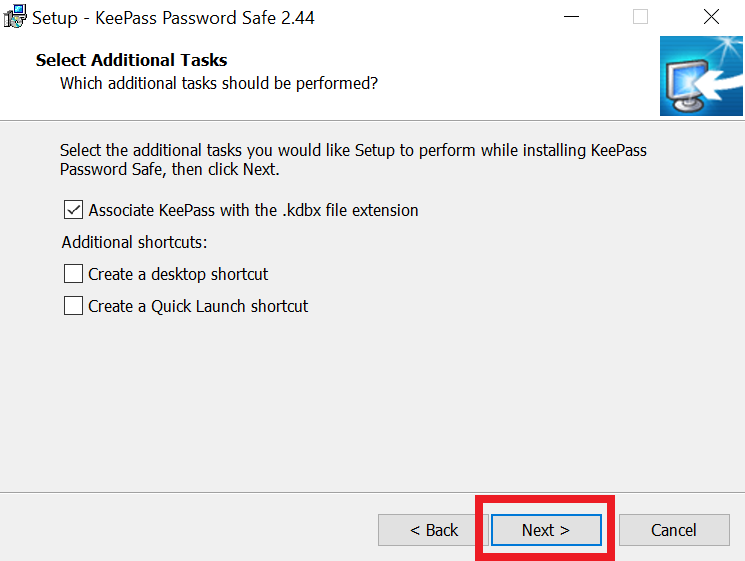
- The next page will ask you to choose Additional Tasks for the installer. By default, only one of the options is selected. Click Next.
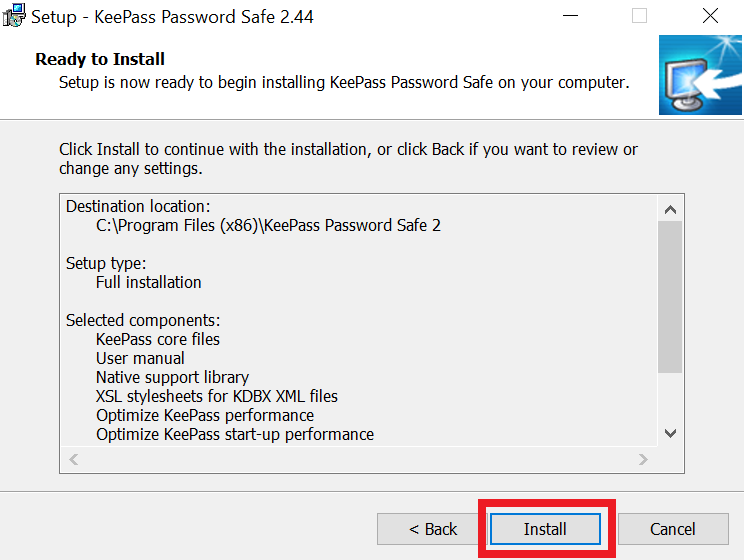
- Once on the Ready to Install page, click Install.
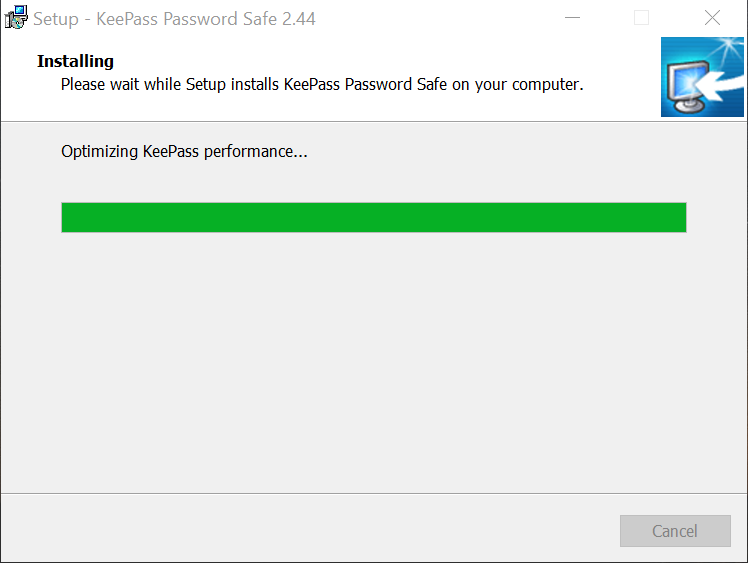
- When the installation bar is full, the installation is complete.
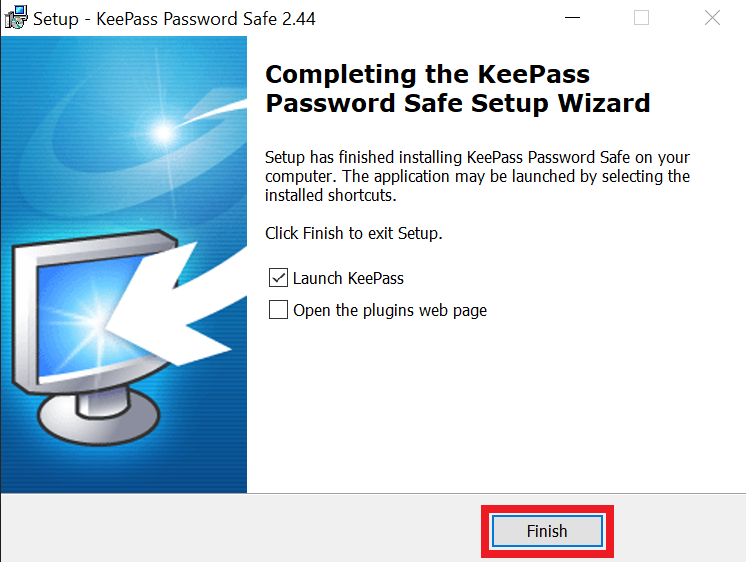
- Click Finish to complete the installation.
Managing Your KeePass Database
While KeePass offers a wide variety of security features for encrypting your data, we will be focusing on using KeePass to manage usernames and passwords. Now that we’ve covered how to install the software, let’s go over how to use it:
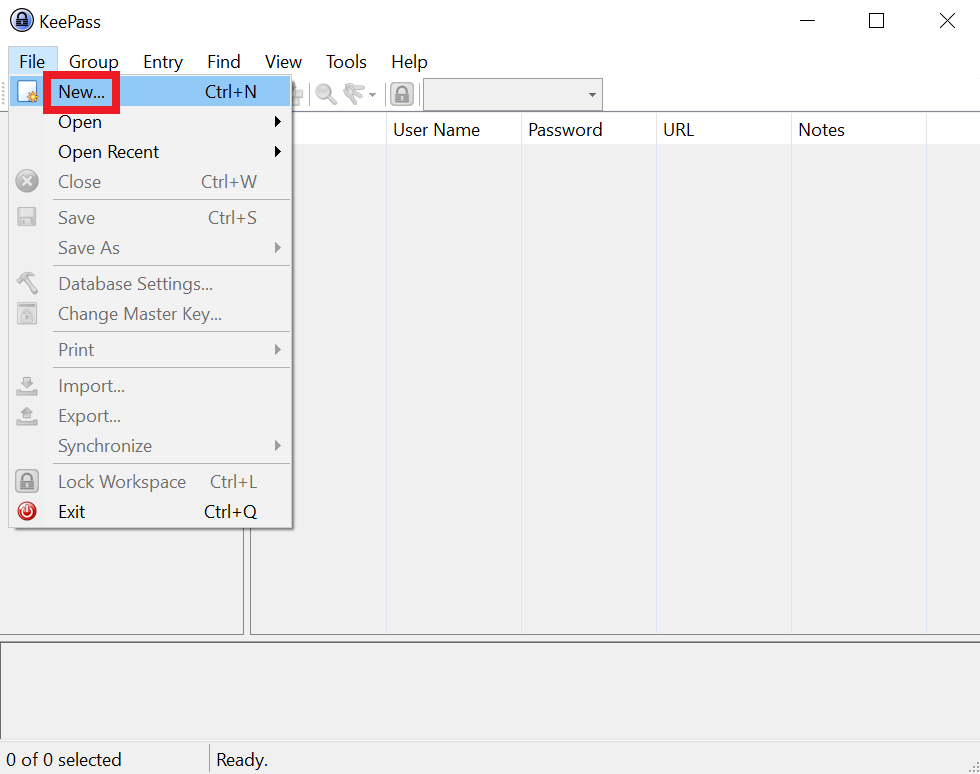
- Click File > New. After a quick informational prompt, the program will ask you to set the file name and choose where the database file will be saved. Click Save.
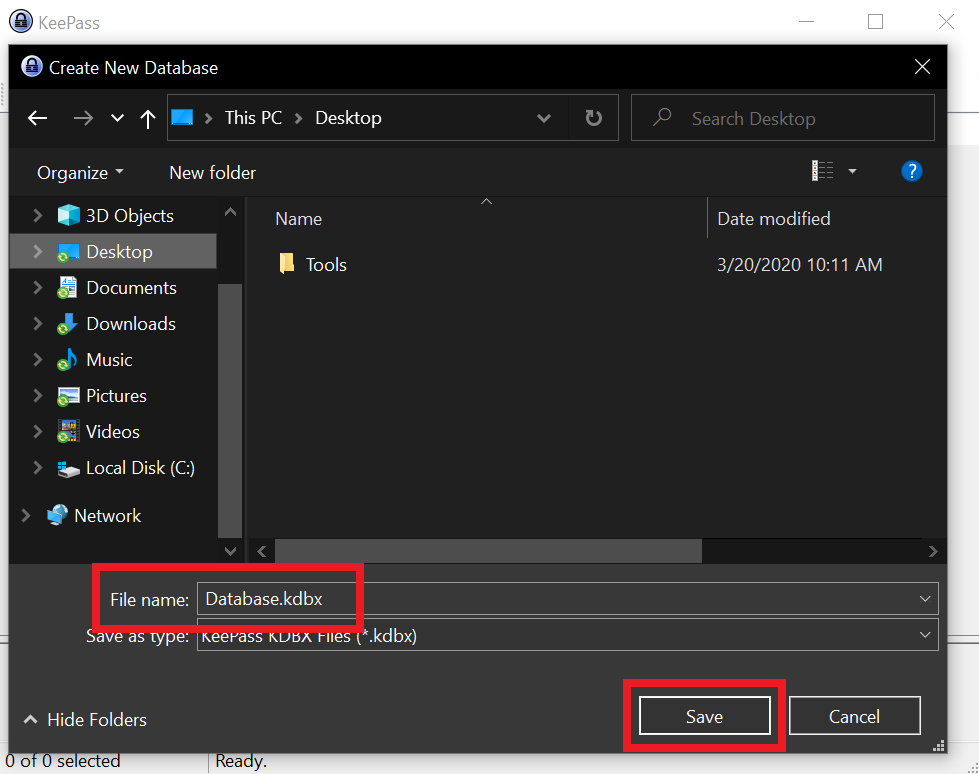
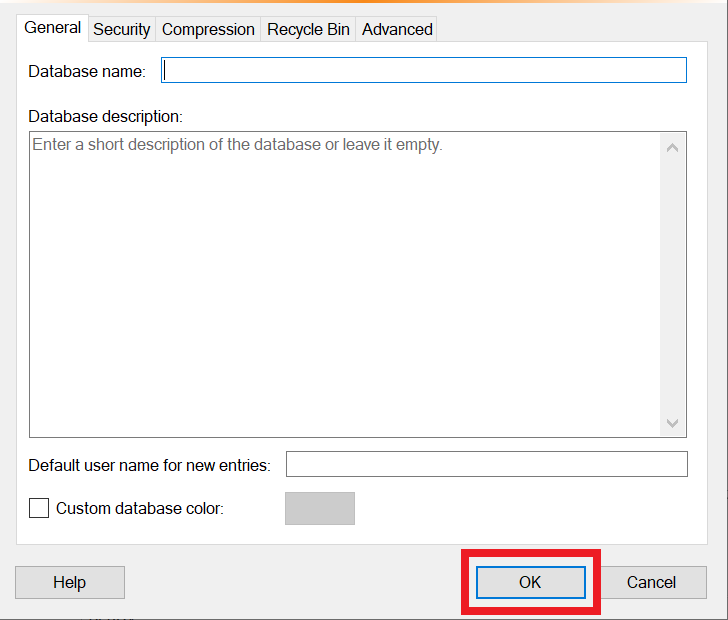
- The program will ask you to set a name for the file, this can be whatever name you’d like, such as “My Passwords”. Click OK.
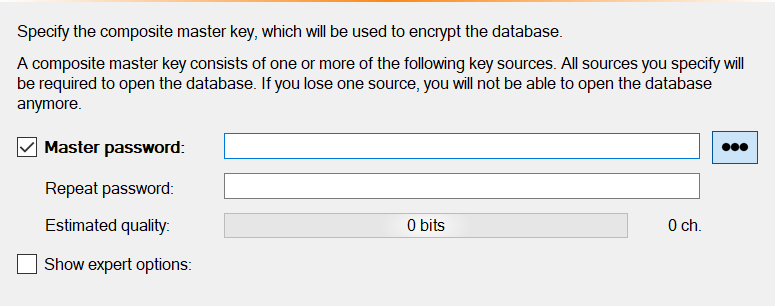
- The program will also ask you to set a passphrase for the database file. Make sure this is something easy to remember but difficult for someone else to guess.
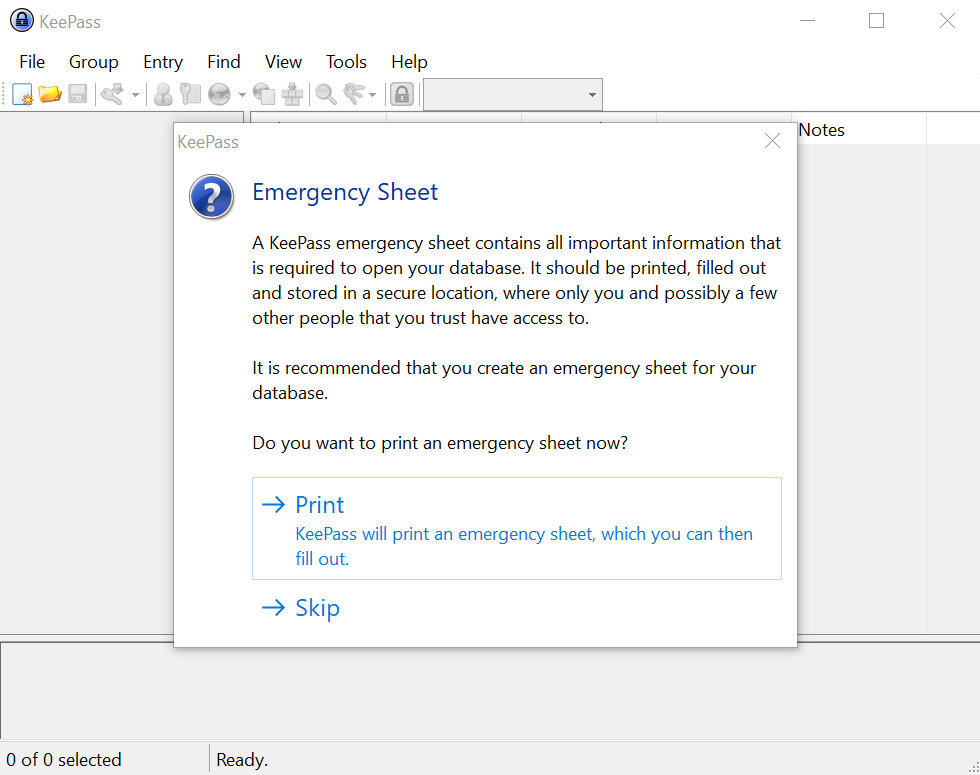
- The program will then give you the option to print out an Emergency Sheet that will contain all of the information you need to access the database in the future. Be sure to store this in a secure location.
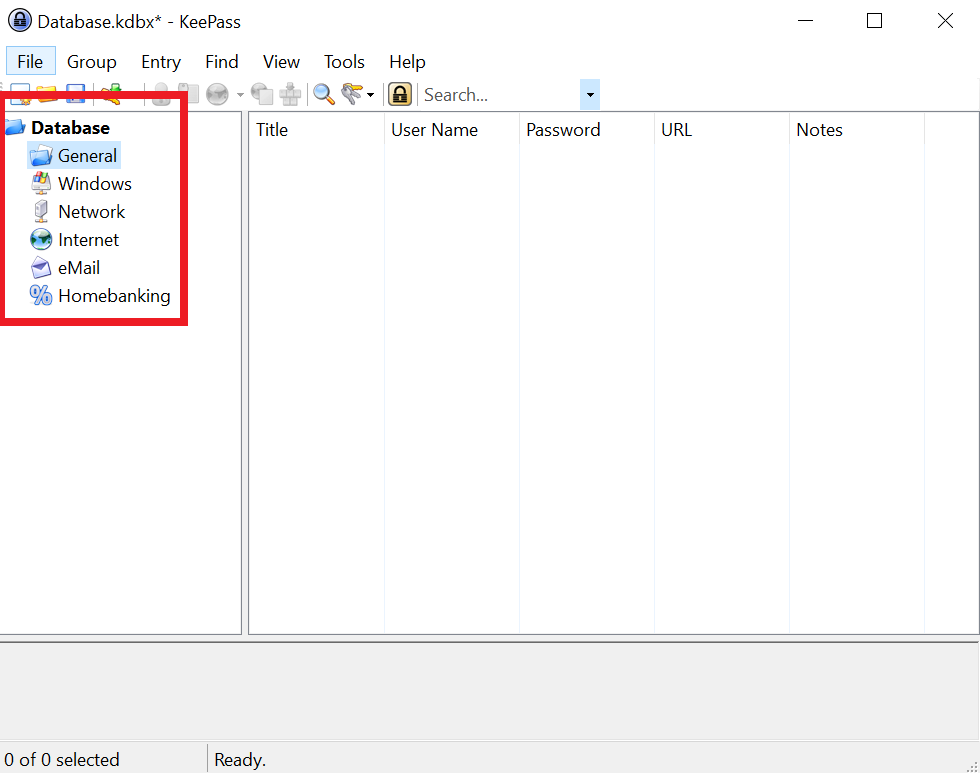
- Once the file has been created, you will see a number of default folders. You can right-click on one of the folders to add entries or make modifications. Click on the folder you want to work with.
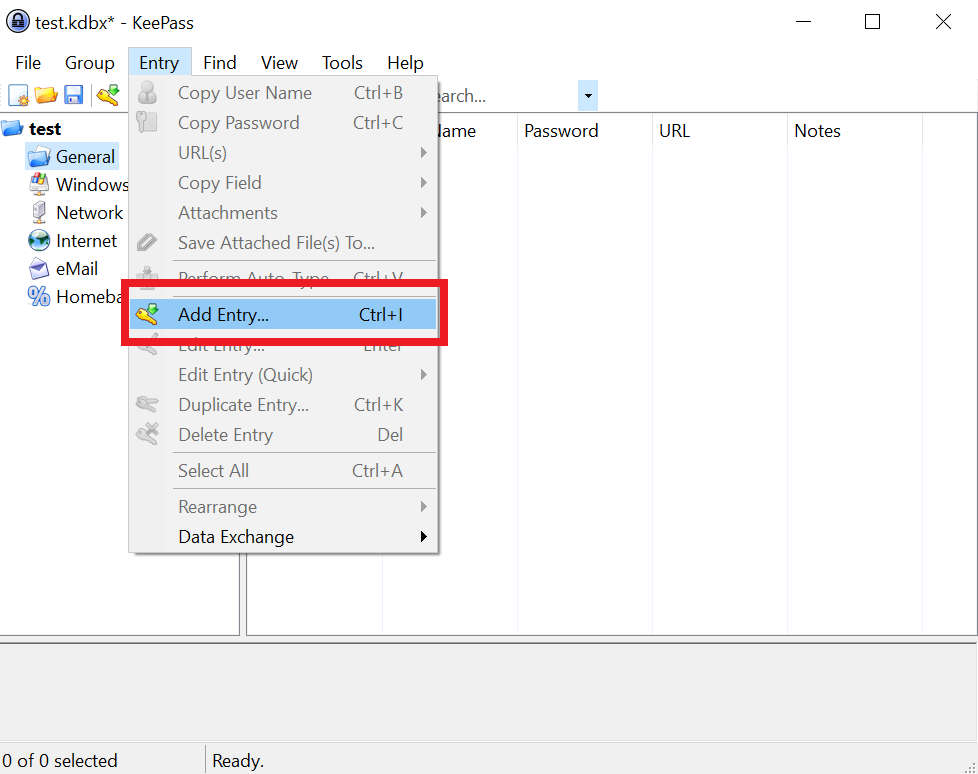
- Click Entry > Add Entry.
- This should then take you to the Add Entry page where you can input your information.
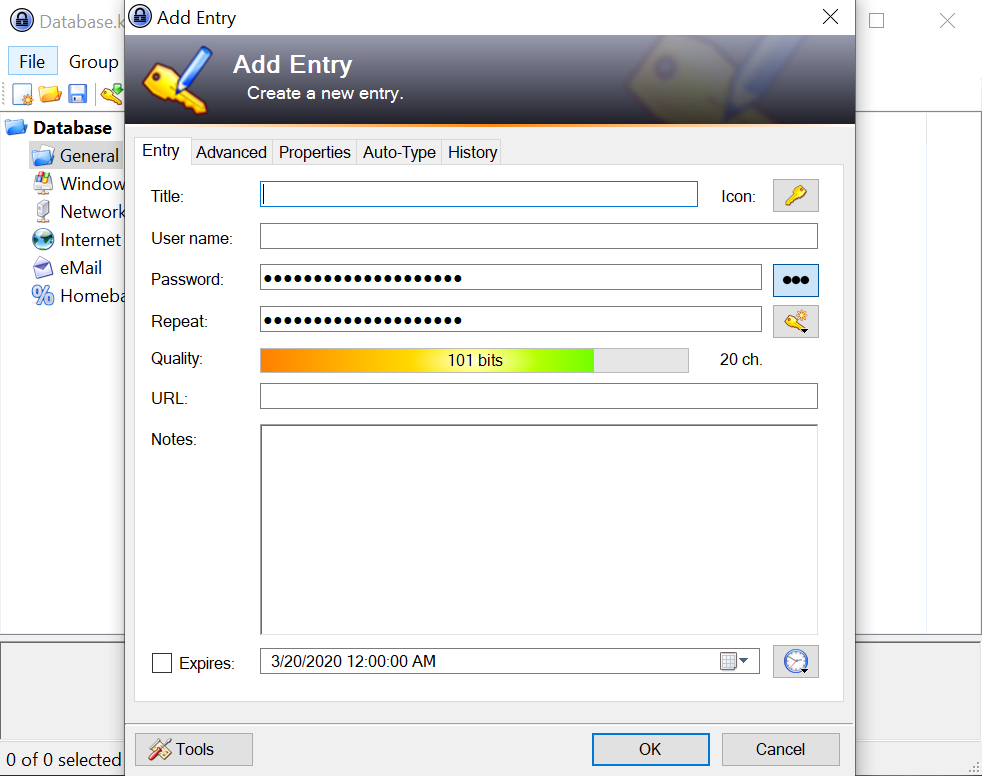
Title: This will be the name for the entry, such as “WordPress Login Information”
Username: This field contains the username you want to store.
Password: This field contains the password you want to store. To show the password in plain text, click on the three dots to the right of the password field.
Quality: This section indicates the strength of your password.
URL: This can be used to store the URL for the webpage or resource you are saving the login credentials for.
Notes: This can be used to store any other relevant information. - When you are finished inputting your information, click OK.
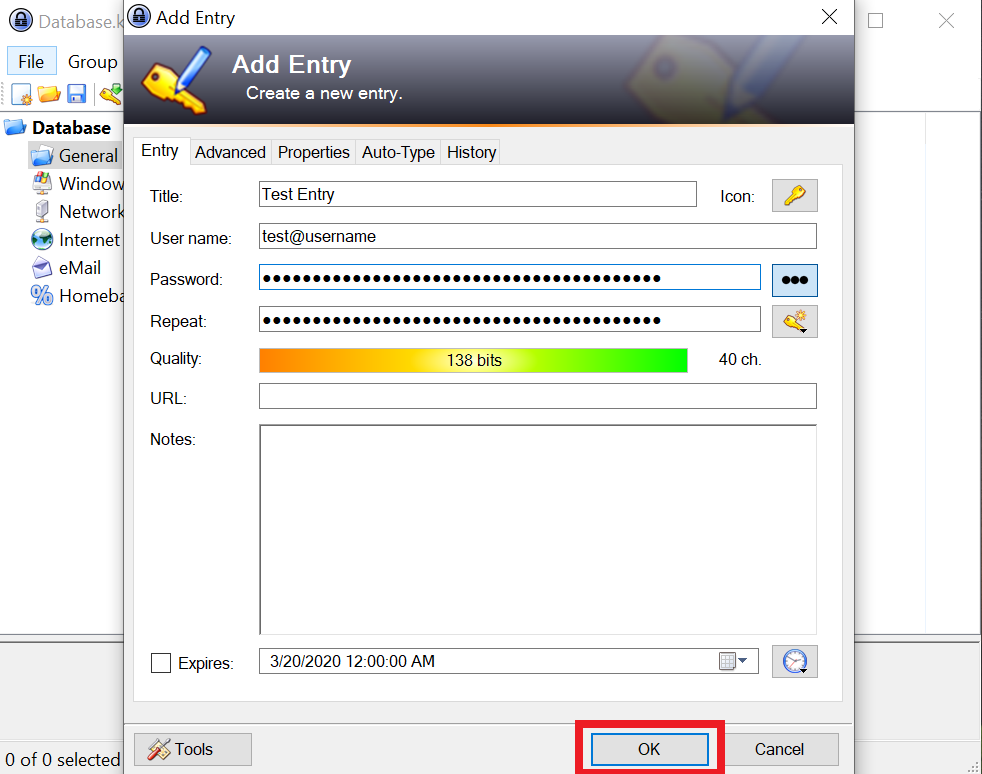
- Once the entry has been created, you can right-click on the entry and select Copy Username or Copy Password to copy these values to your clipboard. The software saves the value to the clipboard for 12 seconds and then clears it to avoid accidentally pasting in insecure locations.
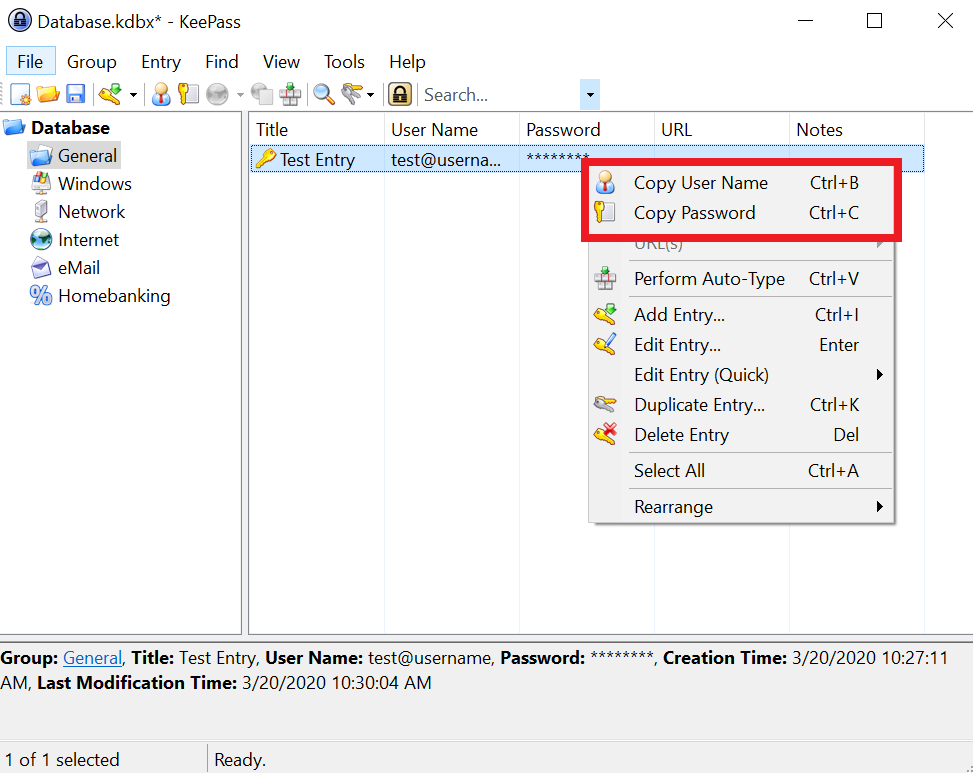
- Paste the copied information when necessary and you’re all set!
With KeePass, you can securely manage your usernames and passwords to ensure that you have the access you need. Get your work done with the peace of mind that comes from knowing that your sensitive information is protected in an encrypted database file. To learn more ways to make your internet experience more secure, please see the following resources:
