In this tutorial, we will teach you how to create a custom menu within your WordPress site. This can be used for main navigation, or possibly some other menu area depending on your particular WordPress theme.
- Creating Custom WordPress Menus
- Adding Pages to Your Custom WordPress Menu
- Adding a Custom URL to Your Custom WordPress Menu
- Creating Custom WordPress Sub-Menu Items
- Setting Your Custom WordPress Menu Location

Creating Custom WordPress Menus
- From within your WordPress admin, click on Appearance then Menus.

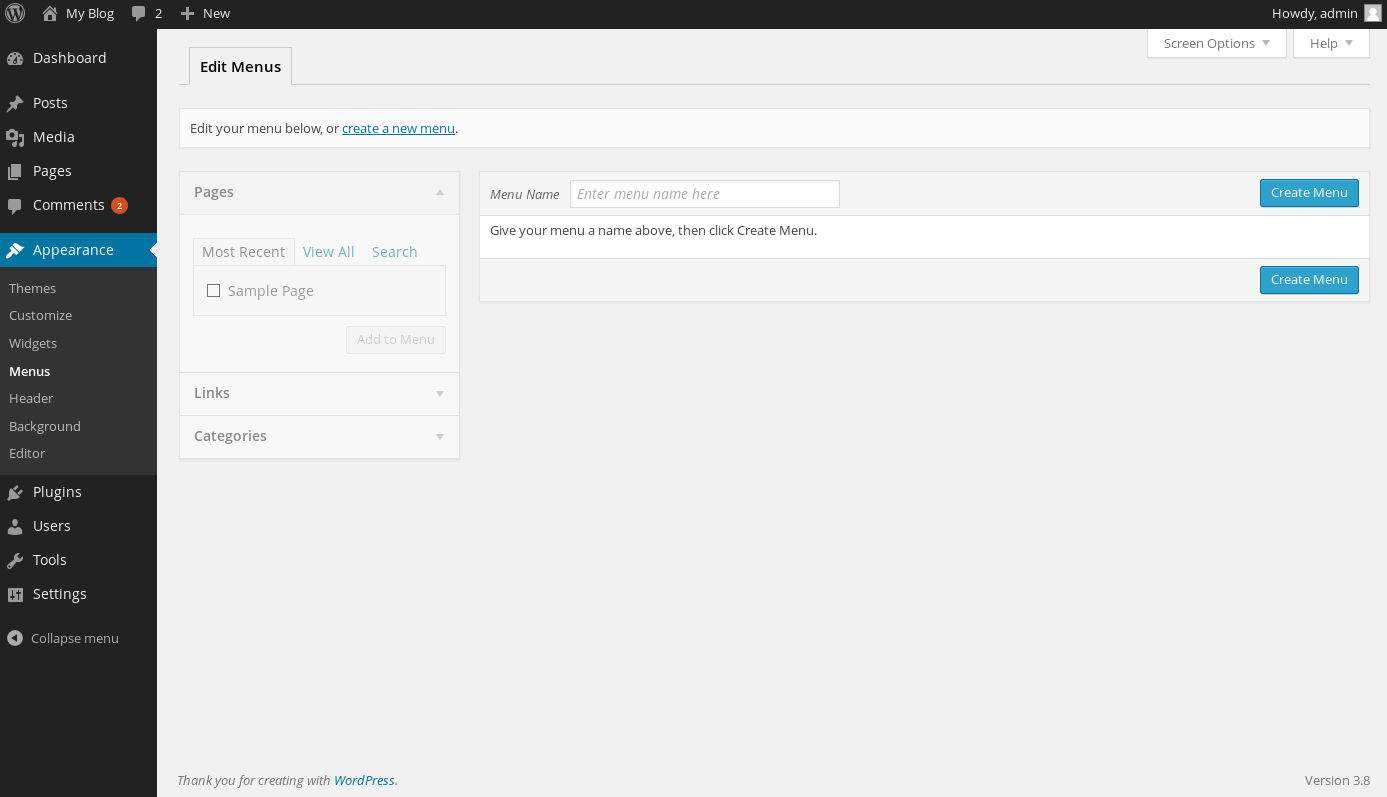
- Now that you are on the Menus page, you will see any menus that you have created previously. If you do not already have a menu there, enter the name of your desired custom WordPress menu into the Menu Name field. Then click the Create Menu button to the right. Your menu has now been created.
- To set the location that your custom WordPress menu will appear in, you may view the Setting your custom menu location section of this article.
- Once you have created the new custom WordPress menu, be sure to click the Save Menu button to save your changes.
Adding Pages to Your Custom WordPress Menu
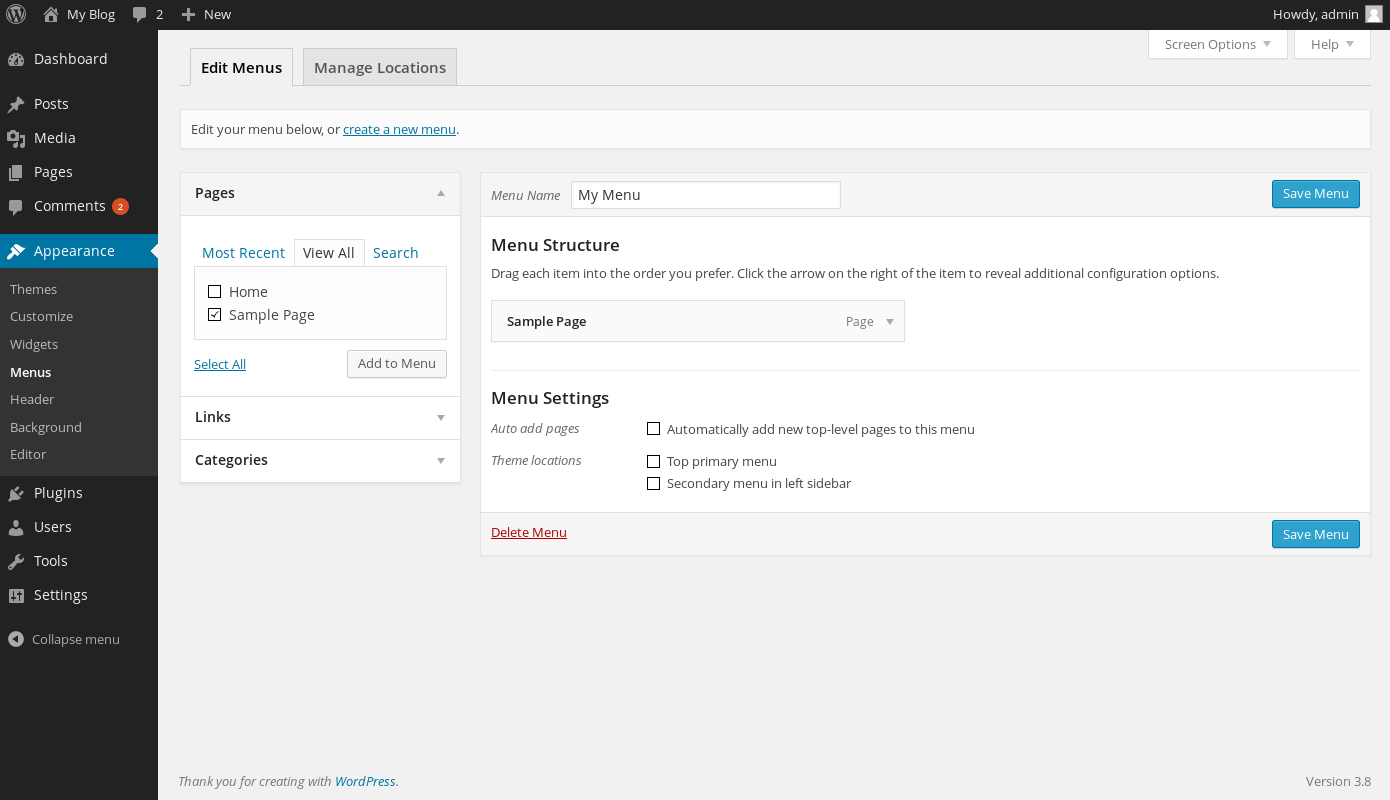
- If you are not already within the Menus page in the WordPress admin, click on Appearance, then Menus on the left side of your WordPress admin.
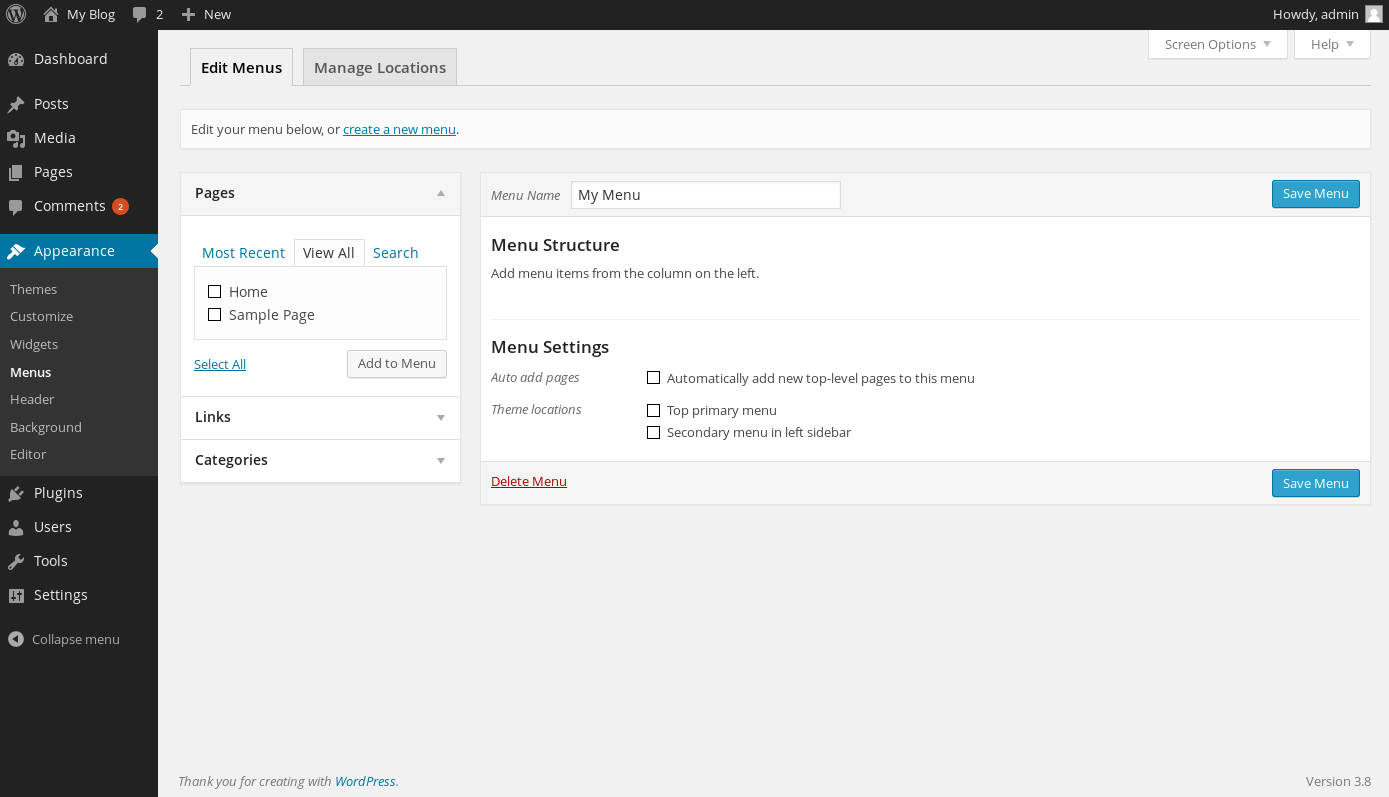
- By default, WordPress will automatically open the Pages list to the left showing the most recent pages to add to your custom menu. To view all of the pages that are active on your WordPress site, click on View All.

- Now that all pages are visible, select the checkbox to the left of the page name and click Add to Menu.

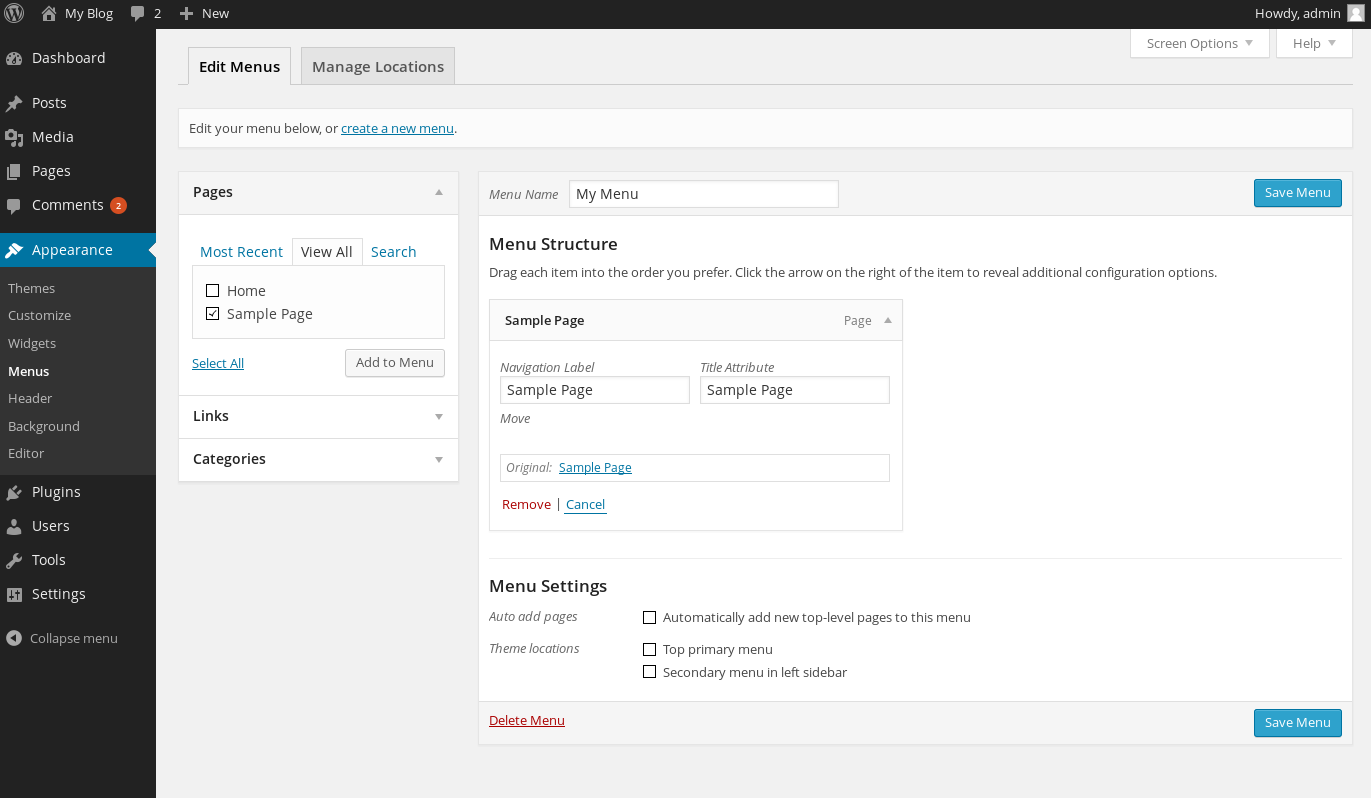
- Now that the pages are added to your custom menu, you may click on the down arrow on the right side of any of the menu items under Menu Structure and edit things like the Navigation Label, or the Title Attribute.
The Title Attribute will change what is displayed on that menu item, while the Navigation Label will determine the alternative text for the menu item which is used for any visitors that may not be able to see the graphic (such as the visually impaired that may have the menu images disabled, or by search engines).
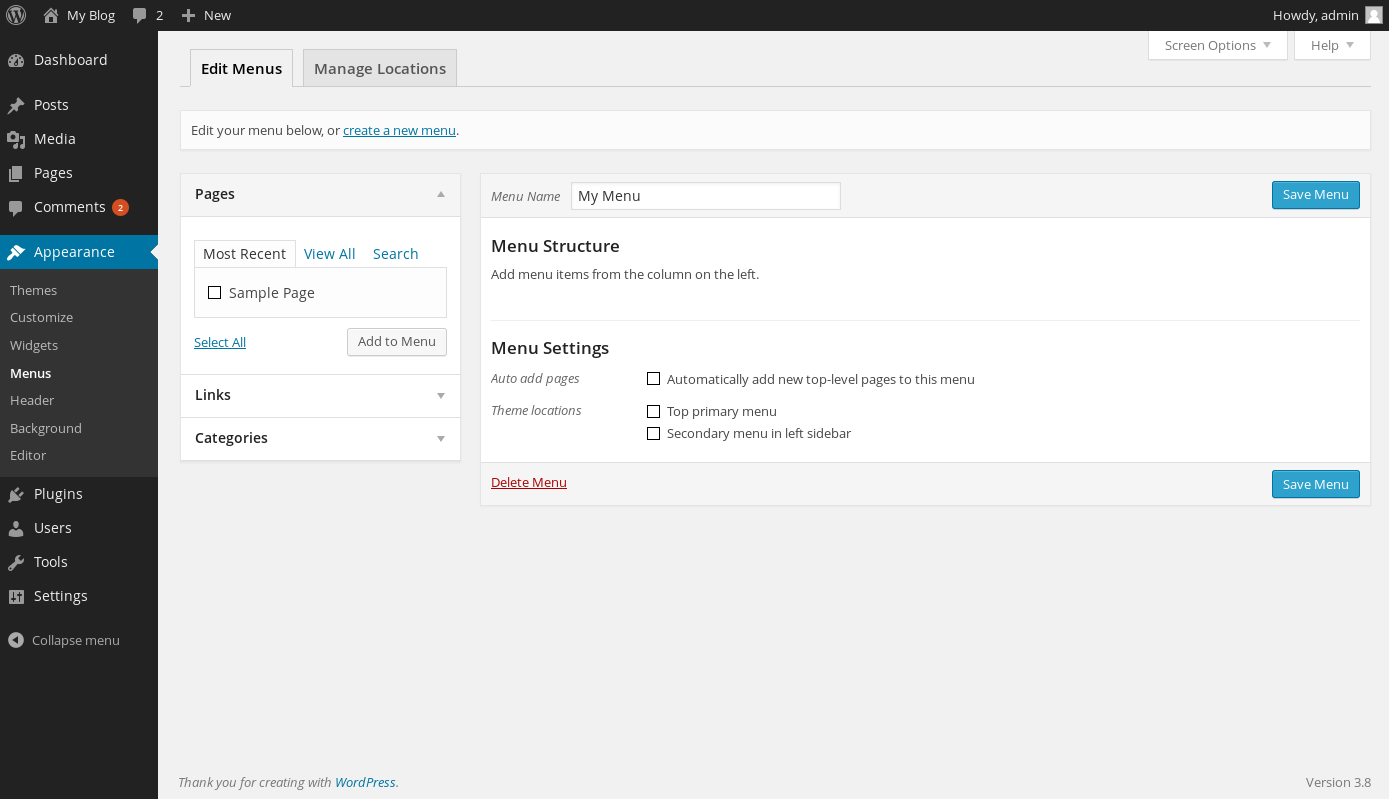
- If you want any new pages that are created to be automatically placed within your menu, simply click the checkbox labeled Automatically add new top-level pages to this menu.
- Once you have your pages added to your new custom WordPress menu, click the Save Menu button to save your changes.

Adding a Custom URL to Your Custom WordPress Menu
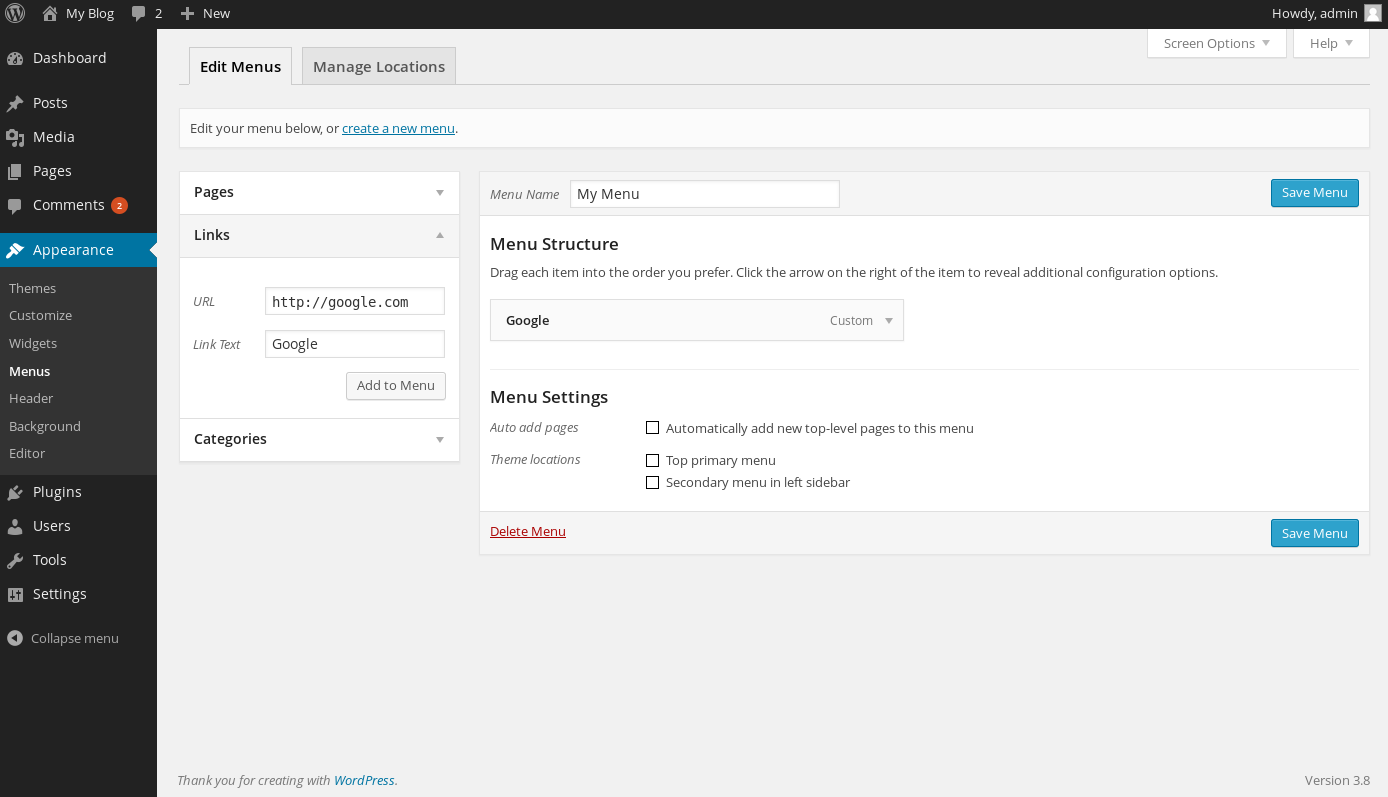
- From within your WordPress admin, look to the left side menu bar, and click on Appearance, then on Menus.
- To add a custom URL within your custom WordPress menu to either an internal or external location, click on Links on the Menus page. You will now be presented with a URL and Link Text. In here, insert the link that you want the menu item to go to, the text that you want displayed on the menu item, and click the Add to Menu button.
Creating Custom WordPress Sub-Menu Items
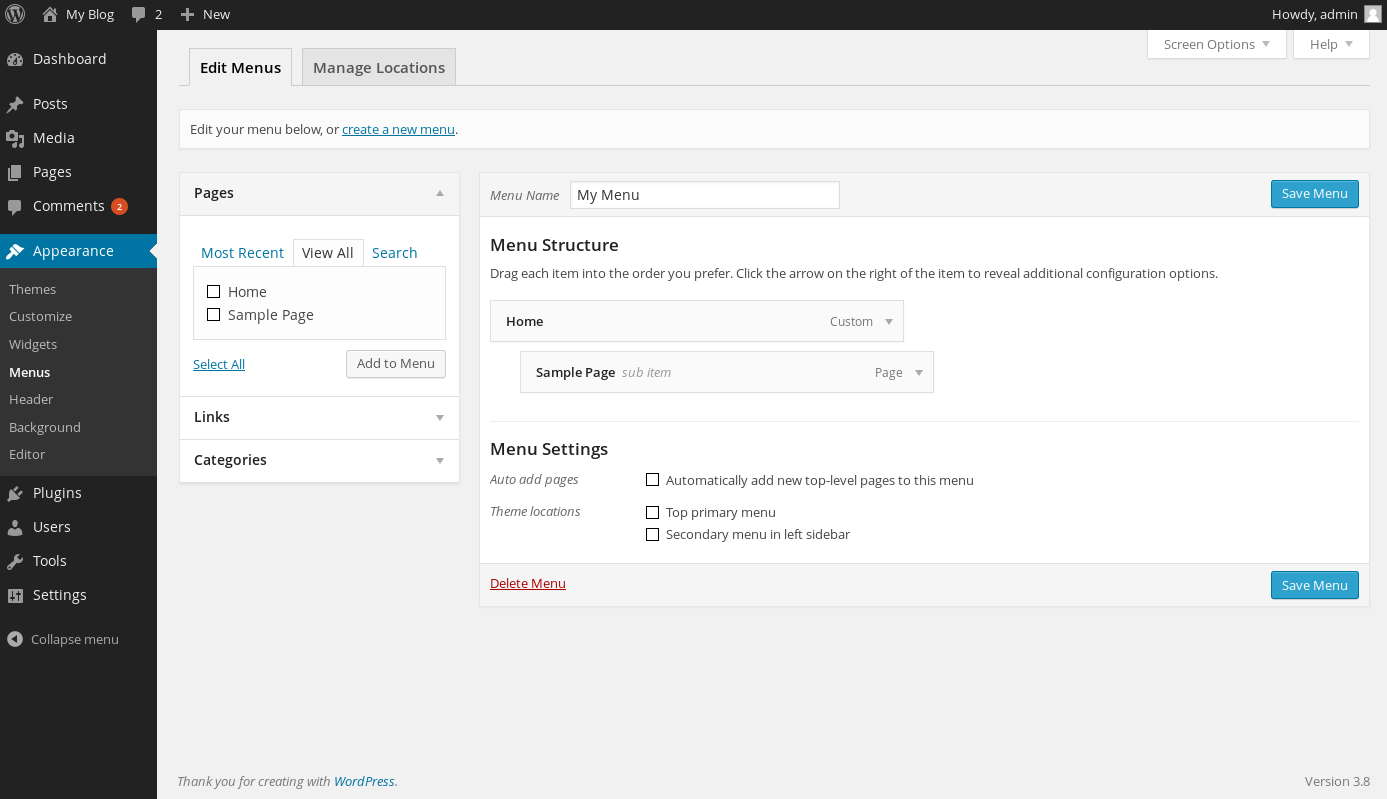
If you want to sub-categorize your menus, such as having a menu item that when highlighted, opens up various other menu options within it, you would want to create a sub-menu item. A great example of this would be if you had a menu item to produce, and you wanted to further break it down into fruits and vegetables, then broken down further into things like apples and oranges.
- If you are not already in the Menus page on your WordPress dashboard, go to it by clicking on Appearance, then on Menus.
- Here you will see any custom menu items within your existing WordPress custom menus. To create a sub-menu of an existing menu item, first add that menu item to your menu, then drag that menu item slightly to the right under Menu Structure. This will leave a small indention to the left of the menu item showing that it has been set as a sub-menu under the parent menu item.
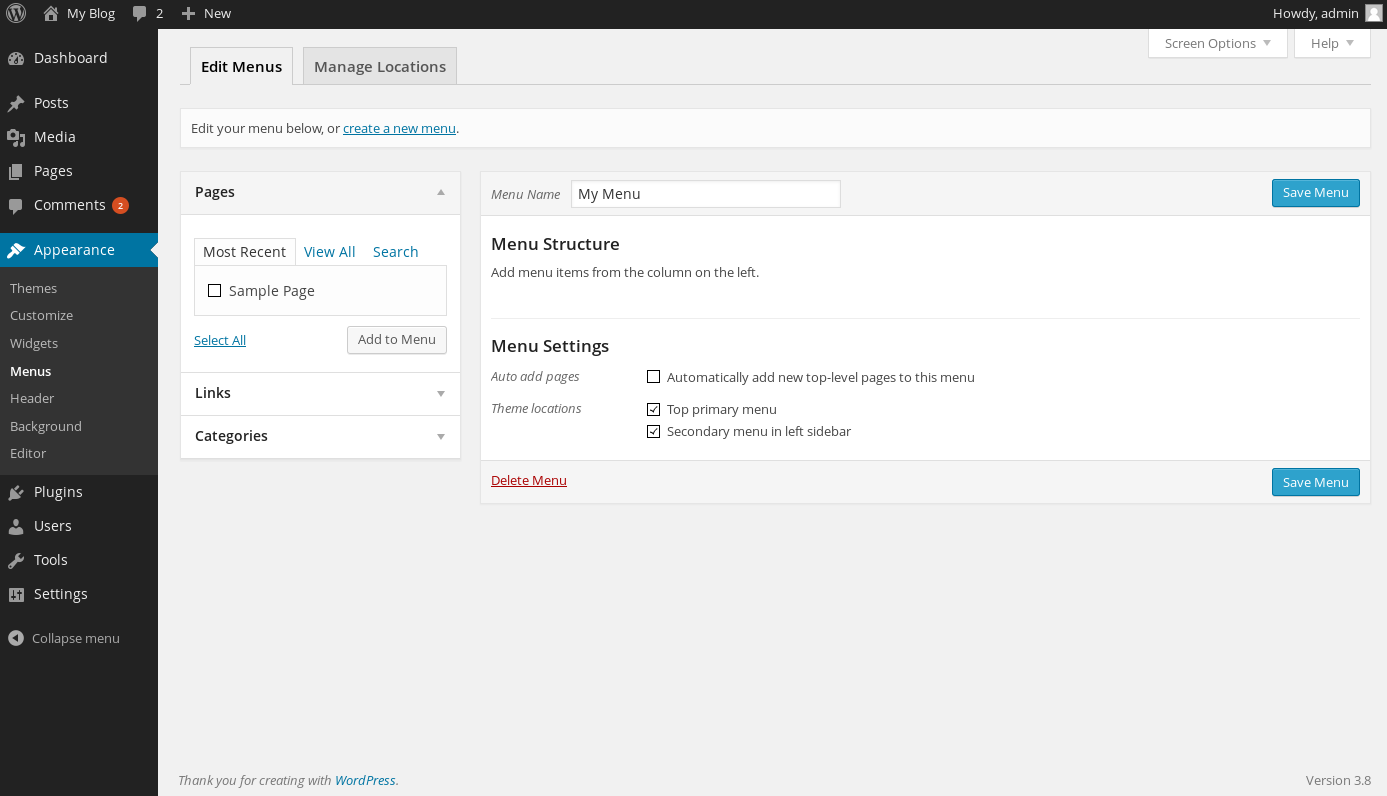
Setting Your Custom WordPress Menu Location
- If you have already been following this article from the beginning, you should still be on the Menus page in the WordPress admin, but if not, you can get there by clicking on Appearance, then on Menus on the left side navigation.
- Within this page, you will see a section labeled Menu Settings. Under this, there will be various options next to Theme locations that you can use to set which menu area that this custom WordPress menu will be active in. These options will vary based on the particular theme that you are using depending on what has been defined by the theme author. From here, choose the checkbox next to the area that you want the menu to display in.
- Once you have set your menu location, be sure to click the button that says Save Menu to save the changes you have made.