In addition to allowing you to set custom URLs and manage physical resources such as buildings and vehicles, Google Workspace also allows you to manage a variety of devices. These devices can be used to access Google Workspace resources such as email, file sharing, and more. In this article we will discuss device management in Google Workspace and provide instructions for basic device management.
Topics Include
- Google Workspace Device Management
- How to Enable Basic Mobile Management
- Adding Company Devices to Google Workspace
Google Workspace Device Management
By default, Google Workspace has basic mobile management enabled automatically and supports both iOS and Android platforms. This feature supports the following device management options:
- Customize password security requirements
- Set Up Managed Apps (Android only)
- Wipe User Accounts from Lost or Stolen Devices
- Set Up Mobile Security Alerts
- Review Devices with Access to Google Workspace Resources
How to Enable Basic Mobile Management
If the basic mobile management in Google Workspace is disabled for some reason, it can be helpful to know how to re-enable the feature so you can start managing your devices.
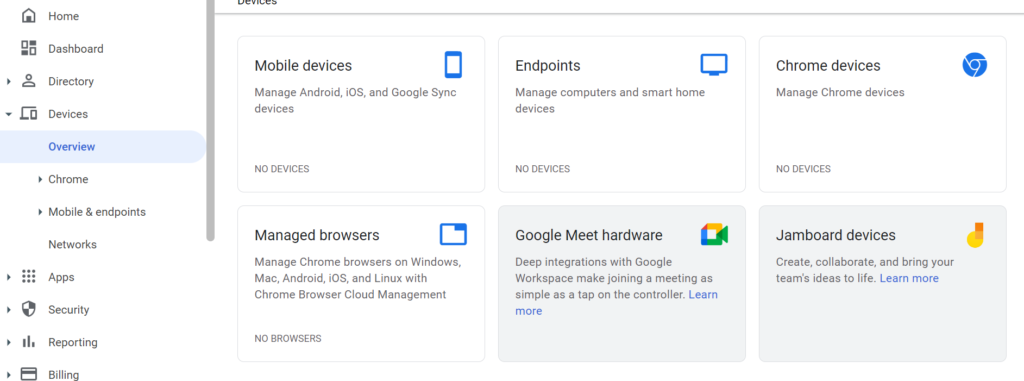
- Once logged into your Google Admin dashboard, select Devices from the left-hand navigation menu.
- Next, select Mobile & endpoints, then select Settings and finally Universal Settings.
- After navigating to universal settings, select General and then Mobile Management.
- Next, select Basic.
- Once you’ve finished making changes, click Save to complete the process.
Congratulations, you now know how to enable basic mobile management in Google Workspace!
Adding Company Devices to Google Workspace
Now that you’ve enabled basic mobile management, you can add company devices to the Google Workspace device management system. By adding devices to Google Workspace, you can use the basic mobile management features to ensure security and reliable access to your Google Workspace resources.
- Once logged into your Google Admin dashboard, select Devices from the left-hand navigation menu.
- Next, select mobile & endpoints from the left-hand menu, then navigate to Company owned inventory. This will display all of your active company-owned devices.
- At the top of the page, select import company owned devices.
- Next, select the type of device you wish to import and select download import template. This should prompt a download of the import file to your local device.
- Open the import file and input the serial number. Up to 100,000 lines can be included in this template file, with each device serial number on its own line. Once done, save the template file.
- Next, go back to the Google Admin dashboard and select Upload File to open a file browser. Select the edited template file and select Import to upload the file.
- If all steps were completed properly, you will receive an email confirming the changes.
Congratulations, you now know how to add devices to Google Workspace!
Next Steps
Now that you have devices added to your Google Workspace account, you can return to the company owned inventory to review all of the devices that have been successfully added to your account. Additionally, you may want to consider creating user roles or adding organizational units to help you keep track of your devices and their associated users and functions.
Improve the performance and security of your WordPress website with our WordPress VPS Hosting plans.
![]() Web Application Firewalls
Web Application Firewalls ![]() Free SSL Certificates
Free SSL Certificates ![]() Advanced Server Caching
Advanced Server Caching