One of the strengths of WordPress is its ability to quickly handle images within its pages and posts. In fact, you can easily create a gallery to display images with little more than the default theme. No plugins are needed! The following article will walk you through the steps necessary to create a basic image gallery in WordPress. You will need to have the latest version of WordPress loaded and several images to make up your gallery. Let’s get started!
- Login to your WordPress Administrator.
- Make sure that you have several pictures loaded into the media library. If not, you will need to load several in order to make up your gallery. Hover over PAGES or POSTS on the left, then click on ADD NEW .
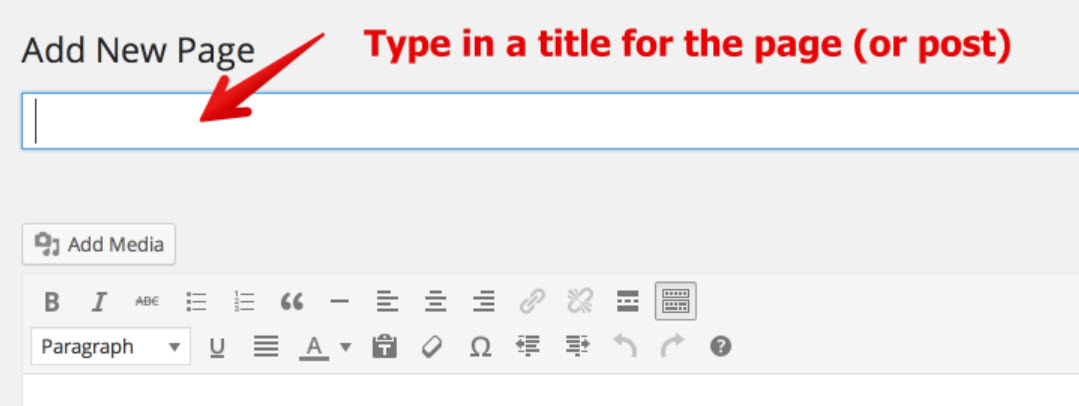
- Type in a title for your PAGE or POST.

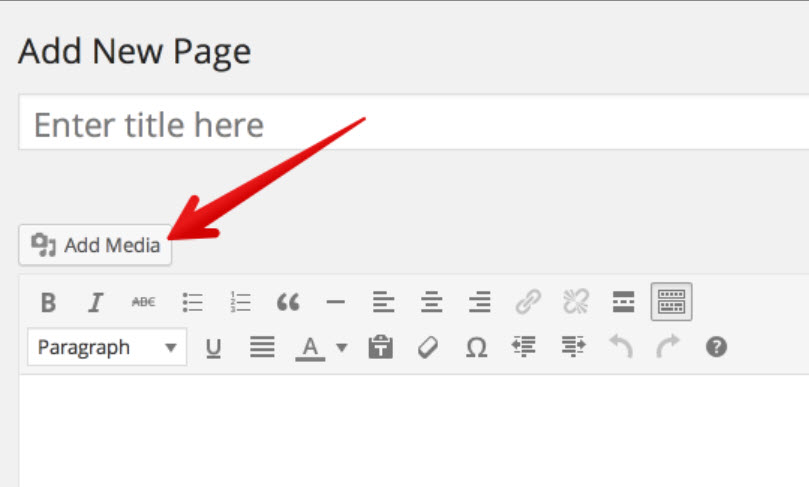
- Click on ADD MEDIA.

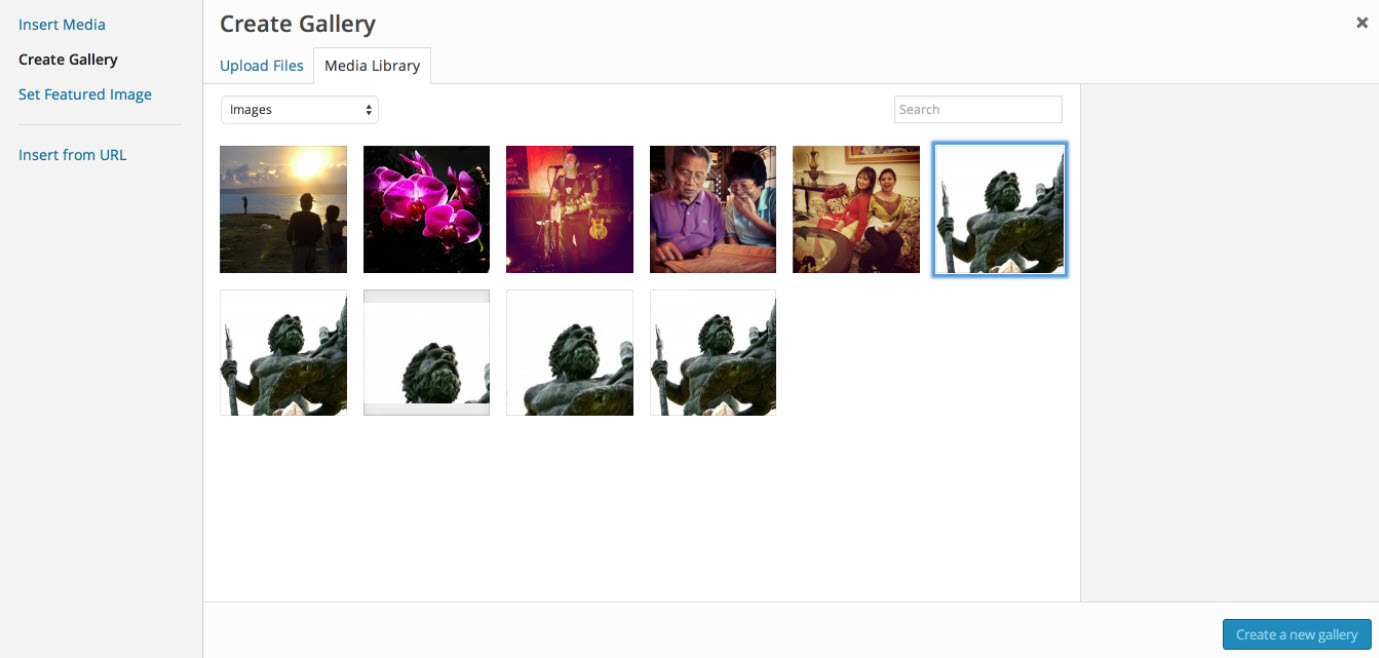
- Next Click on CREATE GALLERY in the top left corner.

- Click on the images that you want as part of your gallery. A selected image is confirmed with a checkmark. Click on the checkmark to remove the image from the list. Each image also has details in the column at right. You can edit this information as needed.
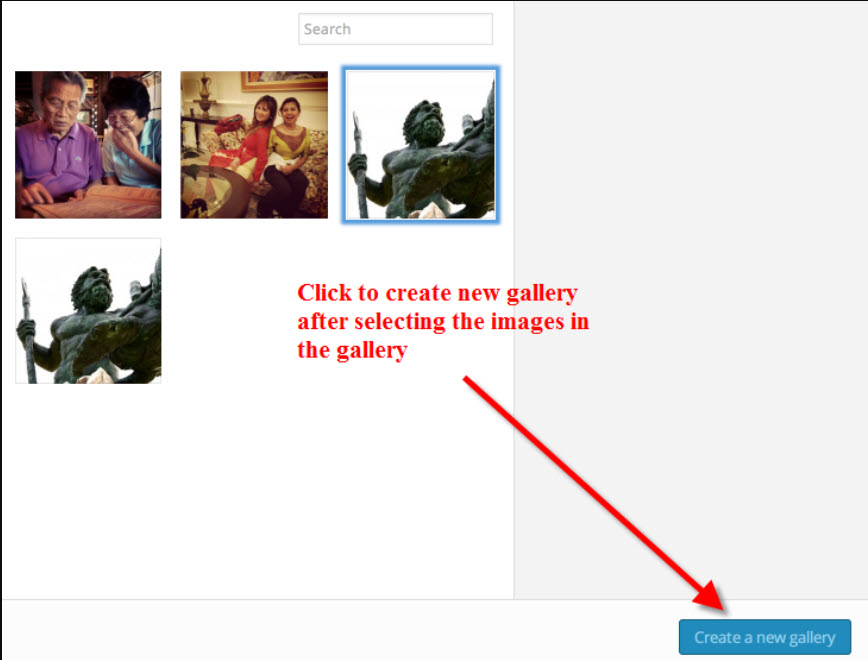
When you have completed selecting your images, click on CREATE A NEW GALLERY in the bottom right hand corner.

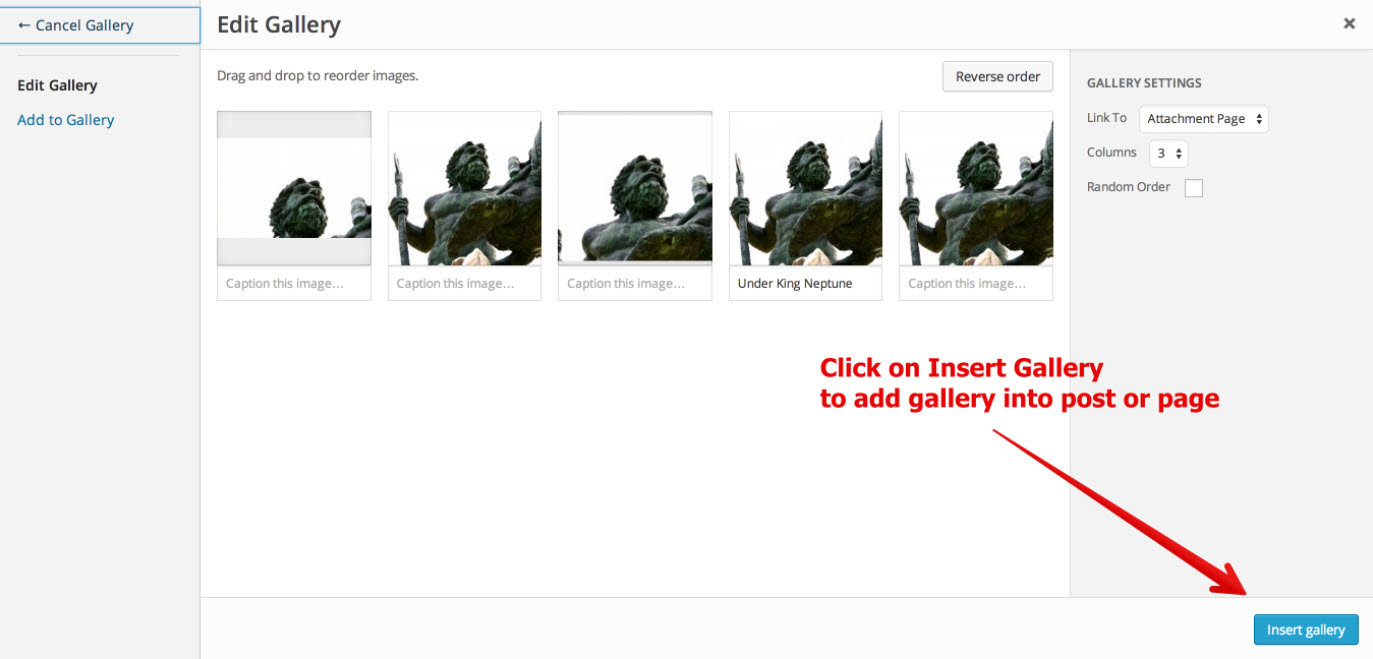
This will open the EDIT GALLERY interface. Here you can determine the order of your images. You can click and drag on your images to position their order. You also have the option to click on Random Order in the right column. Once the images are in the order that you want, click on INSERT GALLERY in the bottom right corner.

- Next you will see the post with the gallery inserted. Click on PUBLISH to see the gallery page or post in the WordPress site.
Editing the Gallery

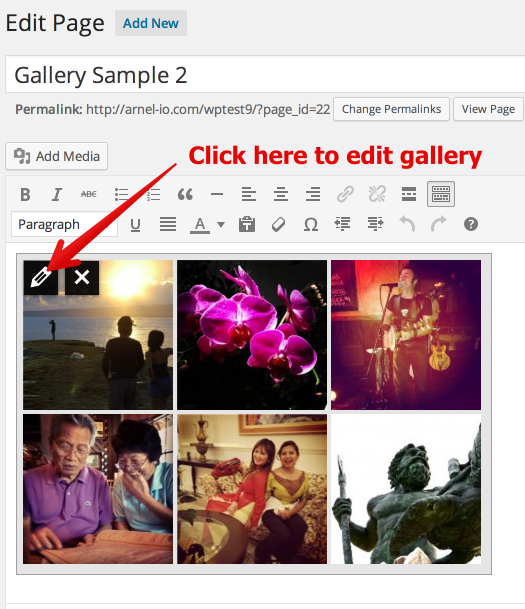
If you need to edit the gallery, you can go back and then click on the page or post where the gallery is stored. Click on the grouped pictures and then click on the pencil icon that appears in the corner of the pictures in order to edit the gallery.
Congratulations! You can now use WordPress’s built-in functionality to create a quick and functional image gallery.
Post navigation
0 thoughts on “How to Create a Gallery in WordPress without a plugin”
Was this article helpful? Join the conversation!


Can we create image auto slidiing gallery in wordpress post. I want to show photos in post like *hidden for security* website. You can check the website here *hidden for security* Please reply must
For this kind of customization, I would recommend using a plugin that allows you to manipulate the gallery as you desire. I recommend reviewing the wordpress.org website to review various gallery plugins and their features.