Animated GIF images have been on the internet since personal home pages became popular. Using GIF images on your site can be a fun and easy way to bring some dynamic graphics to your site while keeping your resource usage low. Adding an animated GIF to WordPress can be done with a simple image block and through images from a hosted site like Giphy.
Using animated GIF images can save resources because they are much smaller than normal animation files. As a result, GIF images can help lower resource usage and improve website performance. Additionally, animated GIF images are often more visually appealing than static images, making them a great choice for sites where you want to stand out from the crowd.
How to Add an Animated Gif To WordPress
Once you have created an animated GIF that matches your specifications, it’s time to add it to your WordPress media library. The steps to add an animated GIF is identical to how you add images to WordPress.
- Log in to the WordPress dashboard
- Select a post or page to edit, or create new content
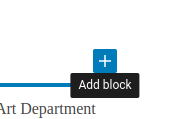
- Use the + sign to add an image block

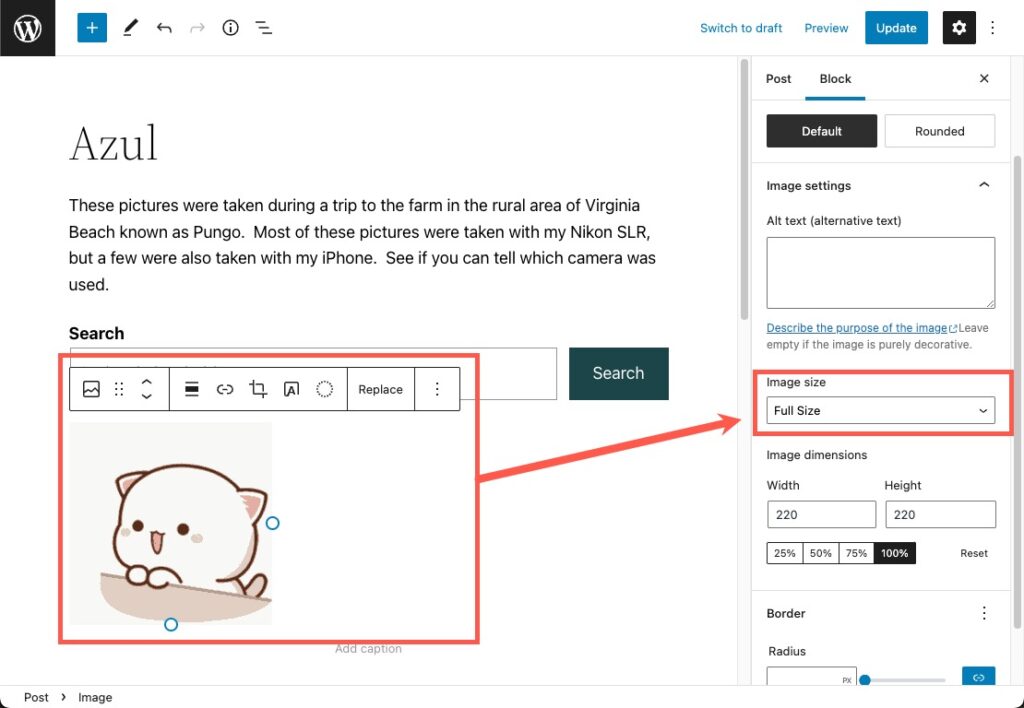
- Upload your GIF image
You will now have your GIF image in the post. The animated GIF image should be set to “full size” dimensions under the block settings as you can see below. Previous versions of WordPress would not show the animation of the GIF in action unless you had published it. However, WordPress 6.0 and later have the animations working in the editor or in preview.

You will now notice your animation behaving as expected.
Remember, while a few GIFs can help make your site more interesting, having too many animations, like any image, can slow down your site.
How to Add a Hosted Animated GIF
As mentioned above, there are hosted sites, like Giphy, where you can upload your own animations and share them. These can also be used in your WordPress site. The only difference is instead of uploading your image you will use the URL.
If you are using the Jetpack plugin, you actually have access to a GIF image block.
- Log in to the WordPress dashboard
- Select a post or page to edit, or create new content
- Use the + sign to add an image block

- Select the GIF block
- Paste the URL of your hosted image in the field

Well done! You now know how to add dynamic gif animations to your WordPress site. If you have any questions or comments feel free to drop them below.
Check out other tutorials on using Blocks in WordPress!
If you need a new home for your WordPress site, look no further than InMotion’s WordPress Hosting solutions for secure, optimized, budget-friendly servers.
Fast & Easy Transfers
Free SSLs
Hack Protection
Affordable