The Gutenberg editor in WordPress gives you control over the appearance of various content blocks you can use on your site. When Gutenberg is not enough, you can further customize your content with your own CSS rules. In this article, you will learn how to change block width in WordPress in a few different ways.
What Determines Width?
You may notice in designing your site that various page elements already have predetermined styles and values. When working with width, it’s good to know what determines the existing width of blocks, so you can better understand what you are changing.
Take a look at this block of text:
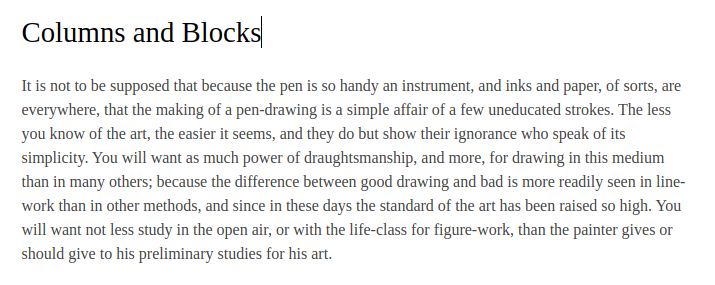
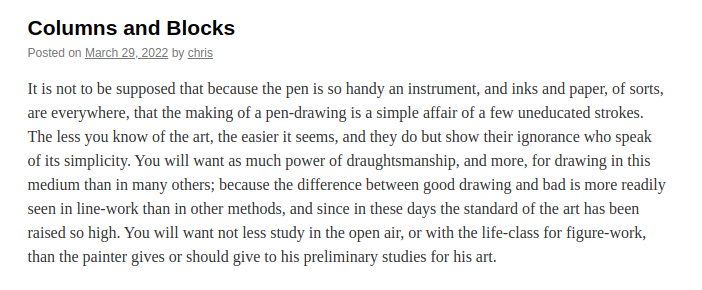
Notice how the left side image, taken from the Gutenberg editor window, looks very similar to the text block on the right, which was taken from the published post. They are of approximately equal width. You will further notice that in the Gutenberg editor window, you cannot click and drag width to your liking.
This suggests that the width is controlled by the stylesheet of your theme. Take a look at a different theme:
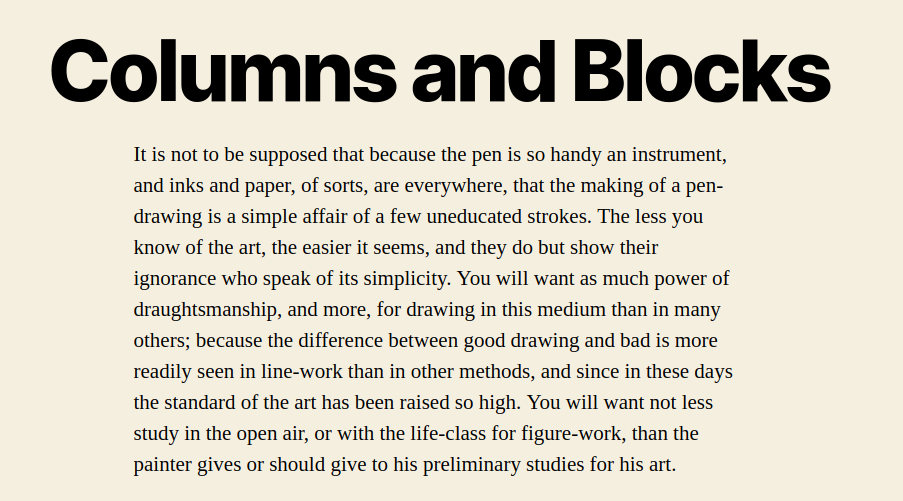
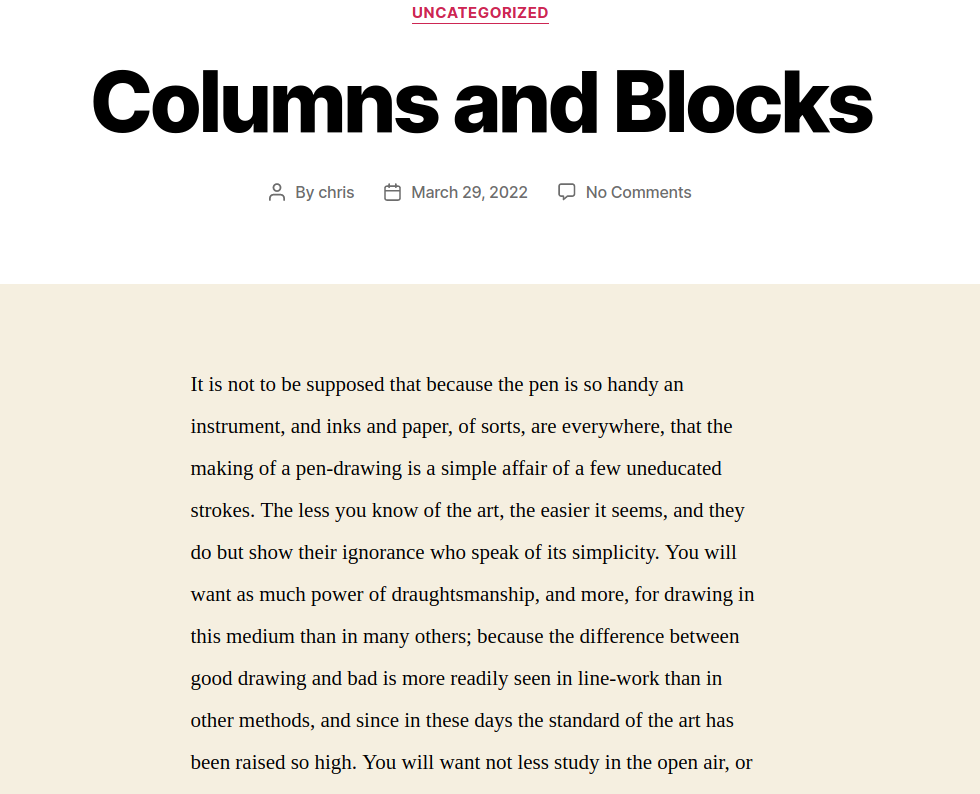
These images, taken from the Twenty Twenty WordPress theme, demonstrate the similarity between what you see in the editor and what is reproduced in the final product.
So if you want to change the width of various blocks in your site, you will be making changes to the theme. However, any changes you make to the theme will be wiped out when the theme developers release an update. So how can you save your changes? There are a few different ways.
Using Variable Width Columns
One of the best ways to adjust width for text blocks (or other types of blocks) is to create a column block.
A column block allows you to create vertical columns of various widths, and fill those columns with whatever kind of content block you desire.

A column block is a great way to pair a block of text alongside an image.
- Log into the WordPress dashboard
- Select a post to edit or create a new post
- Click the + sign in the editor window to create a new block
- Select Columns
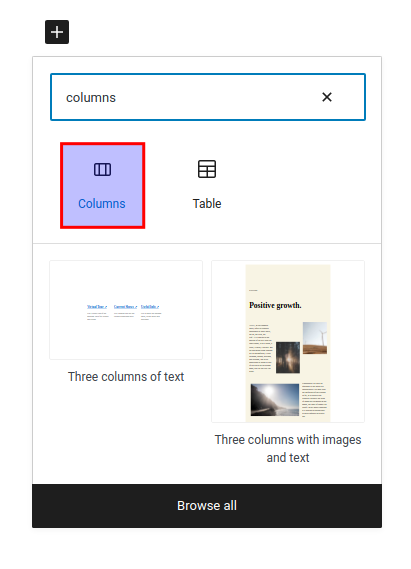
- Choose your desired layout and width

Your desired column layout will now appear in the editing. Click the + sign to add block content to the column layout.
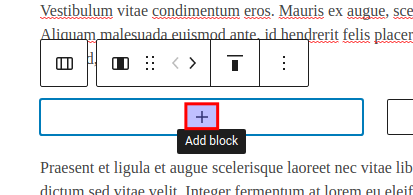
Note: you cannot turn an existing block into a column block. However, once you have created a new column block, you can copy and paste content from other blocks into it.
Changing Block Width With CSS
You can also use a bit of additional CSS to adjust how a block will appear in a post or page. For this example, we will use a post paragraph, but you can apply this concept to any block.
First, we will create a CSS class named “newwidth”, but you can name it whatever you want. And now, you can apply additional CSS rules to this custom class via Customize:
- Go to the WordPress dashboard
- Click Customize under Appearance
- Select Additional CSS
In the CSS editor window on the left, you can add your CSS rules for width, similar to the below, using the example above:
.newwidth {width:400px;}
When adding your custom class, make sure to put the . at the beginning of the class name. The example value above (400px) is completely up to you. Experiment with different values to get the desired width.
Note: width may not be the desired property for all cases. You can similarly manipulate the placement of various page elements with other properties like margin and padding. Try all of these to get the look you want.
The Gutenberg editor allows you to add the custom CSS class to any element in the editor, and on any post or page.
With your desired block selected, hover over to Advanced and put in a custom CSS class:
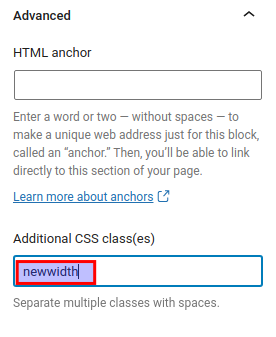
Save and view your post and you will see your CSS modifications applied.
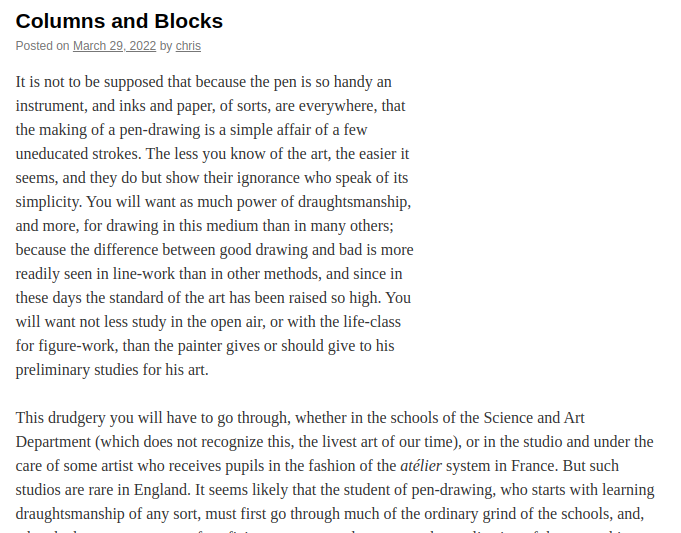
Notice in this example, the opening paragraph, with the CSS class applied to it, has a different width that the text blocks beneath it.

If you’re having trouble with your WordPress host, then check out InMotion’s WordPress Hosting. We provide secure, optimized servers that are priced to meet your budget needs!
Free Domain
Free SSLs
Unlimited Bandwidth
The great thing about using additional CSS is that you can always change it back if something goes wrong. And our live support team is available 24/7 to help with any questions or problems you may have, though we cannot provide unique coding support. Have you tried adding additional CSS to improve your website design? Let us know in the comments below.