The WordPress Media Library is a core feature of WordPress that allows you to import, export, and organize images, videos, and graphics for your website.
The tool also allows basic management features such as photo editing, bulk organization, and media search.
If your WordPress website will be media-heavy – for example, a photography, portfolio, or blog website – then mastering the WordPress Media Library is a must for success.
Continue reading to learn more about:
Navigating the WordPress Media Library
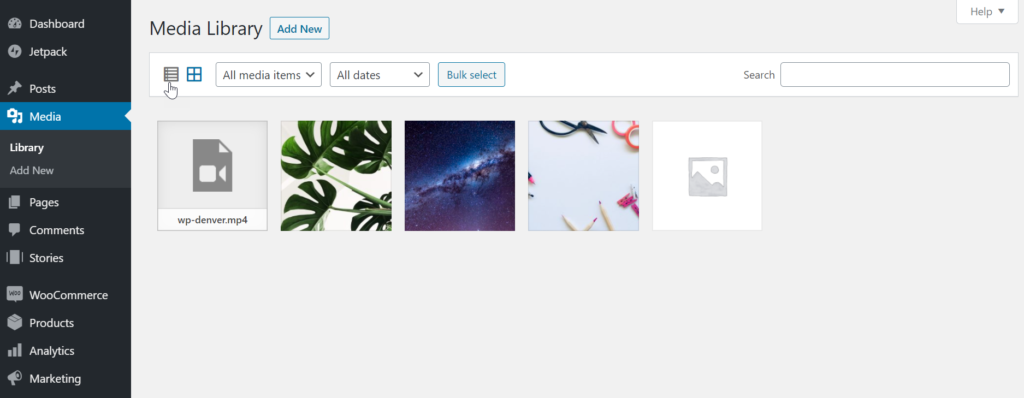
First, let’s show you around the Media Library. Navigate to Media > Library in your WordPress dashboard.
Once in the Media Library, you will see all of the media you’ve uploaded to your website. This includes media uploaded while creating a page or post, or media uploaded directly through the Media Library. The types of files you’re able to upload includes:
- Images (.jpg, .jpeg, .png, .gif, and .ico).
- Audio files (.mp3, .m4a, .ogg, and .wav).
- Videos (.mp4, .m4v, .mov, .wmv, .avi, .mpg, .ogv, .3gp, and .3g2).
- PDFs
- Word documents
- Excel spreadsheets
- PowerPoint presentations
- Adobe Photoshop documents
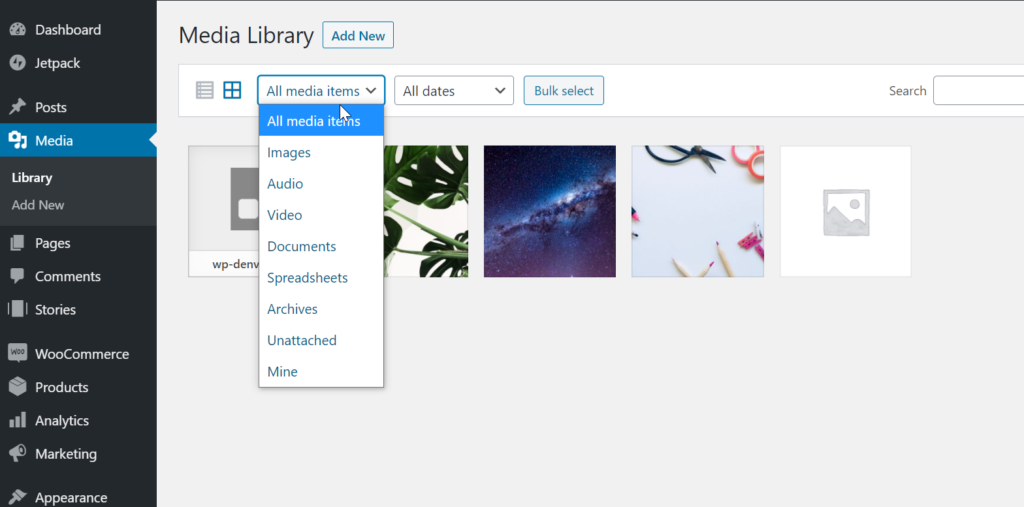
You can toggle between list or grid view by clicking the list or grid icon in the far left of the Media Library menu. The dropdown All media items allow you to sort your media by Images, Audio, Video, Documents, Spreadsheets, Archives, Unattached, and Mine.
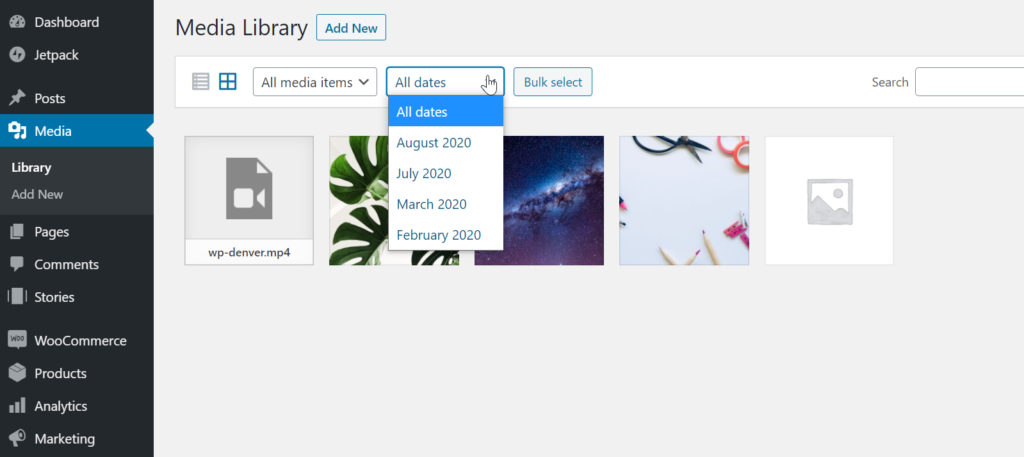
The second dropdown, All dates, can refine the search of the first dropdown or serve as a lone date search for all media. The dates are organized by month and year.
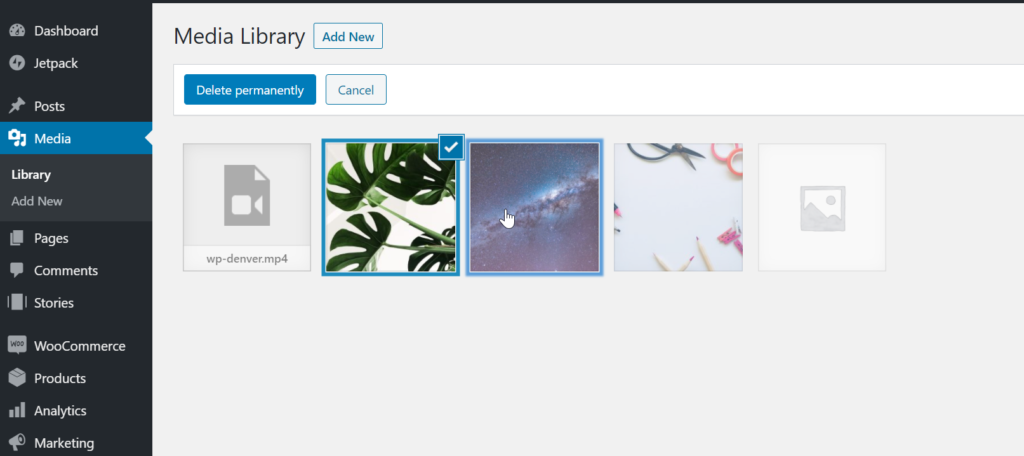
Next, you can click Bulk Select to delete files in bulk. This feature can be used with search options within the dropdowns or the search field – which allows you to search by file name.
Importing and Exporting Media
Importing Media
You can easily add media through the Media Library or within a page or post. To add media via the Media Library:
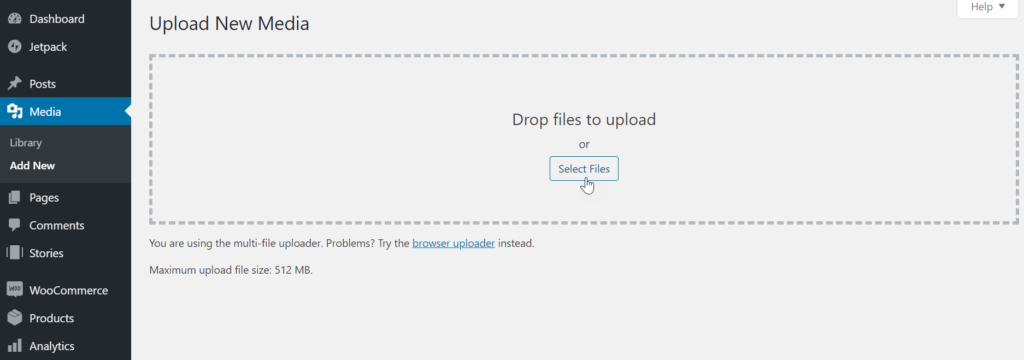
- Navigate to Media > Add New.
- Drap and drop files from your computer or click Select Files to upload files from your computer.
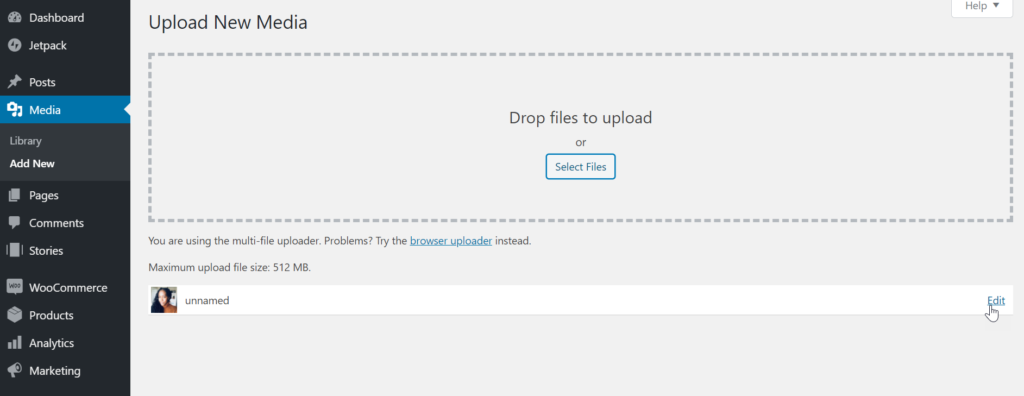
- Once uploaded, your image or file will appear as a thumbnail below the file upload box. If you uploaded an image, you can also choose to Edit it on this screen. We’ll walk you through editing below.
- If you navigate to Media > Library, you will see your newly added file.
You can also upload media while creating or editing a post or page. This convenience feature helps streamline your workflow by allowing you to import files where you are instead of having to go to the Media Library.
To upload files within a page or post:
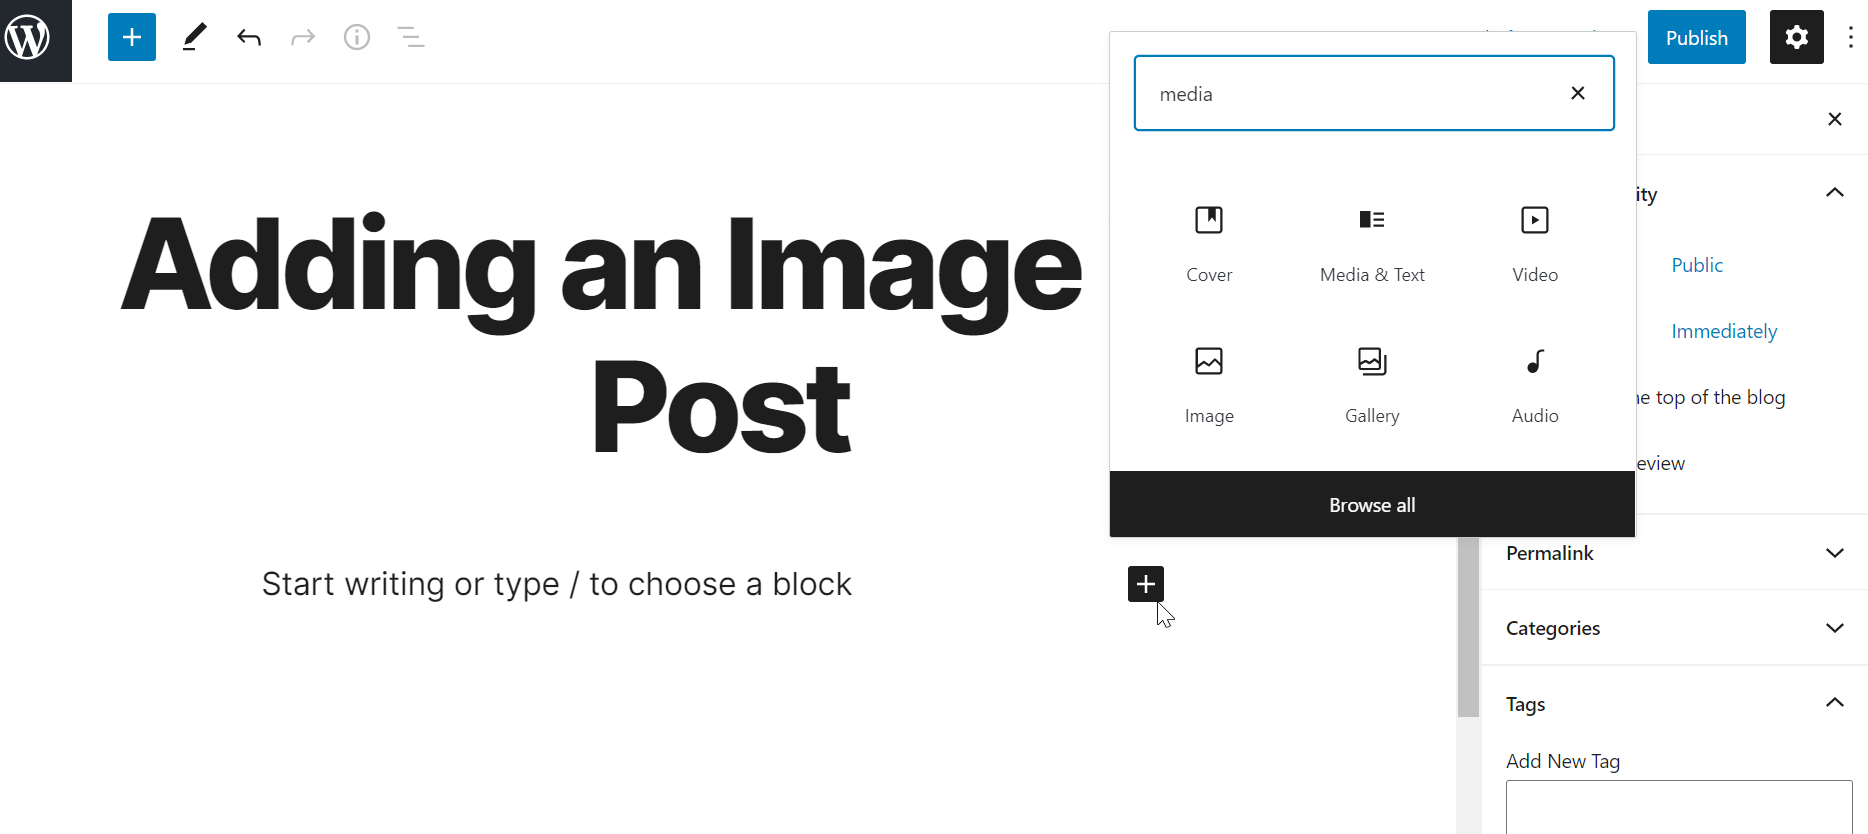
- Click on the + icon within the editor or in the upper left corner.
- Search media or the name of the media you would like to add in the search box of the block library. For this example, we chose Image.
- Once the Image block appears, click Upload.
- Select an image from your computer. It will be automatically uploaded and added to the post.
- Click Publish or Update to save your changes.
Exporting Media
If needed, you can also export the media uploaded to your website.
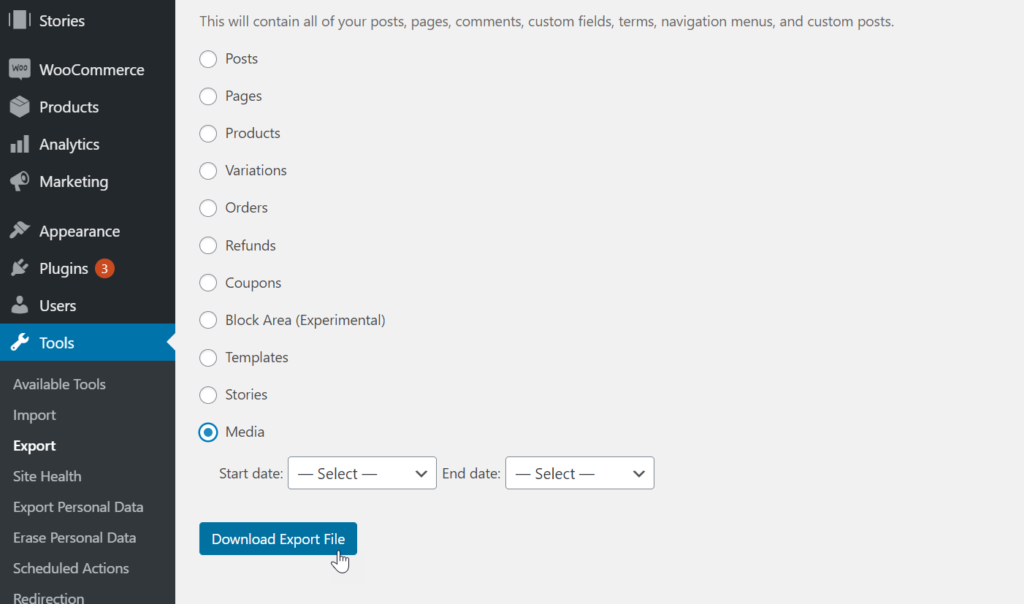
- Navigate to Tools > Export.
- Scroll down and click the radio button next to Media.
- Click Download Export File.
Of note, your file will export as an XML file, which makes importing to another WordPress site easy.
Editing Images
You can make minor edits to your images with the Media Library. This includes the image blocks within pages and posts as well.
In the WordPress Media Library
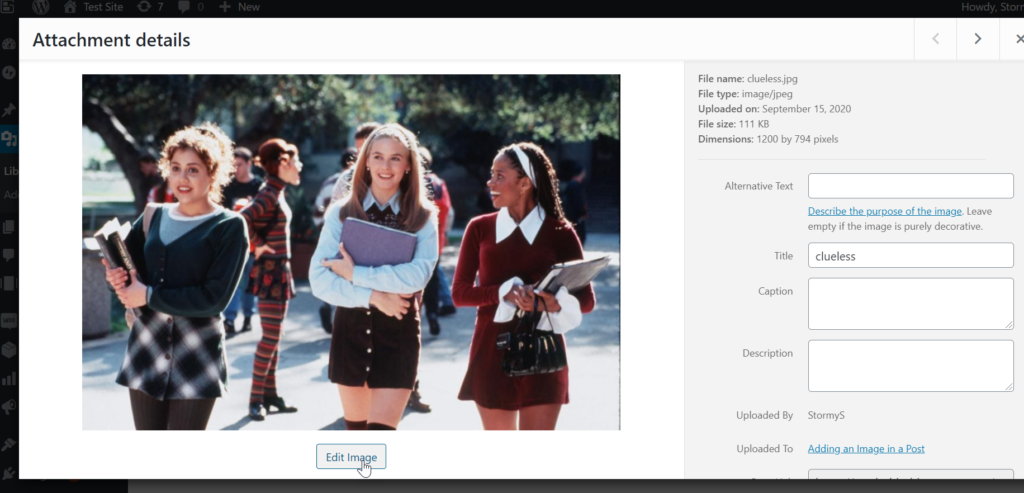
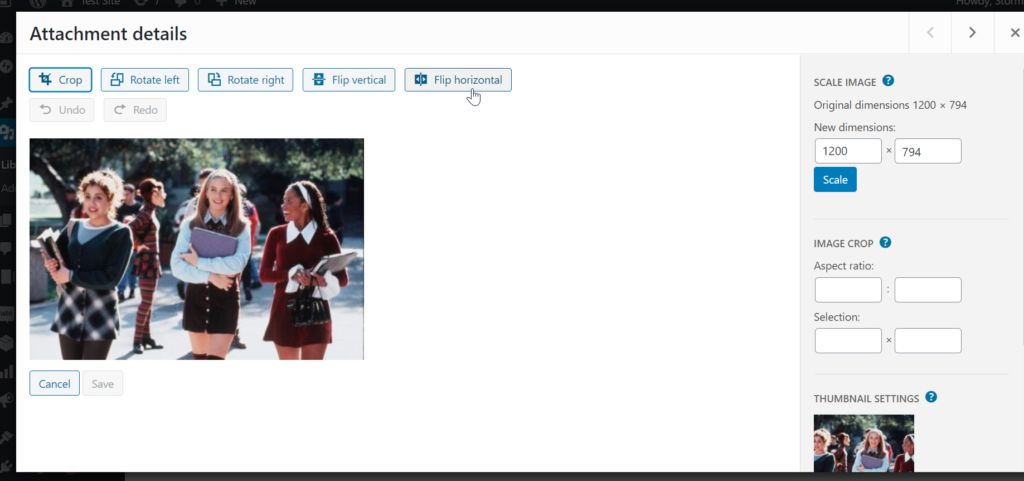
While in the Media Library (Media > Library), click on an image you would like to edit and then click Edit. Here you’ll have the option to Crop, Rotate left, Rotate right, Flip vertical, or Flip horizontal. In the right sidebar, you can scale the image and set an aspect ratio for greater control of the cropping/scaling of an image.
In Pages and Posts
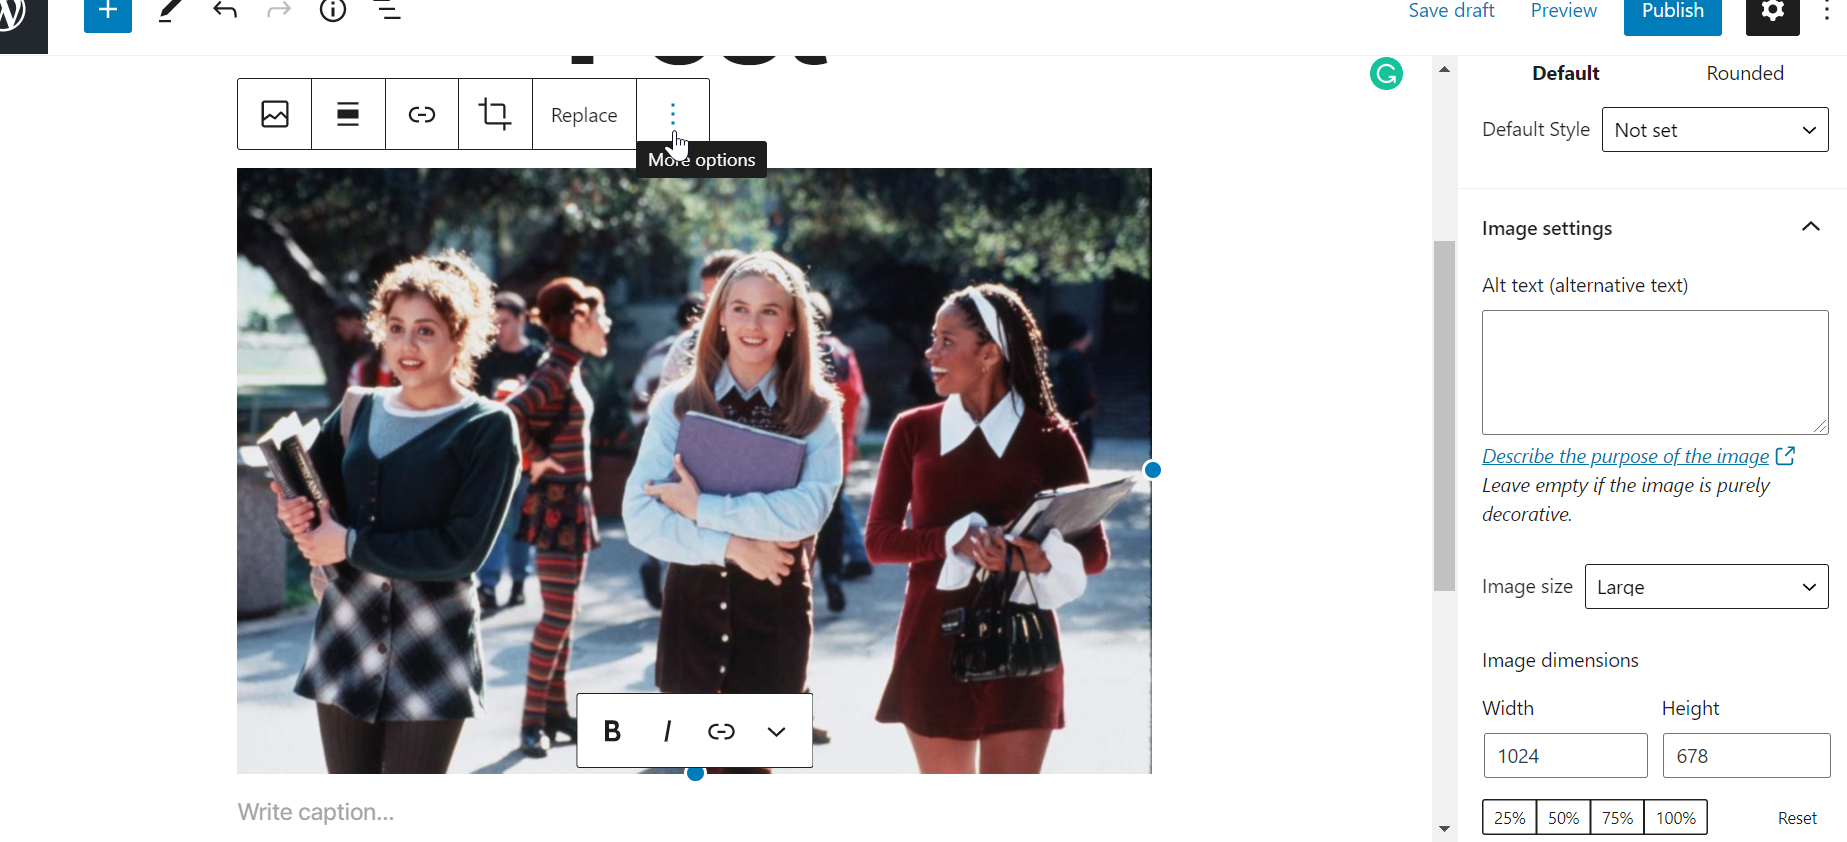
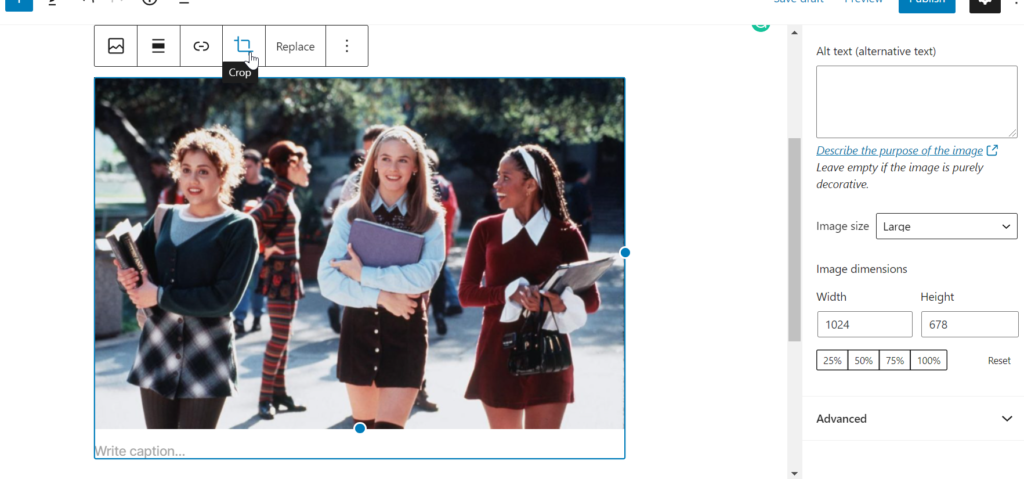
While editing a page or post, though presented differently, you have the same image editing options as the media library. Clicking on the image will show options above and to the right of the file.
Above the image, a toolbar will allow you to crop and realign the image. While in the toolbar to the right, you will be able to resize the image.
How to Set Image Sizes
If you want to change the sizes being used by WordPress when it resizes images uploaded to the Media library, you can configure it using the Media Settings option in WordPress.
- Log in to the WordPress Administrator Dashboard
- Click on Settings, then click on Media.
- You will see the Media Settings screen. There are three image sizes used: thumbnail, medium, and large. The dimensions for the image sizes use pixels. You can change the dimensions by typing in the sizes or using the up and down arrows to change the values. Make changes to the image sizes and then click on Save Changes as needed. The default values for image sizes are as follows:
• Thumbnail size is 150 px x 150 px
• Medium size is 300 px x 300 px
• Large size is 1024 px x 1024 px - If you want to make sure that your uploads are organized by month and year folders, then you can check the box for this option under Uploading Files. This option is enabled by default. As per the changes to the Image sizes, click on Save Changes after making any changes to the settings.
With the basics of the WordPress Media Library covered, learn more WordPress tips and tricks on our WordPress Education Channel!

