WordPress is a Content Management System (CMS) you can use to build a website. WordPress was originally designed as a blogging platform, but it can be used to build and launch any kind of website.

How to Install WordPress
Installing WordPress involves two important actions. You must first create a MySQL database and database user. WordPress will use this database to store the content of your site. The second movement consists of downloading the WordPress core files and running through a brief installer program. These actions are covered in more detail below.
Creating the Database and User
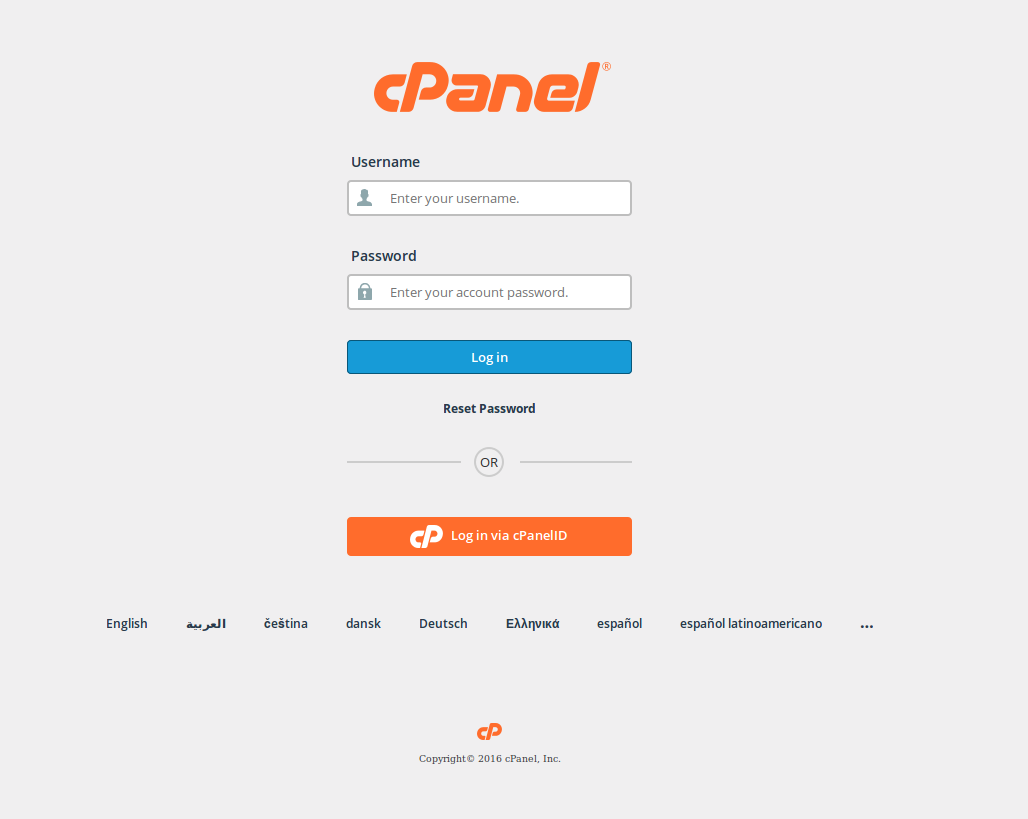
- Log into cPanel.

- Under Databases choose MySQL Database Wizard.

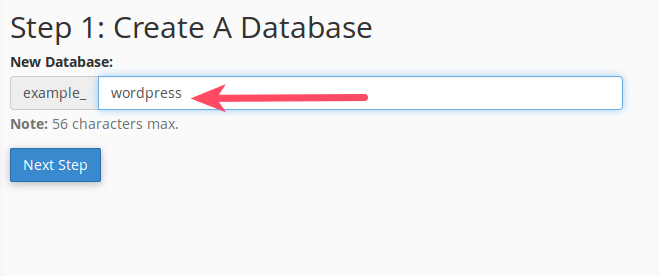
- Fill in the name of your database and click Next Step.

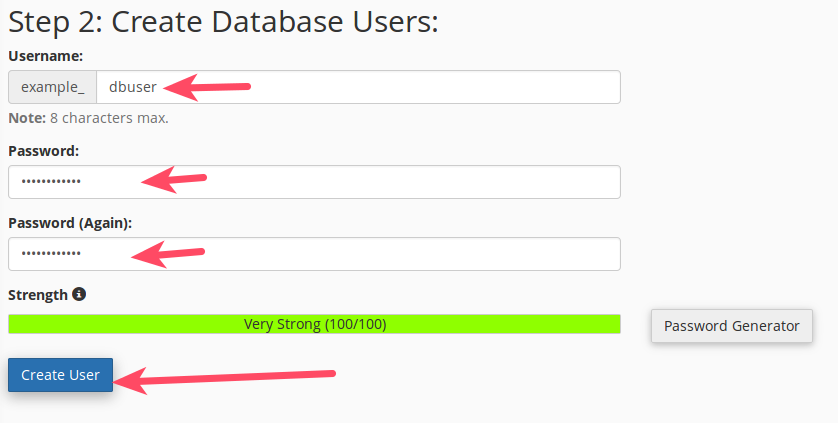
- Fill in a database username and secure password, then click Create User.

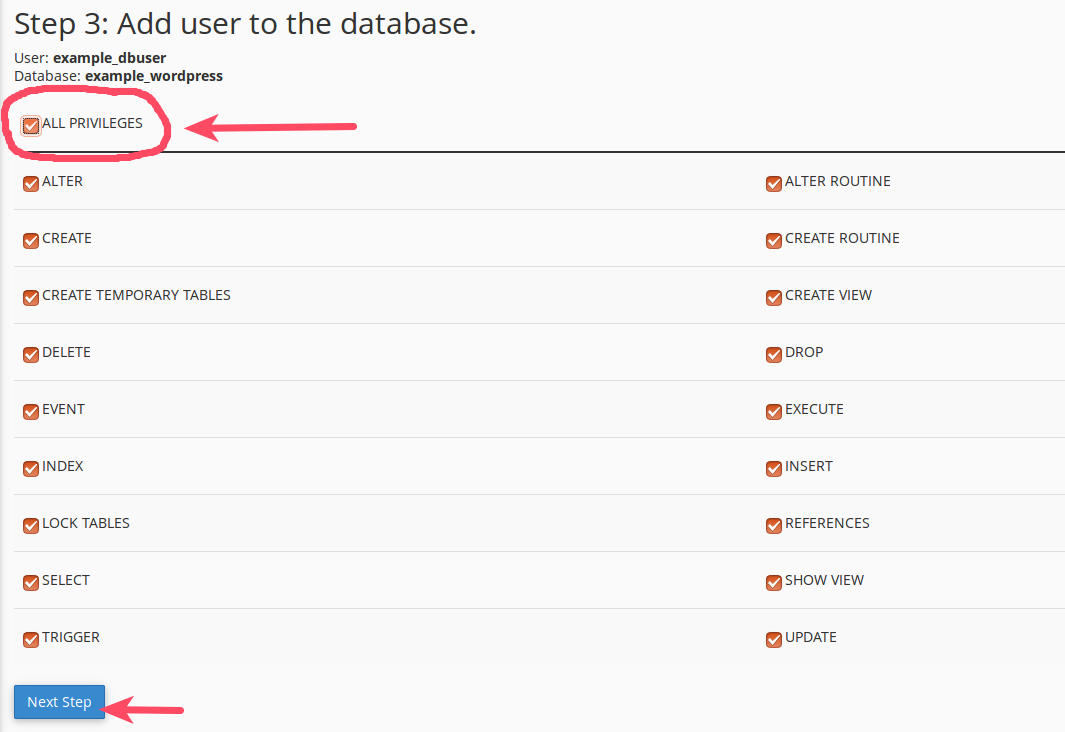
- Place a check for All Privileges then click Next Step.

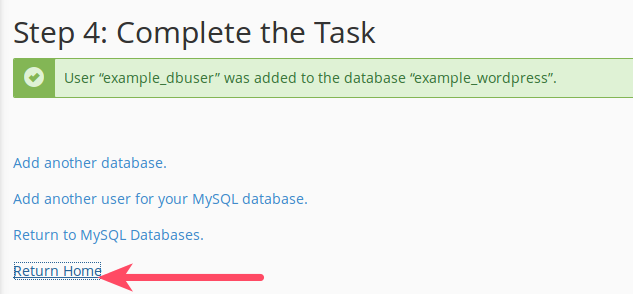
- Click Return Home to exit the Database Wizard.

You have successfully created a database and database user. Take note of the database name, database username, and password. During the WordPress installation, you will be asked to provide this information. You are now ready to download the WordPress core files and complete the installation.
Downloading the WordPress Core Files and Linking to Database
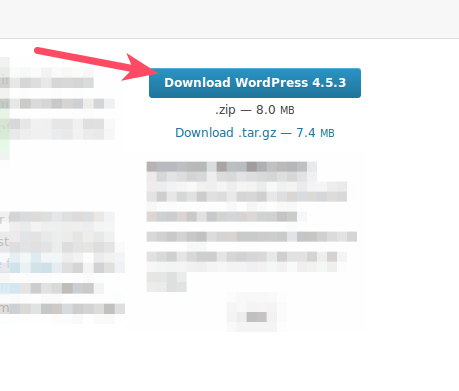
- Go to https://wordpress.org/download/ to grab the current version of WordPress.

- Click the download link.

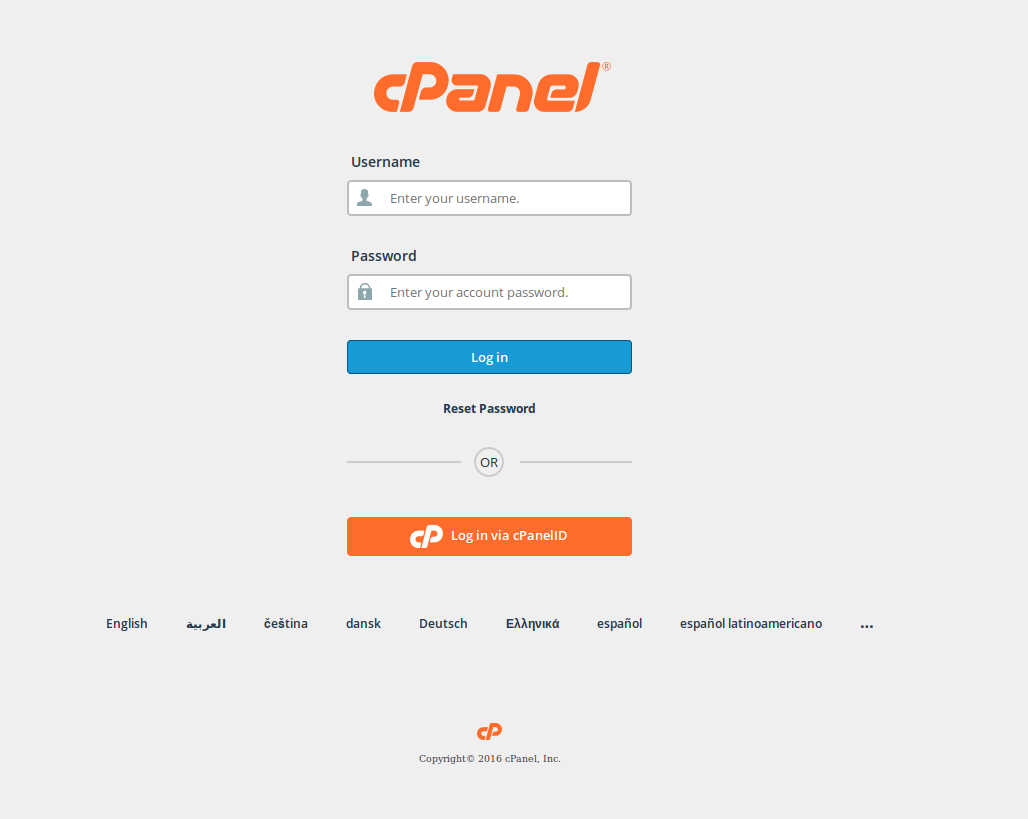
- Log into cPanel.

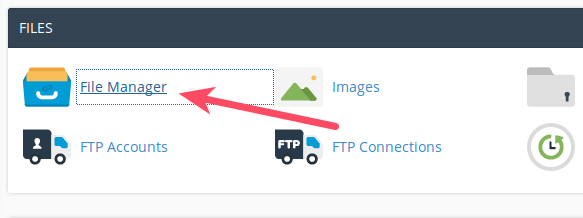
- Under Files choose File Manager.

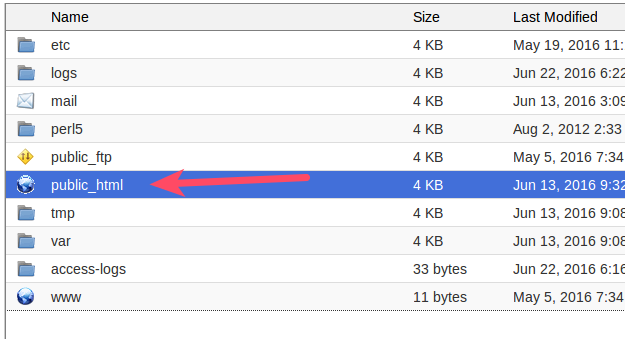
- Go to your
public_htmldirectory.
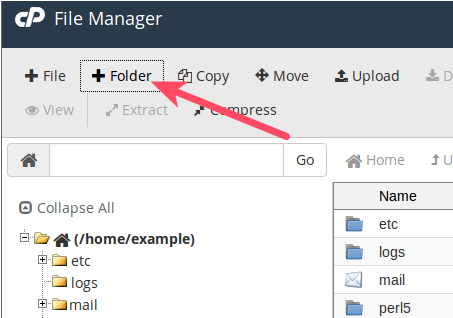
- (Optional) If you want WordPress in a subdirectory (e.g. https://example.com/blog/) you can create this directory now by clicking + Folder.

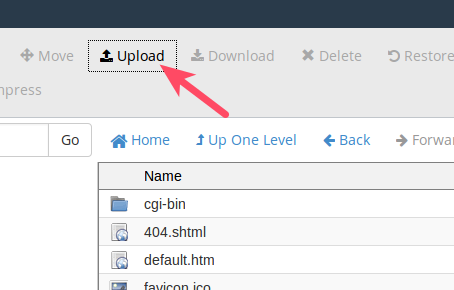
- Click Upload.

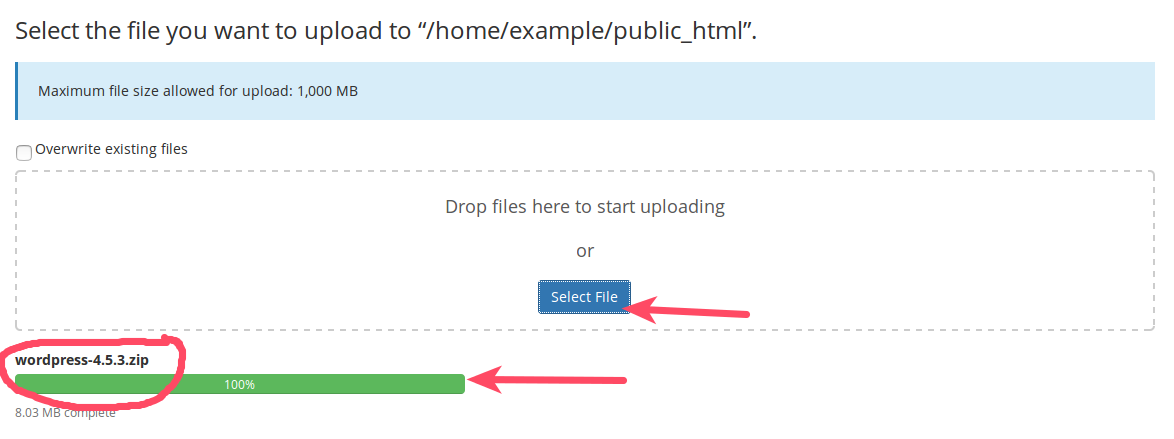
- Upload the WordPress file from your local computer.

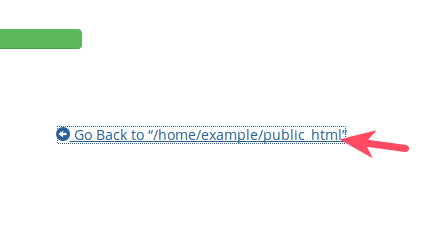
- Click the Go Back link to go back to the File Manager.

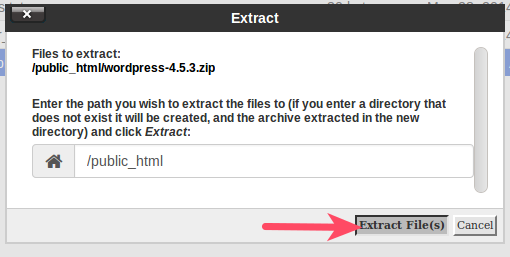
- Uncompress the file by highlighting it and clicking Extract.

- Select Extract File(s) at the dialog box.

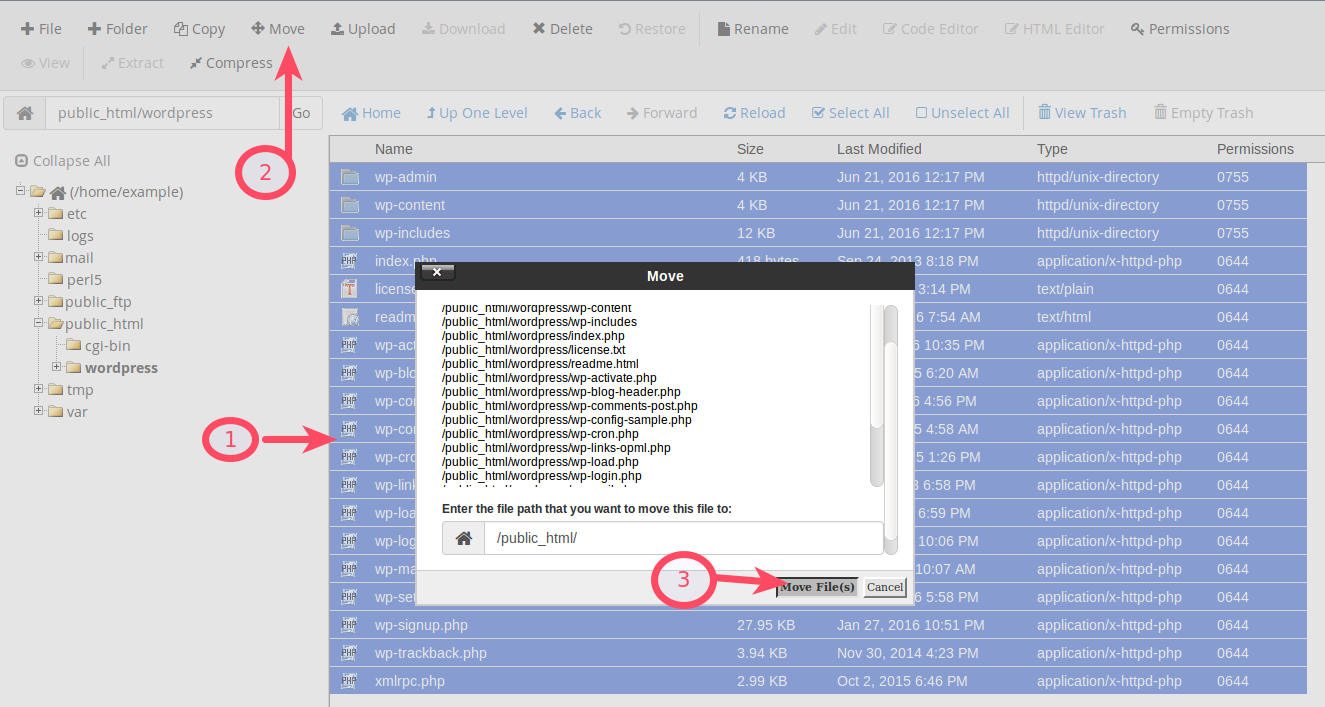
- Move all critical files from the WordPress folder to your desired location by opening the folder, selecting all files and choosing Move;
public_htmlis the ideal move location if you are using the primary domain as opposed to a subdirectory (see Step 6).
- Visit your domain in any web browser.
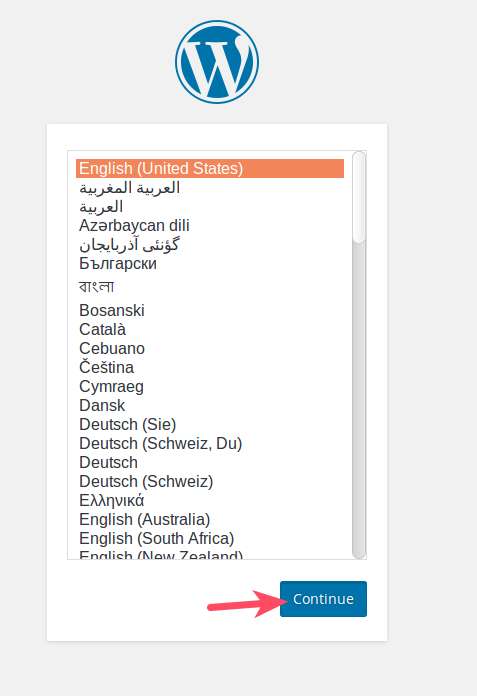
- Begin the WordPress installation walkthrough by choosing your language and clicking Continue.

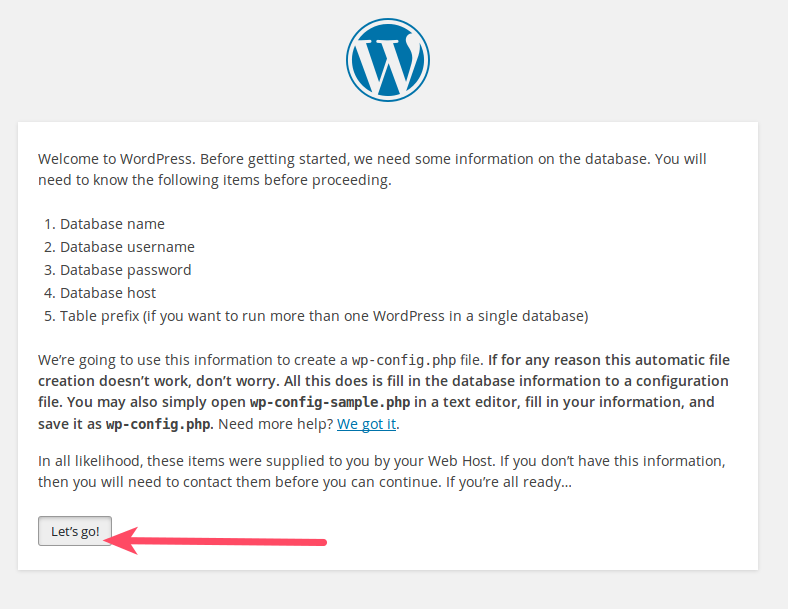
- At the next screen, click Let’s Go.

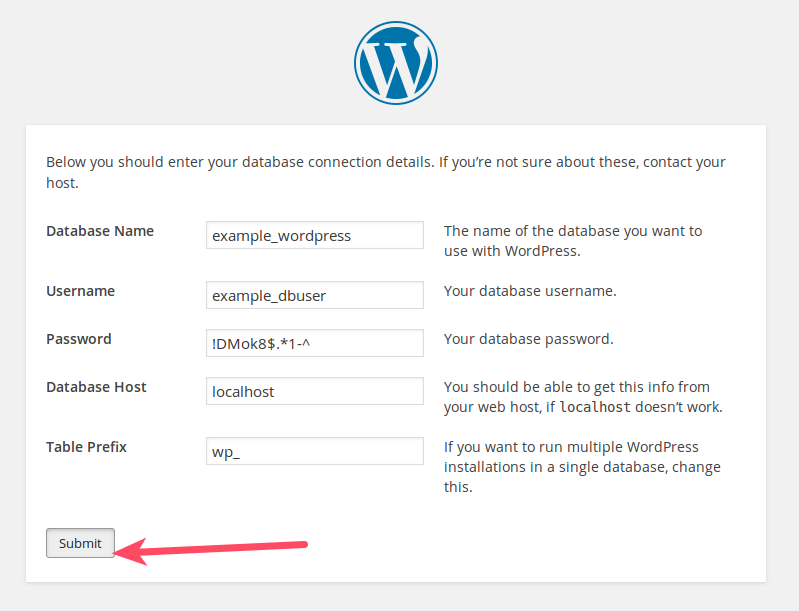
- Fill in the requested information about your database name, user, and password; you can leave Database Host and Table Prefix as they are; then click Submit.

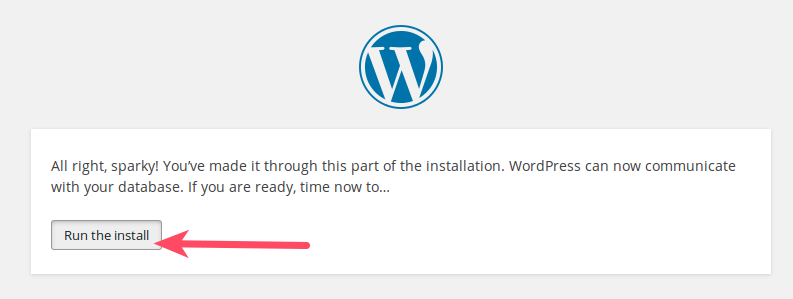
- If WordPress was able to communicate with your database then all is well and you may click Run the install.

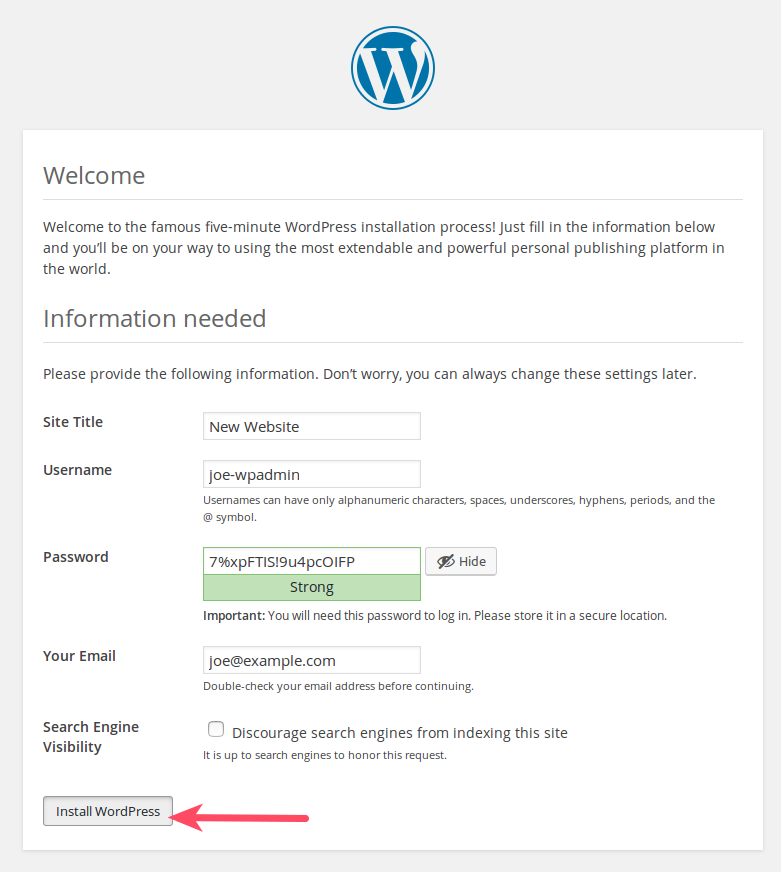
- Fill in the fields with the requested information; make sure to remember your Username and Password; the email address you submit will be used for important notifications and password reset (should you ever require it); then you may choose Install WordPress.

- Allow a few minutes for the installer to run.
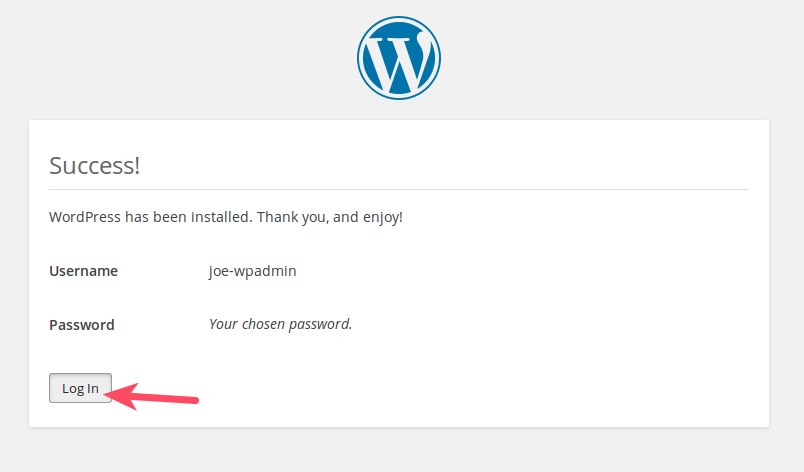
- After the installer runs, click Log In to log into WordPress for the first time.

Now you will have a working WordPress installation.
Install a Theme
Once you have familiarized yourself with the various WordPress operations such as posting and writing pages, you can start customizing the look and feel of your installation. Adapting WordPress to your preferred style does not require a vast knowledge of coding; rather, you can use pre-built themes to completely change the look of your site.
WordPress arrives with a default theme already installed, but you can search a wide database of other themes right from within your WordPress Dashboard.
- Log into WordPress Dashboard.

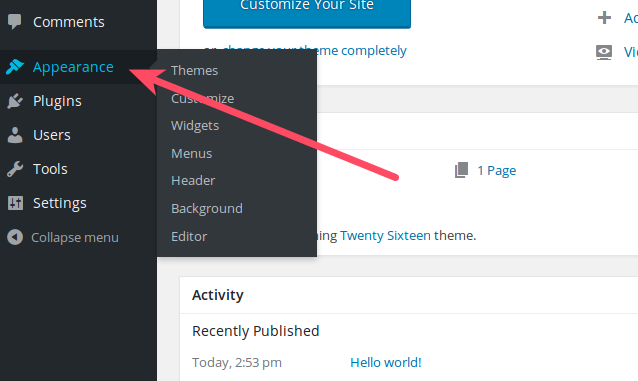
- Click Appearance from the left panel.

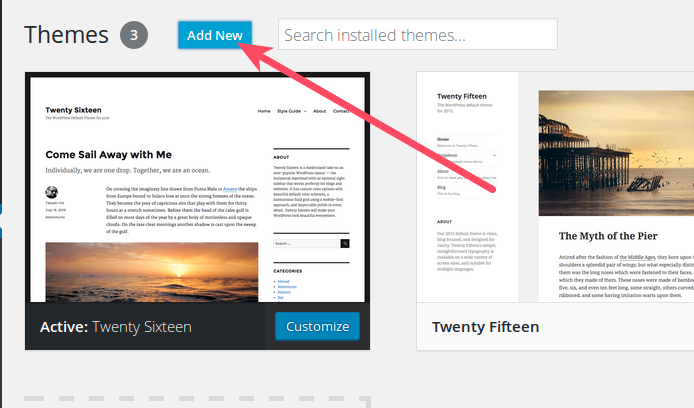
- Within the Themes section, select Add New.

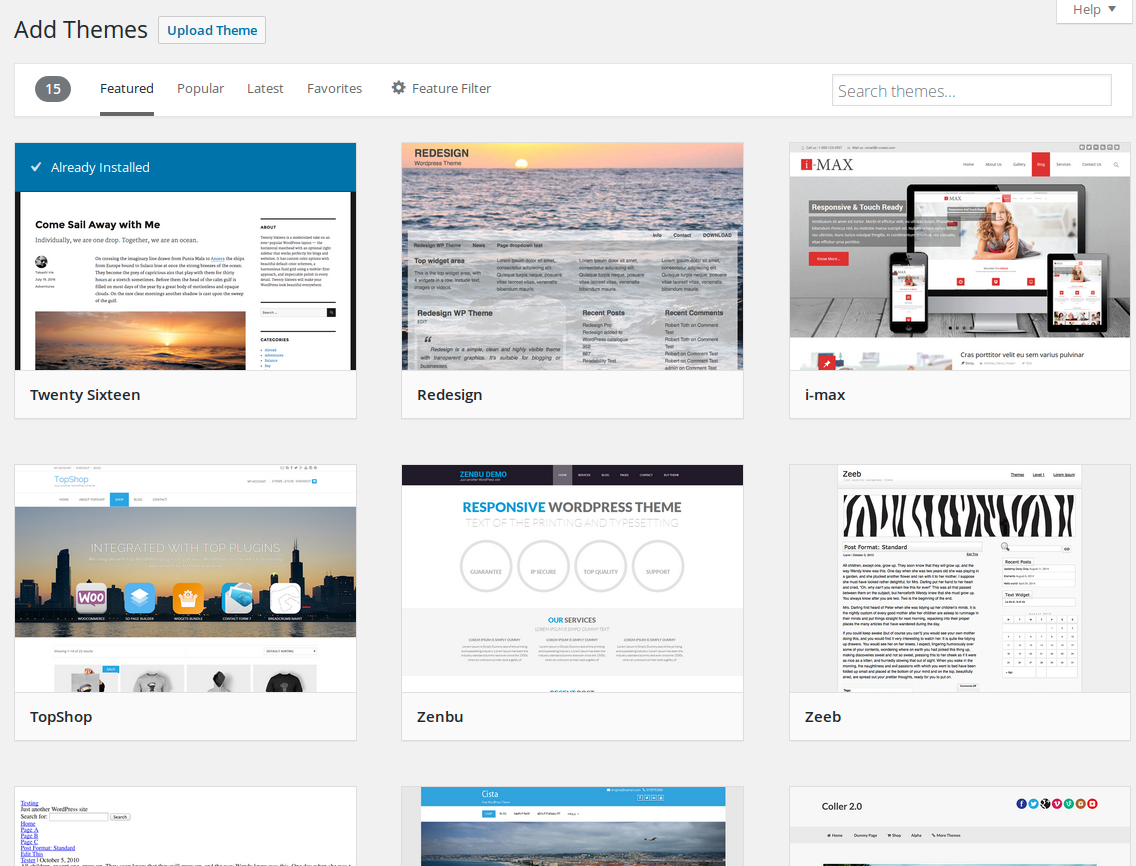
- Search through the available themes.

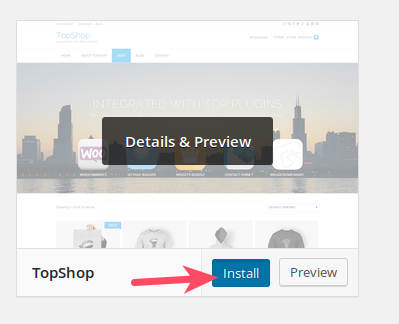
- When you see a theme you like, hover over the image and choose Install.

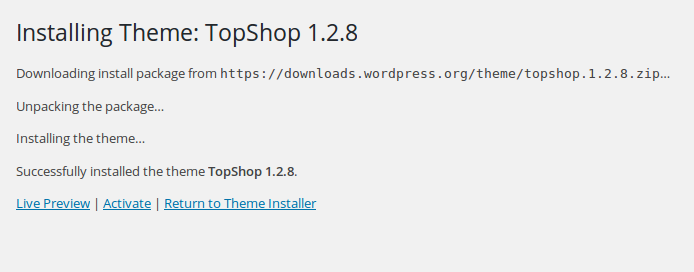
- Once installed, you can Preview, Activate, or Return to Theme Installer.

| Preview | This option will show you what your website will look like with the new theme, but your theme will not switch. |
|---|---|
| Activate | This option will switch your theme. |
| Return to Theme Installer | This option will take you back to the previous screen, where you can select other themes. |
Moving Forward with WordPress
To add content to your WordPress site, you will need to add Posts and/or Pages. These are the two primary forms of content for your site.
As you move forward with WordPress, you will want to be aware of common WordPress troubleshooting techniques. Not only will these steps be valuable when troubleshooting your website in the future, they will help you learn more about how WordPress works.
It is also well-advised that you learn how to install WordPress plugins. Plugins add special functions to your site that do not come standard with the WordPress package. There are plugins for virtually anything, and most of them are free to use. Once you have worked with WordPress at length you will find uses for the vast array of available plugins in the WordPress community.
Discover high-performance Managed WordPress Hosting on purpose-built cloud servers managed from one powerful dashboard: Platform InMotion.
Fully-Isolated VPS
Root Access
99.99% Uptime
Free Dedicated IP & SSL
Automatic Updates
