Caching your WordPress site content is a recommended way to improve performance and reduce server usage. The LiteSpeed Cache plugin is a popular tool to easily implement site caching. It also offers a full suite of WordPress optimization tools to ensure your site delivers the best possible customer experience.
Learn how to optimize your WordPress site using the LiteSpeed Cache plugin for WordPress.
You will need a QUIC.cloud account in order to complete this guide. This account is free to start but may require an upgrade based on usage.
- Install and Setup LiteSpeed Cache
- Enable Caching
- How to Purge All Cache
- LiteSpeed Cache Crawler
- WordPress Optimization Tools
Install and Setup LiteSpeed Cache
First, you will need to install the LiteSpeed cache plugin, then add your domain to your QUIC.cloud account since it is required. Here are the steps.
- Install and activate the LiteSpeed Cache plugin by LiteSpeed Technologies.
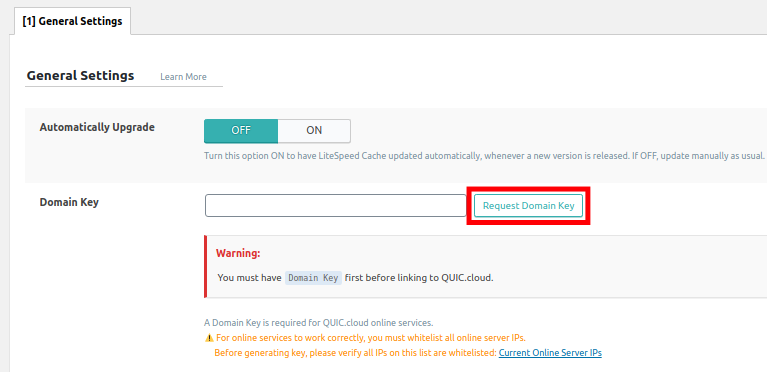
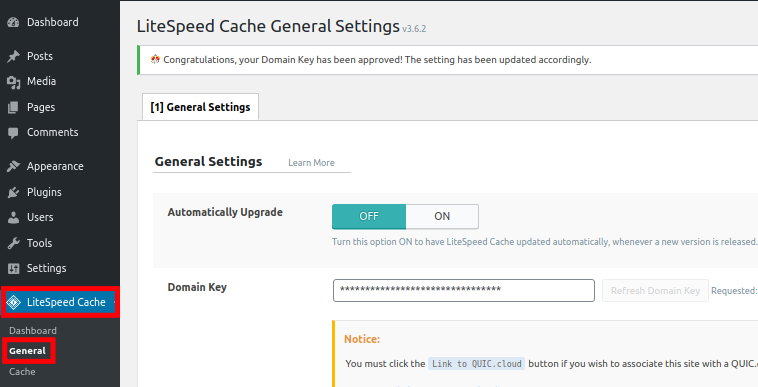
- Now that the plugin is installed we need to setup the QUIC.cloud account. Click the LiteSpeed Cache then General link in your navigation menu.
- On the General Settings page click the Request Domain Key button.

- Once your domain key has been requested, it may take a few minutes to be added to your WordPress site. After a couple of minutes, click the General link under LiteSpeed Cache to refresh the page. You should then see a message stating “ Congratulations, your Domain Key has been approved! The setting has been updated accordingly.”

- On the right side of the page, click the Link to QUIC.cloud button.
- Login to your QUIC.cloud account. You will then be directed back to your WordPress Dashboard.
- Enter your shared IP address in the Server IP field.
- Click the Save Changes button.
Enable Caching
Now that you have the LiteSpeed cache plugin installed and set up, you should turn the caching features on. Here are the steps.
- Login to your WordPress Dashboard.
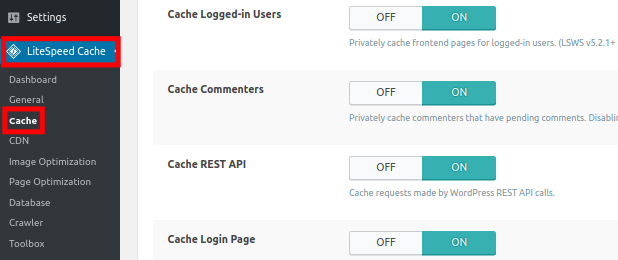
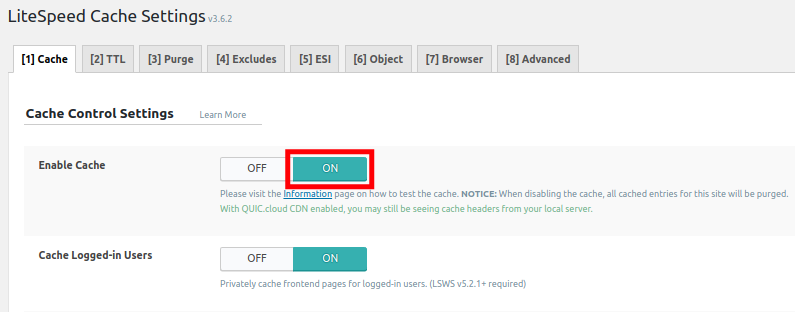
- Click LiteSpeed Cache then Cache in your navigation menu.

- Set the Enable Cache option to ON. This will cause the plugin to begin caching your site content.

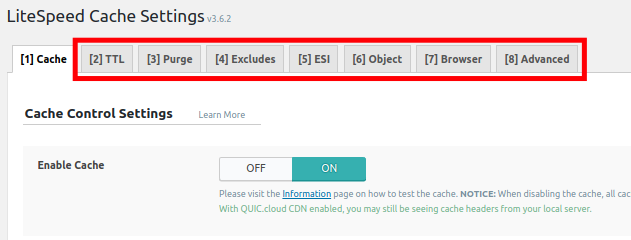
- You can then scroll down and choose your settings as needed. There are also additional tabs you can use to access more settings. For detailed information check out the official LiteSpeed Cache Beginner’s guide.

- Click the Save Changes button after choosing your settings.
How to Purge All Cache
- Login to your WordPress Dashboard.
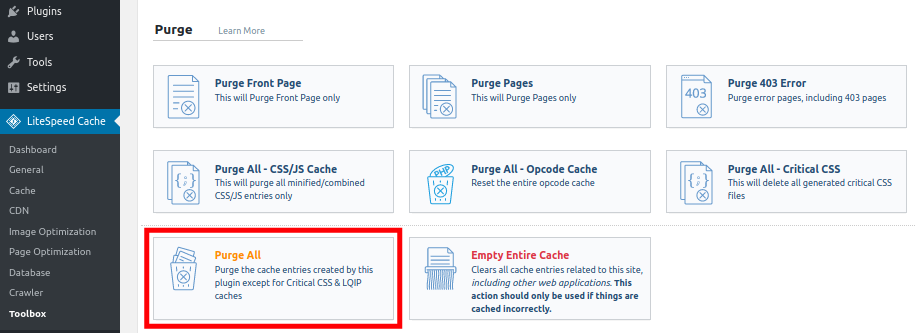
- Click the LiteSpeed Cache then Toolbox link in your navigation menu.
- Click the Purge All button. You are finished when you see a message stating “Purged all caches successfully.”

LiteSpeed Cache Crawler
The crawler tool reviews your site for old content and updates the existing cache. This ensures that visitors see the most up-to-date content when they view your website. For example, if you updated a page’s content recently, a visitor may see the older version “cached” version of the page.
You can run the crawl manually or set up a cron job to automatically crawl your site on a set schedule. Here are the steps.
- Login to your WordPress Dashboard.
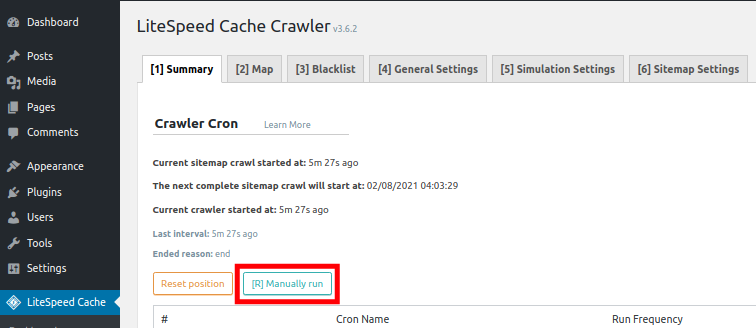
- Click the LiteSpeed Cache then Crawler link in your navigation menu.
- Click the Manually run button to start a crawl immediately.

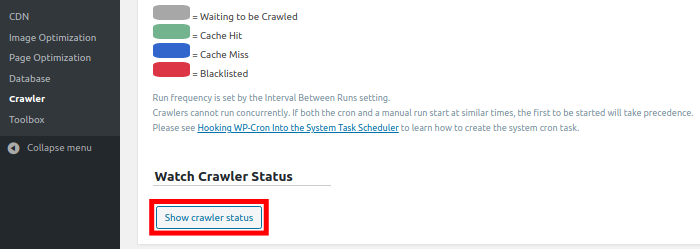
- This will take some time to complete. You can click the Show crawler status button to see the progress.

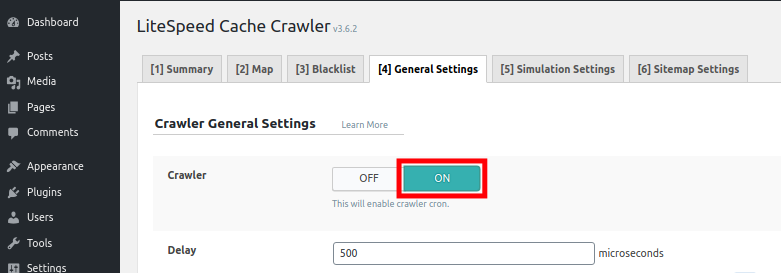
- To set up an automatic crawl click the General Settings tab.
- You can then select your crawl settings.
- Switch the Crawler option to ON.

- Click the Save Changes button.
It will now automatically re-crawl your site on the set interval and update your site cache.
WordPress Optimization Tools
Now that you have your site caching set up, we will go over the additional tools available that are included with the LiteSpeed Cache plugin. These can help improve the performance of your WordPress site.
CDN Tools
A content distribution network (CDN) stores parts of your content such as images on a separate server from your website. These CDN servers are typically optimized for a specific type of content. Often they are also in different locations so they can “distribute” the content globally.
Here is how to enable the CDN settings in the LiteSpeed Cache plugin. You will also need to enable the CDN service in your QUIC.cloud account.
- Login to your WordPress Dashboard.
- Click LiteSpeed Cache then CDN in your navigation menu.
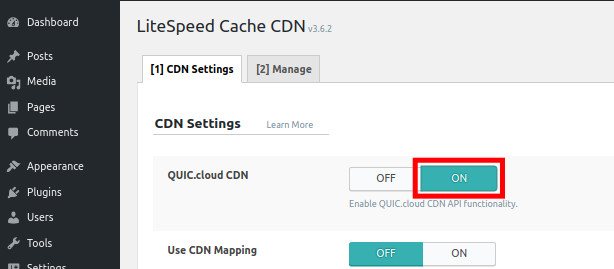
- Set the QUIC.cloud CDN option to ON.

- Click the Save Changes button.
- Login to your QUIC.cloud account.
- Select your site from the Domains list.
- Under Service click the CDN option.
- Click the Enable CDN button.

- Select the “I want to use CNAME” option.

- You must then create a CNAME record with the provided text.
- Click the Continue button. The CDN will then begin working once your CNAME change has been verified. Please note that this change may take up to 24 hours to propagate.
Image Optimization
- Login to your WordPress Dashboard.
- Click LiteSpeed Cache then Image Optimization in your navigation menu.
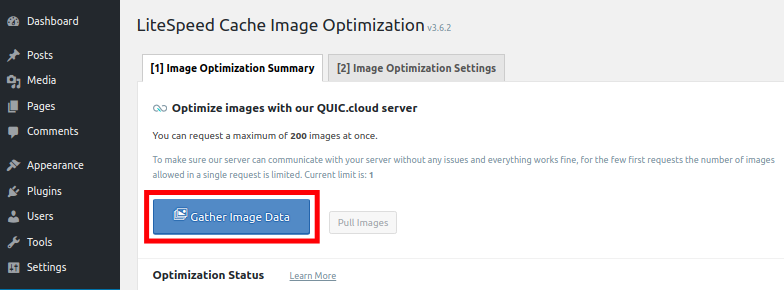
- Click the Gather Image Data button. This option will only appear if you have uploaded images to your site.

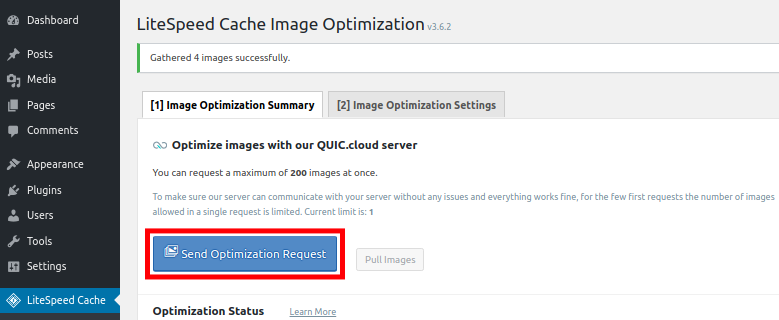
- You can then click the Send Optimization Request button. It will then push your images to the QUIC.cloud account.

Page Optimization
The LiteSpeed Cache plugin includes a wide array of page optimization features, we’ll now show you how to access them. Since specific site setup can differ, we recommend only adjusting settings that you are familiar with. Also, test your website extensively after making any changes here.
- Login to your WordPress Dashboard.
- Click LiteSpeed Cache then the Page Optimization link in your navigation menu.
- You can then choose your CSS optimization settings.
- You can click the additional tabs to access more page optimization options.

- Click the Save Changes button after making any changes.
- Be sure to Purge All Cache as described above.
Database Optimization
Keeping your database free of old or unused content is another important way to ensure your site is running smoothly. For example, you can use this plugin to quickly delete all “Spam” and “Trashed” comments, or “Post Revisions” with just a single click.
- Login to your WordPress Dashboard.
- Click LiteSpeed Cache, then the Database link in your navigation menu.
- You can then select the specific database element that you want to clean up. You can also click the Clean All button to remove them all at once. It will immediately perform the cleanup process.

Now you know how to optimize your site using the LiteSpeed Cache plugin for WordPress. Check out our WordPress Education Channel for hundreds of walk-through guides.
Become a master of WordPress plugins! Protect, optimize, secure, and expand the functionality of your website easily with the help of WordPress plugins!
Improve the performance and security of your WordPress website with our WordPress Hosting plans.





Thanks
You’re welcome!
Hello, I have a question about LiteSpeed Cache. Do you need to use these third-party cloud and redis services in this plugin to see positive differences in website speed. And why, after installing this plugin, the database is many times larger. I have a small website on the lite speed server https://totemat.pl/ and I do not know why it is that when I run this plugin, the website works slower than faster according to google page speed. Maybe you have any suggestions?
Yes, this plugin seems to require a 3rd party QUIC.cloud account to get full use of its tools. I do recommend the following guide to help your site performance: 21 Reasons Your Website is Slow and How to Speed it Up