Blocks are great for building content but often present issues in formatting when using images. The Cover block was created in order to help provide an option for background images with text. This block gives you the options for image and text alignment, image positioning, and color overlay. We will also show you how to use the cover block in place of a title while changing the page or post URL. Follow the steps below to learn how to use the cover block in the WordPress editor.
- Finding the Cover Block
- Options of the Cover Block
- Positioning the Image in the Cover Block
- Color Overlay
- Using the Cover Block in Place a Title
For a secure, optimized home for your WordPress site, subscribe to InMotion’s WordPress Hosting soltuions.
Finding the Cover Block
When you’re working on a post or page you will need to be logged into the WordPress Administrator Dashboard. Adding new blocks is done within the WordPress editor.
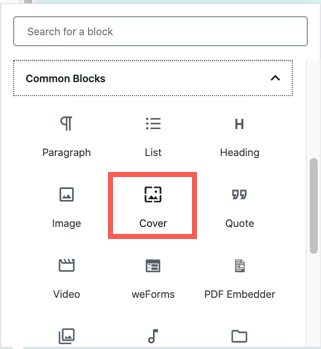
- Click on the circled + sign to add a new block. Find the Cover block by using the search field, or going to the Common Blocks section.
- You will then see the option to upload or use an image from the media library. Select your image to add for the cover block.
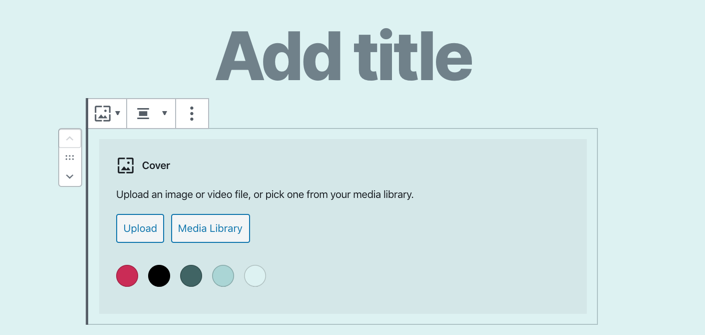
- You can also select a color for the background without selecting an image. The color options presented will be based on the theme that you are using for your WordPress installation. This color can also be used for an overlay if an image is also selected.
Cover Block Options
The cover block lets you manage the alignment of the image selected, the background color for the image, and the text used within the block. You can also use the block properties to change image position and text appearance. Here’s a list of the options that you can use and how each option appears when you select it.
Image Alignment
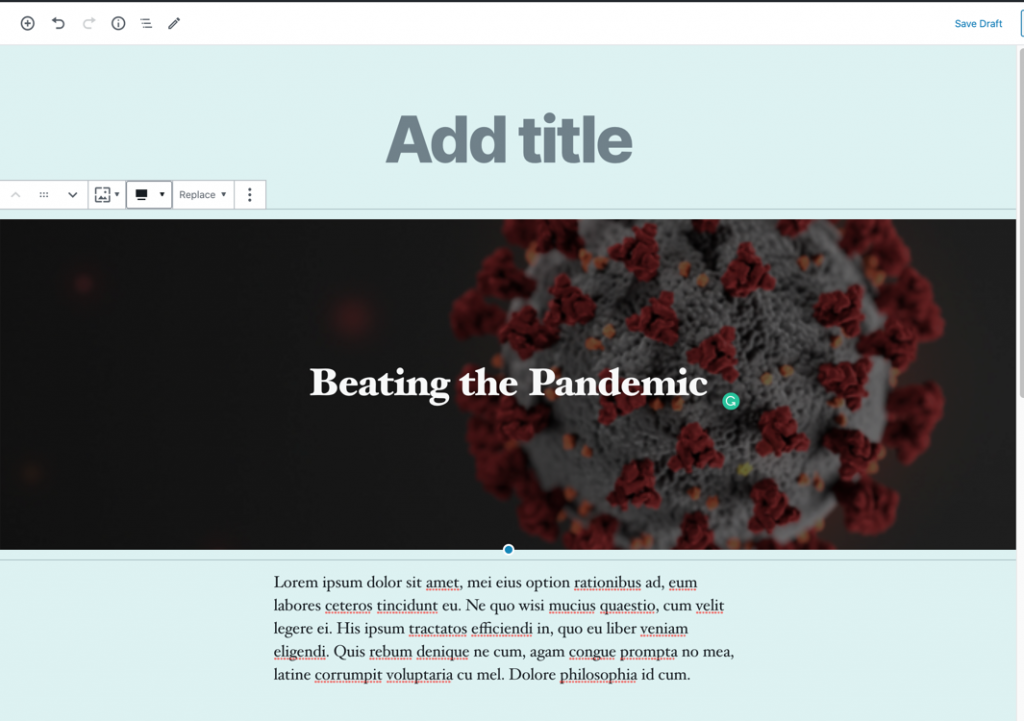
When you add an image in the image block, you will be able to select an alignment. Note that the position of the block will be affected by the theme used by the WordPress site. The alignment options will include: align left, align center, align right, wide width and full width. The screen captures below include the title in order to give you context on the position of the image.
Align Center -Image is centered under the title.
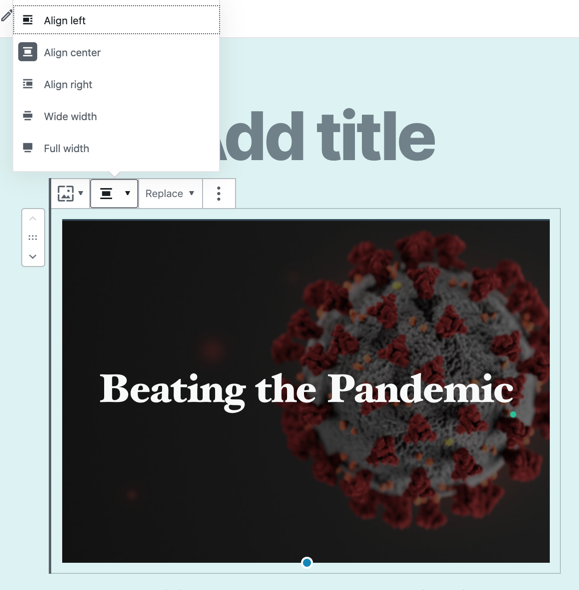
Align Left – Image is positioned to the left of the title.
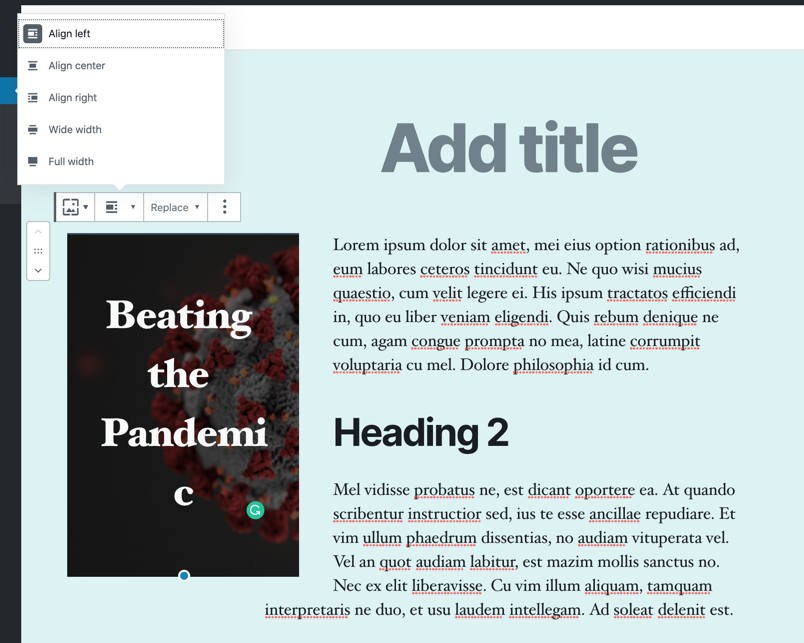
Align right – Image is positioned to the right of the title.
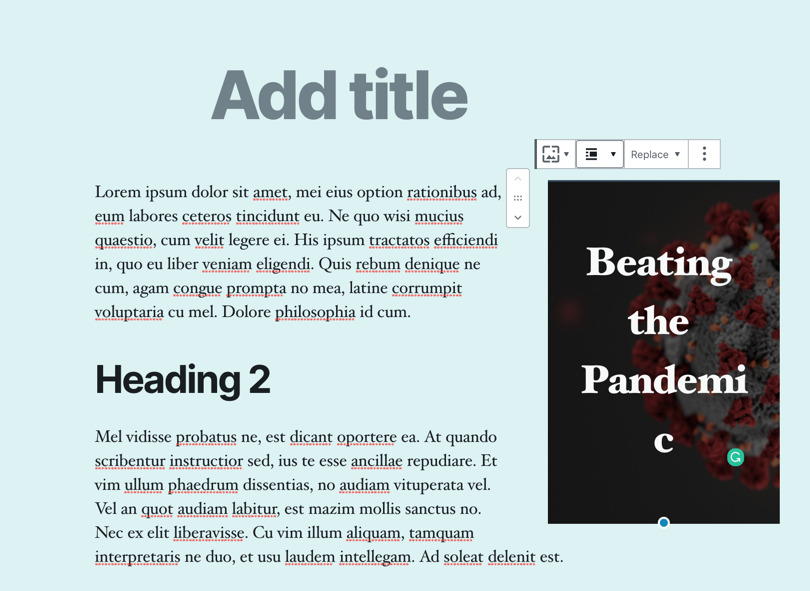
Wide width – Image is the width of the template. The width of the image will not change.
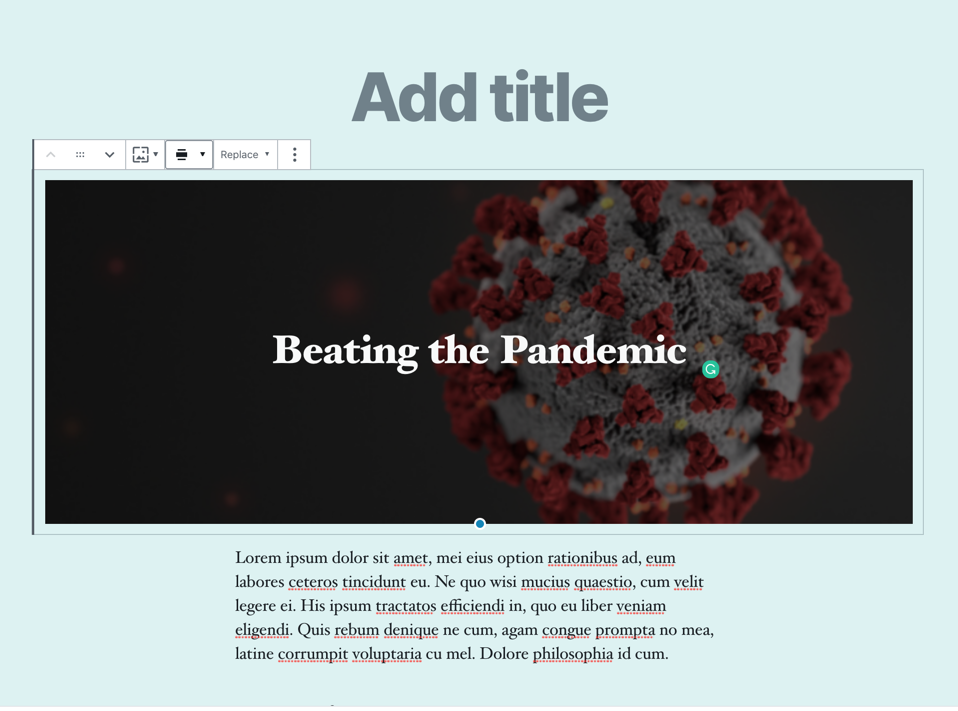
Full width – Image is the width of the viewing window. As you change the width of the window, the width of the most will change.
Cover Text
After the image has been added to the block, then you will be able to add text as the title of the cover image.
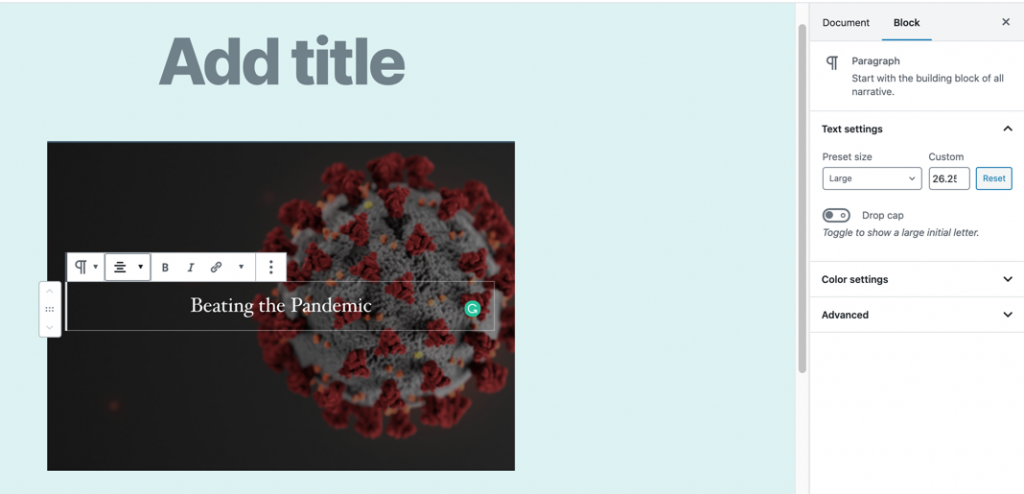
The text within the cover image can be header text, a paragraph, or a quote. You can also have multiple blocks of text. Each block of text can be aligned, bolded, italicized, and linked. The block properties (for the cover block) let you modify the text as long as you leave it as a paragraph block. As per the screen capture above, you will be able to change the size of the font, use a drop cap for the first letter of the first word in the paragraph, and change the color of the text and text background.
Positioning the Image
The image within the cover block can also be manipulated using the block properties. You will have the option to make the image into a fixed background or select a focal point for the selected image. You can also manipulate the horizontal and vertical positions using percentages.
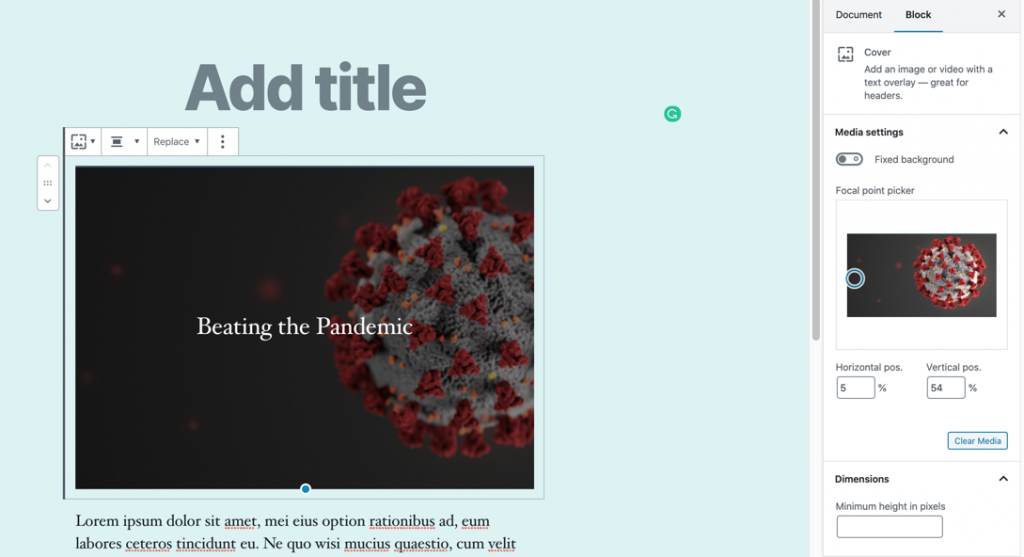
The image above shows the block properties to the right of the screen. This image shows an example of the image not being set to a fixed background in the Media settings section. This is the default setting for the image used in the cover block. Here are the other options available for the image within the Media settings section:
Focal Point Picker
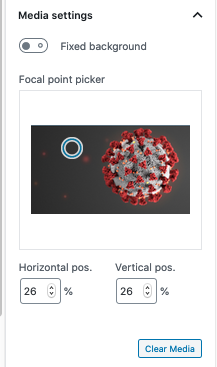
The focal point picker lets you select where the image will focus when it’s displayed. You can also set the horizontal and vertical position of the image by using percentages.
Fixed Background
The fixed background option will magnify the image and then make it fixed. When you scroll up and down in the post, it will scroll through the image. You can see an example of this effect in the image above.
You can also set the minimum height for the image in pixels. You can find this option directly below the media settings.

Color Overlay
A color overlay is generally applied to an image in order to provide a way to make text stand out on a background image that is too light or too dark. You can also use the color overlay to change an image’s appearance. You can find the Overlay section underneath Dimensions in the cover block properties.

The overlay color can be selected and also be set to either a solid or gradient. Each color or gradient selected can also have its opacity set using the Background opacity setting. The lower the opacity, the more you’ll see the image. The higher the opacity, the less you’ll see the image and the more you’ll see the color gradient.
Using a Cover Block without a Title
In some cases, you may want to use the cover block as the title of a page or post. This would mean that the title block above the cover block would be blank. However, you will need to be aware that the permalink associated with the page or post will be affected. WordPress will auto-generate a number to identify the block. If you do not want the page/post URL to be set to a number, then you will need to manually change the permalink. We will step through that process below.
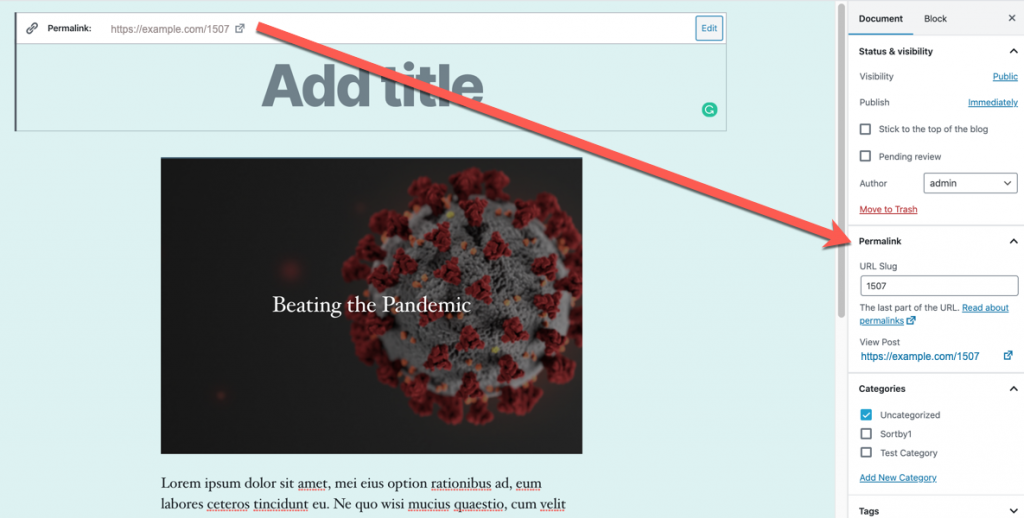
- To edit the permalink you can click on the Edit button in the title block at the top of the page, or go to the document properties for the post or page and click on permalink.
- You will then be able to edit the end of the URL for the page or post that you are working with. If you don’t want to use the assigned number, then change it to descriptive text.
Congratulations! You now know how to use a Cover block for your page or post content. To learn more about using WordPress, please go to our WordPress Hosting Product Guide.
Can you please tell me how did you positioned the title to the left please? I am about go absolute nuts on this stupidity – probably of myself.
Thank you
Hello and thanks for asking. There are multiple ways to do that depending on your theme and whether you want to use a plugin or code. I recommend you contact your theme developer or IRC channels about the best methods.