Adding spaces between blocks with the new Gutenberg editor in WordPress (the default editor pages and posts) can be a little tricky. It used to be that you can simply hit enter a few times and the spaces would be there. Or, some people add empty blocks with a space to hold the block in place.
To provide a better solution to this issue, a block was created called the spacer. Using this block, you can quickly add a space between other content blocks. Follow the steps below to learn how to use this block.
Need a place to start your first WordPress site? Look no further that InMotion’s WordPress Hosting solutions for secure, optimized sites configured for your budget needs.
How to Add a Spacer Block
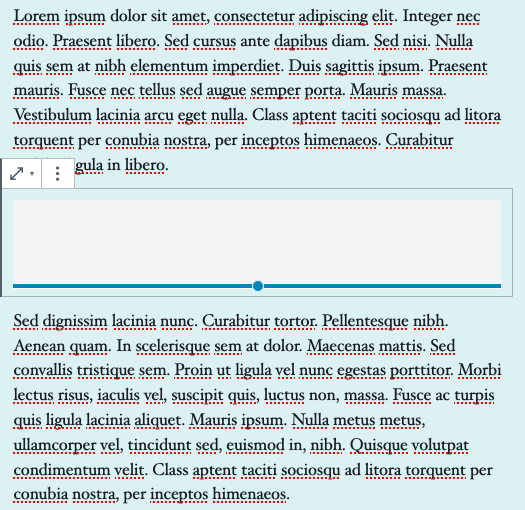
You can see an example of the spacer block above. It can be used to provide a variable space between blocks and is transparent (no color shows).
- Log into the WordPress Administrator Dashboard
- Click on the circled + sign to add a new block.
- Search for “spacer” or go to the Layout elements section and select the block.
Adjusting the Space

Adjust the size of the space by simply hovering the blue bar with your mouse. The cursor will change and if you left-click and drag up or down the size of the space will change.
Congratulations! You now know how to add a spacer block and adjust its size for your posts and page content.
Learn more about the new WordPress editor, Gutenberg, and the capabilities of the separate Gutenberg plugin with our helpful Gutenberg tutorials.

please let us know if negative space is allowed or a way to tighten up the blocks… the designs have too much space.
Hello, and sorry to hear that you’re running into trouble with the spacer block. You can try referring to the official WordPress Documentation on Spacer Blocks, as you may be able to achieve what you want by using the advanced editing features. Be sure to check the Developer Reference Guide on spacer blocks as well. Spacing is largely locked in place by a particular WordPress theme, so you may need to either try a different theme or try editing the theme file directly to achieve the look you want. If you opt to edit the theme file, please be sure to make backups beforehand. Hope that helps!