A favicon is the tiny icon that appears in the tab next to your domain name. It used to appear in the address bar next to your domain name, but it has been removed from that location for security reasons. The one exception is the Microsoft Internet Explorer which still shows the favicon next to the address in the address bar. All the other browsers have removed the favicon from the address bar in order to prevent confusion with the state of website security.
How to Create a Favicon
There are several ways to create favicons, but in general, you would need to have a graphics program that can create a JPEG, GIF or PNG file that is at least 512 wide pixels by 512 pixels tall. The main concern is to keep the file small with minimal colors and resolution in order to allow quick loading speeds. WordPress version 4.3 allows to create a favicon (called a site icon by WordPress) by simply loading a graphic in WordPress and then cropping out just the part of the graphic. Here are some general guidelines for making a favicon:
- WordPress asks that the file be at least 512 pixels wide by 512 pixels tall
- Keep the image to 72 DPI (the resolution used for web images; DPI= Dots Per Inch)
- Keep the numbers of the colors to a minimum
- Keep the file size small. This is normally done by limiting the number of colors and keeping the resolution to 72 dpi
There are many free favicon creation programs on the web. These programs provide a one-stop service for creating the graphic so that you can use it for your website. However, please be careful when using any application on the web to avoid possible malware issues.
How to Add a Site Icon in WordPress 4.3
- Login to the WordPress Administrator
- Click on Appearance, then click on Customize

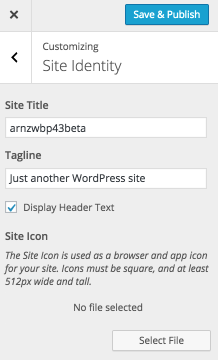
Click on Site Identity
- Click on Site File under Site Icon

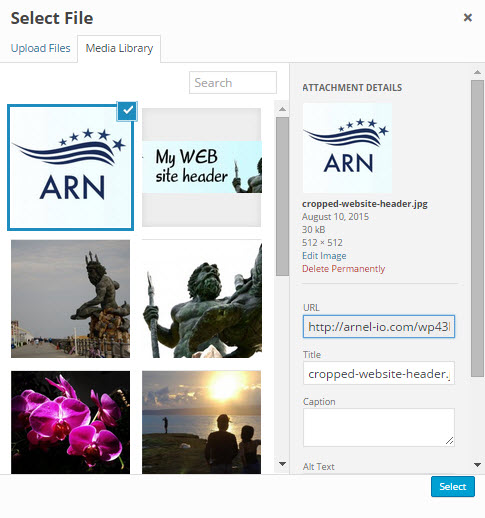
Click on Select file after you have clicked on the file that you’re going to use for the Site Icon. Remember that the image should be at least 512 pixels wide by 512 pixels tall

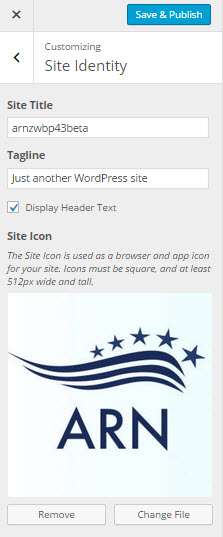
Click on the Select button in the bottom right corner of the Select File dialog screen. You will then the see the image under the Site Icon area of Site Identity. Verify that the Site Icon appears the way you want it to appear.
- Click on Save and Publish at the top in order to save your changes.
How to Crop a Selection to Create a Site Icon in WordPress 4.3
- Login to the WordPress Administrator
- Click on Appearance, then click on Customize

Click on Site Identity
- Click on Select File in order to select the graphic where you’re going to crop the Site Icon.

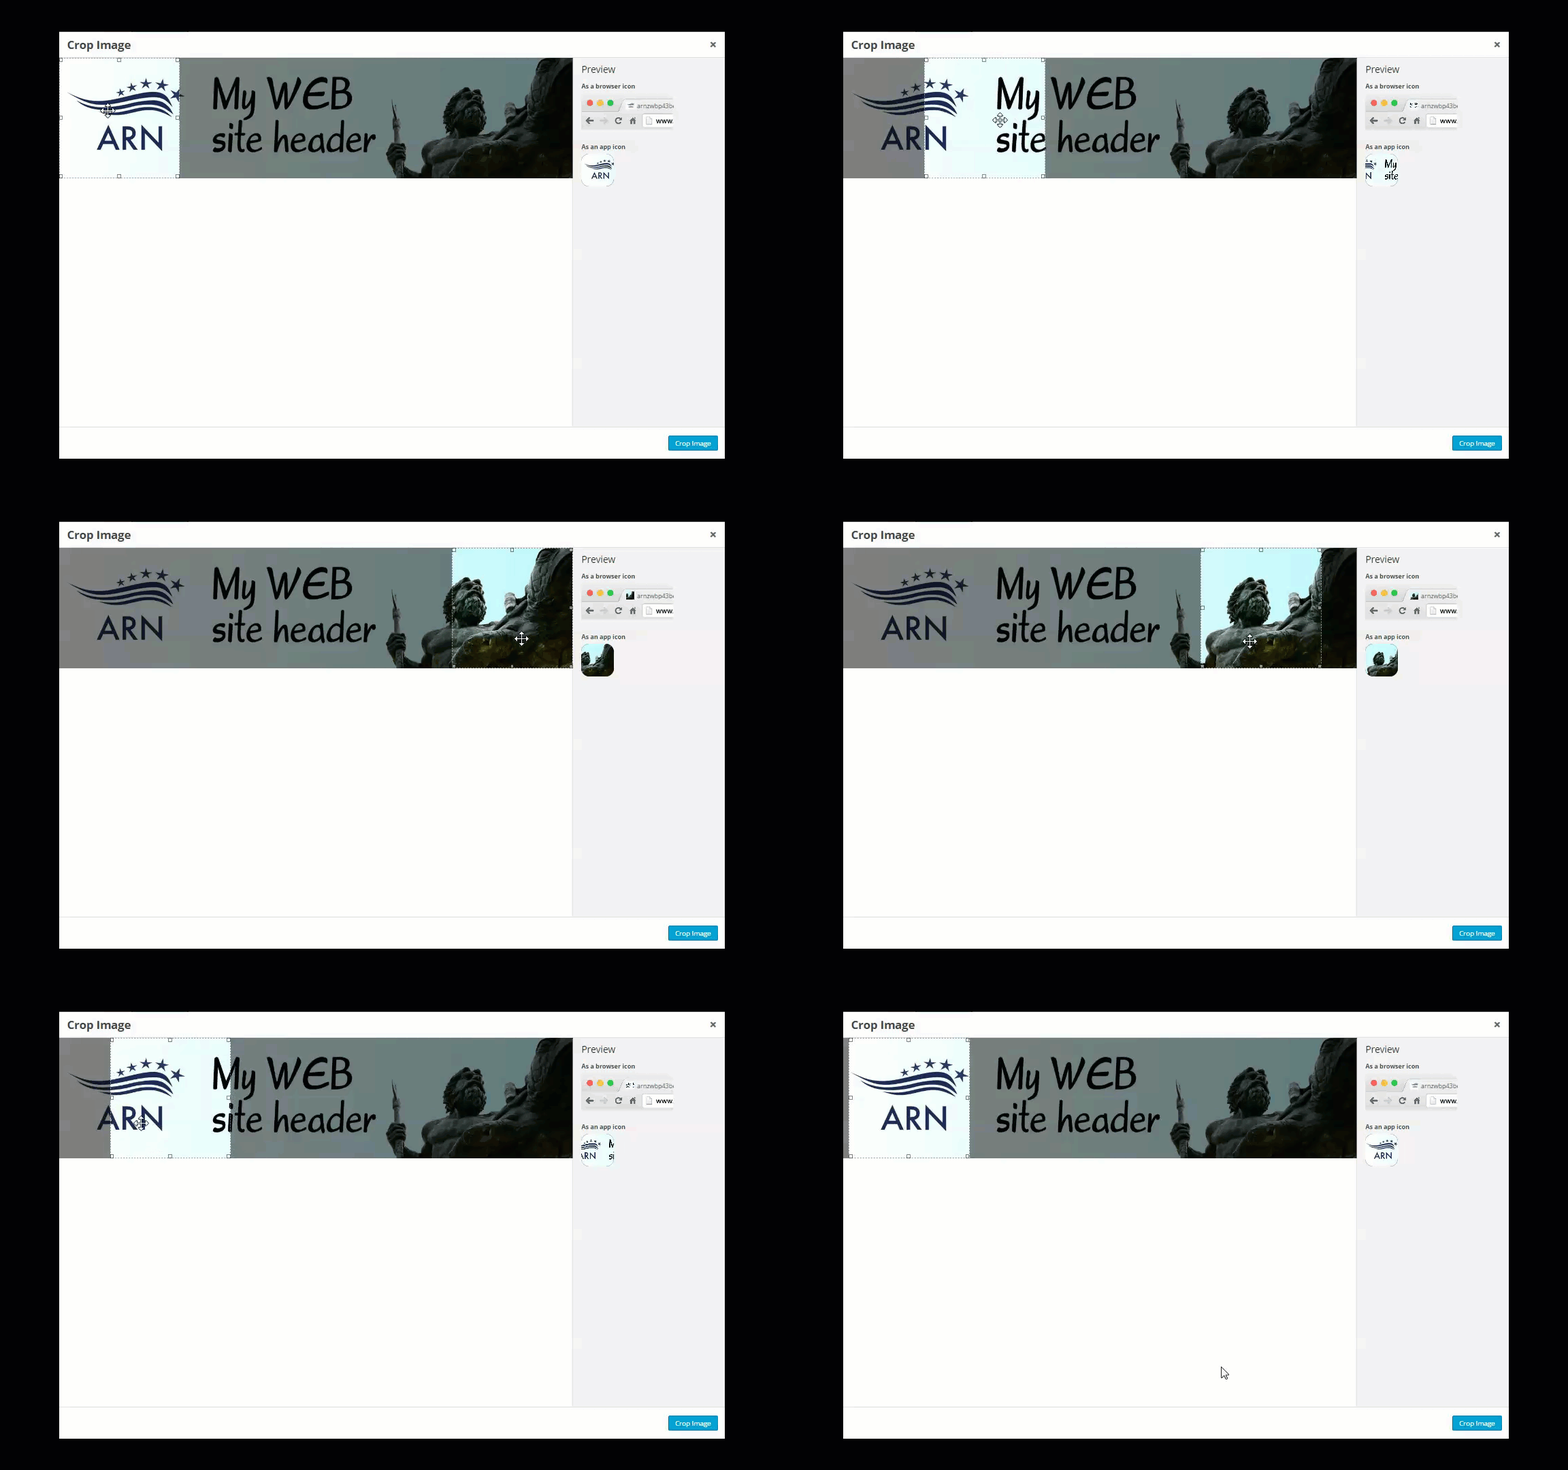
Click on Select file. If the file that you’ve selected is fairly large WordPress will automatically detect this and open the Crop Image screen. You will be able to slide and size the crop area for your Favicon. The screen at right also lets you see exactly what the favicon will look like.
- After you have selected the area that you’re going to use for the Site Icon (favicon), then click on Crop Image

Once you’ve selected your Site Icon, you will see a version of it in the Site Identity area. Click on Save and Publish in order to save your changes
That completes the tutorial on using the Site Icon (favicon) feature within WordPress 4.3. The graphic above shows you how the favicon will appear in most browsers.


@LeoDJ: Thanks, that fixed the error also in my case.
Nevermind, I finally found the issue!
It was actually linked to another issue I had (I couldn’t scale or edit any images) which lead me onto the trail, that a PHP library was missing (php5-gd).
A simple “sudo apt-get install php5-gd” fixed everything!
Hello John-Paul,
I stepped through the Troubleshooting Techniques, but no error showed up and neither the Theme nor the Plugins had an effect to this error (strangely).
But I did notice something else. If I went to the browser console, everytime I clicked “Select file” an error pops up in the console. But sadly, not even Google seems to know it.
“Uncaught TypeError: b.trigger is not a function” (this is what it shows me exactly: https://i.imgur.com/fivoeuJ.png)
Like I said, Google knows nothing about this error and other people don’t seem to have this problem. Also disabling all Plugins and my Theme didn’t help strangely enough.
Hopefully you, or anybody, knows something that could help identifying or even solving my problem…
Regards,
LeoDJ
I also have this problem with the Site Identity section. When I select the image, it stops there and does nothing at all. Do I need to change some directory permissions?
Hello Poly,
Sorry for the problem with creating the site icon. I went back and reviewed the steps. Make sure you have the latest version of WordPress loaded. It works for me, and I could not make it do what you were describing. What kind of file were you selecting? Was it a graphic image? Was it a very small or very large file? Give is a little more information on the type and size of file you were selecting so that we can attempt to duplicate the issue here. Otherwise, we would recommend that you’re using a JPG file.
I hope this helps to answer your question, please let us know if you require any further assistance.
Regards,
Arnel C.
Hi, I am a graphics designer so I do not get one technically important thing: why do I need to use a huge “at least 512×512 px” picture for such a small thing as favico is. Its real dimensions are 32×32 px so why to create a picture 15 times larger and then trying to optimize it in its data size? It has no sense for me. Can you explain this requirement? Thanks.
Hello Martin,
Thank you for contacting us. Yes, 512 x 512 resolution does seem large, but we are simply walking your through the process. This is just a new WordPress feature, that simplifies the setup of a favicon. I have seen reports that the higher resolution is specifically for retina display devices such as iPads/iPhones.
You can still create a favicon the old way if you do not want to use a 16 x 16 image to start with.
Thank you,
John-Paul
First of all, great tutorial!
I get until step 6, where i ought to click “Select file” but rather than actually selecting the image and go on to Step 7, it it simply unticks the selected image…
And when I try a non 512×512 picture and crop it, it just tells me, that the cropping has failed…
Something is not right here and I can’t figure out what. Nobody else seems to have this problem.
I hope you can help me.
Regards,
LeoDJ
Hello LeoDJ,
Thank you for contacting us. I recommend following our Common WordPress Troubleshooting Techniques guide. It will help you narrow down the specific cause of the problem.
If you have any further questions, feel free to post them below.
Thank you,
John-Paul
Site Icon does not show on Customizer. The ones that show are Generate Press and Theme customization. Therefore, I am unable to create a site icon as advertised on WordPress 4.3.
🙁
Hello Claudio,
With stock 4.3, it appears as shown above. Themes can override the customizer, so it is possible you are using a theme that has done so. In that case, the instructions above will not be accurate.
Kindest Regards,
Scott M