While visiting the WordPress reddit forum, I stumbled upon an interesting question about stress-testing websites:
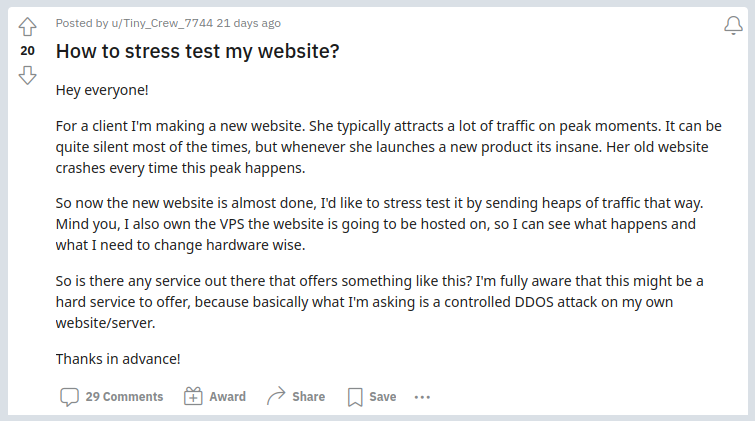
It’s difficult to know how your website will perform under peak conditions, especially given the many variables that can affect your site.
And the worst time to test your site is the moment when a peak hits. By then, it’s too late.
Is there an easy-to-use tool that can help you simulate a high load with a controlled test?
Loader.io is a free, easy-to-use third-party load tester that you can use to put your website under a controlled server load.
If you have a dynamic site, a WordPress site, for example, you will want to routinely check your site to see how it performs under various server load conditions. A load may be a flood of visitors, or a possible bot attack. In either case, it’s good to test your site under heavy conditions to see how it performs.
Test data can help you determine what kind of hosting package best fits for your needs.
Testing your site under high load is a good diagnostic exercise, but it can cause issues on your site. If you are on shared hosting, excessive testing can cause resource abuse issues.
You should only proceed with testing if you have a VPS account or higher. Stress testing your site with different load scenarios could cause the site to slow down or crash. Proceed with caution.
In this article:
Running Your First Test in Loader.io
In order to run a test with loader.io, you will need a website to target, of course, and then you can set up that website as a host, and set your own testing conditions.
All of these steps are covered below:
Setting Up a Target Host
In order to use loader.io to test your site, you will need to set up your server as a “target host”.
After setting up your account, you will be prompted to create a new host.

- Fill in a domain for your new host
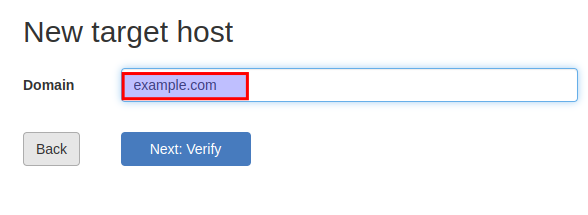
- Click Next: Verify
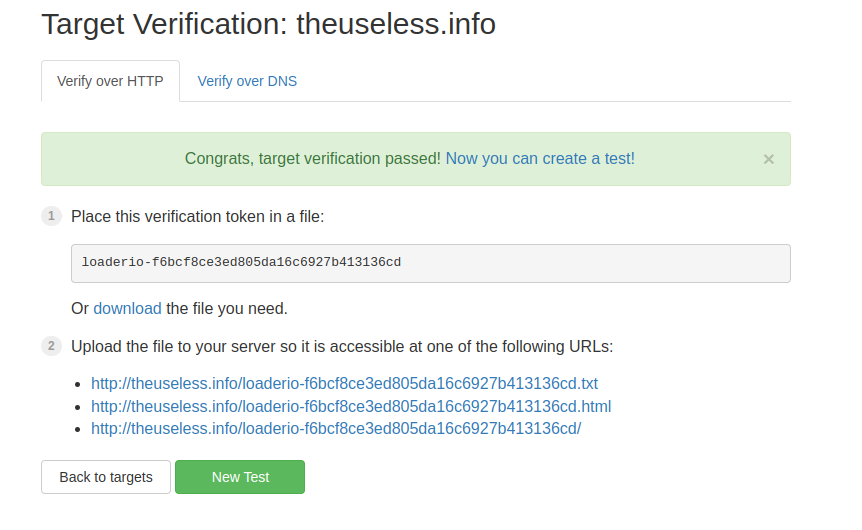
- Copy verification token, or download a verification file
- Paste the verification token into file on your server, or upload the sample file
- Click Verify
If you completed the previous steps correctly, you will see a success message indicating that verification succeeded:
You can see a list of your target hosts at any time by clicking the “Target hosts” link in the navigation bar at the top of the screen:

Running a New Test
By this point, you have created a new account in loader.io, and you have added your website as a target host. It’s time to run your first test.
You can access the tests by clicking the “Tests” link in the navigation bar at the top of the page:

Here you will see a prompt to run your first test:
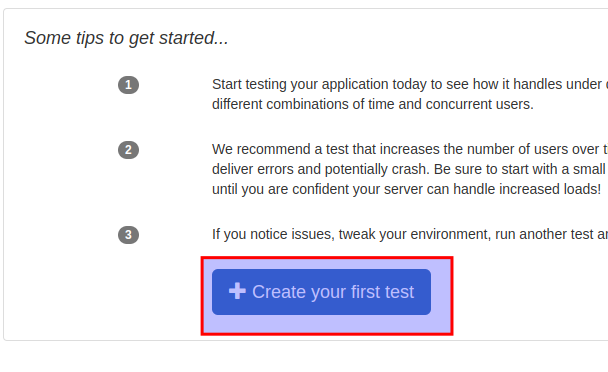
Give your test a name, and then proceed with selecting the proper test conditions (outlined below).
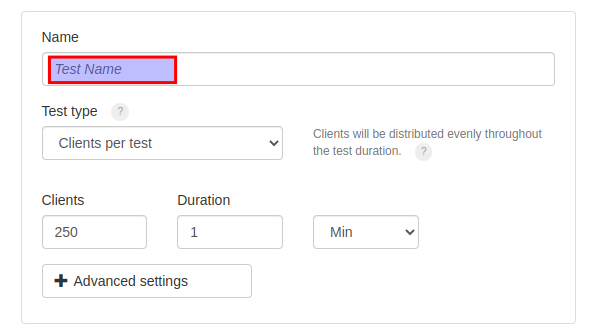
When ready, click Run Test, Save for later, or schedule the test for a later time:

Types of Tests
You have three options for the type of test to perform:
- Clients per test
- “Clients will be distributed evenly throughout the test duration.”
- Clients per second
- “Client requests made each second.”
- Maintain client load
- “A constant client count will be maintained throughout the test duration.”
Each type of test will have slightly different parameters. Be sure to read each option carefully and pick the option that works best for your site.
Client Requests
The test conditions can meet a variety of different client requests, including a method and protocol selection. You are best advised to pick the type of client request most applicable for your site.
If you are hoping to measure a basic visit to your site, you can pick a GET method for the HTTP or HTTPS protocol. If you are hoping to measure test conditions for information being pushed to the site, you may want to try the POST method.
When it comes to selecting your protocol, this will depend on whether your site is using HTTP or HTTPS. If your site is using an SSL (and most sites are these days) then you should select HTTPS.
Reviewing Test Information
Your loader.io test results will provide you with an average response time for your site, as well as other diagnostic information. Loader.io defines average response time as the average time it took for loader.io to get a response from your website.
A good average response time for a website is anywhere below 200ms.
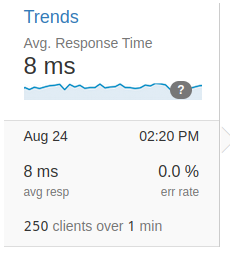
All of your test results will be saved under the “Tests” page. Remember you can always re-run, schedule, or archive the same test at a later time. As you continue to fine-tune your site’s performance, you should commit to taking additional tests.
Case Study: Stress Testing a WordPress Site
One of the best ways you could use loader.io would be to test your website’s response times under load, and measure the resulting load on the server.
For example, if you wanted to see what difference, if any, caching would make when applied to your site, that’s a result you would want to quantify through testing. This is exactly what we tested below.
For this test, we used loader.io to send 250 HTTP requests to a WordPress site over one minute. Loader.io measures the response times, but does not produce server load averages.
The websites used in this testing scenario running the latest version of WordPress and the Crio theme. One of the website is operating with no server-side caching or a caching plugin. The other is only using the W3 Total Cache plugin.
When inputing a WordPress site into loader.io, make sure to put a forward slash at the end of the URL you are testing. Otherwise, loader.io will be hitting a redirect over and over again, and not giving you the most accurate response times. In general, it is considered a best practice to limit redirects wherever possible.
To get a measurement of server load average under strain, we monitored load in the server while the test was being conducted.
Bash Script For Recording Server Load
To measure server load, you can monitor your server live during the testing period, using a program like top. To record a running log of server load over time, you can run this bash script during the testing period:
watch -n 1 "uptime >> uptime.log"
This script checks uptime every second and outputs the results to a file called “uptime.log”. You can update this script to write to any file you desire. (Keep in mind, results of subsequent input will add content to file instead but not overwrite it.) With this information available in plain text, you can build and graph the data in any style you prefer.
The Results
Here is a breakdown of the results comparing a cached WordPress site with a non-cached site running the same theme:
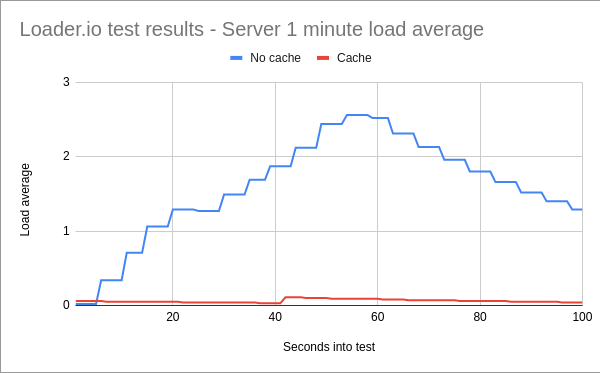
Notice the load on server resources is much higher with no cache.
Here are the response time averages for the non-cache site and the cached:
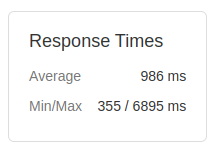
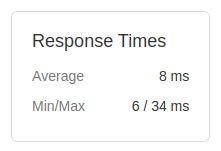
Why is high load a bad thing? Basically, if you have a powerful VPS server, with lots of CPU available, high load may not affect you. However, keeping resource usage low could help you save on server costs. And you can clearly how simply install the W3 Total Cache plugin dramatically reduced load on the server.
WordPress is a dynamic content management system. This means it uses PHP and MySQL to generate the pages of your site. Even solid coding standards for PHP and MySQL can still cause undue server load, particularly when many users are hitting your site at once. Having a solid page cache means PHP only has to grab SQL content once, and then the page is cached for later viewing.
Using loader.io for testing helped us visualize the dramatic effect caching can have on WordPress performance.
We recommend bookmarking our full guide on How to Stress Test Your Website / Top 3 Load Testing Tools.