A great way to keep your viewers engaged with your website content is to create a newsletter. Newsletters are periodicals that you publish for your subscribers or organization members. You can schedule your newsletters as often as you wish. You can also design them so that they are both informational and easy to read.
How do you create a newsletter while taking advantage of your WordPress website? Use a plugin! The Newsletter plugin is a widely used plugin with many capabilities provided for free. More advanced options can be obtained by purchasing the premium version of the plugin. We will show you how to install and activate the plugin, go through the basic setup of the plugin, then provide an example of a newsletter with the plugin.
Installing the Plugin
Installing the Newsletter plugin is quick and easy. You can use the WordPress Administrator Dashboard or go straight to the plugin page and download the file. Follow the directions below to install the plugin:
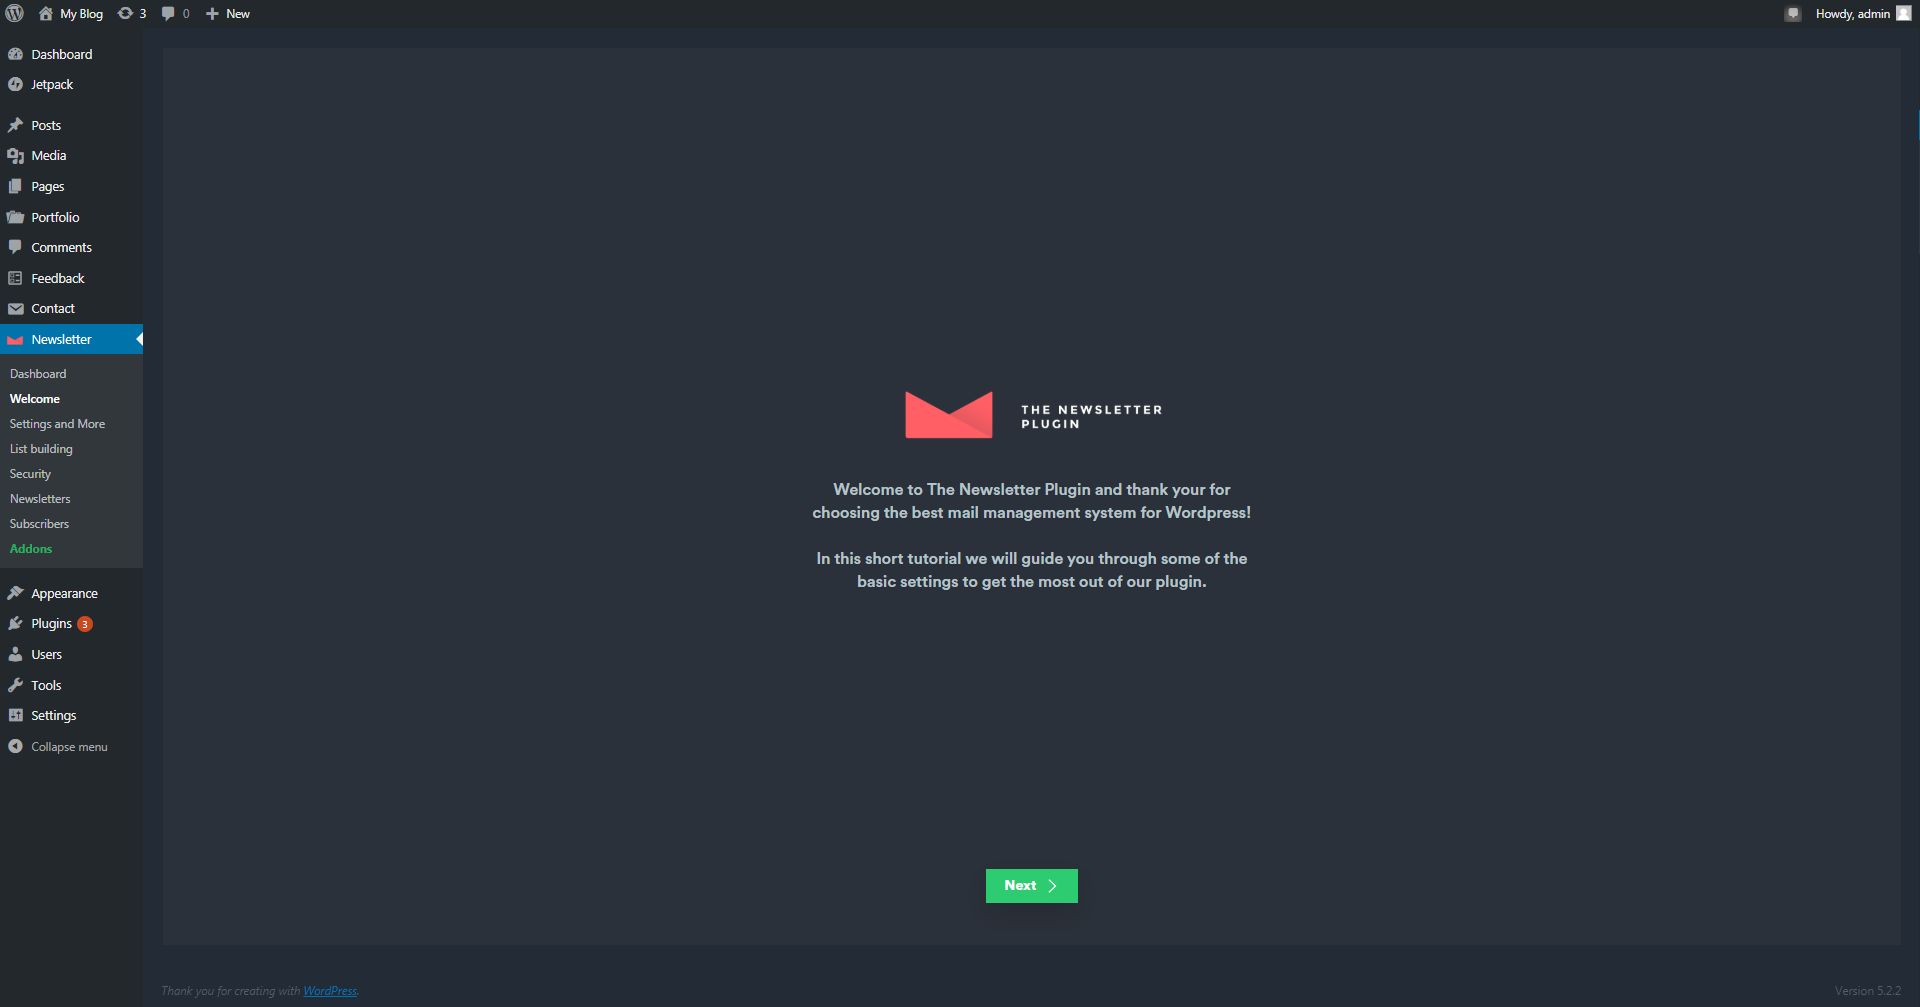
- Click on the green Next button at the bottom of the screen to begin the Newsletter plugin setup.
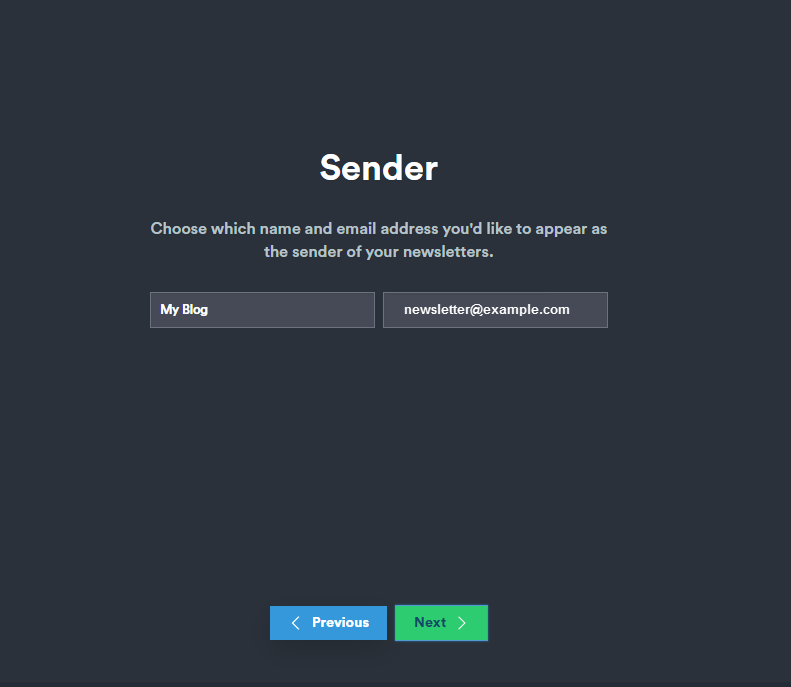
- Your next step will be to choose the name and email address that will appear as the sender for your newsletter. Click on each field to edit or add text.
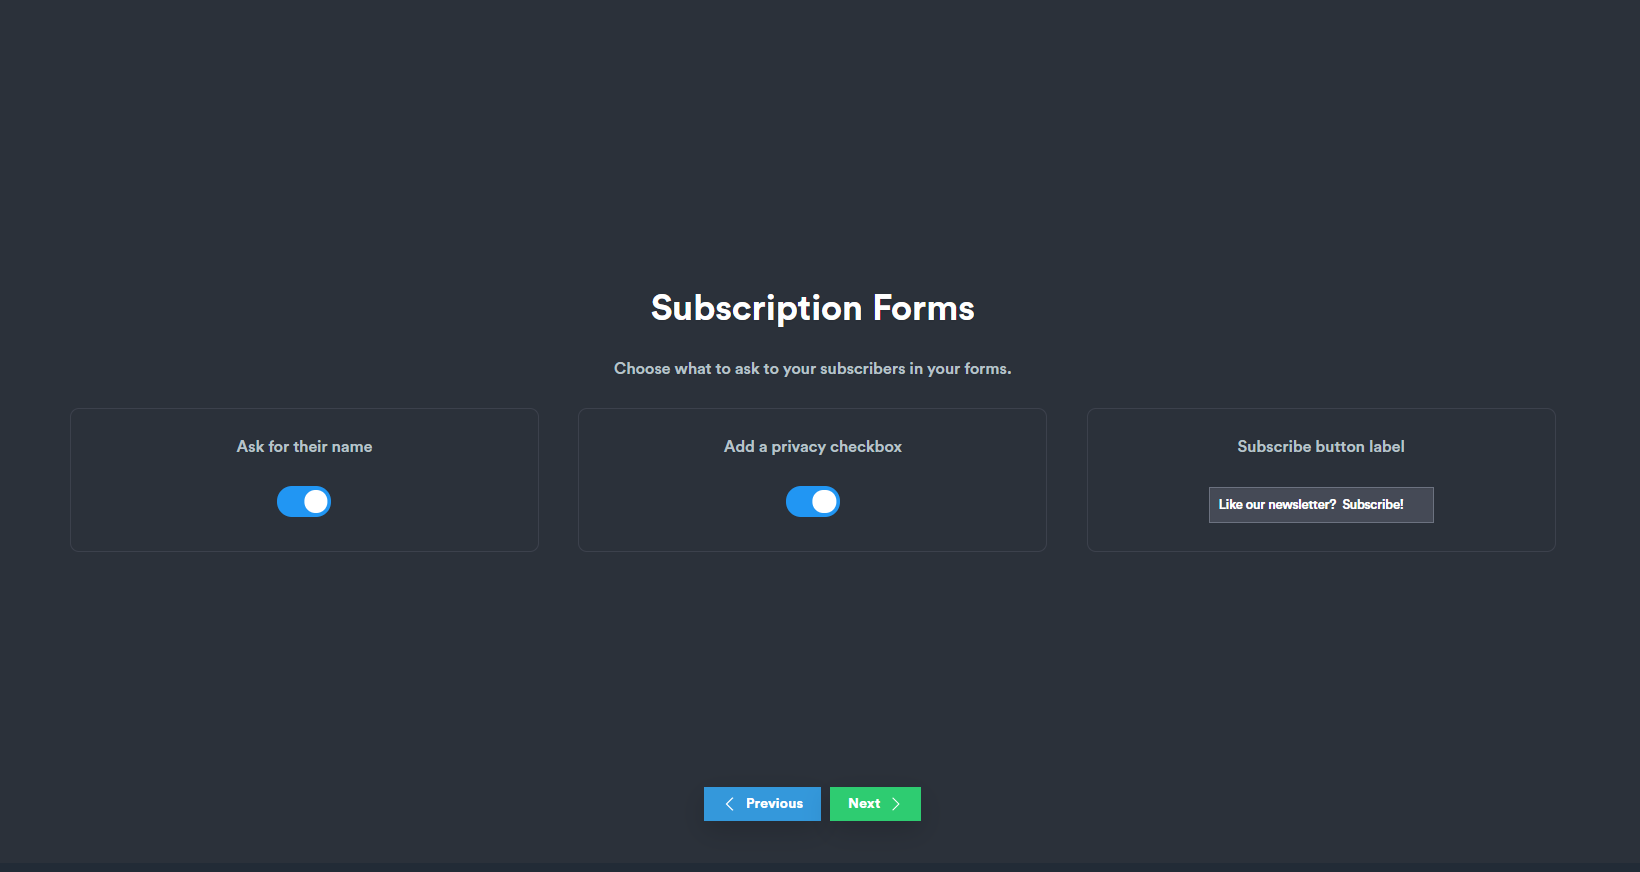
- You will then see the Subscription Forms page. You will see two switches: Ask for their name and Add a privacy checkbox. Click on the switch to enable or disable them. There will also be a Subscribe button label. Click on the field to change the label name. Click Next when you have finished making the configurations on this page.
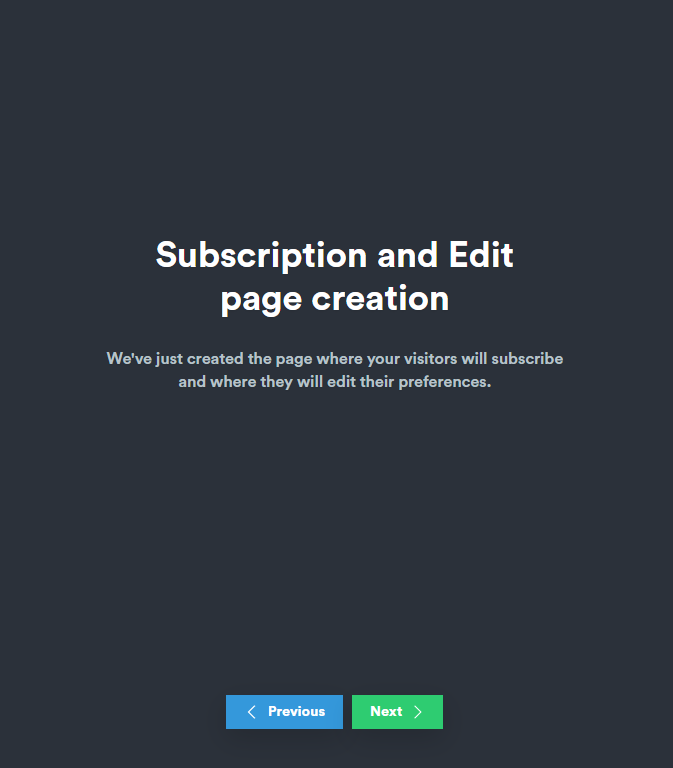
- The next screen is simply a confirmation of the creation of the Subscription and Edit pages. These are the web pages displayed when the user subscribes and where they change their preferences. Click on the green button labeled Next to proceed to the next step.
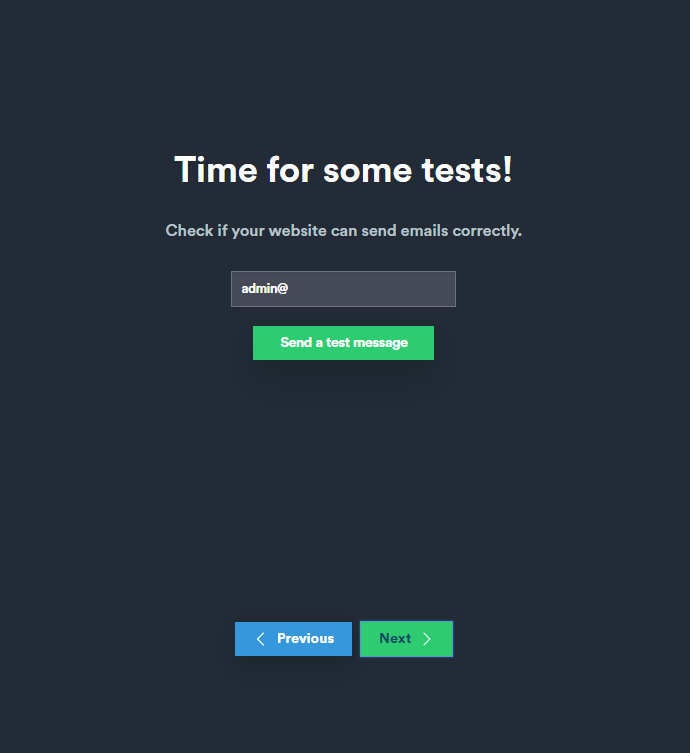
- In this step, you will be given the opportunity to test that your WordPress website can send an email. Type in an email address to send the test to, then click on Send a test message. When you’re finished testing, click on the green button labeled Next to proceed to the next step.
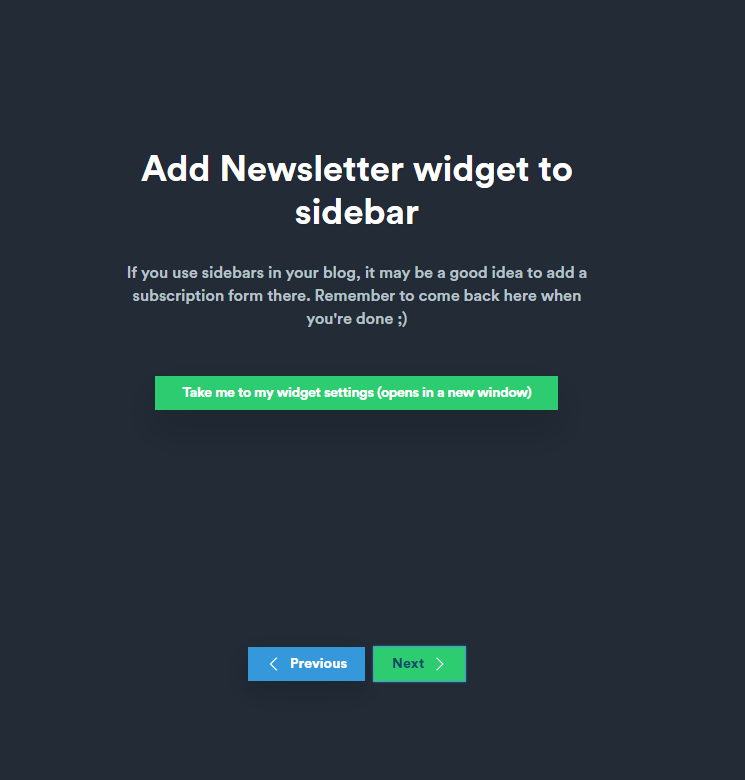
- Now that you’ve completed testing, you will determine where the Newsletter widget appears on your WordPress site. In order to keep your place in the plugin setup, we recommend that you open a second window for your WordPress Administrator dashboard. You can easily do this by right-clicking on the Appearance menu item, then selecting Open in a New Tab or Open in a New Window. If you’re on an Apple computer with no mouse, then you can use CTRL + touchpad click to bring up the pop-up menu.
The placement of the widget can be affected by the theme that you are using. In the default WordPress themes you will typically see the available locations of sidebar, footer 1 and footer 2. After you pick the location, click on the widget to give it a title, provide an introduction message, and names for the labels that may appear. There is an option to “Show lists as.” This option (and the labels) is for when you have multiple newsletters and how you want them to be displayed.
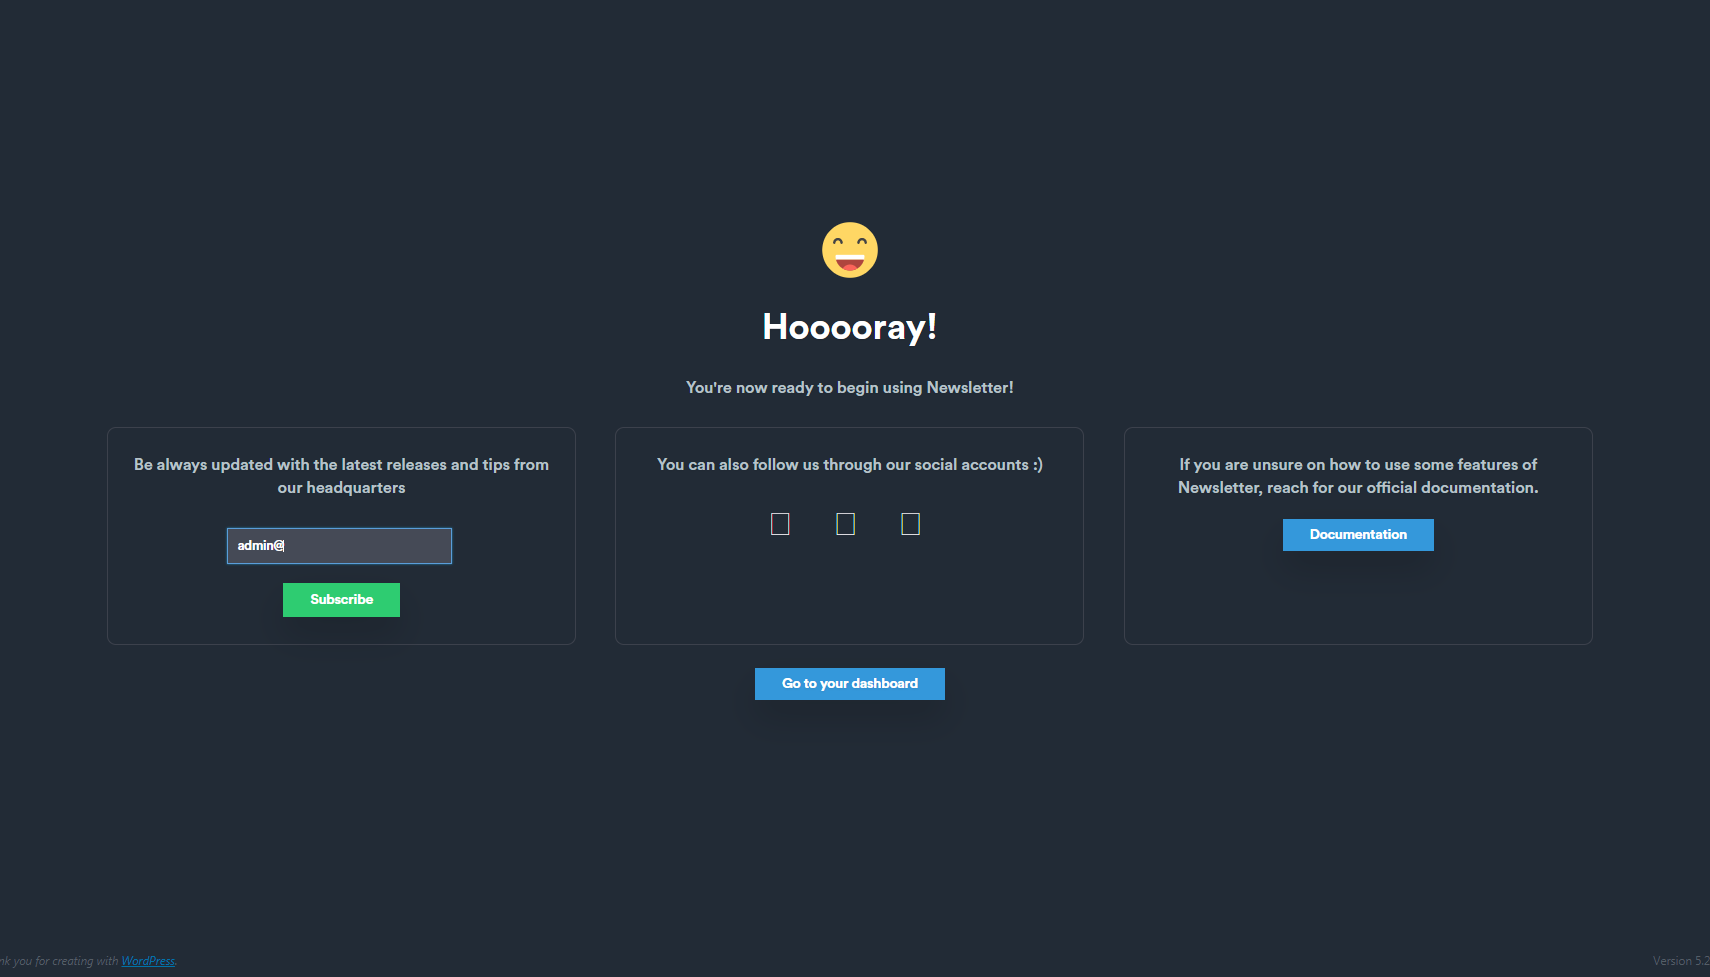
- The final configuration screen is simply congratulating you on completing the Newsletter plugin configuration. You can subscribe to their newsletter, select to follow them on their social media accounts, and read through their documentation in case you need more information.
That completes the Newsletter configuration! Now, let’s focus on how to create your first Newsletter!
How to Create a Newsletter Using the Newsletter Plugin
Before we start on how to create a newsletter, we need to make a note of the many options that are available through the Newsletter plugin. These options include a separate Newsletter dashboard, List building, Security, and Subscribers. You can even add more functionality through add-ons. Please check back to the InMotion Hosting Support Center for future articles on these options.
You will be using the editor provided by the Newsletter plugin. Learn how to start using the editor to create your first newsletter by following the steps below:
- If you’re not already in the WordPress Administrator Dashboard, please log in.
- Click on the Newsletter option in the WordPress menu to the left of the screen. Then click on Newsletters.
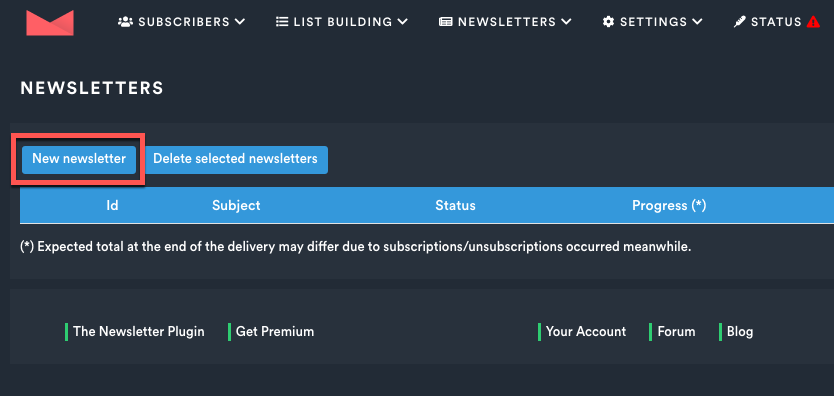
- As with many sections of WordPress, when you have multiple items that you are tracking then it is listed in a table. Click on New Newsletter to start your first one.
- The Newsletter plugin provides you a few options to compose your newsletter:
Responsive Drag & Drop Composer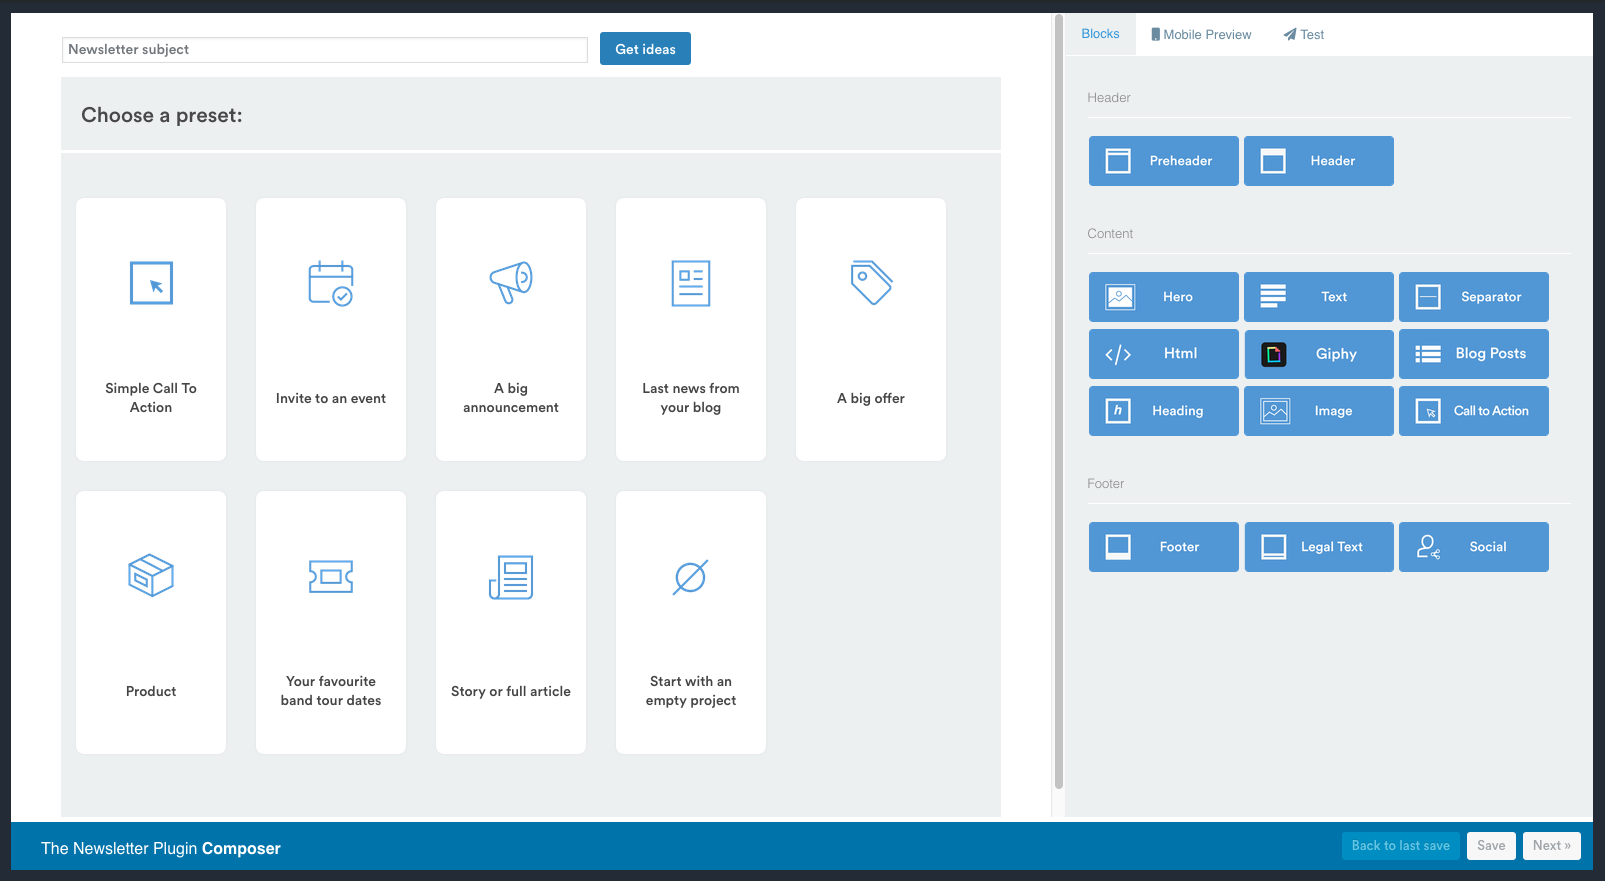
This editor begins with a list of preset options. These preset options are for a specific subject for your newsletter. The last preset is for an empty project. After you have selected a preset, you can then start using the options provided on the right side of the editor to create your newsletter’s content. Before you start filling in your content, make sure to type in a Newsletter Subject at the top of the screen. The button labeled “Get ideas” to the right of the subject line provides some suggestions for the title if you need help. At any point during the creation of your newsletter you can preview the newsletter, or test it with the options provided at the top of the editor screen.
Raw HTML Editor
This editor is simply a text editor for HTML coding. The editor start with the basic HTML code to start off your newsletter: a header, title, body tags. This editor is suited for those people who are familiar with working in code. Like the Responsive Drag & Drop composer, the Raw HTML editor has the options for preview and testing. You can also click on the Add Media button to upload media at any point.
Themes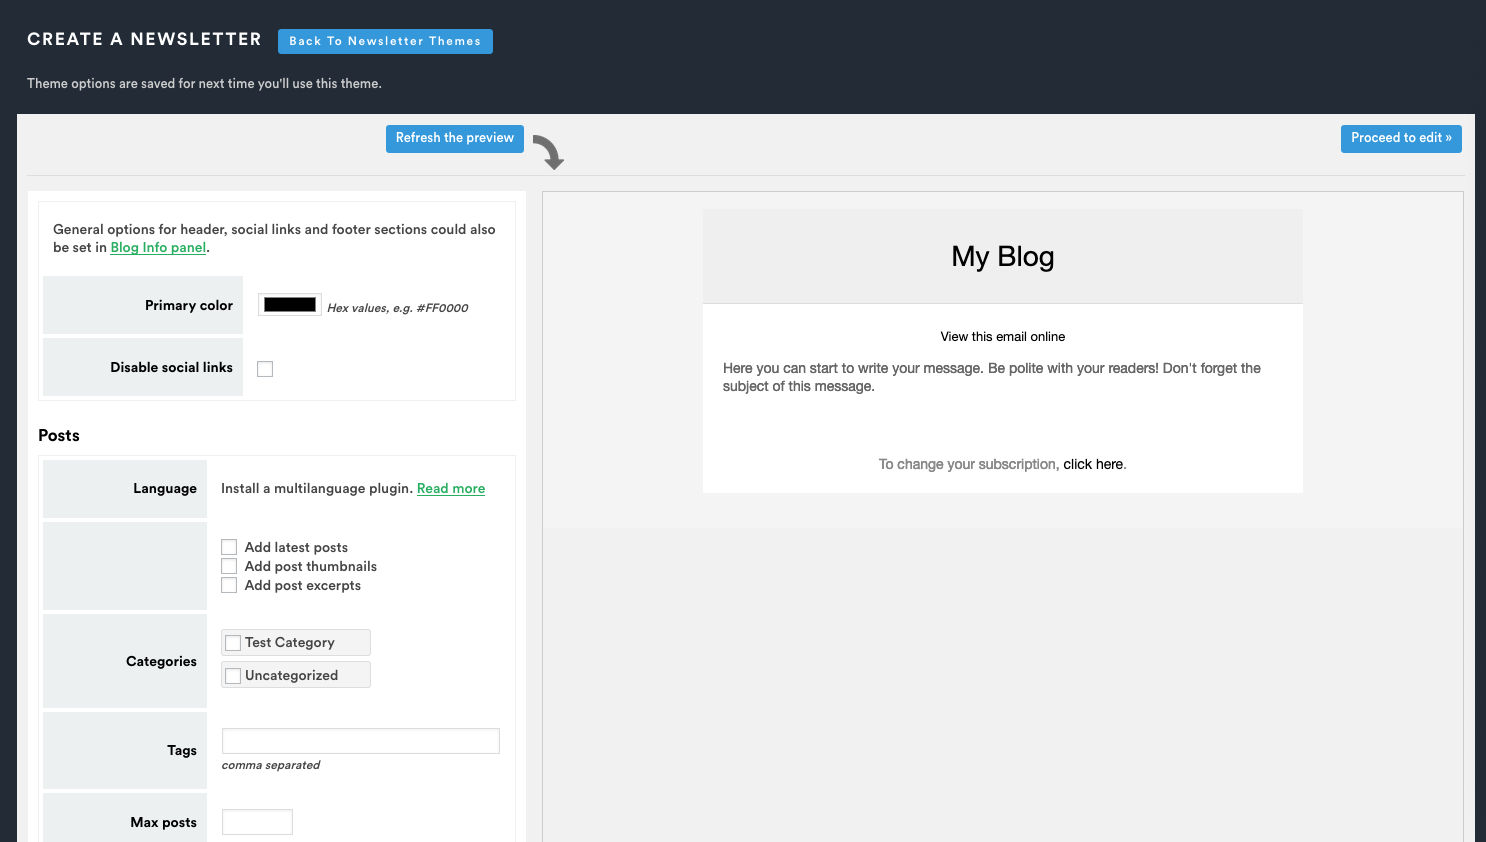
Under the editor options you will see nine other options you can choose. These are themes you can start with that give you an immediate pre-formatted newsletter where you simply need to fill in the content. Take a close look at the theme that you choose. In some cases, you may need to provide content for the page. In others, you’re simply providing a title, then the content is populated with summaries of your existing posts. When you have selected a theme, you may need to configure it. For example, the default theme lets you set the primary color and then add the latest posts categories and tags. You can also disable social media links. Once the options are set, you can click on Proceed to Edit in the top right corner of the page. There are also Custom Themes, but they must be purchased before you can use them. Click on the button labeled Custom Themes and it will bring you to their documentation discussing how to implement these new themes.
- We advise clicking on Save if you have finished editing or if you have completed the newsletter. This will allow you to use the Back to last save option. You can also preview a newsletter by using the Test button. It sends a test email to your sender email address. You can then see how the customer views your newsletter email.
- After you have completed the newsletter, click on the Next button at the bottom of the editor. When you click on this button you will see the options for Sending the newsletter. You can select a list, set it to a particular gender, confirmed status, or only to subscribers who are linked to WordPress users. The last option, targeting WordPress users, requires that you install the WP Users Integration addon. This addon can be found in the Addons section of the Newsletter menu.
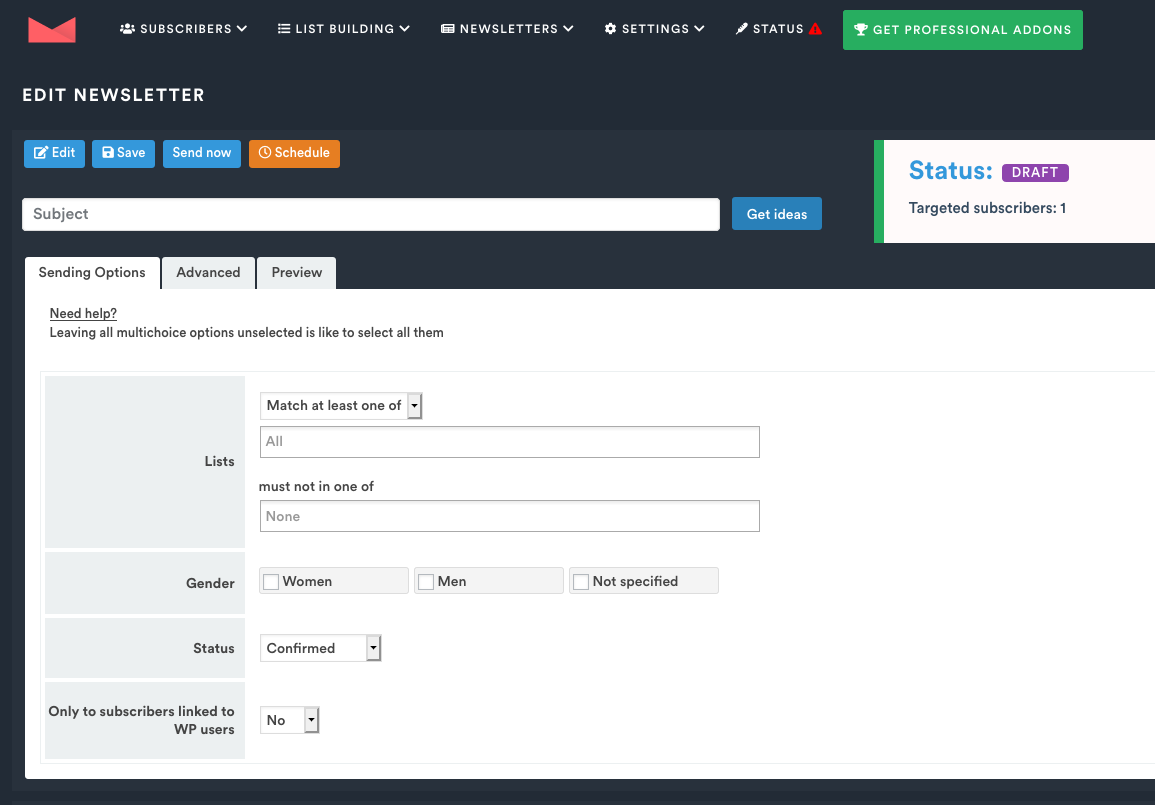
Here’s a brief summary of each option:
Edit Brings you back to the newsletter editor screen Save Saves your present newsletter settings Send Now Immediately sends the newsletter to your selected subscribers Schedule Brings up a month, day, year, and time that you can set. Once you have selected the time to send, click on Schedule to save those settings Advanced tab
Keep private This allows you to hide or show the list of people receiving the newsletter. This option requires the Newsletter Archive Extension (available for free in the Addons portion of the Newsletter menu) Track clicks and message opening Allows you to track when the email message is opened Text version This allows you adjust the text version of the newsletter. As per their suggestion, the best practice for anti-spam is to include a text only version. We recommend that you leave this text here and only adjust it as necessary.
This completes the newsletter creation portion of the Newsletter plugin for WordPress! To complete the basic usage of the plugin we’re going to go over the process of Building a Subscription List. The Subscription list is necessary as it includes all of the people who can be assigned to receive your newsletter.
Building a Subscriber List in the Newsletter plugin
One of the great features of the Newsletter plugin is its ability to create lists of subscribers. In order to send your newsletter, you will need to have at least one list created. Remember that your subscribers must have agreed to receive your emails or it may appear that you’re sending spam. Lists can be exported or imported. They also provide detailed help for the Subscription process. The process can be very simply broken down to getting an email address, activating the subscription, and sending a welcome message. The process for adding subscribers that we are using below is based on manual entry. This means that we’re entering the email addresses one at a time and verifying if they’re confirmed or not. Here are the basic steps for creating a subscription list with the Newsletter plugin:
- Click on Subscribers.
- At the top of the screen you will see a blue button labeled Add a Subscriber. Click on this button.
- Type in the email address for your subscriber. Click on the blue button to proceed to the next step.

- Type in the name of the user and then select the options that apply for gender, status, test subscriber and Feed by mail. Note that the Status option is to verify that the owner of the email address has confirmed that they will receive your email. If you select Not Confirmed the user name will still be part of the list. When you have completed adding the list, you can send an Activation email to the user(s) who need to be confirmed. You can build the Activation emails under the List Building section. Note that using double opt-in subscription may be required depending on your location.
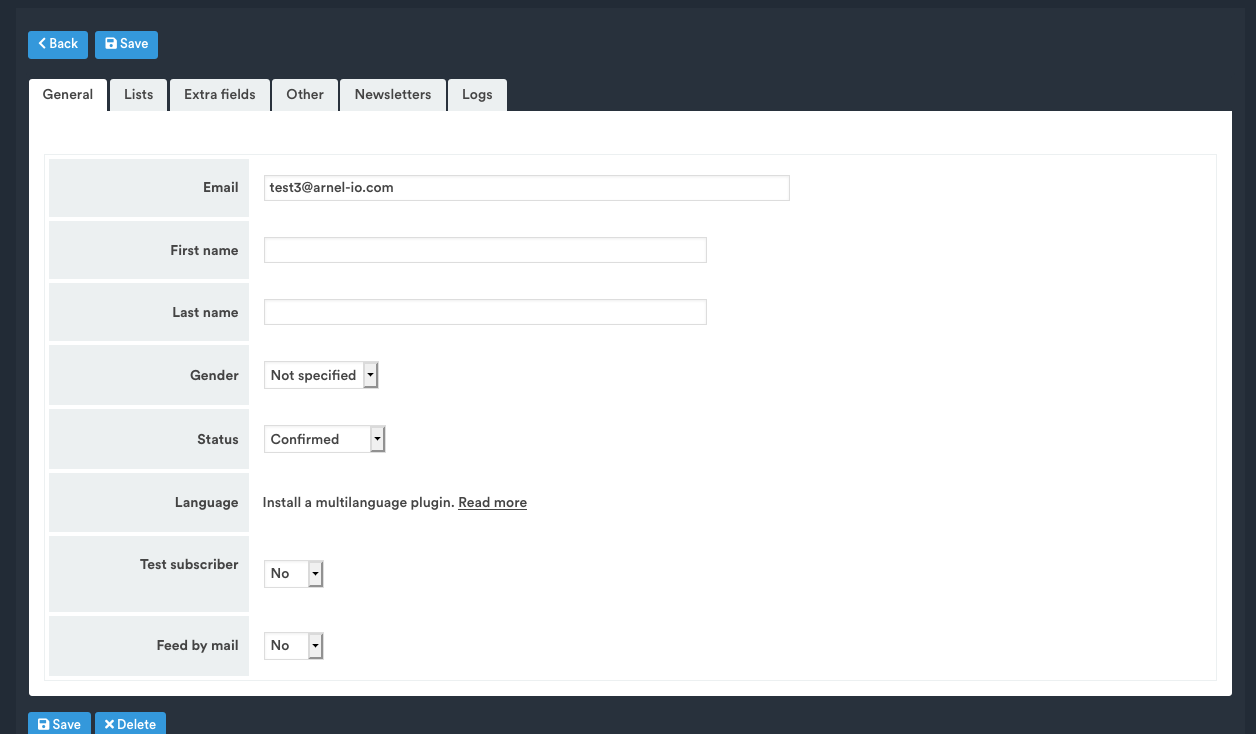
- Click on the tab labeled Lists, then click on the list that you want to use for your user. If you don’t see a list here, then you will need to go to the Newsletter dashboard, click on the drop-down arrow for List Building, then click on Lists. In the first available field under Name, type in the name for your list. Click on Save to save your list, then you can return to the process of adding your user. You will then be able to select the list you created.
- Your last typed in email address should still be there, but if you are redirected to the table of subscriber names, simply look for the name you just added and click on the Edit button. Once you’re done with adding your subscriber, click on the blue Save button. There is a Save button at the top and at the bottom of the edit screen for the user. If you need to delete a user, the Delete button is at the bottom of the screen.
Once you have completed creating the newsletter and creating your subscription list then you will be able to send or schedule your newsletter through email. Newsletter is one of the best free plugins for creating newsletters that you can find for WordPress. Take advantage of it to build better relations with your customers/website viewers in order to achieve greater success. For more information on using Newsletter see our future educational articles on this great tool! If you want more information on WordPress or WordPress Hosting, please see our Product Guide for more in-depth articles!
Yes, this article was very helpful thanks. Newsletter looks like a great plugin, but I couldn’t find a set-up guide on the Newsletter site, so this solved a few issues for me.
One more thing that I’d find helpful, thanks, is the best way to set up WordPress pages. Newsletter sets up a Subscribe page, but doesn’t seem to add an Unsubscribe button, nor can I make their Unsubscribe shortcode to work. I know this isn’t your job, it should be theirs, but it would round out this page.
Thanks again.
We’re glad this guide helped you, and thank you for your suggestion.