Template parts are patterns of blocks in a WordPress theme that can be used when building your site. For example, headers and footers and variations of them are considered template parts. This tutorial will walk you through the steps of creating and editing a template part in the WordPress full site editor. We will also show you how to clear your template part modifications and remove added template parts.
Creating Template Parts
To create template parts you will need to log into the WordPress Administrator and use a block-based theme. We use the Twenty Twenty-two theme for this tutorial.
- Log in to the WordPress site.
- Click on Appearance, then click on Edit.
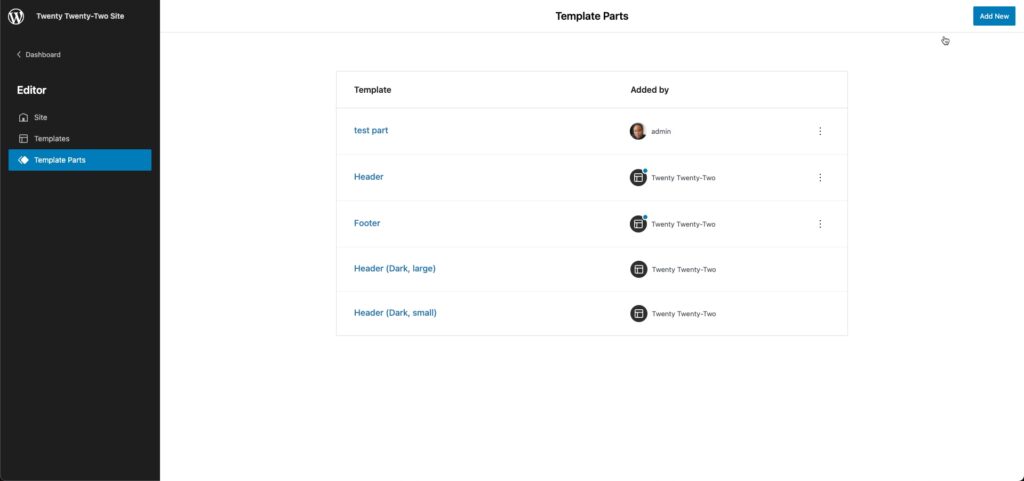
- The screenshot above shows the Template Parts page. To get to it from the full site editor, click on the WordPress symbol in the top right corner. This will open a column on the left-hand side of the screen.
- Click on Template Parts. This will open up the Template Parts page.
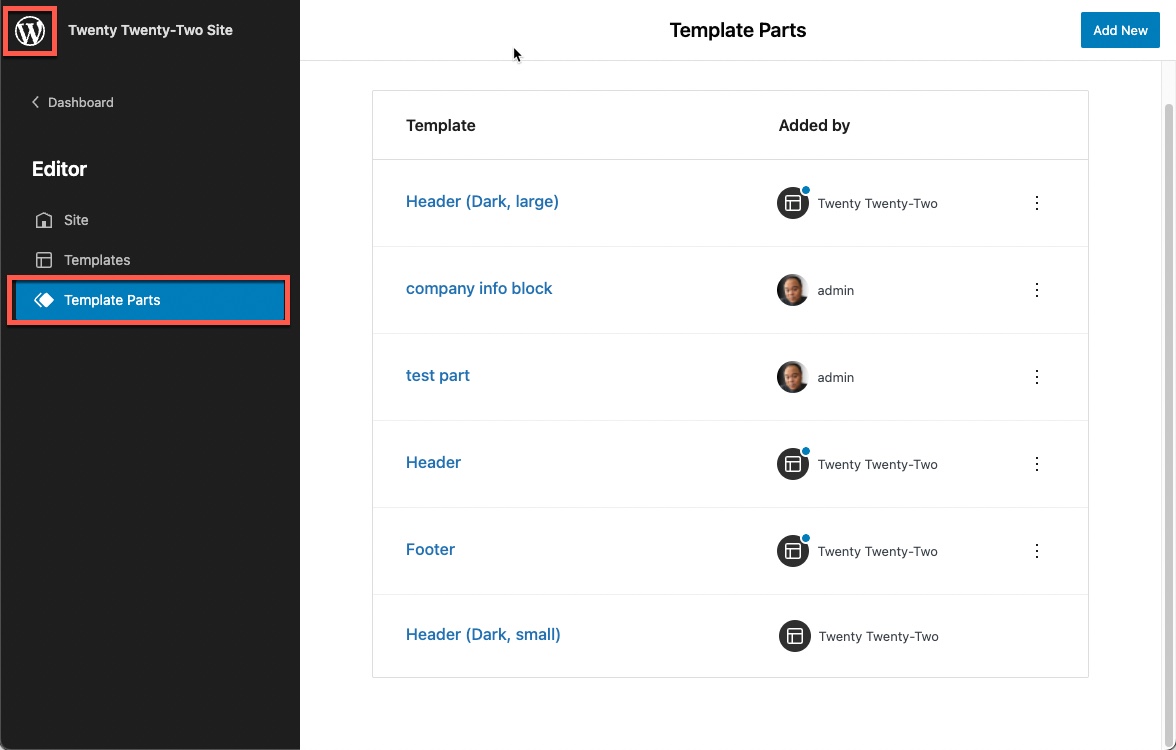
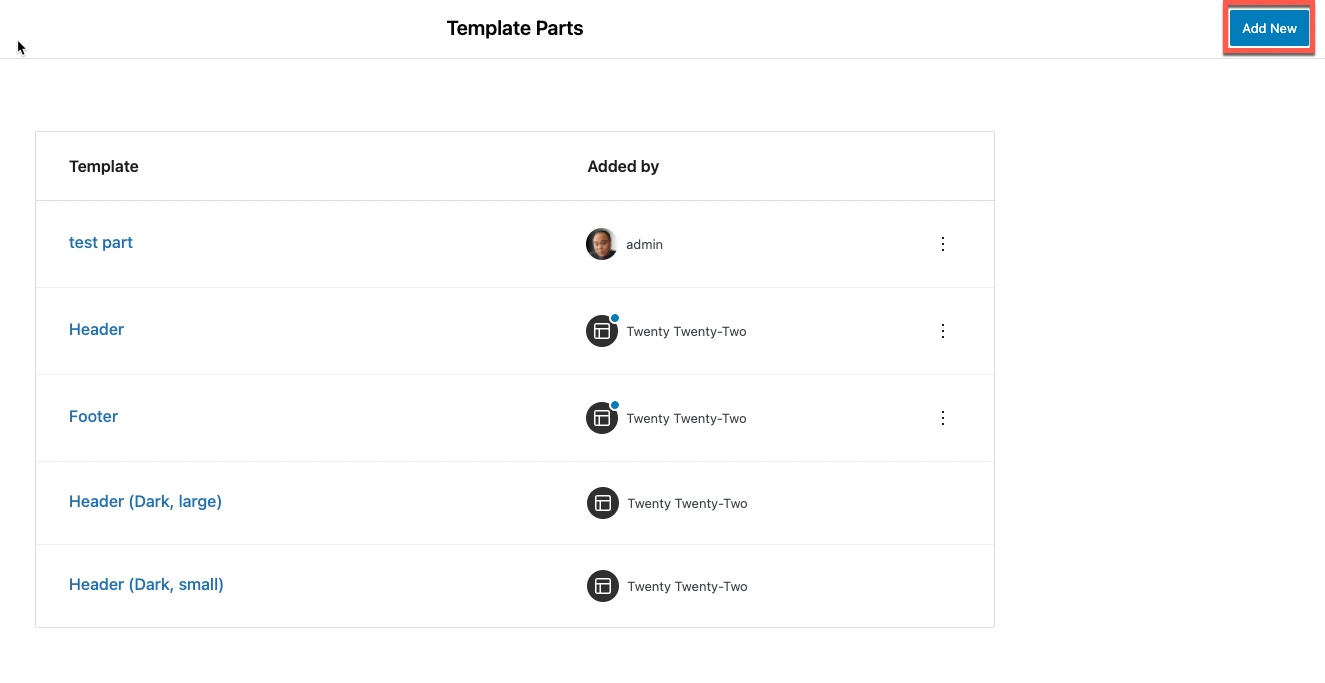
- Here you will see a list of the template parts that have been created or are part of the theme. Click on the blue Add New button in the top right corner.
- This will open a pop-up window listing the three types of template parts that you can create.
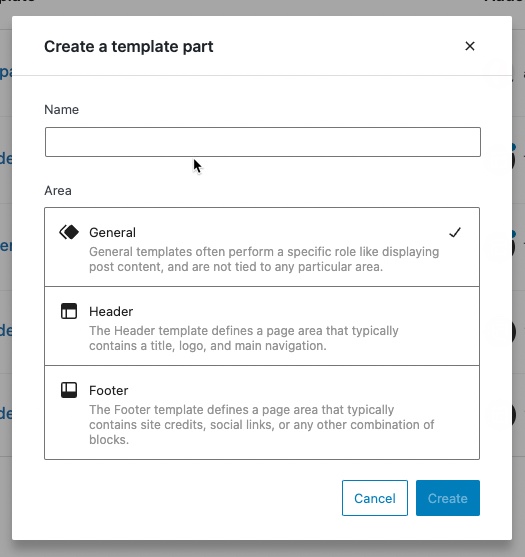
General – this is a template part that is not a necessary part of any area of the website. Like patterns, you can use this template part to quickly build a page on your WordPress site. For example, you may want to have a predefined company information block use quickly on your WordPress site.
Header – a predefined area that is at the top of the page of your website. Headers often contain navigation menus or a title. You can create variations of the header for different pages of the WordPress site.
Footer – a predefined area that is at the bottom of the page of your website. Footers often have the same information and links from page to page, but you may find a need to create a variation of the footer based on your website needs.
- For this tutorial, we will create a General template part. By default, the general option is already checked. Type in a name for your template part, then, click on the blue Create button.
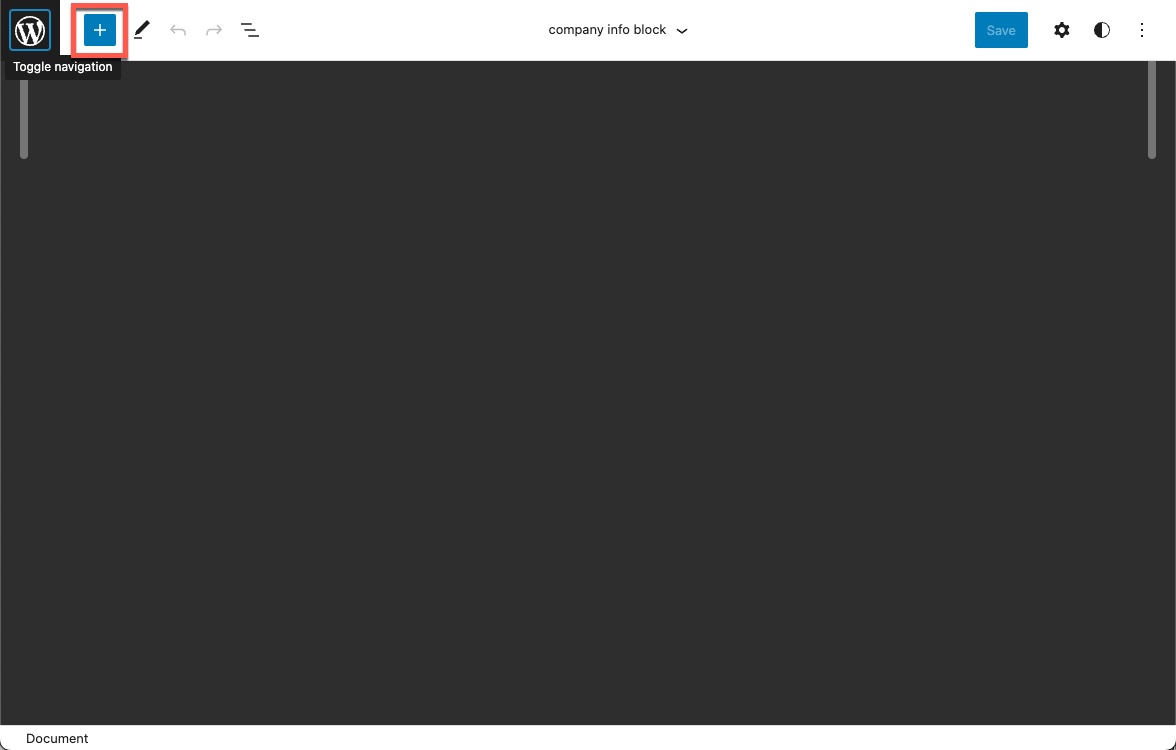
- You will see a blank screen with the name of your template part in the center and top of the screen. Click on the + sign in the top left corner to start building your template part.
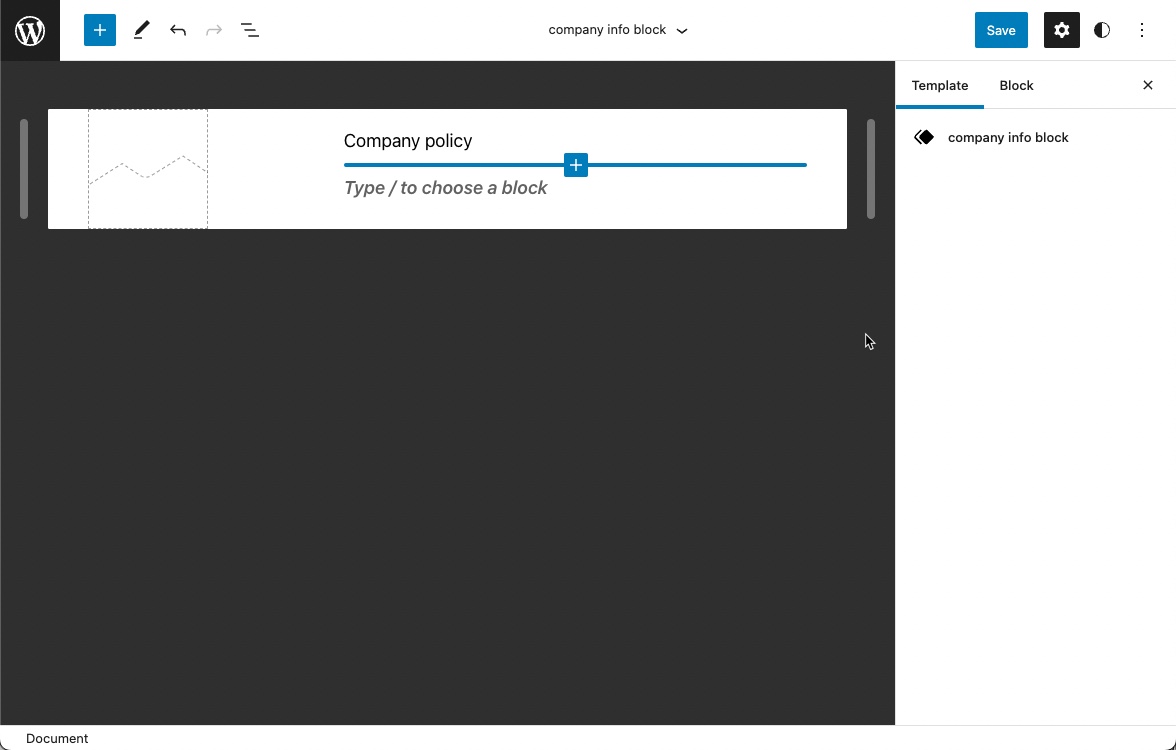
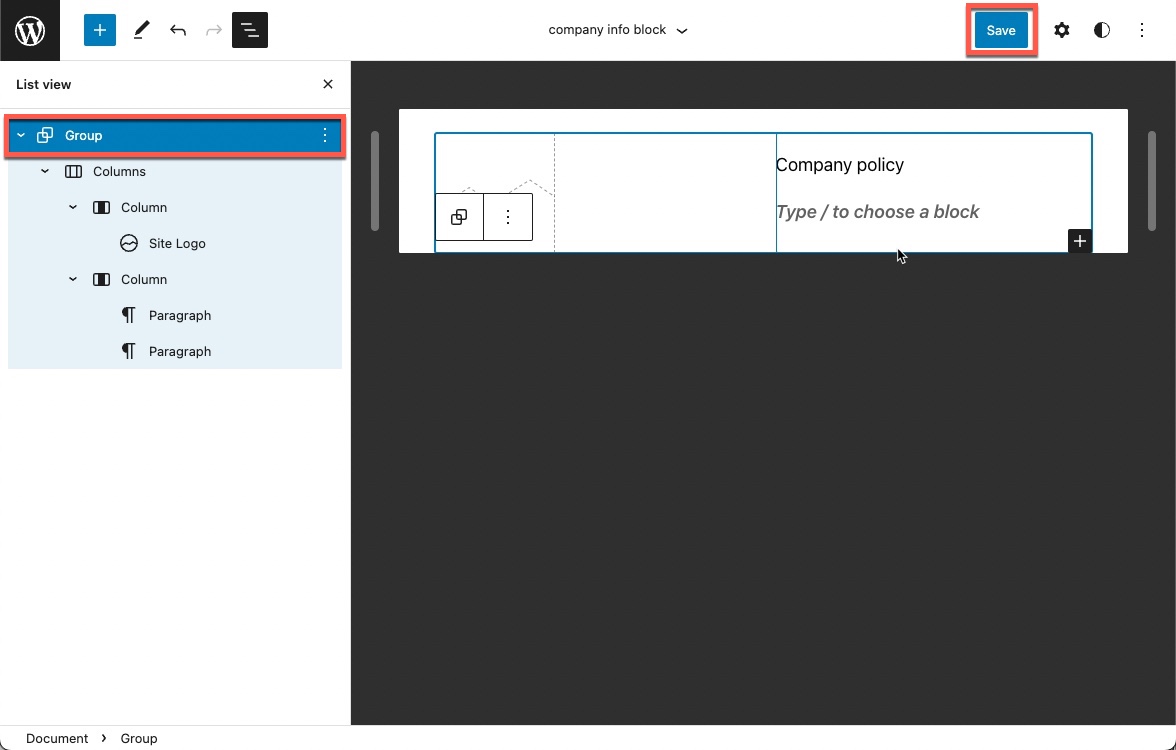
- Select blocks or patterns to build your template part. The example in the screenshot below is a company info block. It will have a company logo in the left column and then the text of the company policy on the right. This template part consists of a column block (2 columns), a site logo block, and two paragraph blocks.
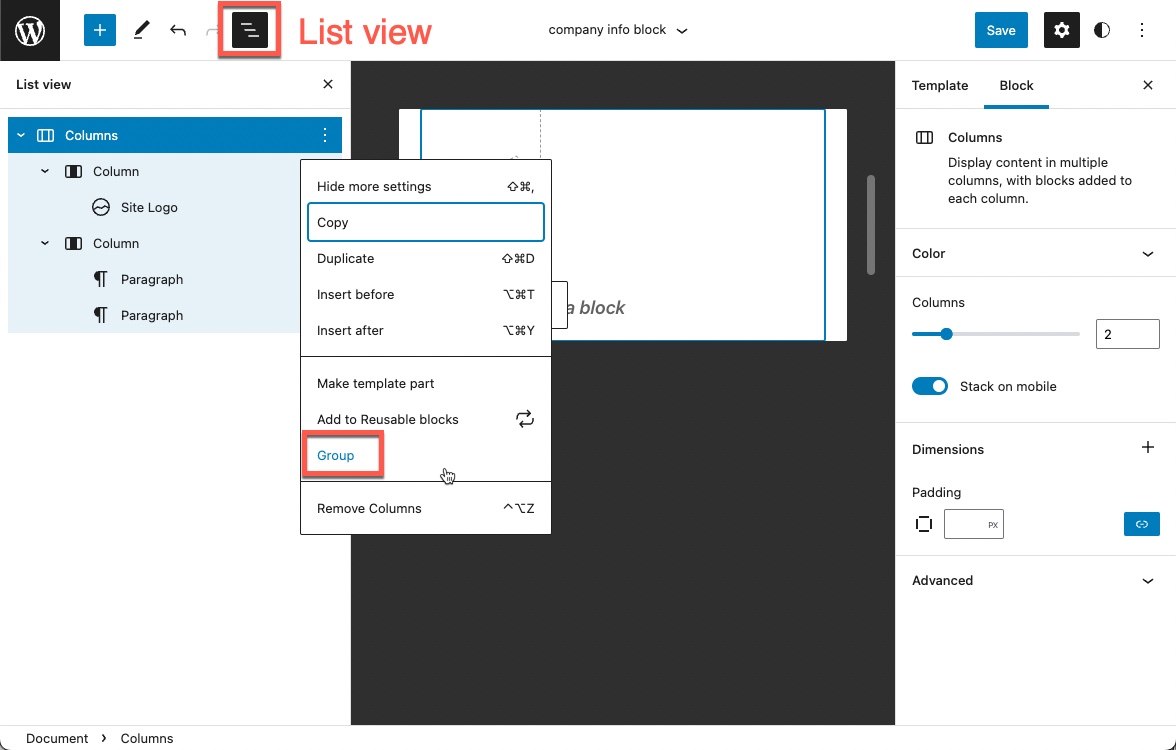
- Since this template part might be used with other blocks on a page, it’s best practice to keep all of the blocks in the template part as a group. Click on List view in the top left toolbar, then select all of the blocks that make up your template part. The top of the selected group of blocks is the column block. Click on the 3-dot vertical menu to the right of it, and then click on Group. This will group the blocks under a Group in the list view.
- Click on the blue Save button in the top right corner to save your work.
This completes the creation of your template part. When you look at the list of template parts, you will see your block added to the list.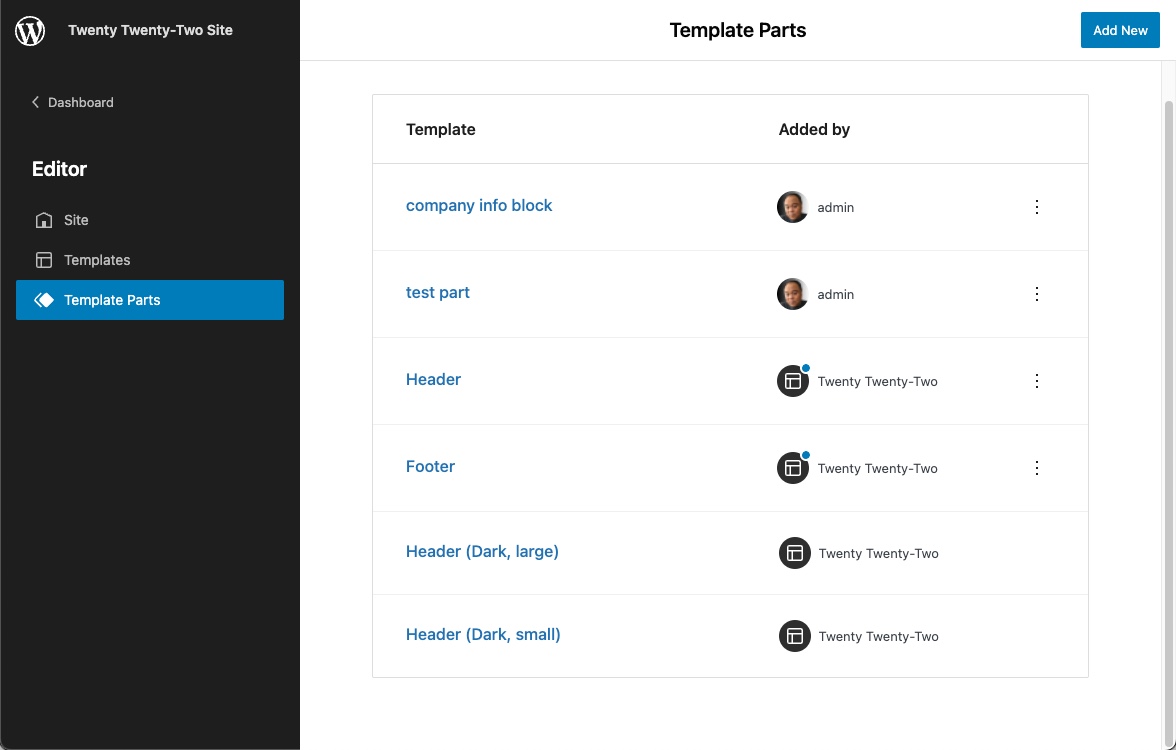
Editing Template Parts
When you are editing template parts, you are modifying existing template parts to meet your website needs. WordPress currently allows you to make changes to the template part and clear changes in order to return the template parts to their original state.
- In the WordPress Full Site Editor, click on the WordPress logo in the top left corner to bring up the Editor options.

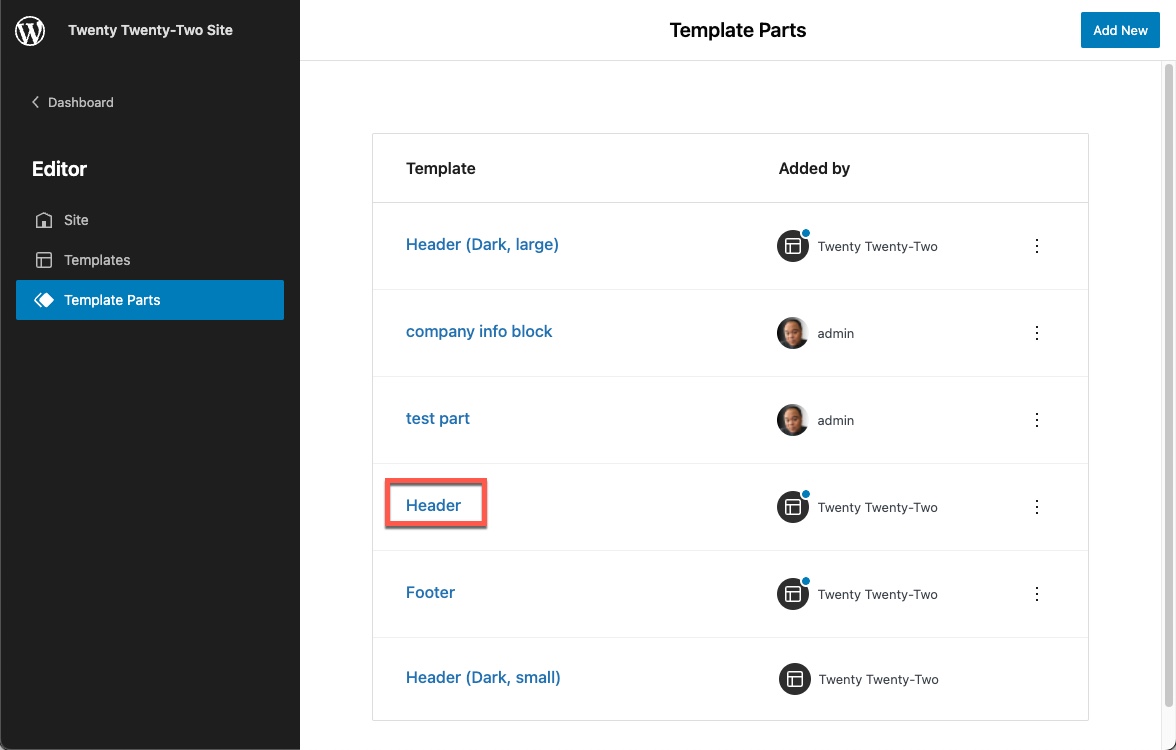
- Select the template part that you want to edit. In the screenshot below, we are clicking on Header.
- Edit your selected template part. To demonstrate the change, we have modified the header template part so that there is an image block added under the existing blocks.

- When you have completed making changes to the template part. Click on the blue SAVE button in the top right corner.

Deleting Template Part Changes
There may be a point when you may no longer need the changes you have made to existing template parts. You can click on a theme’s existing template parts and clear any customizations. You can also delete any template parts that you may have added.
To clear customized default template parts:
- Go to the Template Parts page.
- Click on the 3-dot vertical menu to the right of the template part.
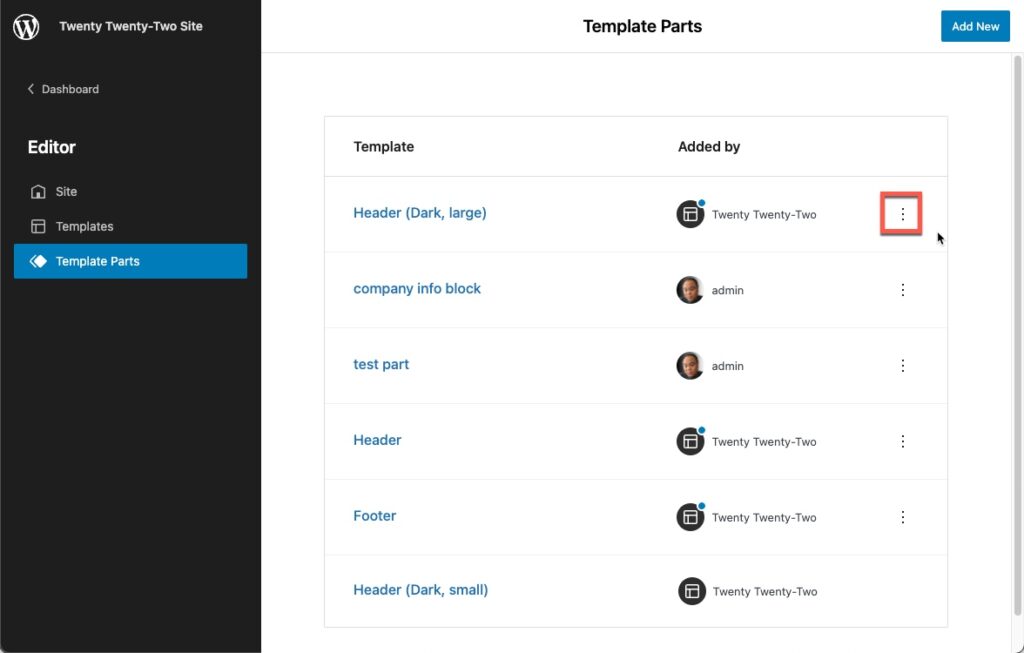
- Click on the Clear customizations option that appears. You will then see confirmation of the change by a notification confirming that the template part has been reverted.
To delete an added template part:
- Go to the Template Parts page.
- Click on the 3-dot vertical menu to the right of the template part.
- Click on the Delete template option.
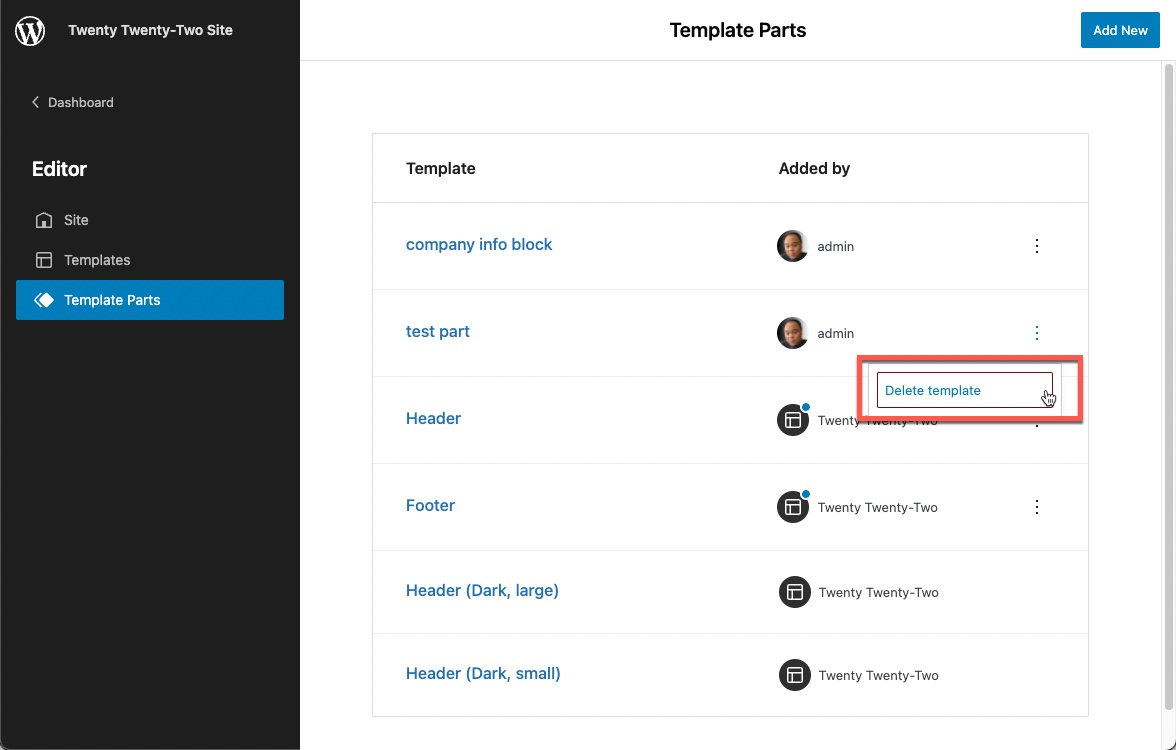
When you have completed deleting the template part, you will see a confirmation appear stating the part has been removed.
Creating and editing template parts can help you build or change your WordPress site using the visual editor.
Learn more about the new WordPress editor, Gutenberg, and the capabilities of the separate Gutenberg plugin with our helpful Gutenberg articles!
thanks, this is really helpful – Question… how do I include a template part (the black top bar navigation) on all pages of our site? (note obviously website is in development) thanks!
Hello EightyOneJoseph- In order to make a change to ALL the pages of your site, you have to include that template part in ALL the templates for the pages of your site. You would be editing the templates by logging into the Dashboard, clicking on Appearance, then Editor. Then, click on the drop-down arrow at the top of the page (next to Home). Click on Browse All Templates. You will see ALL of the templates created for the theme you’re using. So, if you want a template part to appear in PAGE templates, then you would edit it to include that part. If you are using the Page (No separators) template, then you would also edit that template to include the template part. And so on and so forth… I hope that helps to explain it. If you have any further questions, please let us know!