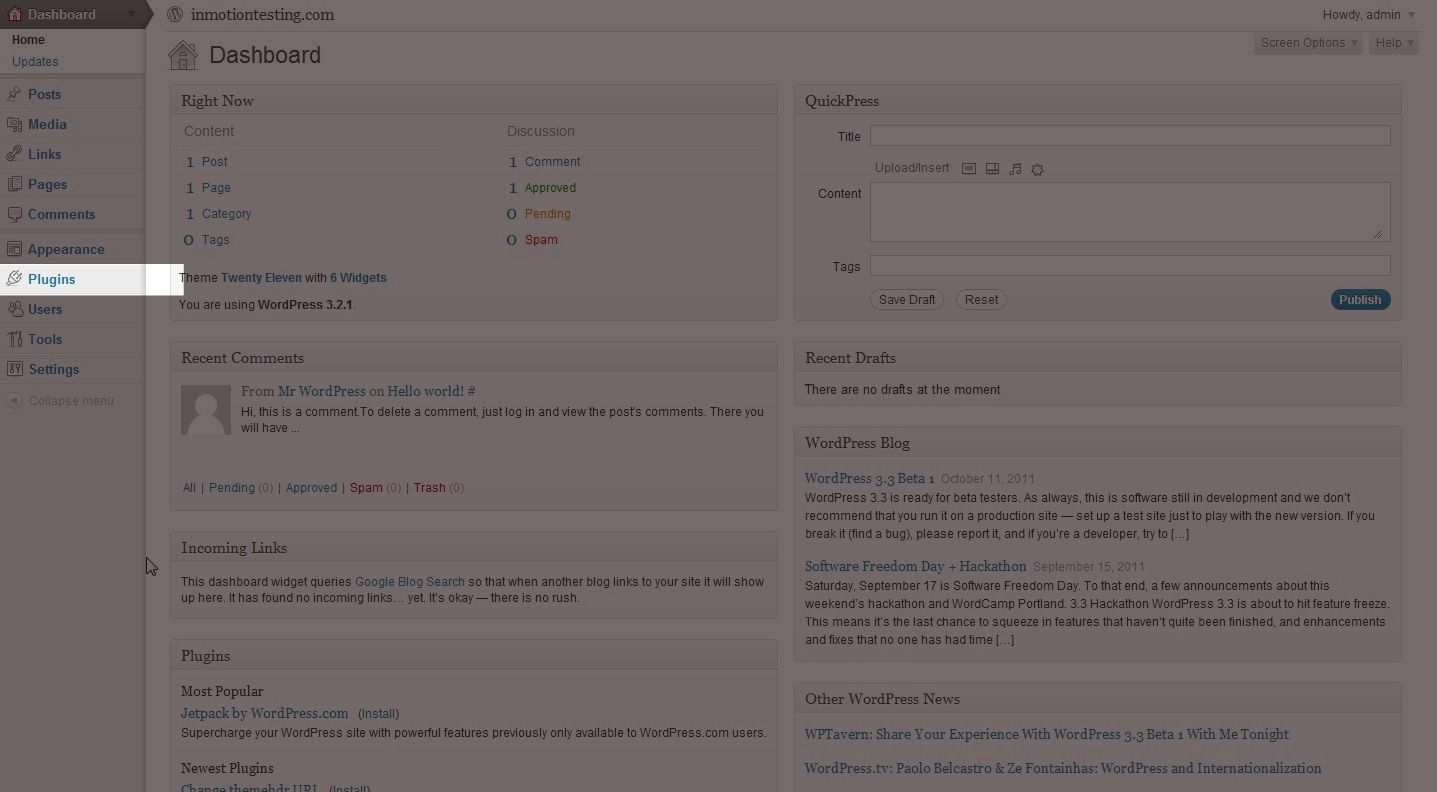
Maintenance mode enabled in WordPress allows you to place a splash page up on your website while you are working on it. The basic splash page lets your visitors know that your website is undergoing maintenance. There’s a plugin in the WordPress plugin directory that makes this task easy. Let’s go over the basic steps to install and use the plugin to enable maintenance mode.
How to enable WordPress Maintenance mode
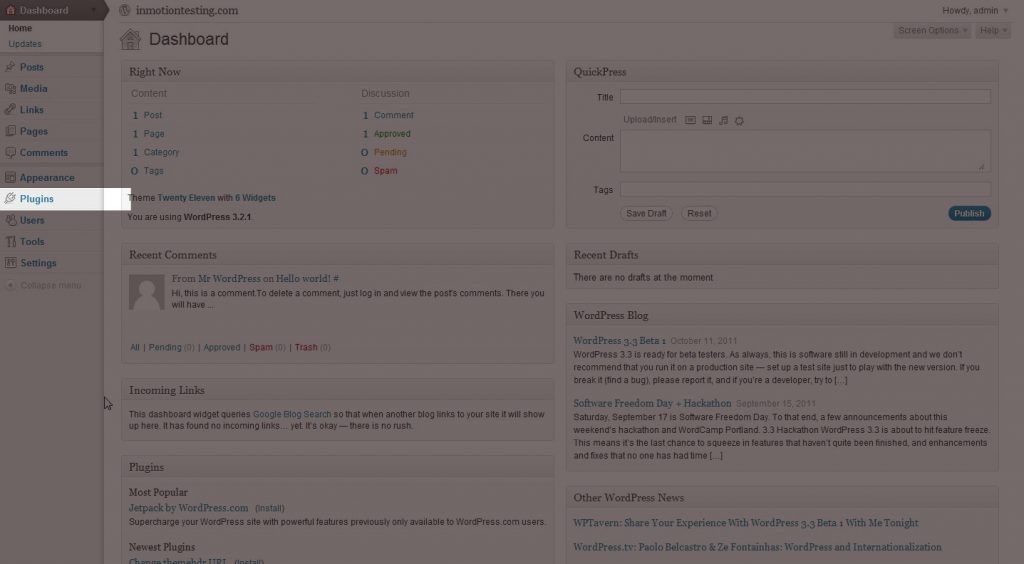
First, you’ll need to log into the WordPress Dashboard section of your website. Once you are logged into the admin area, look on the right menu pane for plugins, then add new:
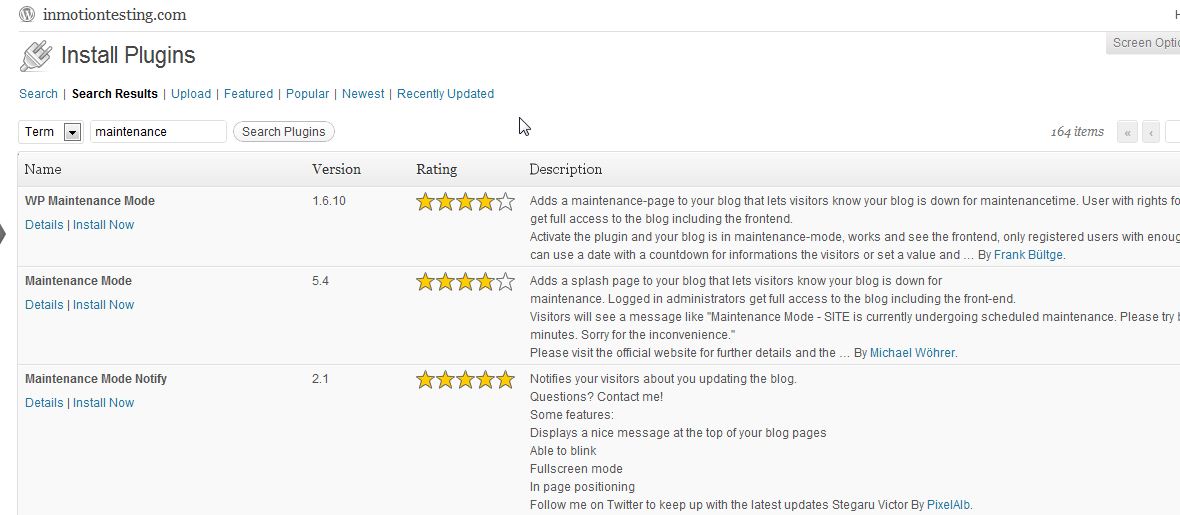
Now, in the search field type “Maintenance” and you’ll see the related plugins.
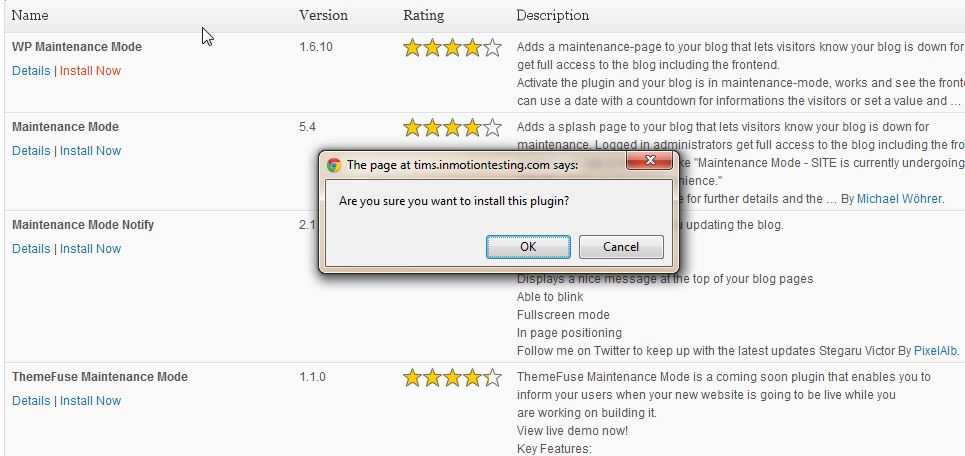
Select the WP Maintenance Mode plugin and click “Install Now”. The prompt will ask if you if are sure you want to install this plugin. Click “Ok”.
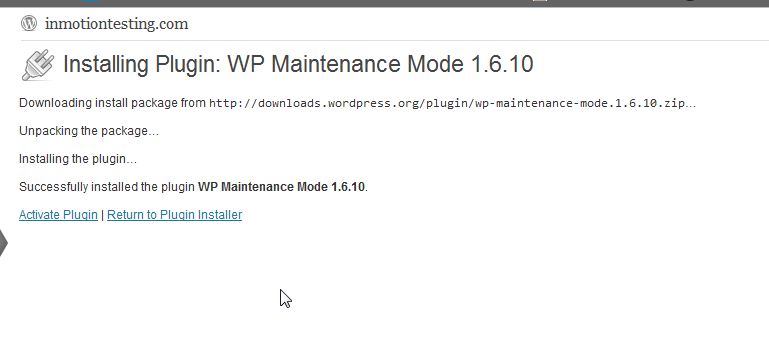
You’ll then see a screen verifying the plugin was installed correctly. Click “Activate Plugin”.
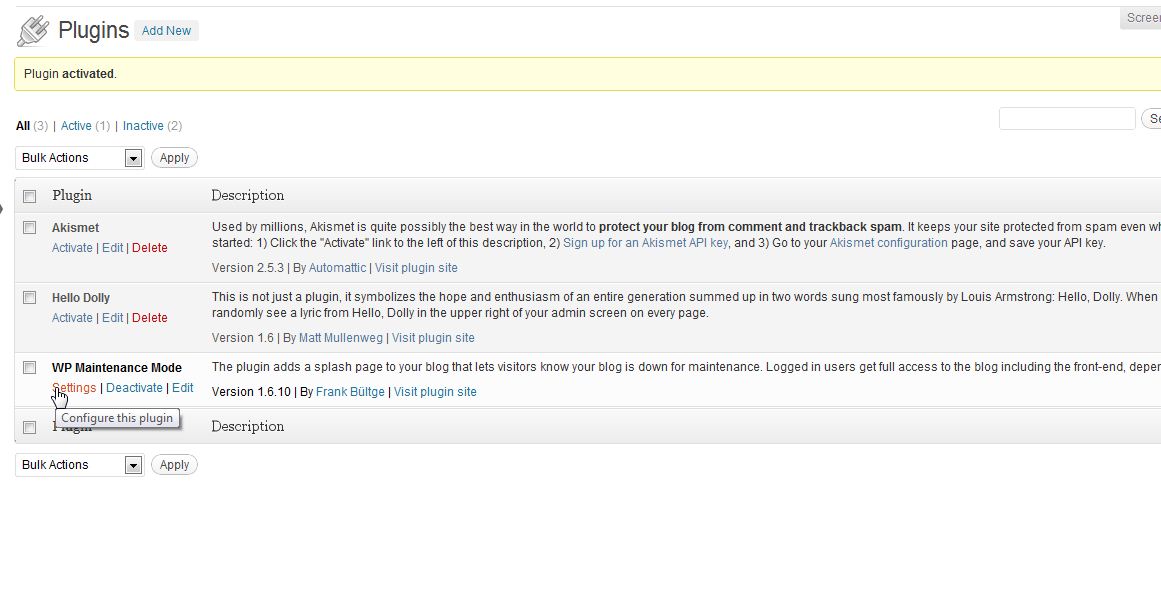
Now, you will be directed to the plugin page. Select “settings”.
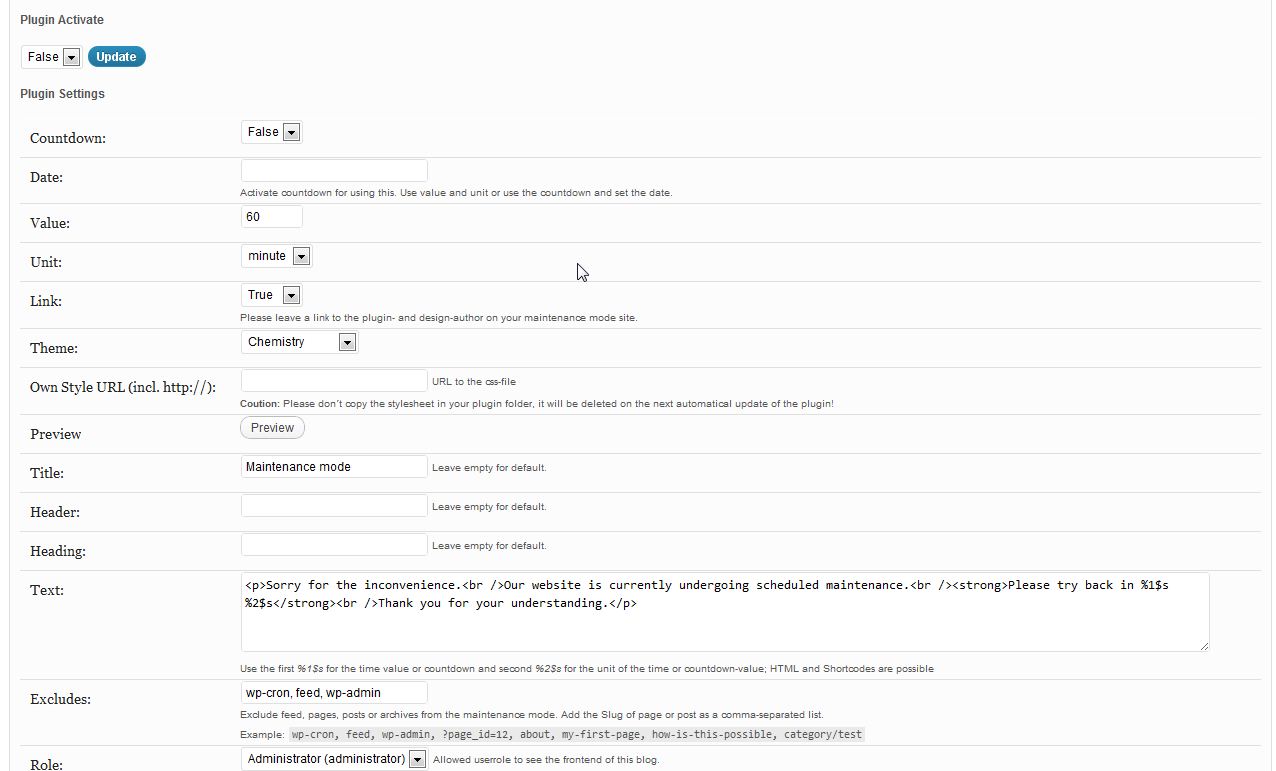
Now, once you click the settings button, configure the settings to meet your needs.
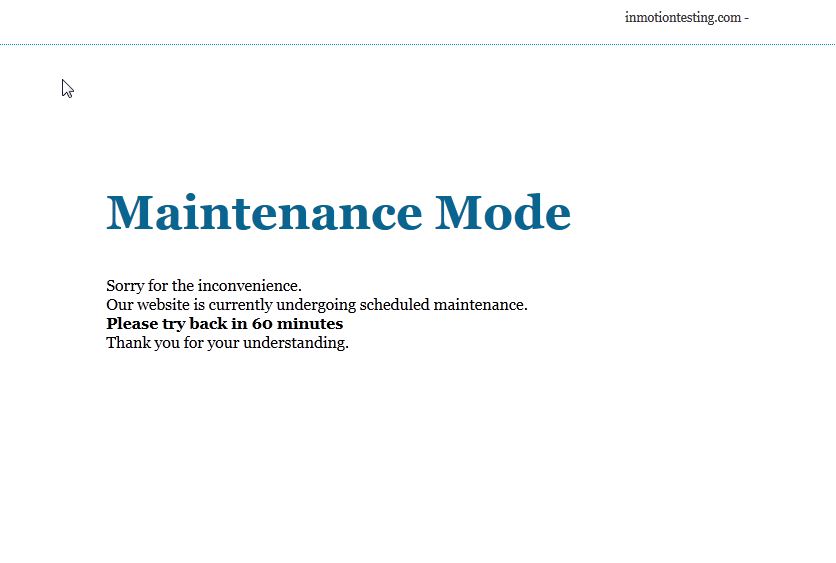
Now, when you visit the website you will see the splash page similar to the snapshot to the left.