Understanding the Search, Filter and Display options within the Movable Type Dashboard
User Dashboard Search
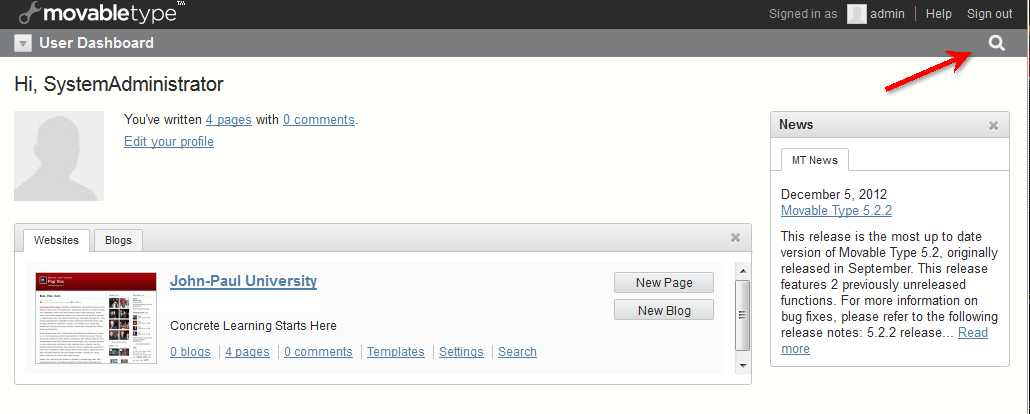
When you first login to the Movable Type Dashboard, you will be the given the choice of selecting a Website or Blog, since the interface can manage multiple sites. In the top right hand corner, there is an icon that resembles a magnifying glass. If you click on it, you will be given the option to search for ENTRIES. The search covers all of the websites managed within the Movable Type dashboard.
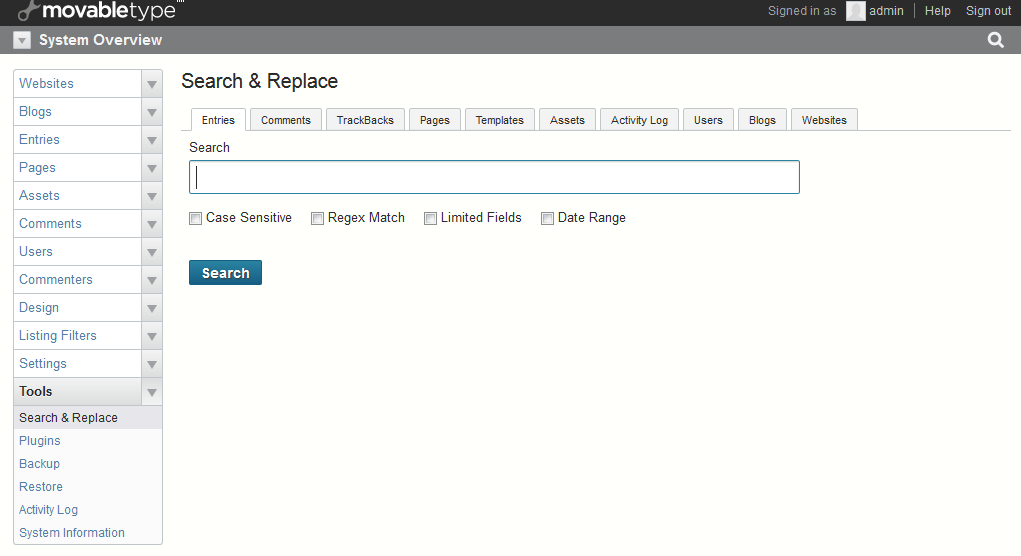
The search will automatically change the menu on the left to TOOLS>SEARCH & REPLACE and then give the options to change the search type after the search is initiated. Screenshots display how the screen will change. Note that there are options to change the type of search, but it still only a general search, though it looks through all entries that the Dashboard manages.
This search option (represented by the magnifying glass ) also stays in the interface even after selecting a website or blog to edit with the Movable Type Dashboard. However, if you select a specific website or blog, then the search is narrowed to that specific website.
To use this search option:
- Login to the Movable Type Administrator Dashboard.
- Click on the icon resembling the magnifying glass in the top right corner.
- Click in the field (labeled “Search…” -this will change per the menu you have selected), type in an item to search. Note that this search will search throughout the managed sites within your Movable Type installation.
Display Options
The DISPLAY OPTIONS appear in the far right side of the screen (below the search option represented by the magnifying glass icon). When you click on the drop-down arrow, you will see the options that can be selected. It starts with the SHOW option that can be set to show from 25-200 rows of results for your search. The next item is called COLUMN which allows you to select or remove columns that would appear in your search results. These options are contextual, meaning that options for display will change based on the menu item that you have selected at left. For example, if you were to select ASSETS, you would see specific columns related to the ASSETS that can be found within Movable Type. Finally, if you want to remove your changes, you have the option to revert back to the default. settings.
To change the Display Options:
- Login to the Movable Type Administrator Dashboard.
- Select a website/blog to manage.
- In the far right of the screen, look for DISPLAY OPTIONS. Click on the drop-down arrow.
- Click on the drop-down arrow under SHOW to change the number of search results to display.
- Click on the checkbox for the COLUMNS that you may wish to hide or display.
- Run your SEARCH and they will display per the settings that you have set.
Delete, Actions and Filter Interface
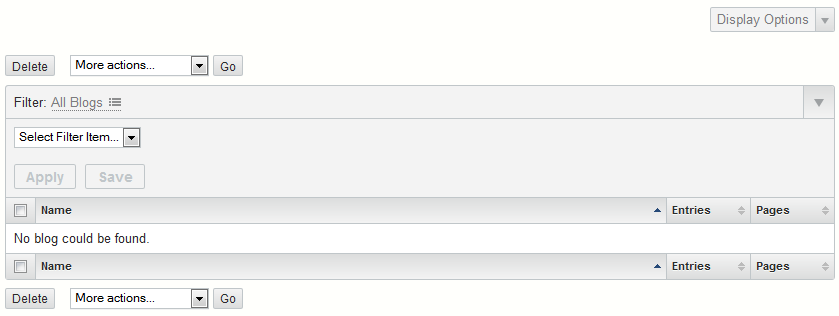
The next interface, like DISPLAY OPTIONS, will appear for all of the options that you select when managing items within the Movable Type Dashboard interface. Results (or no results) will always appear using this interface. If there are items for the menu item that you searching, then they will appear within a table format. The example in the screenshot below illustrates that no blogs are found, but it also shows the interface that is used during display of the managed items and also any search results.
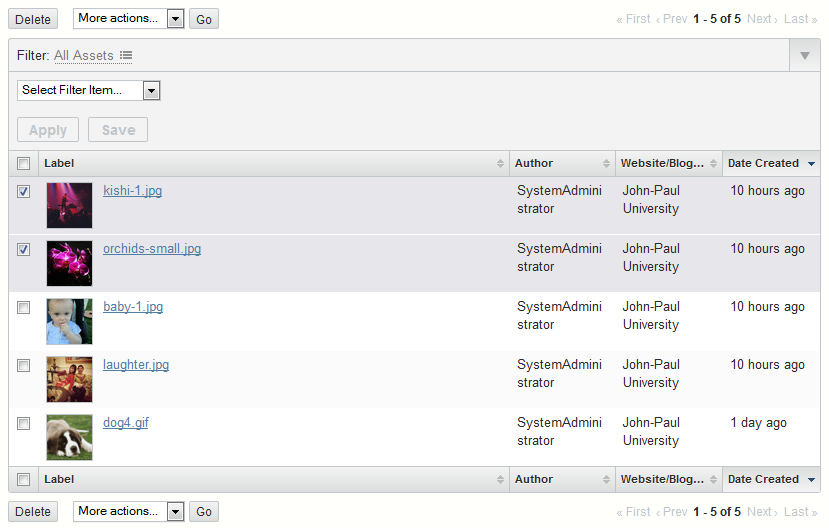
The DELETE button and the MORE ACTIONS drop-down menu are available at the top and bottom of the interface to make it easier to select in case there are many results being displayed. The MORE ACTIONS menu is contextual and will change depending on the menu item you have selected in the Dashboard. Both of these options require that you click on multiple checkboxes in order for the action or deletion to affect multiple items.

- Click on the website or blog you wish to manage.
- Click on a menu item in the left side of the screen that you wish to manage.
- Click on a checkbox or multiple checkboxes, then either select DELETE or the MORE ACTIONoption to remove or change the item that you have selected.
To create and use custom filters based on the table definitions:
- Login to the Movable Administrator Dashboard.
- Click on the website or blog you wish to manage.
- Click on a menu item in the left side of the screen that you wish to manage.
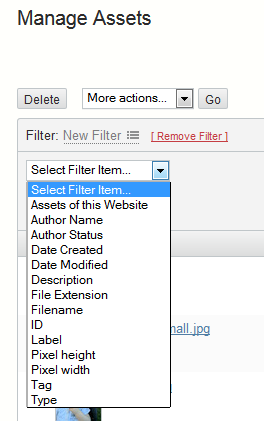
- The FILTER option is directly below the DELETE and MORE ACTIONS items in the interface. Scroll to the right until you see the large drop-down arrow in line with the FILTER -All Assets option. Click on the large-drop down arrow.

The menu that appears will list all of the table definitions usable for filtering your search results. Click on one of the definitions to start the filter definition. Note: There TWO ways to create this filter. You can also click on the ALL ASSETS link (next to FILTER below the DELETE button). This will open up the same drop-down menu as shown when you click on the large drop-down arrow at right.

After you have selected a table definition, you have the option to add another table item to help futher narrow the search. This is done by clicking on the large ‘+’ sign that appears to the right of the interface. If you need to remove a filter item, click on the ‘x’ in the far right. If you wish to use specific text for this filter, then click in the blank field and type in the specific text that you want to use to filter your results.
- Click on APPLY or SAVE in order to apply your filter.
- Login to the Movable Administrator Dashboard.
- Click on the website or blog you wish to manage.
- Click on a menu item in the left side of the screen that you wish to manage.
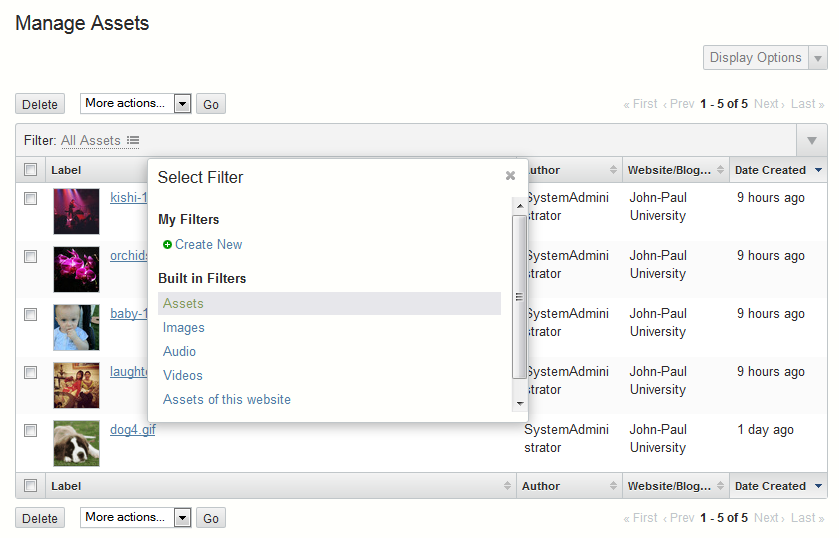
- The FILTER option is directly below the DELETE and MORE ACTIONS items in the interface. Click on the All Assets link next to FILTER.

You will see the menu for CREATE NEW (filter) and the options listed under the Built in Filters. Remember that the filters will be contextual and the list may be different depending on the menu item that you have selected.
- Click on a Built in Filter option to apply the filter.


