Note that the Premium Web Builder is not currently available in cPanel. Check out Alternatives to Premium Web Builder to find a newer tool for creating websites.
In this tutorial:
Use Existing Banner Upload Custom Banner Compatible Image Formats
Each template in the Premium Web Builder uses a banner image at the top of each page. You can change this banner, using a custom banner or one of the preloaded banners within builder. You will need to log into Premium Web Builder and select the “Design” tab at the top of the page.
Using an Existing Banner Image
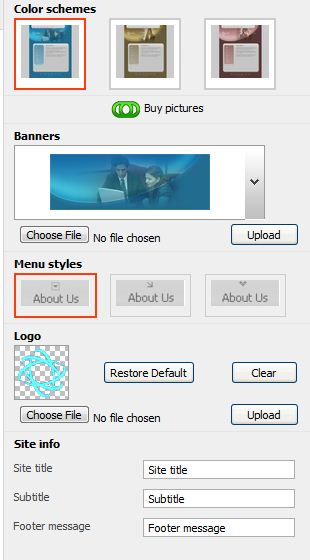
- Once you have navigated to the Design Tab in Premium Web Builder, in the right side pane, locate the “Banners” Section.
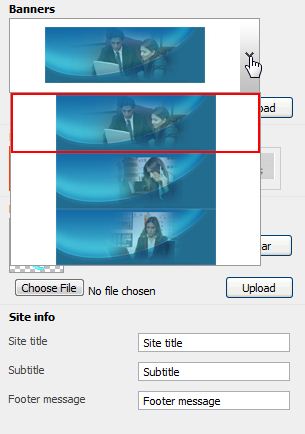
- Click the “down” arrow next to the banner box. This will show you the available banners already pre-loaded into Premium Web Builder.

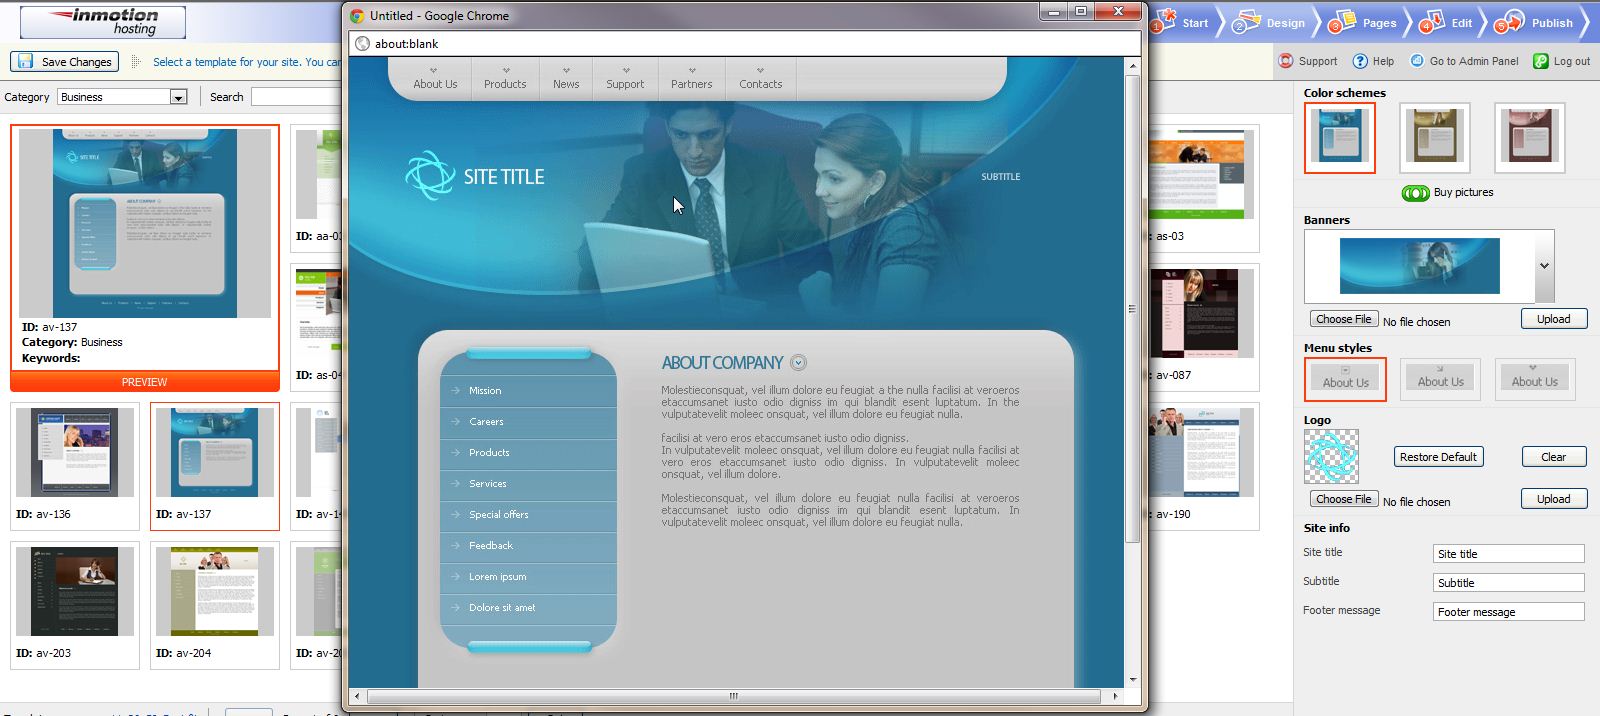
- Select different banner from the list to preview. Then click “Preview” on the left side of the window.

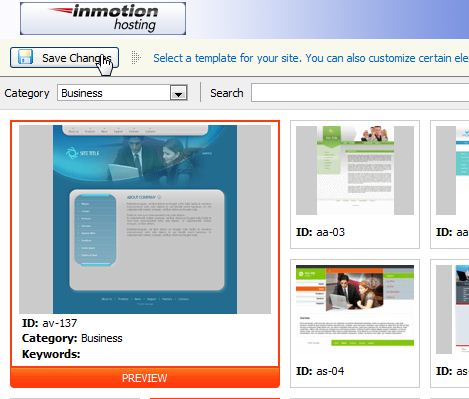
- If you are satisified with the banner you have chosen, then click “Save Changes“

Uploading a Custom Banner
If you have an image you wish to use as a custom banner, Premium Web Builder provides you with the ability to upload your own banner image to use. It is important that you upload an image the same size as the original banner. If the banner is not the same size, Premium Web Builder can distort the image to fit properly. You can use any image editing software such as Gimp, to make sure it is the same size. For this example, we will assume the image you are using is the same size as the default banner image.
- Click the “Browse” button and choose the image on your local computer you would like to use.
- After you have selected the image, click “Upload“
- When the upload is finished, click “Preview” at the bottom right of the page to see how your custom banner looks on your web page.
What Image Format can I use for my Banner?
Premium Web Builder supports most major image file types including .gif, .jpg, .png, and .bmp
Please check the next article on Changing Your Site’s Menu Style. If you missed our previous article, please see the Changing your Website’s Color Scheme tutorial. For more information on this course please visit Creating an Image Gallery

I have been looking through the various templates for hours to find one that will met all my needs … it is very difficult to have to open up all the templayes to look at the details and find out if they will work or not. This is causing me to have to reconfigure my design as my original choice did not have the ability to load the complete image .Very Frustrating.
The banner image often doesn’t fit (is partially obscured by many templates). Do I have to resize the image BEFORE I upload it? I’m guessing yes.
I am not knowing coding or programming,so I need an easy plaform to develop my website,where I can make flash banner too as my existing website www.growelagrovet.com
Hello Rakesh,
Unfortunately we are not familiar with the particular builder that you used for your site. That is not a builder that we use here at InMotion Hosting. I did try and see if there was a tutorial out there for your situation but I did not find anything.
You may want to switch to another platform if you are running into limitations on your existing one. One of the more user friendly ones is WordPress. This is also a web design platform that is supported by almost all hosts.
Kindest Regards,
Scott M
But I am very much interested to insert banner as my existing website www.growelagrovet.com,please suggest any option .Can I upload flash under the banner?Please help.
Hello Rakesh Kumar,
Since your website is not a Builder site hosted with us, this article will not help you.
We are happy to assist, but will need more information, since I was not able to determine what you are using to build your website.
What editor are you using to build your website?; WordPress, Joomla, Dreamweaver, etc.
If you have any further questions, feel free to post them below.
Thank you,
-John-Paul
Hi,
On the place of banner can upload flash movie or video.
Please suggest,Thanks.
Unfortunately, due to the limitations of the builder, it is not possible to use flash or video within this section.