When failed logins or unwanted traffic keep arriving from the same region, you can block a country in WHM entirely, or open access to only the countries you trust. This guide covers two ways to do it: cPHulk Brute Force Protection, which manages login attempts by country in a few clicks, and ConfigServer Security & Firewall (CSF), which enforces an allowlist or blocklist (older interfaces still say whitelist and blacklist) at the firewall level for incoming connections on every port. By the end you will be able to control which countries can reach your server, using whichever tool fits the problem you are solving.
cPHulk only watches authentication attempts, so it is the fast option when brute-force logins are the problem: it lives inside WHM and takes a few clicks. CSF works at the firewall level, so it can allow or deny a country across every port, including web and mail traffic that cPHulk never sees. Reach for CSF when you need broader coverage or port-specific rules, and reach for cPHulk when logins are the only thing you need to stop.
Prerequisites
- Root access to WHM on a Managed VPS or Dedicated Server. Root access is not enabled by default, so request it from InMotion Hosting if you do not have it yet. See How to Log In to WHM if you need help logging in.
- For the CSF method, ConfigServer Security & Firewall (CSF) already installed on the server.
Note: Both methods assume root-level WHM access. A reseller-level WHM account is a restricted version of WHM without server-level functions, and cPanel lets the server owner decide whether resellers can reach the cPHulk interface at all.
Method 1: Allow or Block a Country in WHM Using cPHulk
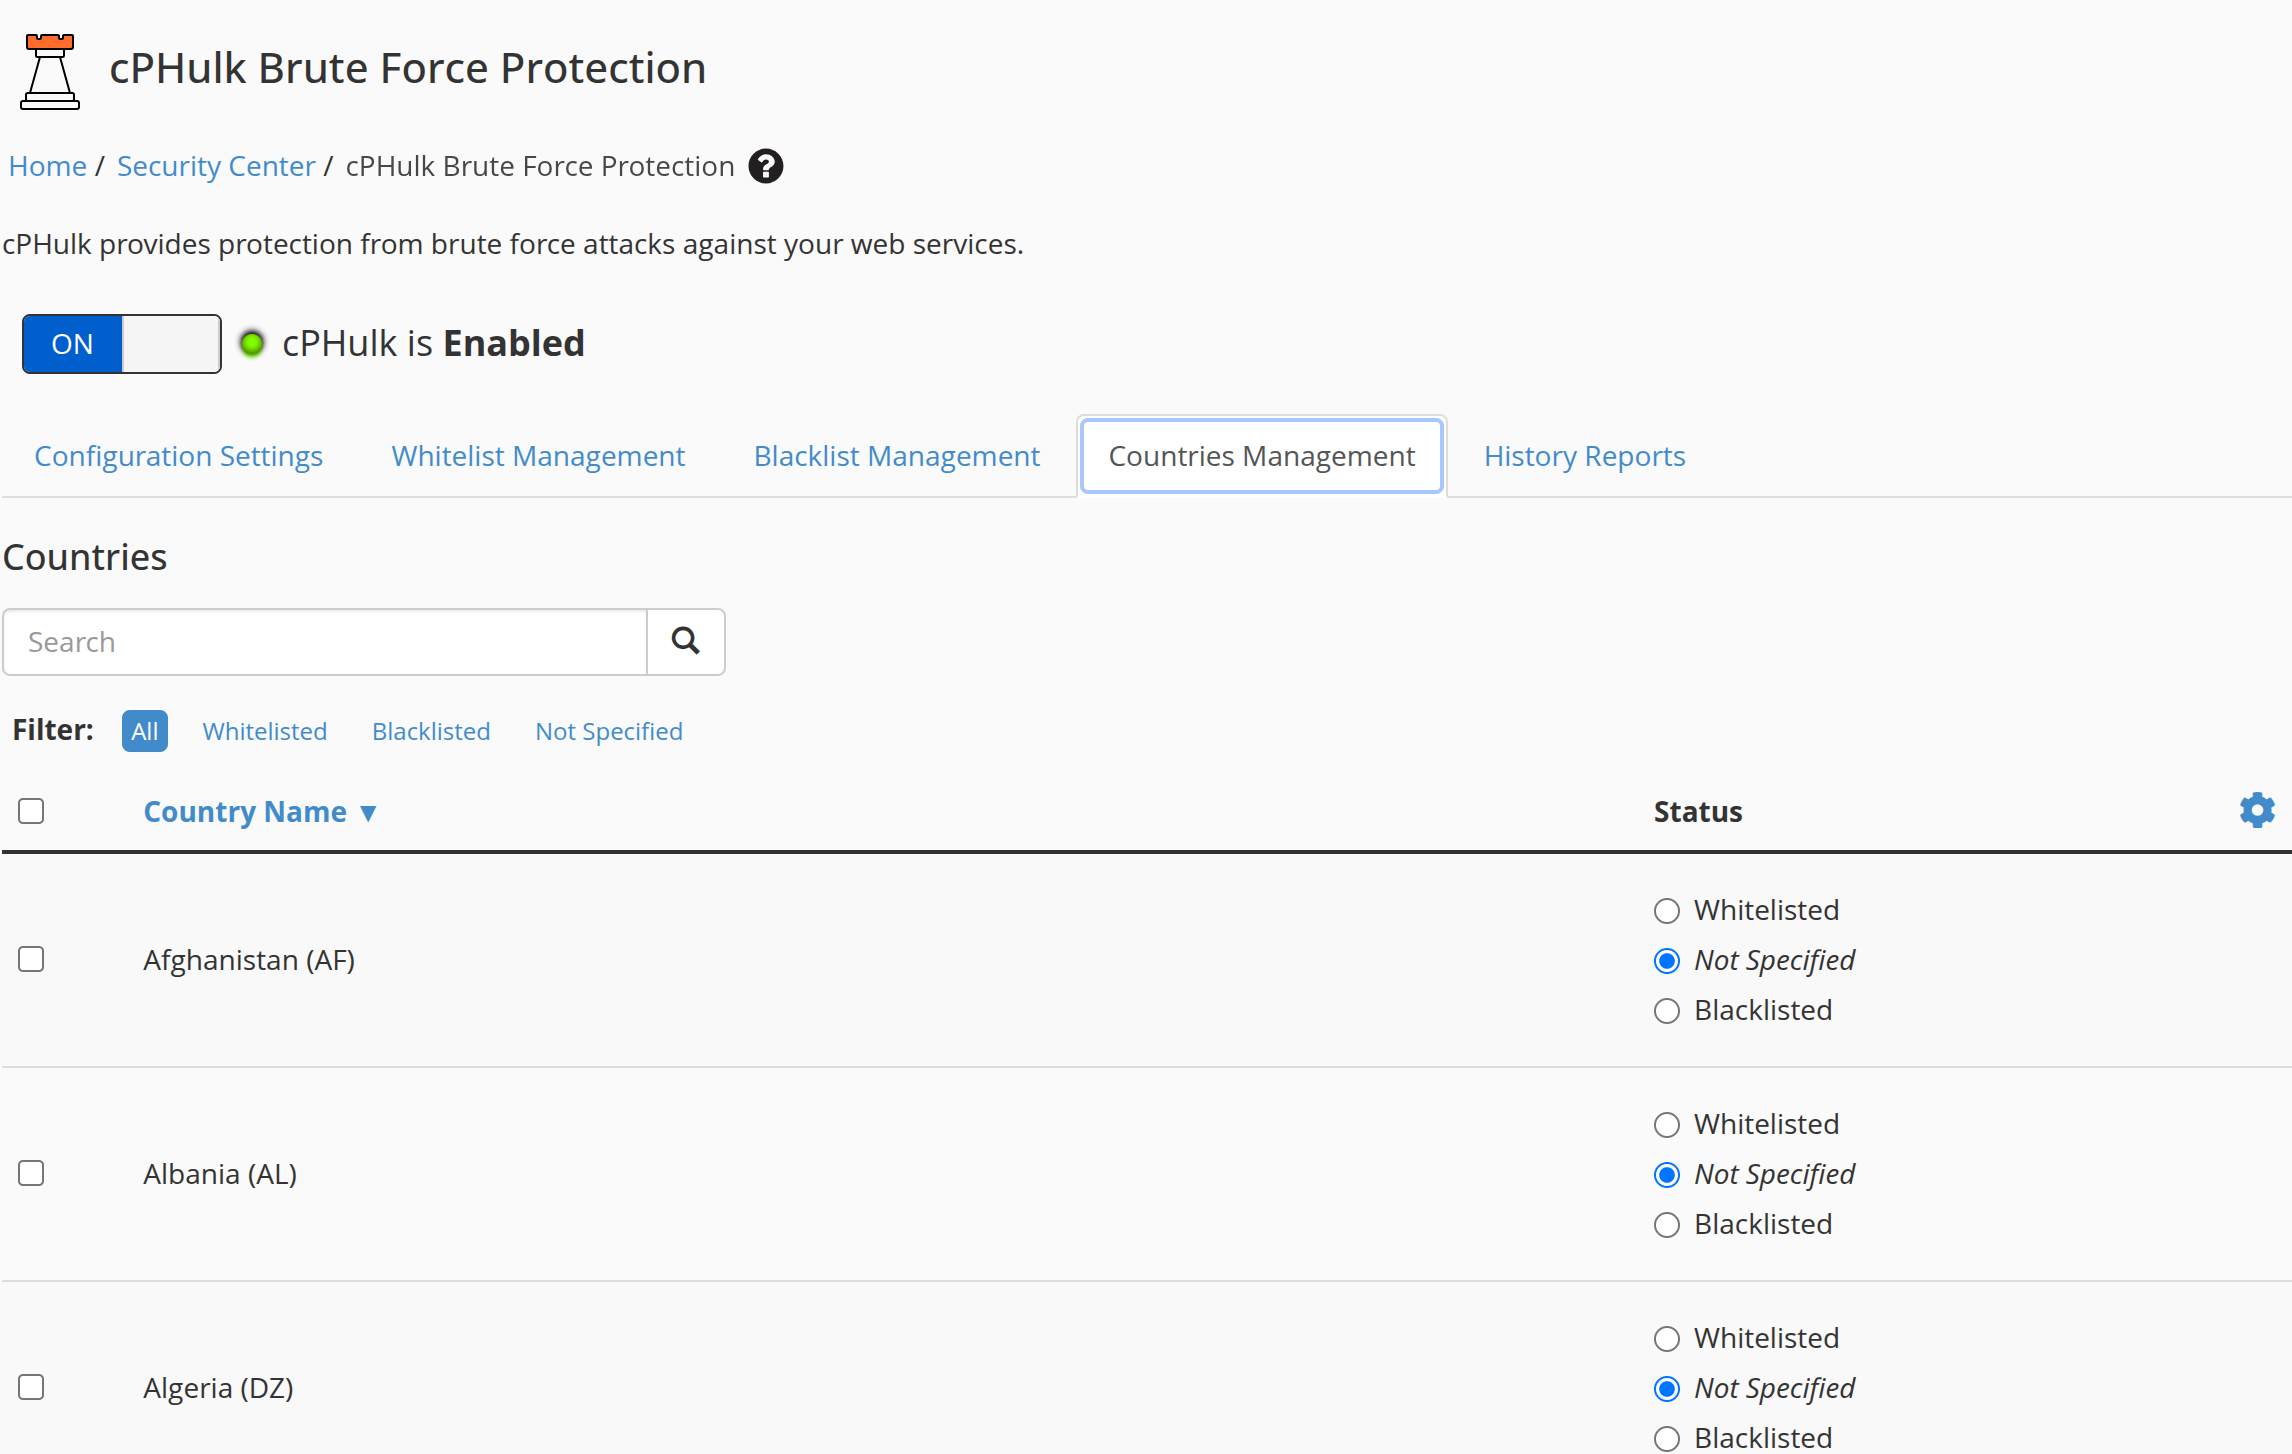
cPHulk Brute Force Protection monitors login attempts on cPanel (port 2083), WHM (port 2087), mail through Dovecot and Exim, Pure-FTPd, and SSH. Its Countries Management tab lets you mark a country Whitelisted or Blacklisted. cPHulk then always allows login attempts from that country, or never allows them. This is the fastest way to allow or block a country in WHM when logins are the issue.
- Log in to WHM as the root user.
- In the search bar at the top of the left menu, type cphulk.
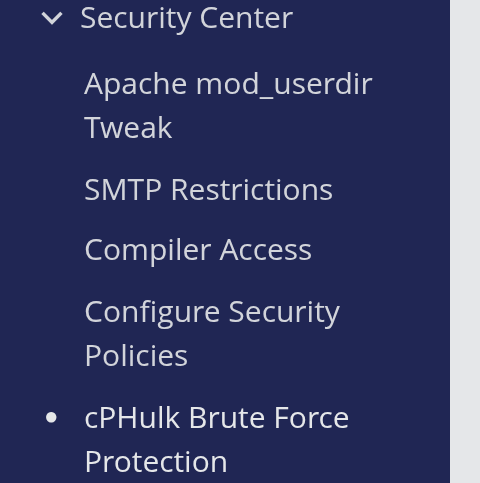
- Under Security Center, click cPHulk Brute Force Protection.
- Click the Countries Management tab.
- Use the search field to find the country you want to manage.
- In the row for that country, select Whitelisted to always allow login attempts from that country, or select Blacklisted to always block them.
Note: The entry labeled Unknown Region (ZZ) also covers private IP address ranges such as 192.168.1.1. Setting it to Blacklisted blocks logins from internal network addresses too, so leave it on Not Specified unless you have a specific reason to change it.
Tip: To manage several countries at once, select the checkboxes beside each country name, then click the gear icon. The dropdown gives you Whitelist Selected Countries, Blacklist Selected Countries, and Set Selected to “Not Specified”.
- WHM saves the change and displays the confirmation message “Country whitelist and blacklist updated.”
cPHulk only sees authentication traffic. It does not block general web requests, mail delivery, or any connection that never presents a login form. If you need to stop a country from reaching your server at all, not just its login pages, the CSF method gives you that coverage.
Method 2: Block a Country in WHM Using CSF
ConfigServer Security & Firewall (CSF) enforces country rules at the firewall level, so the rules apply to every incoming connection, not just logins. cPanel now maintains CSF as an open-source project for cPanel and WHM servers. InMotion Hosting keeps CSF updated on managed servers, so you do not need to install updates yourself. You configure everything through a set of settings that begin with CC_ (Country Code) on CSF’s Firewall Configuration screen.
Open Firewall Configuration
- Log in to WHM as the root user.
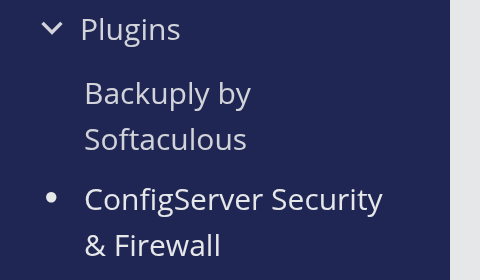
- In the left menu, expand Plugins (or use the search bar), then click ConfigServer Security & Firewall.
- On the CSF dashboard, scroll to the csf – ConfigServer Firewall section and click Firewall Configuration.

- Near the top of the page, use the section dropdown and select Country Code Lists and Settings to jump straight to the
CC_*options.

Choose a country database source
CSF pulls its country-to-IP data from one of two sources, set in CC_SRC. CC_SRC "2" is the default on new CSF installations and uses ipdeny.com, db-ip.com, and iptoasn.com, all free to download with no account or key required. CC_SRC "1" uses MaxMind’s GeoLite2 databases, which need a free MaxMind account and a license key entered in MM_LICENSE_KEY. Unless you already use MaxMind elsewhere, leave CC_SRC at "2".
CSF’s login failure daemon (lfd) is the background process that downloads and refreshes these country databases. If you set CC_SRC to "1" and leave MM_LICENSE_KEY blank, lfd logs an error stating that MM_LICENSE_KEY must be set in /etc/csf/csf.conf, and the country code features do not work. CC_INTERVAL controls how often lfd retrieves whichever databases you choose; the default is every 14 days.
Warning: csf.conf warns that these country lists are never 100 percent accurate, and that some ISPs use non-geographic IP address ranges for their clients. Large countries can also generate huge CIDR (Classless Inter-Domain Routing) lists. Each entry needs its own rule in the incoming iptables chain, which carries significant performance overhead and could render the server inaccessible in some circumstances. For those reasons CSF does not recommend the CC_* options at all, and it warns against using them on a VPS unless you choose very small country zones.
The CC_* settings at a glance
The table summarizes the CC_ (Country Code) settings covered in this guide, drawn from the comments in csf.conf itself.
| Setting | What it does |
|---|---|
CC_DENY | Blocks incoming connections from the listed country codes. Comma-separated list, for example RU,CN,KP. |
CC_ALLOW | Allows the listed countries access through all ports in the firewall, which bypasses your port rules. csf.conf notes that CC_ALLOW probably has very limited use and that CC_ALLOW_FILTER is preferred. |
CC_ALLOW_FILTER | Allows access only from the listed countries but still filters on your port and packet rules. All other connections are dropped. The preferred alternative to CC_ALLOW. |
CC_ALLOW_PORTS (with _TCP / _UDP) | Lets the listed countries reach the specific ports named in CC_ALLOW_PORTS_TCP and CC_ALLOW_PORTS_UDP. Remove those ports from TCP_IN/UDP_IN first so only the listed countries can reach them. |
CC_DENY_PORTS (with _TCP / _UDP) | Blocks the listed countries from the specific ports named in CC_DENY_PORTS_TCP and CC_DENY_PORTS_UDP. Leave those ports listed in TCP_IN/UDP_IN; do not remove them. |
CC_IGNORE | Stops lfd from blocking IP address hits for the listed countries. Requires CC_LOOKUPS to be enabled. |
CC_ALLOW_SMTPAUTH | Limits which countries Exim advertises SMTP AUTH to, which helps limit distributed attacks against SMTP AUTH without restricting mail relaying. Requires SMTPAUTH_RESTRICT to be enabled. |
CC_DROP_CIDR | Ignores CIDR blocks smaller than the value you set (1 to 32) when applying CC_DENY, CC_ALLOW, or CC_ALLOW_FILTER, which reduces how many entries csf has to create. |
Note: The country code lists also accept Autonomous System Numbers (ASNs) mixed in with two-letter country codes. List them as ASnnnn, where nnnn is the ASN number. csf.conf also suggests considering LF_IPSET when you use any of these options, since ipset moves matching of large lists away from individual iptables rules.
Block a country in WHM with CC_DENY
CC_DENY is the broadest option: CSF drops incoming connections from the listed countries before they reach any service on the server.
- On the Firewall Configuration page, find the
CC_DENYfield. - Enter the two-letter country codes to block, separated by commas with no spaces.
RU,CN,KPReplace those codes with the countries you want to block. CSF expects two-letter ISO country codes, published by ISO as ISO 3166-1 alpha-2.
- Scroll to the bottom of the page and click Change to save.
- Return to the CSF dashboard and click Restart csf+lfd to apply the new rules.
Block a country on specific ports with CC_DENY_PORTS
Use CC_DENY_PORTS to restrict a country from only certain ports instead of the entire server, for example keeping a region off SSH (port 22 by default) while still letting its visitors reach your website. The ports you list here should stay in TCP_IN and UDP_IN; do not remove them.
- Find
CC_DENY_PORTSand enter the country codes to restrict. - Find
CC_DENY_PORTS_TCPand enter the TCP port numbers to block for those countries, comma-separated. - Find
CC_DENY_PORTS_UDPand enter any UDP ports to block, or leave it blank if you only need TCP restrictions. - Click Change, then click Restart csf+lfd.
For more on shaping which ports CSF opens and closes, see Block Ports in ConfigServer Security & Firewall (CSF).
Allow only certain countries with CC_ALLOW_FILTER
To flip the logic and allow only a short list of trusted countries, use CC_ALLOW_FILTER. It drops every connection except from the countries you list, while still filtering that traffic through your existing port and packet rules.
Warning: CC_ALLOW is not the same setting. csf.conf states that CC_ALLOW allows access through all ports in the firewall, which bypasses your port rules, and that CC_ALLOW probably has very limited use while CC_ALLOW_FILTER is preferred. Use CC_ALLOW_FILTER when your goal is to allow only a list of countries.
Warning: CC_ALLOW_FILTER drops every connection from a country you do not list. Leave your own country code off the list and you will lock yourself out of WHM, cPanel, and SSH along with everyone else. Confirm your current connection’s country code before saving, and test on a non-production server first if you can.
- Find
CC_ALLOW_FILTERand enter the country codes that should have access, separated by commas. - Click Change, then click Restart csf+lfd.
Allow countries to a port others cannot reach with CC_ALLOW_PORTS
CC_ALLOW_PORTS opens one specific port to specific countries while keeping that port closed to everyone else. Remove the port from TCP_IN or UDP_IN first, since CC_ALLOW_PORTS is what reopens it for the countries you list.
- Find
CC_ALLOW_PORTSand enter the country codes that should reach the port. - Find
CC_ALLOW_PORTS_TCPand enter the TCP port number, for example21for FTP. - Find
TCP_INearlier on the page and remove that same port number so it is closed to everyone else by default. - Click Change, then click Restart csf+lfd.
Every change to these settings needs both a Change and a Restart csf+lfd before it takes effect. If a rule does not behave the way you expect after that, the troubleshooting section covers the most common causes.
Troubleshooting
A country I blocked in cPHulk can still log in
cPHulk only watches authentication traffic: cPanel, WHM, Pure-FTPd, SSH, and mail logins through Dovecot and Exim. It does not inspect web requests or any other connection, so a country set to Blacklisted can still load your website or send mail through channels cPHulk does not monitor. Also check the Whitelist Management tab: cPHulk always allows logins from an IP address listed there, so a single allowed address can still sign in even when its country is set to Blacklisted. If you need to stop all traffic from a country, not just logins, use the CSF method.
CSF country rules do not seem to apply
First confirm you clicked Restart csf+lfd after saving. Clicking Change alone updates the configuration file; the firewall does not use the new CC_* values until csf and lfd restart. If you set CC_SRC to "1" for MaxMind but left MM_LICENSE_KEY blank, lfd logs an error and does not retrieve the country databases, so CC_DENY, CC_ALLOW_FILTER, and the other CC_* options stop working. Either add a MaxMind license key or set CC_SRC back to "2", then click Change and Restart csf+lfd again.
I’m locked out after allowing only certain countries
If your own IP address resolves to a country left off your CC_ALLOW_FILTER list, CSF drops your connection along with everyone else’s. Use your server’s out-of-band access, such as a VNC or IPMI console, to log in directly and edit /etc/csf/csf.conf. Find the CC_ALLOW_FILTER line, add your country code, save the file, and run csf -r to restart the firewall rules. If you do not have console access, contact InMotion Hosting Support for help regaining access.
Conclusion
You can now allow or block a country in WHM with either cPHulk or CSF, depending on how much control the situation calls for. Use cPHulk for a quick block on login attempts, and use CSF when you need firewall-level rules that cover incoming connections on every port. For finer control over which ports CSF opens or closes for the countries you allow, see Block Ports in ConfigServer Security & Firewall (CSF). CSF can also scan your domain and server IP addresses against blocklists and email you the results on a schedule; see Schedule IP Blacklist Email Reports in CSF.