Access control is an important part of managing visitor access to your website. Visitors can be restricted from accessing your site by using the IP Blocker in your cPanel or by adding the Allow or Deny code in your .htaccess file.
This is especially useful when robots or malicious visitors from specific countries or domain addresses spam your site or place comments on your site that you do not want. The following sections will explain how to block IP’s in your .htaccess file and through the cPanel IP Blocker.
Important! If you are on a VPS or Dedicated server, you can bloack IPs globally server wide. Please click here to learn how.
Access control using your .htaccess
Access control by IP address
The Allow and Deny directives let you allow and deny access based on the IP address or host name of the originating visitors server. The syntax is as follows:
Allows IP 122.102.1.2 access to your website.
Allow from 122.102.1.2
Denys IP 25.122.6.3 access to your website.
Deny from 25.122.6.3
Adding those lines of code will prevent or give access to the user from that IP address.
Using Order to combine Allow and Deny
Deny and an Allow directive in one spot using Order. See the following code example.Order deny,allow Deny from all Allow from 203.25.45.2
This allows you to be able to Deny all visitors from accessing and at the same time allowing only certain visitors access.
Access control by Host name
You can block visitors in the .htaccess using the host name of the visitor. The following is the syntax for blocking host names from accessing your site.
Deny from unwanted-domain.com
Important! THIS IS NOT RECOMMENDED. If you use a host name in a Deny rule in the .htaccess, Apache will convert your Apache log into host names instead of IP addresses. This will remove your ability to see the logs with IP addresses. You will want to use the IP address instead of host name; unless, you want to check your site access by host name alone.
Combining deny with the IP and Host
You can combine the IP addresses and the host names together with the same syntax. Also, you can specify just a part of a domain. The following is the syntax for combining the IP and host name.
Deny from 192.168.205 Deny from unwanted-domain.com unwanted-domain-2.com Deny from domain-part
Access control using the IP Blocker
cPanel gives you the ability to block specific IP’s from viewing and accessing your website. the following is the steps to add IP addresses to your server to block them from accessing your site.
- Login into your cPanel.

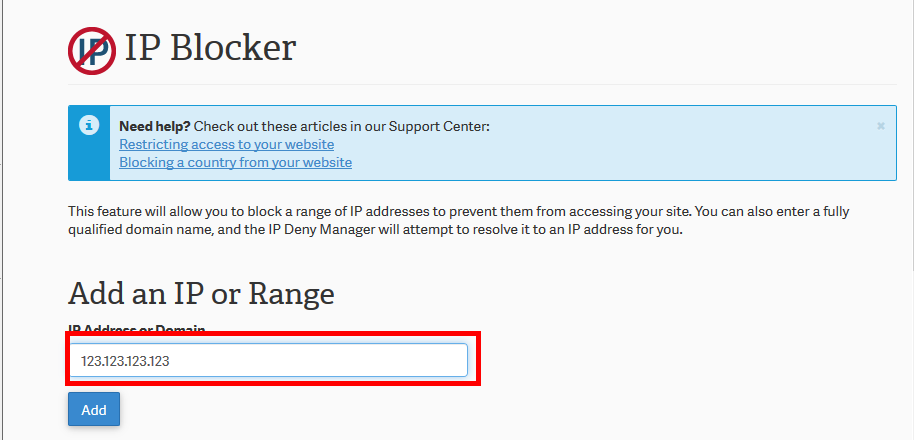
Navigate to the Security section and click the IP Blocker icon. The following table explains what formats you can use to block Ips.
IP formats (taken from cPanel) Single IP Address 10.5.3.333 (Only this IP will be blocked) Implied Range 10.5.3.3-10.5.3.40 (This blocks a range of IP’s that fit the parameters between IP 10.5.3.3 and 10.5.3.40) CIDR Format 10.5.3.3/32 (This blocks all IP’s in the 10.3.3 range from 10.3.3.00 to 10.3.3.32) Implied IP Address 10. Implies 10.*.*.* (blocks all IP’s starting with 10.) 
Enter the IP you want to block.

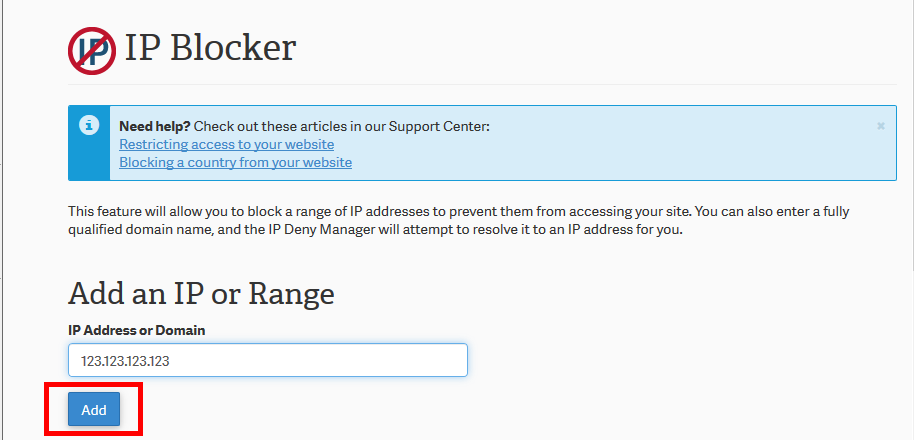
Click the Add button.

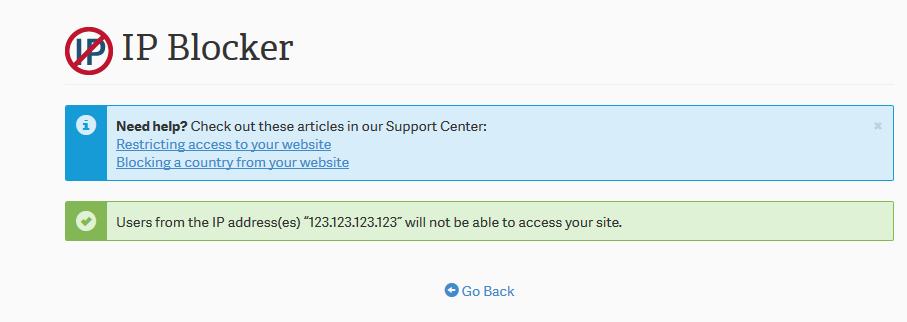
You will be directed to a success page.
Click Go Back.
Now you will see the IP address in the blocked list. The IP will not be allowed to access your site.

I need to know the right format of denying all countries except Egypt, will it cause my website to be slower?
Hello and thanks for asking. Please see our article on how to Block a country from your site using htaccess. It will not affect whitelisted countries.
You may need to update the article to include the full block of code so that people aren’t inadvertently blocking all IPs except their own from accessing the entire site.
The htaccess file should read something like (after the rewrite engine tags):
order deny,allow
deny from all
allow from
allow from
Thanks for alerting us to this issue. We will review the article and update it to make sure that it is accurate and works properly.
A website I help manage was attacked today by a brute force login effort. I used the cPanel tool to block the related IP’s, and I did so more globally than just the specific server (i.e. “41.” rather than the full IP address). But in doing so it raised a question: when your instructions indicate that “access” from this IP address is blocked, does that mean users from that address cannot view the website, or just can’t log in? I don’t want to accidentally limit website viewing for legitimate users.
When you block an IP in this manner it will prevent them from accessing the site completely. If they try and access it they will get a 403 error.
HTACCESS-based blocking (using sample code provided above) is not working at all in an account we’re developing in for a client. However, identical code does work in our separate dev account (also on InMotion).
No errors are are logged in the cPanel error log viewer (as in zero errors ever of any kind), so it’s unclear what the problem is.
How can we troubleshoot and/or resolve this? This functionality is a critical need. Thanks!
Remember that your .htaccess files can override ones in a sub-directory. Make sure that your development is in a separate directory and that .htaccess files are not set above it in another folder. Additionally, keep in mind that these rules are read from the top of the file to the bottom of the file with the top having priority over the bottom. If you need the .htaccess rules to run FIRST, then they should be at the top of the file.
Is it possible to allow/deny by country code and/or ASM?
That is not possible through the IP manager in cPanel, If you have a VPS or Dedicated server you can contact support and have them install the CSF firewall on the VPS or Dedicated server which does support the option to block based on country code.
Can you allow access from one IP and deny access for all others?
Yes, this can be accomplished using the Allow and Deny rules listed above.
Your CIDR examples are incorrect.
a /32 indicates a 32 bit mask, with 8 bits per octet, that means you are blocking (masking) just that one address. If you want to block a range using CIDR, for example: /24 will block 10.3.3.0-255, /16 will block 10.3.0.0 to 10.3.255.255. You can adjust down from /32 to block wider and wider ranges. Rememberm you are using a netmask to filter ip addresses. It’s not for directly declaring a range of ip’s.
Check out this for further explinations: https://en.wikipedia.org/wiki/Classless_Inter-Domain_Routing
What is the difference between blocking an IP via the Deny Manager versus via .htaccess?
Great question, Laleh! The IP Blocker in cPanel actually modifies the .htaccess file. The interface just provides a simpler, more convenient method to block an IP.
Does using Access control using the IP Deny Manager slow down my web site?
I want to block certain countries like Russia and China and would like to block in ranges because the list is too long for htaccess and I am afraid it will make things very slow.
Yes, anytime you add a large chunk of code it will slow things down a bit. You will want to test it to see how much, however.
You can Upgrade your plan from AMP at any time, it will pro-rate the price automatically for you.
Thank you,
John-Paul
What about blocking an IP V6 address?
I see where blocking a domain name is possible but, doesn’t that require yet another DNS request to complete the blocking action?
Hello,
Currently our servers do not accept IPV6 addresses, so there is no current need to block them.
Kindest Regards
Scott M