The other day I had an old developer friend send me a bunch of files from his archives so that I could complete a project. However, he had archived them using an older file compression with the extension RAR. The problem is that RAR files are not associated with any native application in the Mac OS.
If you using a Mac, it will come with an Archive utility for compressing and uncompressing files, but it will not extract RAR files. Fortunately, you can download many free apps in the App Store for these files.
This article will use the free app – Unzip One: RAR ZIP Extractor by Trend Micro
What is RAR?
RAR stands for Roshal Archive – named after the Russian software engineer who developed it, Eugene Roshal. This archive type allows data compression, error recovery, and file spanning. You can find more information on the RAR file format here.
Installing Unzip One
Most free apps for Apple can be obtained through the App Store. Though we are showing how to use Unzip One, many other free applications are available for uncompressing files.
- Open the App Store.
- Search for Unzip One.
- Click on the cloud icon to download and install the app.
- Once the app is installed, the cloud icon becomes an OPEN button. Click on open to run the app.
Using Unzip One
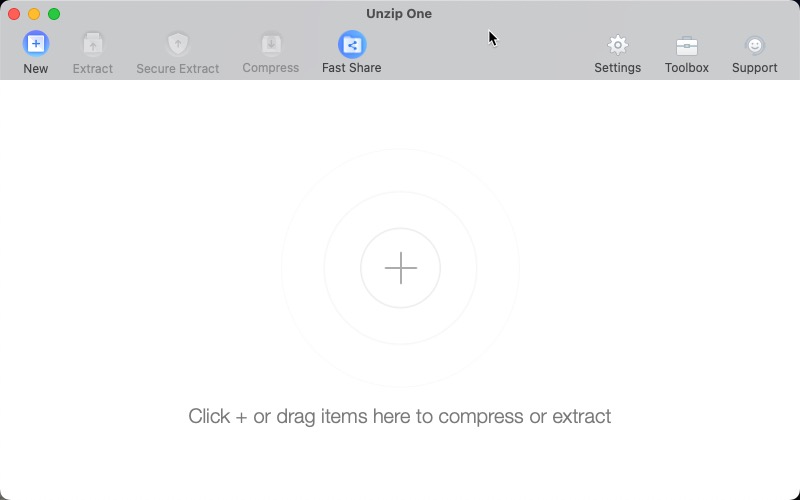
The Unzip One app is very easy to use. When it’s open, you can drag a RAR file into it or click on the + sign to use the file dialog to find your file. The app is also automatically associated with RAR files. This allows you to double-click on a RAR file to see its contents.
Extracting and Viewing Compressed Files
- Launch the app. You can go to Finder and type, Unzip One. Or you can double-click on a RAR file, and the app will automatically open.
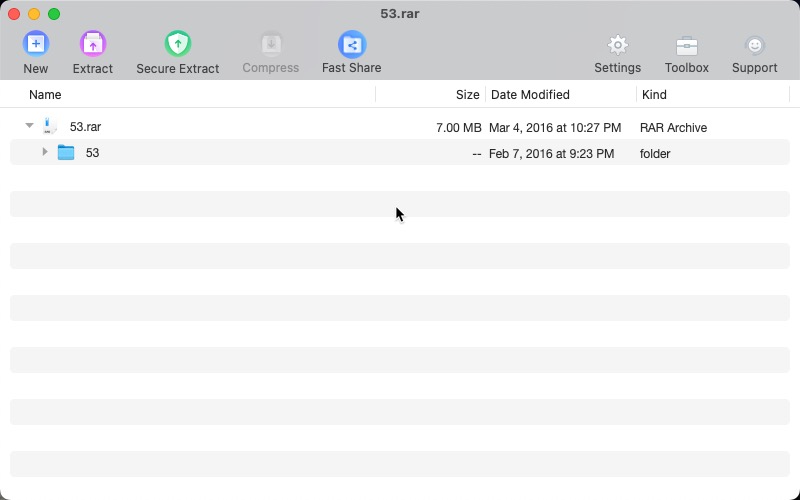
- Unzip One has two extraction options – Extract and Secure Extract. Use Secure Extract if you are unsure of the file contents to help protect you against viruses stored in RAR files.
Select an Extract option, or review the file’s contents by clicking on the folders in the Unzip One interface.
Compressing files
Compressing files in Unzip One will not use RAR compression. You will have the option to use ZIP or TAR.
- Open Unzip One.
- Add the files you want to compress.
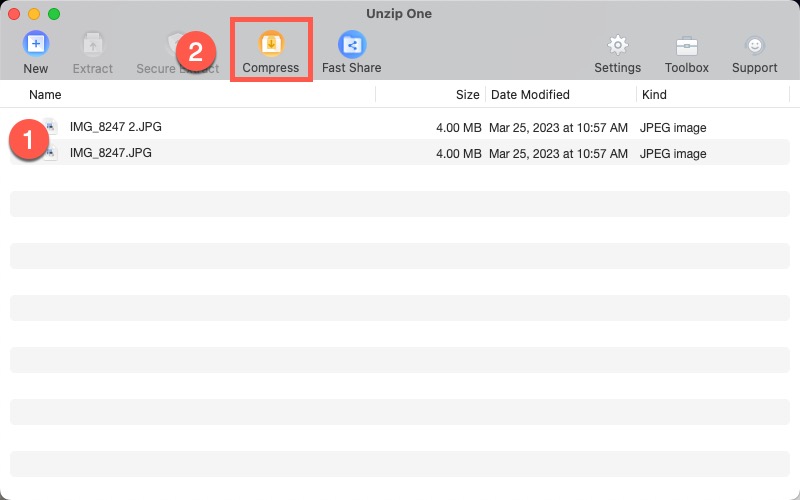
- Click on the Compress button.
- You will then see a pop-up window that allows you to name the archive, determine where the file will be saved, and the compression type you want to use.
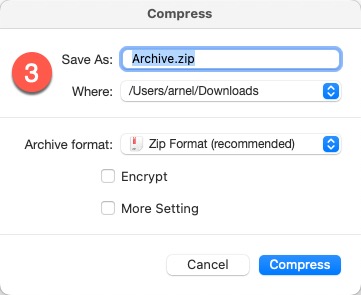
- OPTION – You can also click on Encrypt to make the compressed file secure.
- OPTION – If the file or files you’re compressing are large, click More Setting. This will allow you to determine the compression level and split the archive into specific sizes.
- Click on the Compress button to complete the archive.
Sharing Files with Unzip One
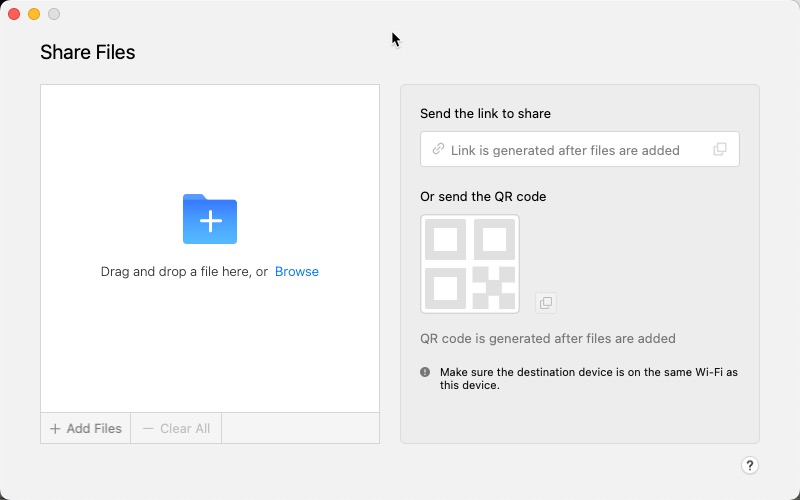
If you wish to share the file(s), you can also click on Fast Share. The app gives you the option to share a link or create a QR code that you can use to share files locally (in the same network).
Finding an application to open a RAR file on your Apple computer is easy because of the many options in the App Store. Use Unzip One to extract, compress, and share files using RAR or other compression formats.