HubSpot CRM allows one to create embedded or standalone forms that gather or provide information to your customers. For example, you may have a standalone survey form that a customer opts to view. This tutorial will walk you through creating and using these forms for your business endeavors.
What are Embedded or Standalone Forms
Embedded forms are added to an existing WordPress page or post using shortcode provided to you by HubSpot. Standalone forms also use shortcode but are added to a blank page or post so that they may be displayed as a separate web page.
How To Create and Use an Embedded or Standalone Form
A wizard walks you through four steps when creating an embedded or standalone form. The created form is based on a pre-defined template or a blank form that you can customize.
The steps below walk you through the options when creating either type of form. You must be logged into the WordPress Administrator Dashboard to follow these instructions.
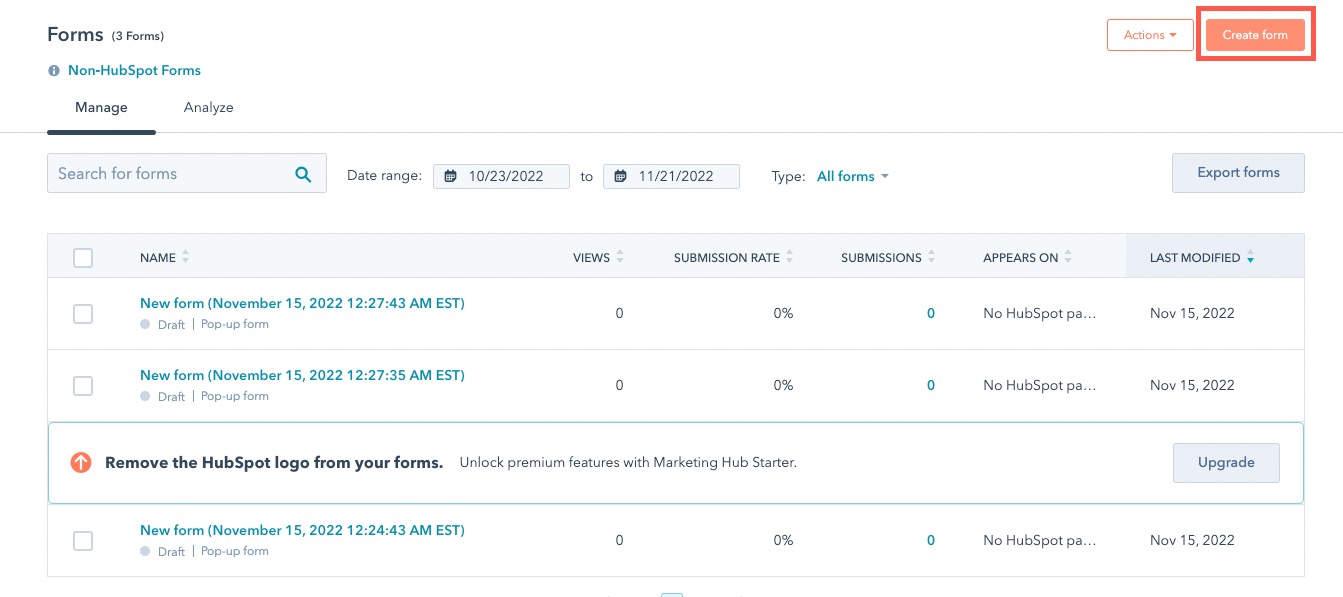
- In the main menu, click on HubSpot.
- Click on Forms.
- Click on the Create form button in the top right corner.
- Select the type of form you wish to create – Embedded form or Standalone page.
- Click on Next in the top right corner to proceed.
- Choose a Blank or pre-defined Template for your form. The right column shows a preview of each template.
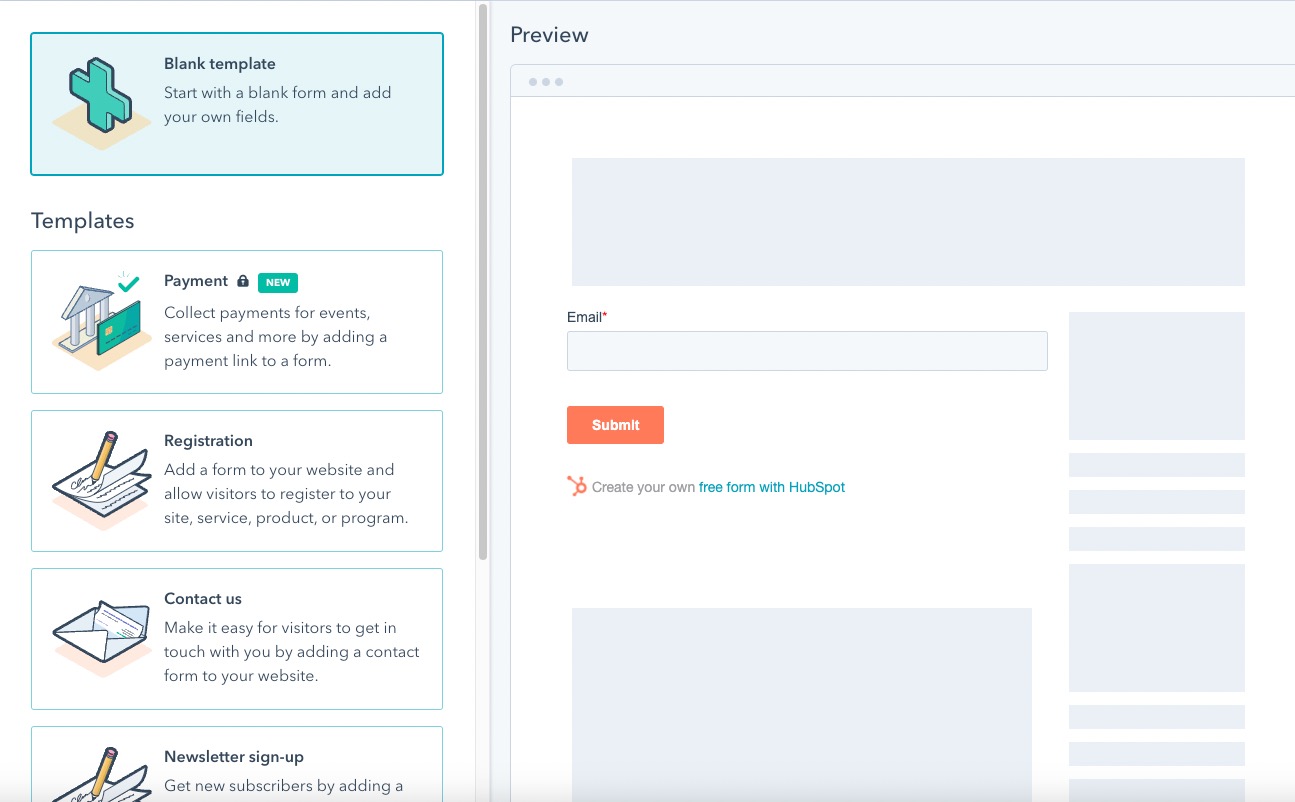
- Click on Start in the top right corner.
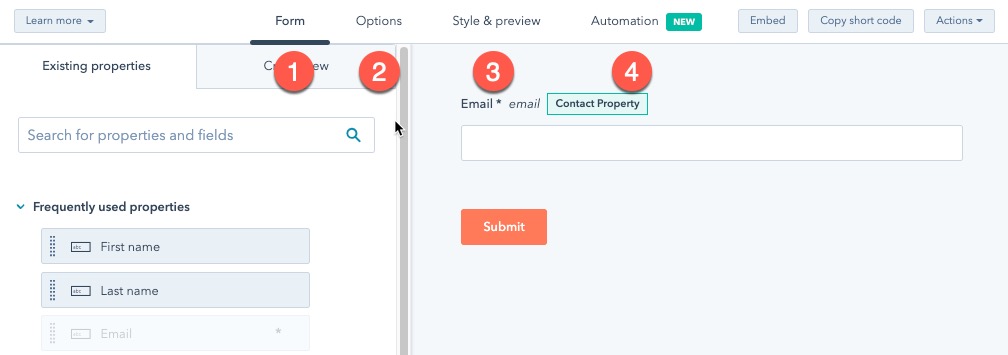
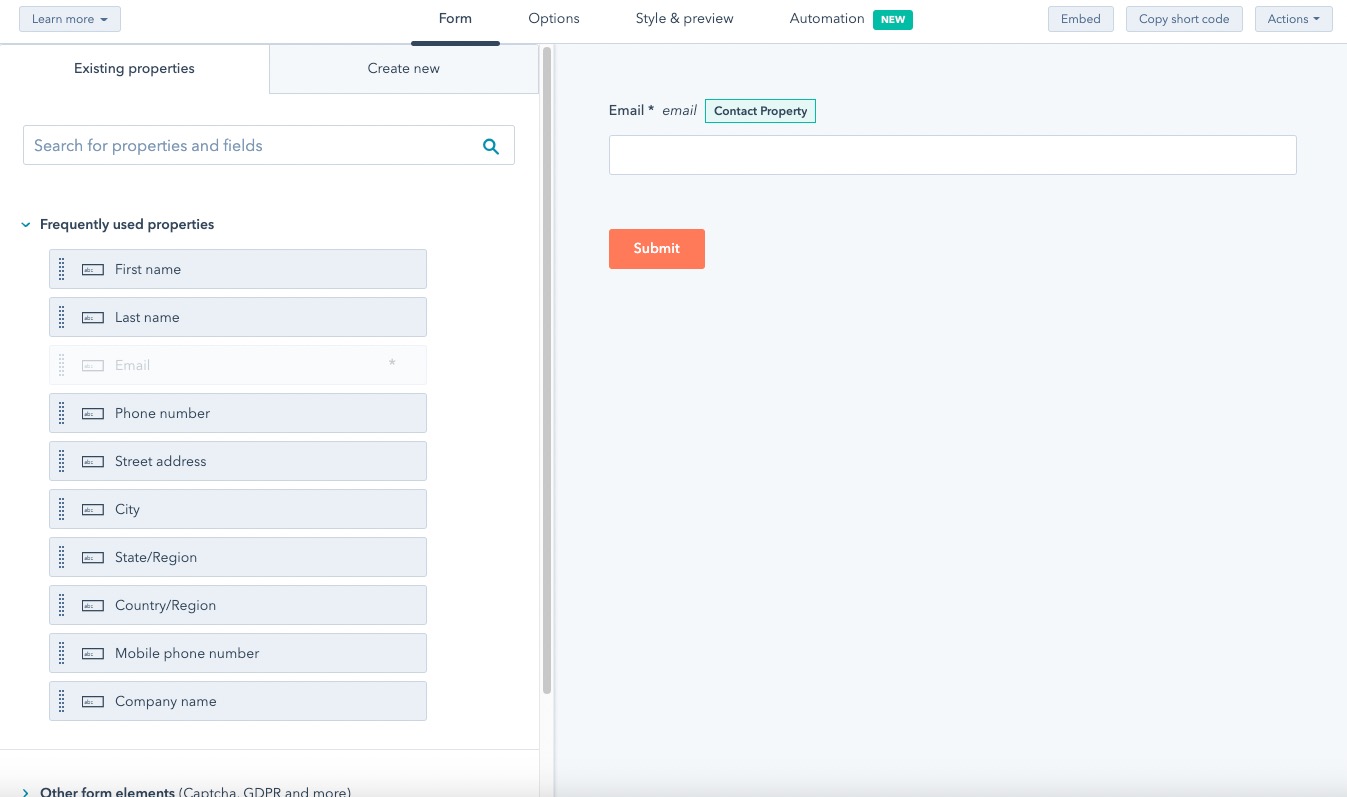
- Step one of the process is titled as Form. Click on existing properties or create new ones to add to your form.
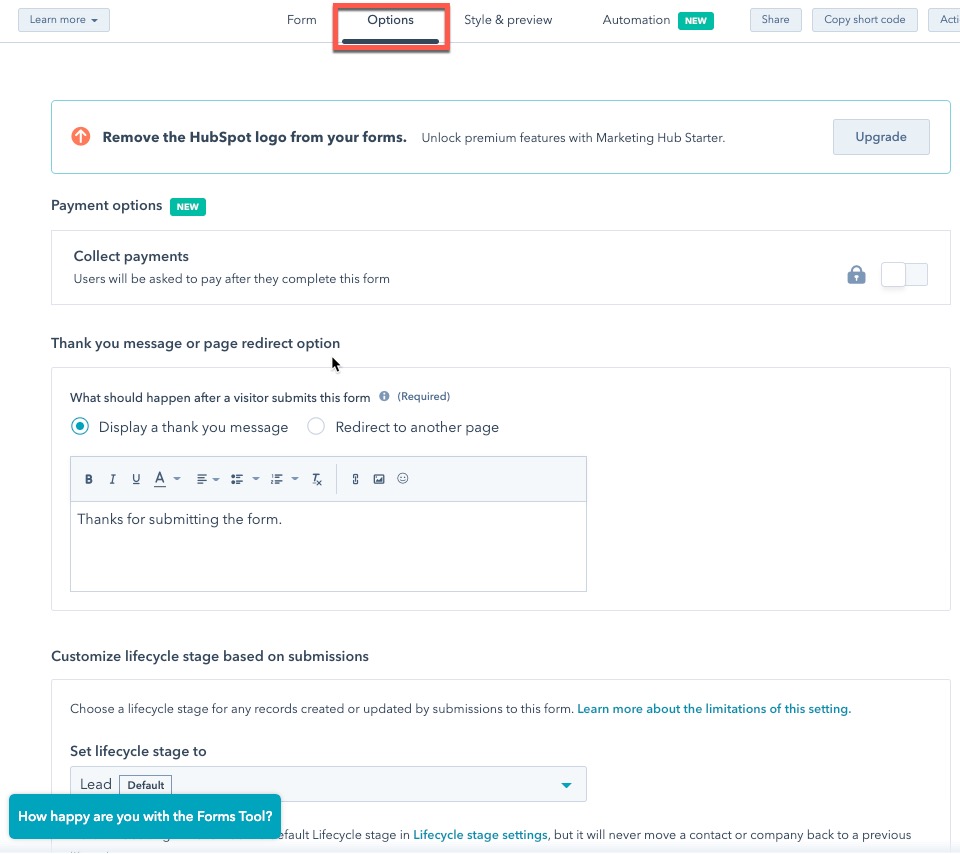
- Click on Options for the next step. Choose from nine options that affect how the form opens or the actions taken after the form is submitted.
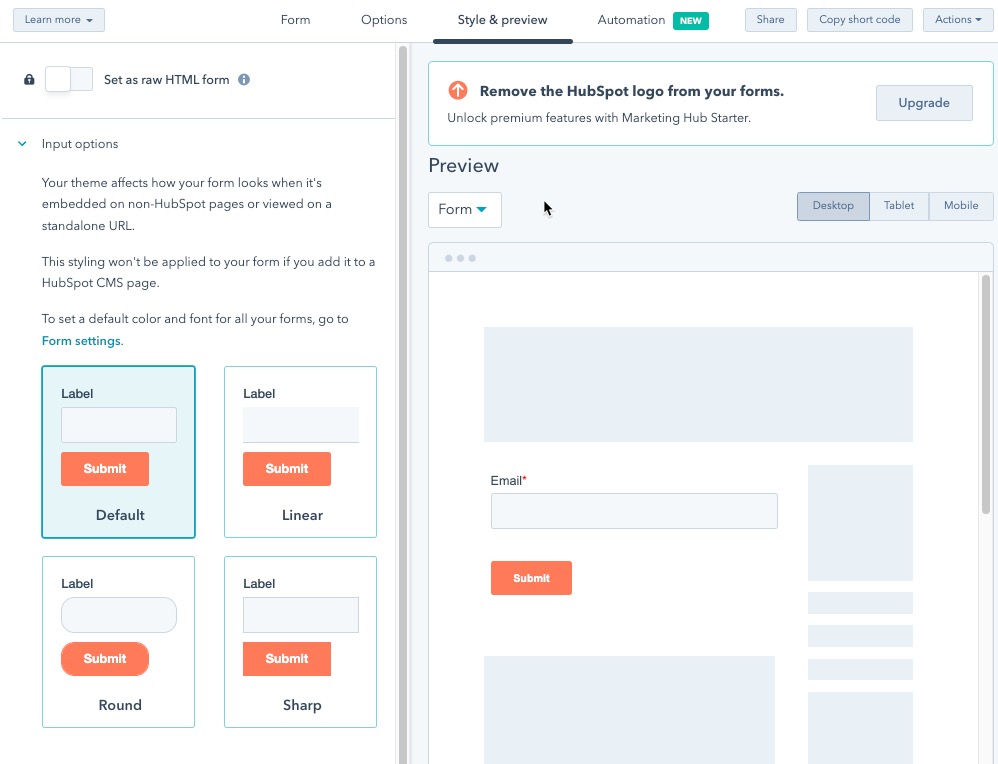
- Next, click on Style & Preview. You can change color, font, and appearance options for the form.
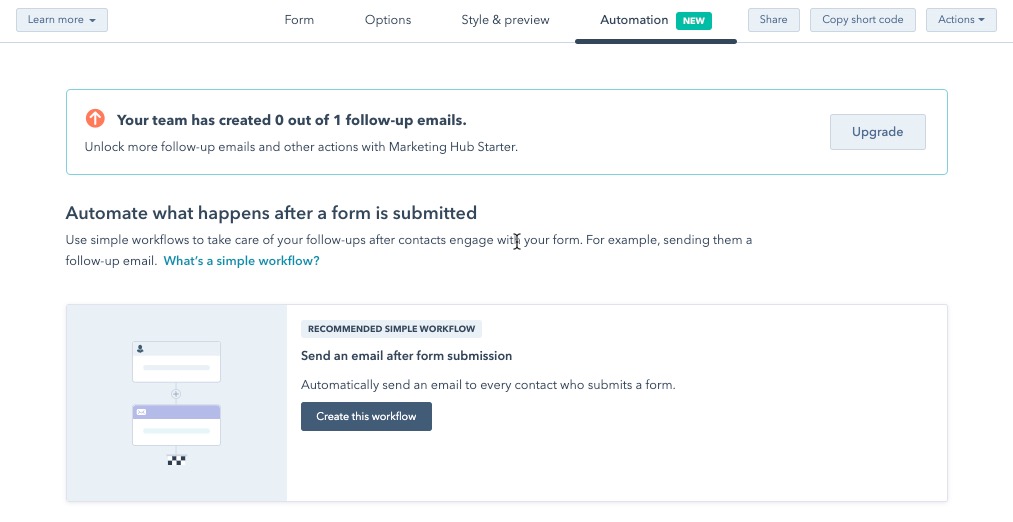
- Click on Automation. You can create automated sequences triggered by the completion of the form. Creating new workflows requires an upgraded account.
- When completing the form, click on Submit in the top right corner.
- You will then see a Review and publish column appear on the right side of the screen. Review the form.
- When the processing is complete, the embed code will be displayed. Click the Copy button and paste the code into your WordPress post or page to use it as an embedded or standalone form.
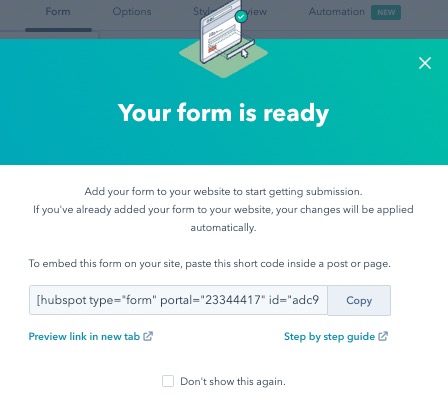
- If satisfied with the form, click on Publish at the bottom of the column. Cancel returns you to the form editor.
Embedded and standalone forms created through HubSpot CRM are used to gather or provide customer data. For example, you can create a subscription form that allows customers to provide their contact info for online or mail-in subscriptions. You can also create reports for a customer to give them information based on their interactions with your business. These forms are valuable tools that help increase and improve your customer interactions.