
When you need to trace where a domain pointed in the past, a Domain Name System (DNS) history lookup gives you a timestamped record of every change. SecurityTrails keeps a running archive of DNS records for domains and IP addresses across the internet, so you can find previous A, MX, or nameserver values even if you never saved them yourself.
Note: SecurityTrails is a third-party, non-authoritative DNS lookup tool. Its historical data is generally reliable but may contain gaps or inaccuracies. Treat results as a reference, not an authoritative record.
How to Look Up DNS History With SecurityTrails
Follow these steps to run a DNS history lookup and view both current and past records. You will need a free SecurityTrails account to see history beyond the most recent record.
- Go to the SecurityTrails DNS Repository.
- Enter the domain name, hostname, or IP address you want to check, then click Run Check.

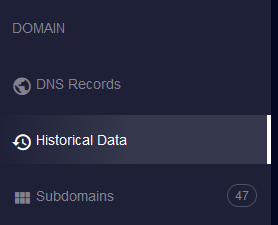
- On the results page, click Historical Data in the navigation tabs.
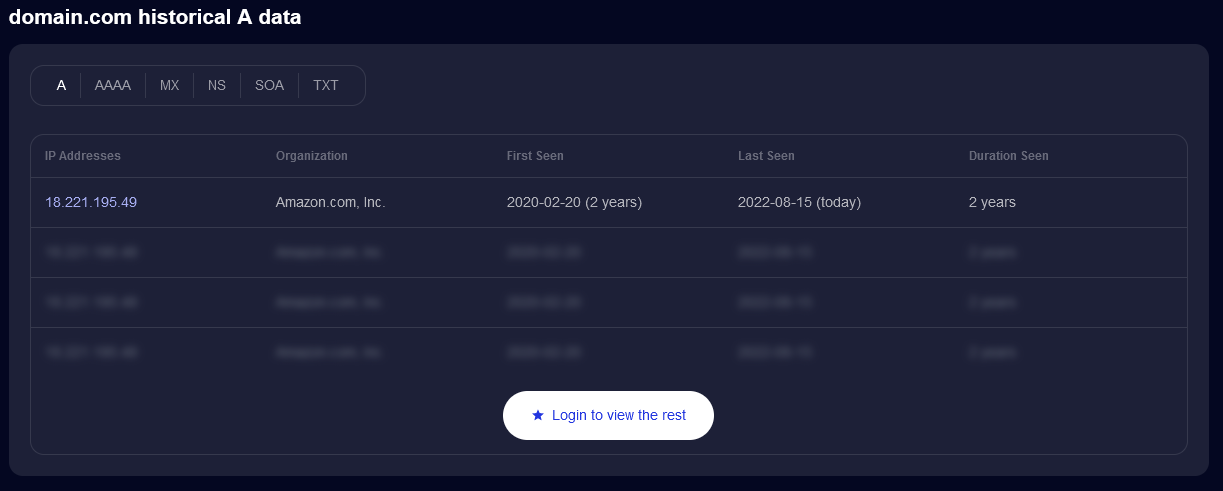
- The page shows the current DNS records and how long each record has been active. To see older records, click Login to view the rest.
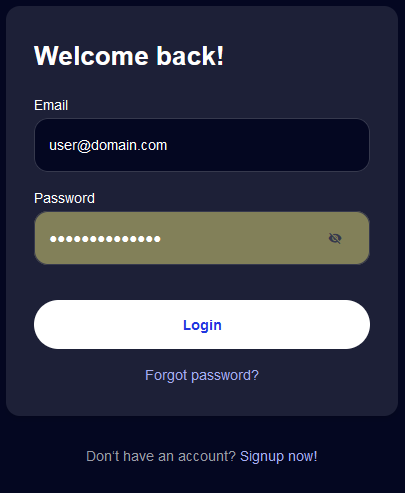
- Log in or create a free account. If you already have an account, enter your credentials and click Login. If you need an account, click Signup now and complete the registration.
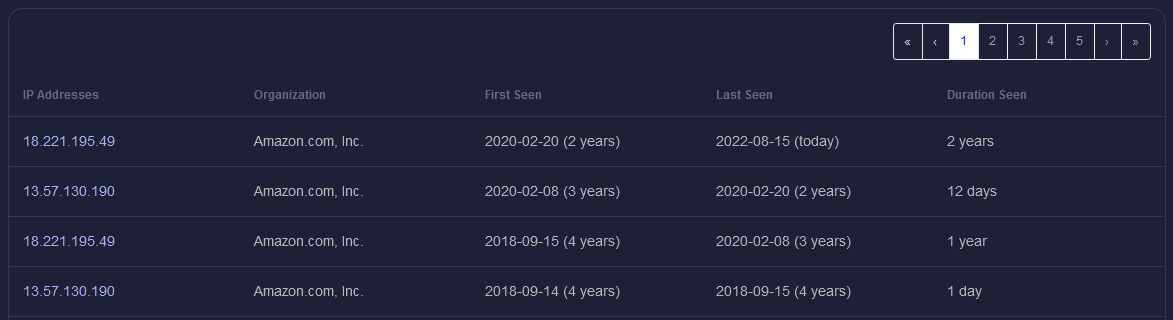
- After logging in, SecurityTrails returns you to the results page, where the DNS history is now visible.
Troubleshooting
No results appear for the domain
SecurityTrails builds its database by passively observing DNS traffic across the internet. If a domain is new, was registered under a privacy proxy, or has very low traffic, it may not appear in the archive yet. Try searching by IP address instead of domain name, or check back after the domain has been active for several weeks.
Full history is still gated after logging in
SecurityTrails may limit how far back free accounts can view historical data. If you log in and still see a paywall, your account may need a paid plan to access older records.
Conclusion
With the DNS history now visible, you can trace past A, MX, and nameserver records along with the dates each was active. To check for look-alike domains that could be used for spoofing, see Search for PunyCode Look-alikes With Hold Integrity IDN Checker. To update your live DNS records, use the cPanel Zone Editor from within your hosting account.