One Click Accessibility is one of the most popular free accessibility plugins available for the WordPress platform. With over 90,000 active installations, I think the plugin’s popularity stems from its excellent default settings. Installing One Click isn’t going to bring your site up to WCAG standards in a matter of seconds, but it is going to provide a number of tools to help visitors deal with common accessibility issues while meshing well with a variety of themes. Read on and we’ll go over some things worth knowing about One Click Accessibility.
Key Features and Installation
Key Features of the One Click Accessibility WordPress Plugin
One Click Accessibility lets your site visitors adjust text, contrast, background, and other readability features from an Accessibility Tools frame added to your site. There are also some behind the scenes code changes that carry out common accessibility improvements site wide. You can customize the toolbar’s display and features, ensuring that its behavior and appearance mesh well with your WordPress theme.
Installation
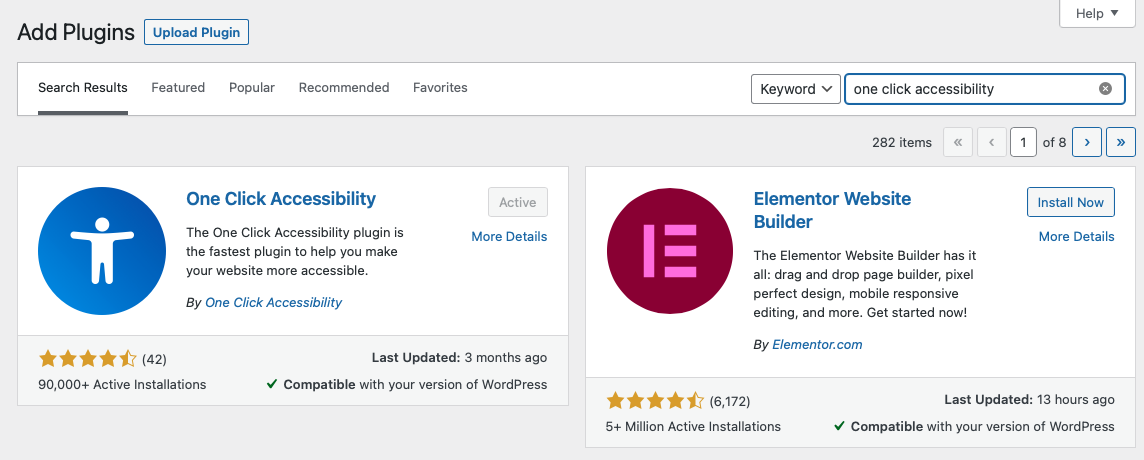
One Click Accessibility installs like any other WordPress free plugin available in the WordPress Plugin Directory.
- From your WordPress Dashboard, hover over Plugins and click on Add New.
- Search for One Click Accessibility.

- Click Install, then Activate.
This will add the default configuration of One Click to your pages.
Optimizing One Click
General Settings Worth Knowing

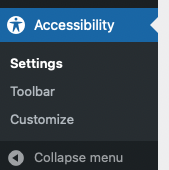
Installing One Click Accessibility should add a new Accessibility menu item to your dashboard. The Settings tab covers things that make large, sweeping changes to your site — as opposed to the toolbar itself, which is covered below. A few highlights, including why they’re listed:
Remove target attribute from links: in the event that your users are having trouble with links opening in other windows or tabs, this will reset every link to open within the same window. This was a benefit with certain accessibility devices (like screen readers); it’s less of an issue now, but tab management wasn’t always guaranteed to be logical and user friendly. Test your site on a screen reader if you are unsure.
Sitewide Accessibility and Remember user for: While it’s possible for developers to custom configure any plugin to only work on certain pages, accessibility is one of those improvements that should apply to everything on your site. Go ahead and leave Sitewide Accessibility enabled, but consider upping the default “Remember user for” to longer. This way occasional visitors don’t have to reconfigure their settings every visit. Remember, anyone unhappy with the site appearance can reset their changes in the toolbar itself.
Toolbar Settings
Going to Toolbar under the Accessibility menu item will let you disable or rename the features included on the toolbar. If certain features, like high contrast or negative contrast, completely break your site’s display, you can deactivate them here — though you should adapt your theme so that these are viable options as soon as possible in the future. The names for the various features are standardized, but you may want to adjust the language to better fit your site in specific situations. Be sure to fill in the Sitemap, Help, and Feedback links.
Toolbar Customization

Settings and Toolbar work great with their defaults, but once you get comfortable with One Click Accessibility, you’ll likely want to make the toolbar better fit the look and design of your site. This doesn’t require a great deal of customization — in fact the One Click site itself is a great example of how a few subtle changes to design and color can make the toolbar feel like it belongs.
Say goodbye to slow loading times and hello to high-performance websites with our new WordPress VPS Hosting plans. Experience 40x faster WordPress page load speeds on purpose-built servers that guarantee 99.99% uptime.
High-Performance VPS
Fully-Managed Support
Free SSL & Dedicated IP
Advanced Server Caching

