To achieve seamless integration, it’s crucial to have reliable PHP hosting services that support PHP-FPM. This ensures your website benefits from faster load times and is better able to handle spikes in traffic.
PHP-FPM is an improved PHP handler that uses a pool of workers (per domain) to quickly process PHP scripts. Once the script completes running, PHP-FPM provides the results to Apache to deliver to the visitor’s browser.
In this guide, you will learn the steps needed to enable PHP-FPM through Web Host Manager (WHM).
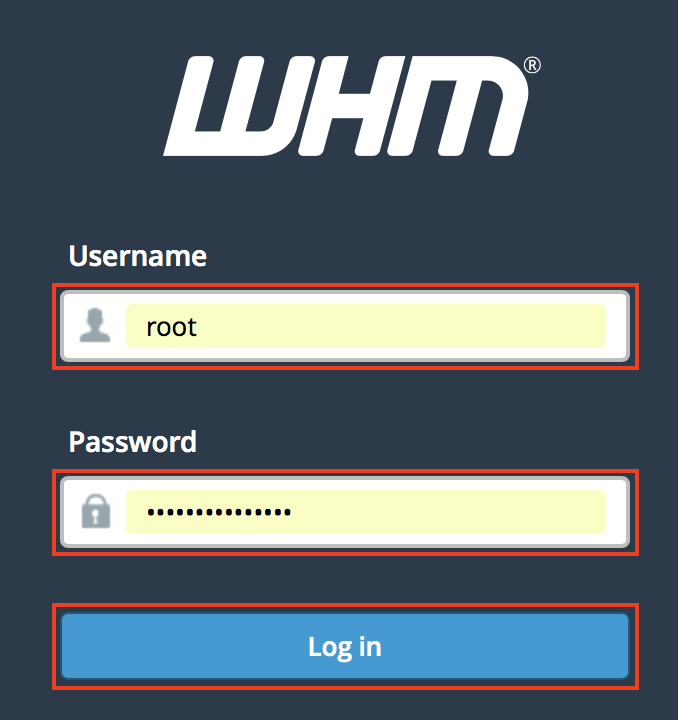
- Log into WHM, as the root user.
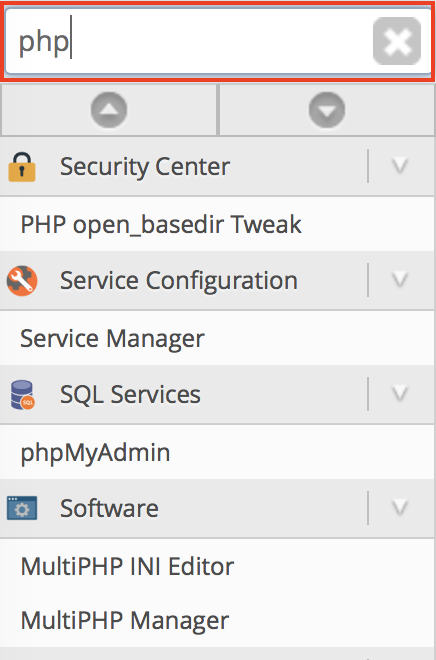
- In the WHM search bar, type “php“.
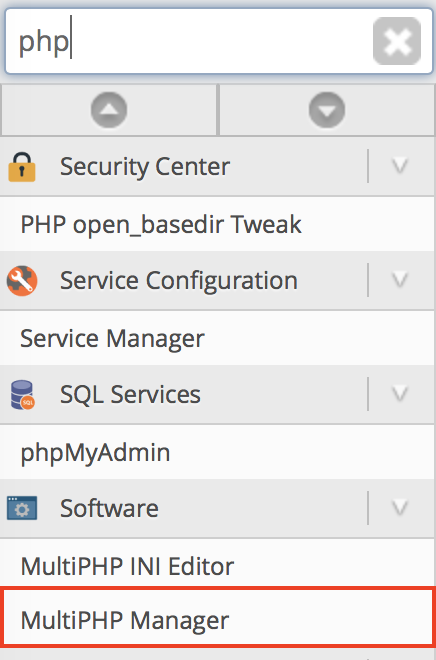
- Click the MultiPHP Manager menu option.
Provision PHP-FPM
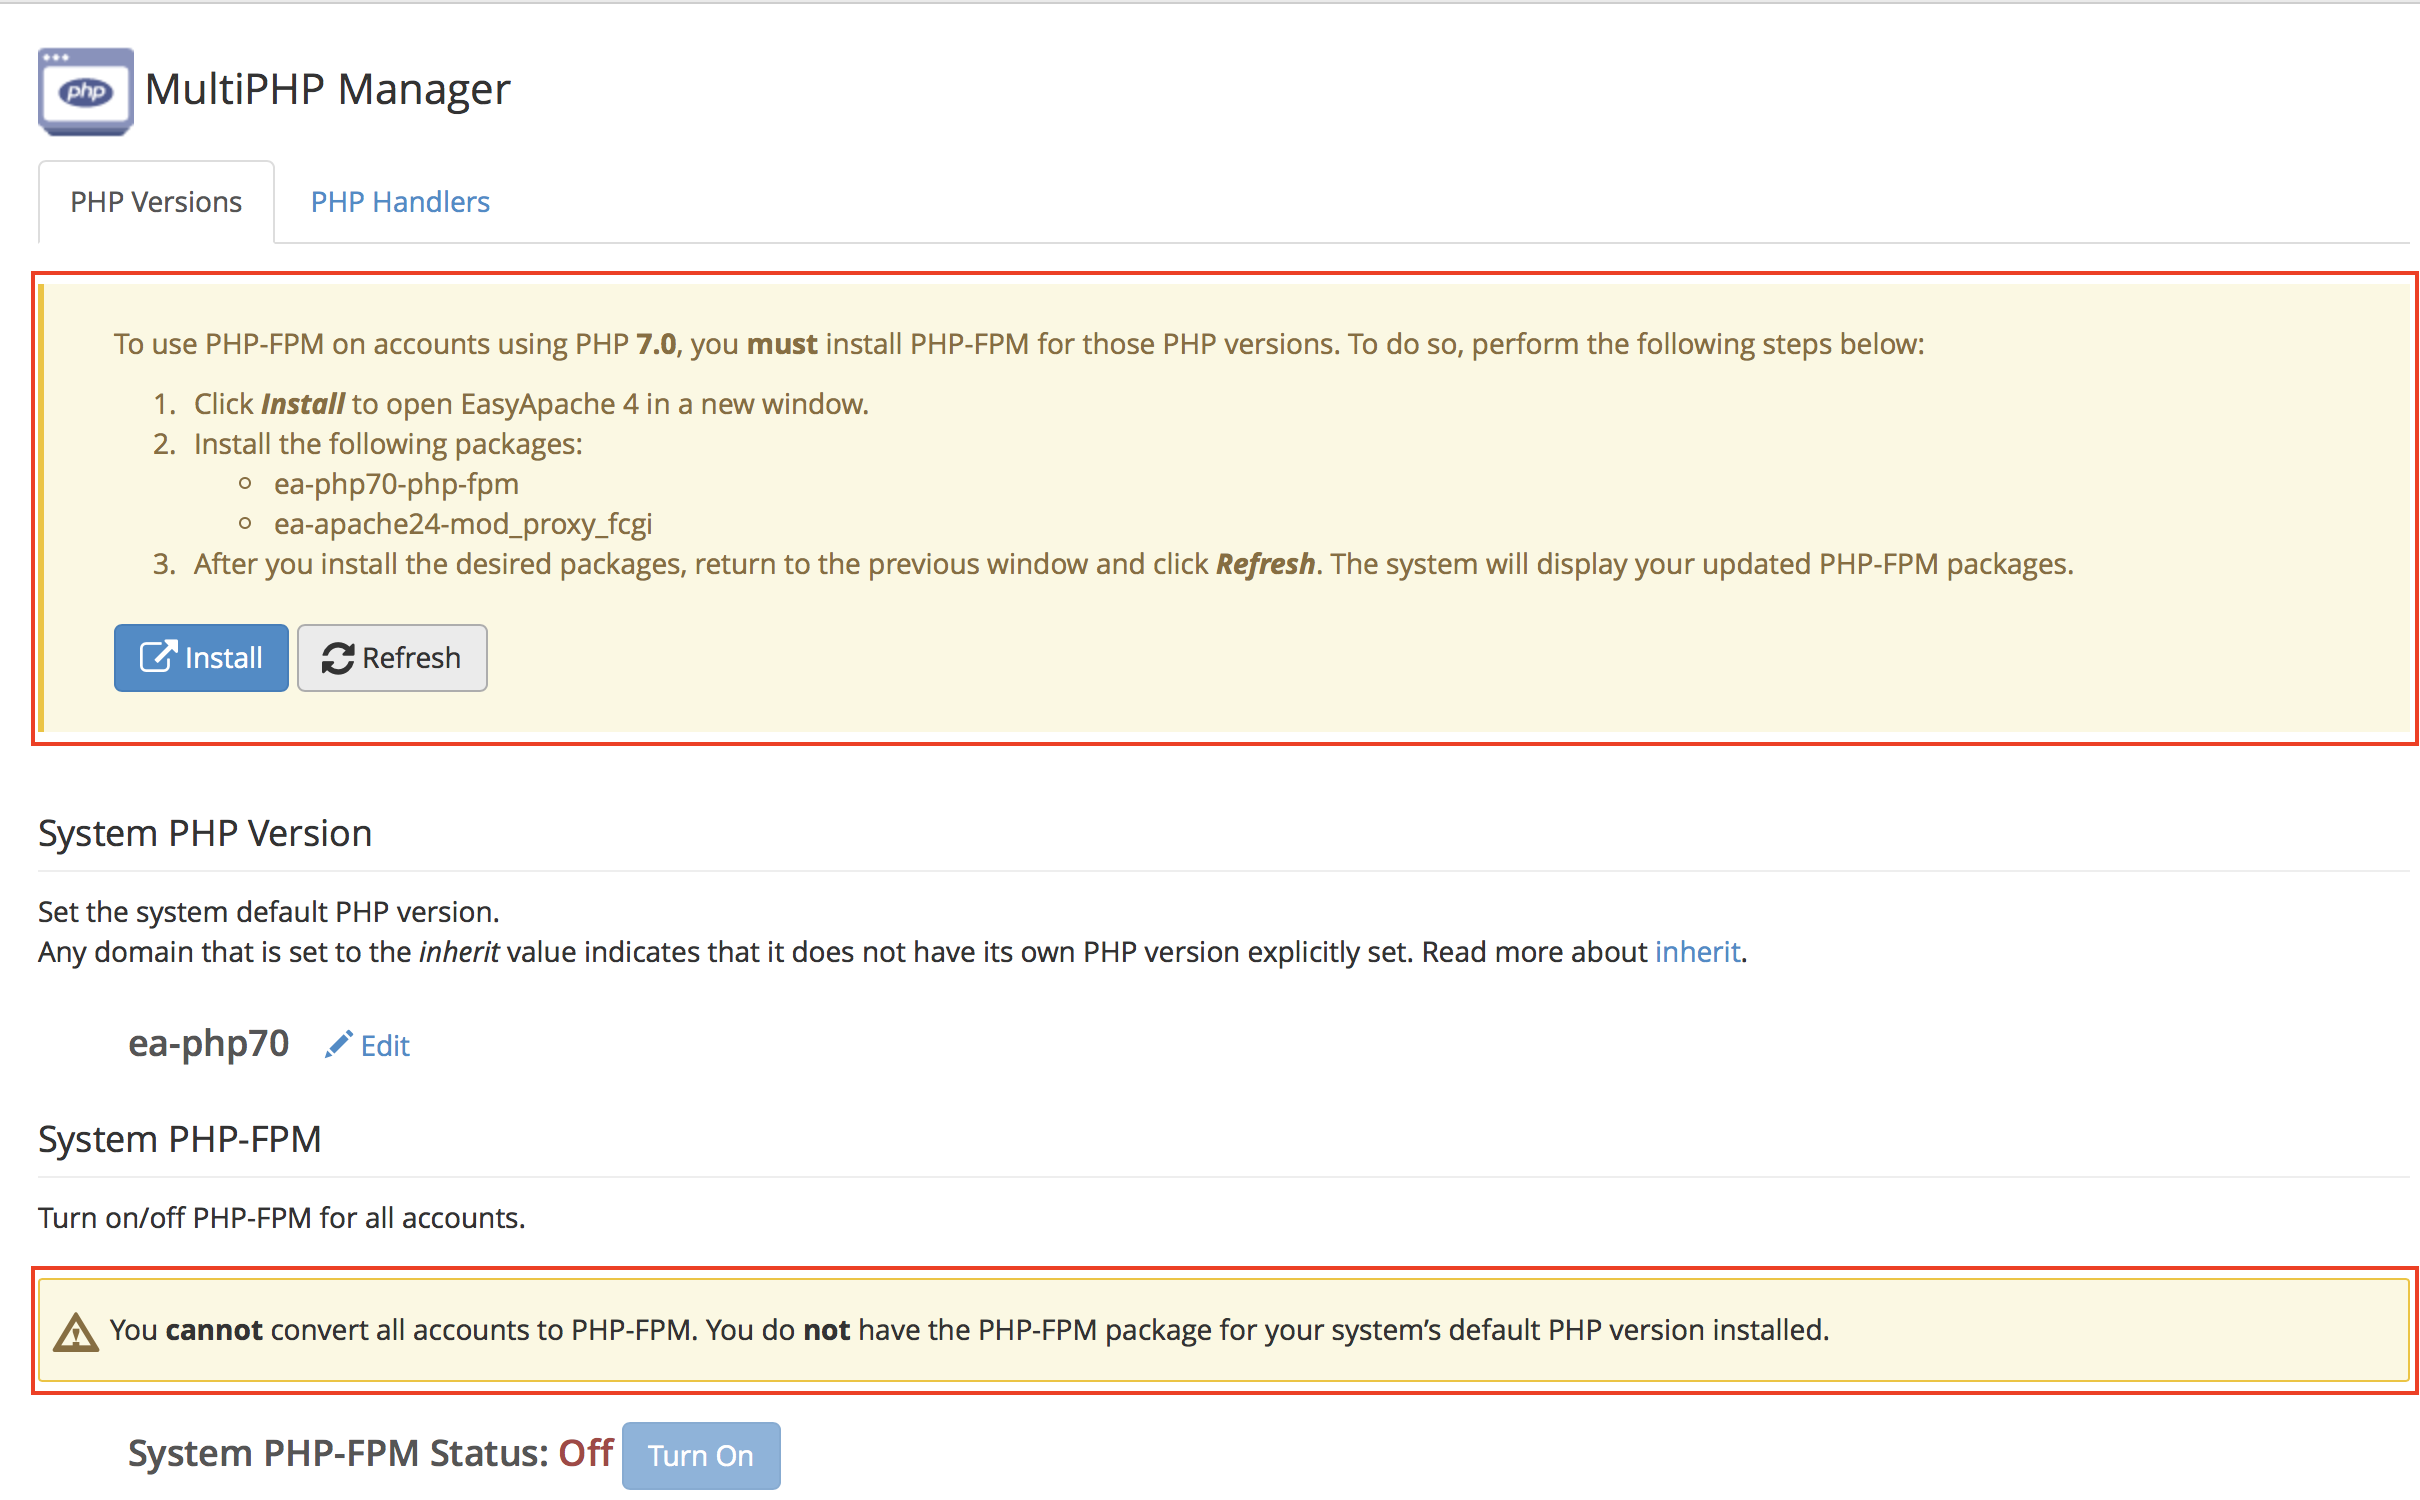
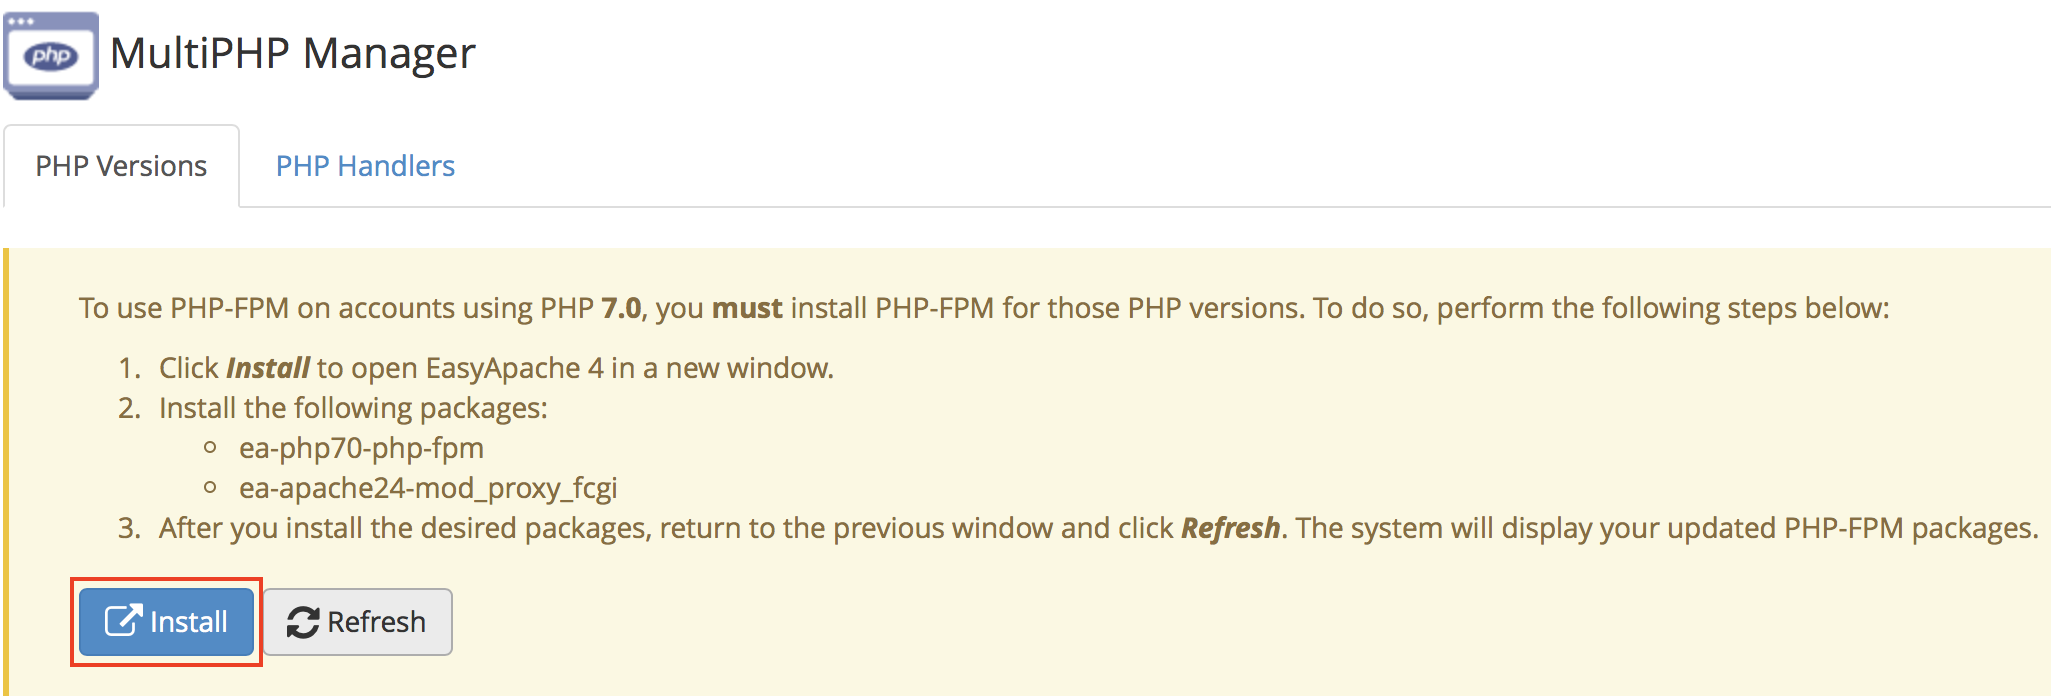
- Click the Install button.
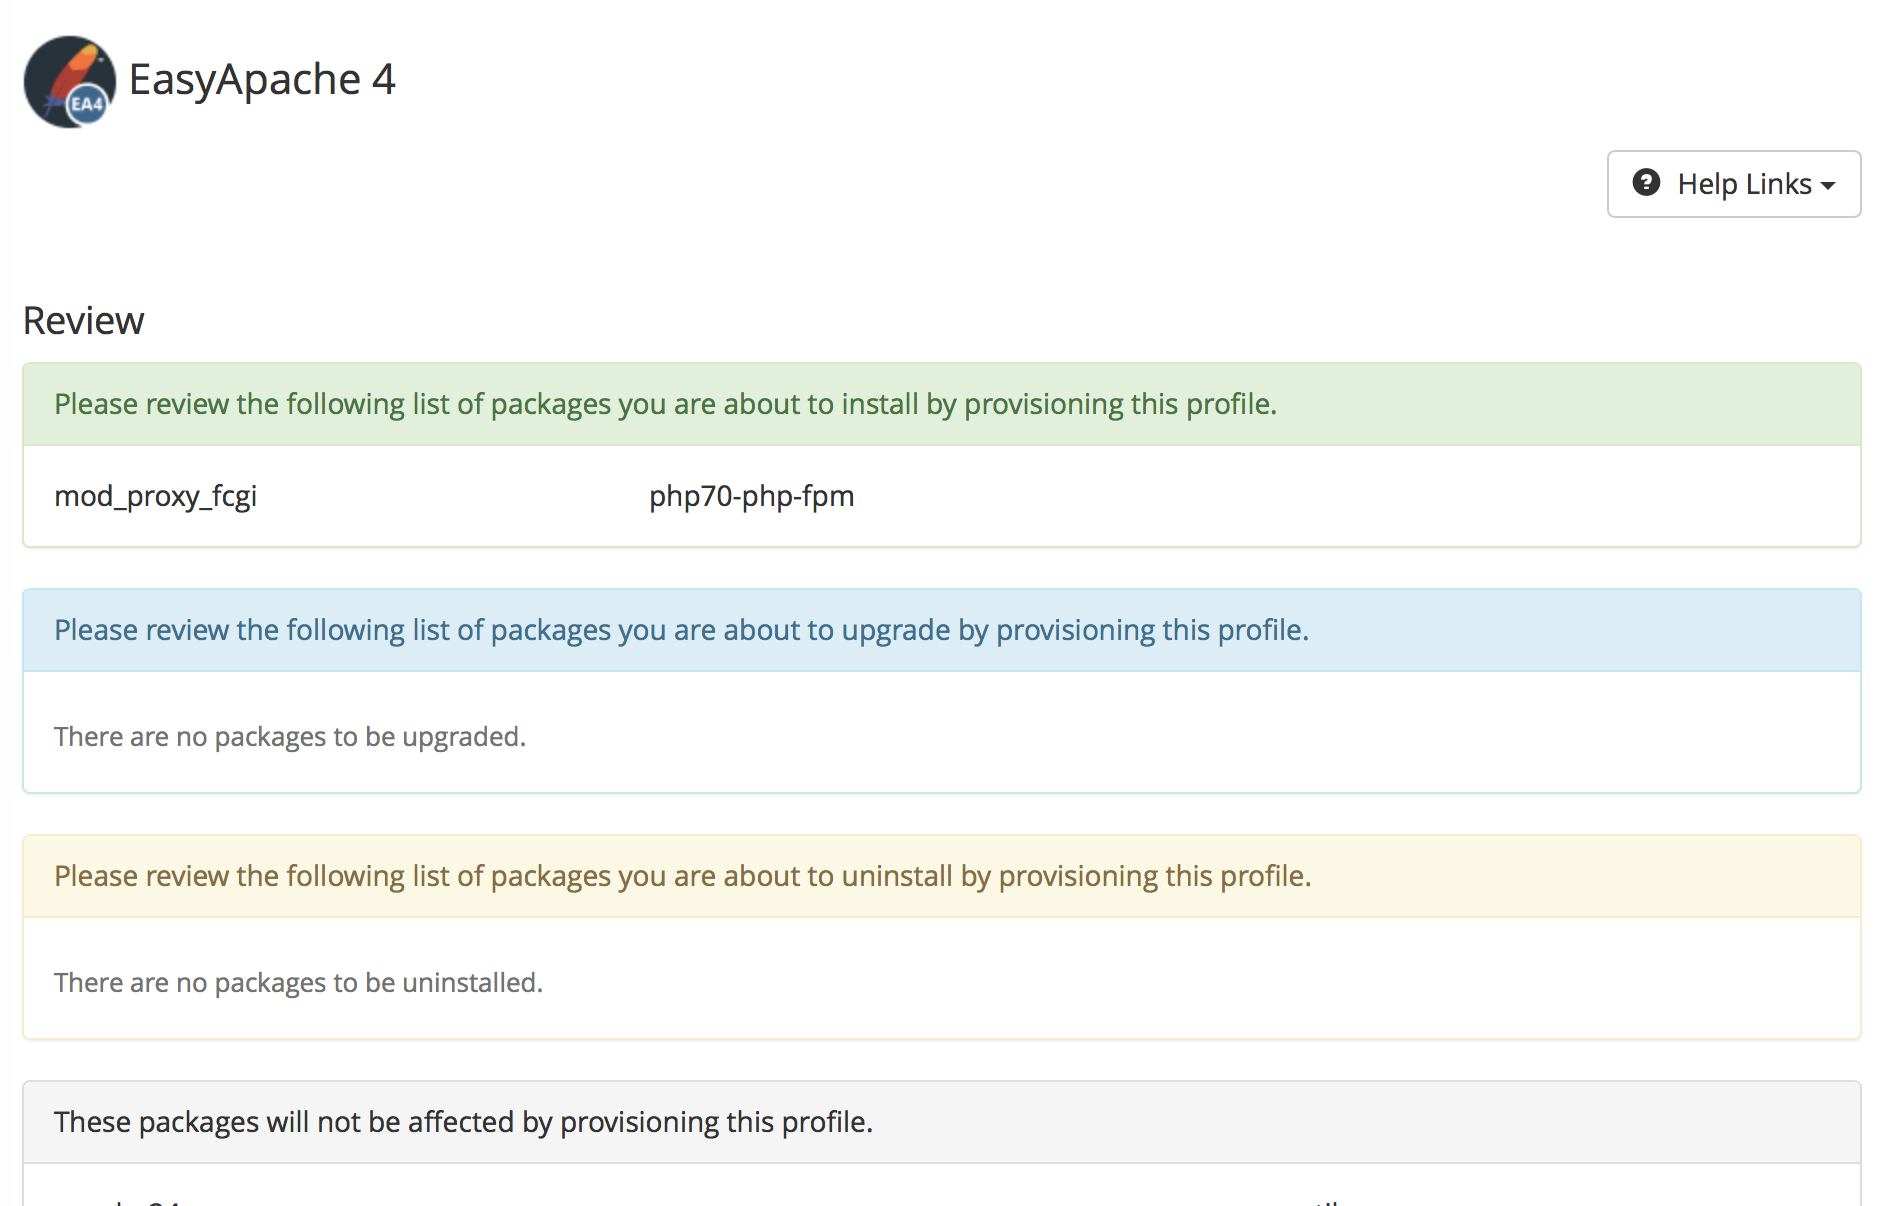
- Once the new window/tab loads the EasyApache 4 provisioning Review page, confirm the changes to be made to your server, to enable PHP-FPM.
- Then, scroll down and click on the Provision button.

A notification will appear which indicates the provisioning process completed successfully.

- Close the window/tab, then click on the Refresh button. This will allow WHM to detect the provisioned modules for PHP-FPM and the messages should no longer appear.
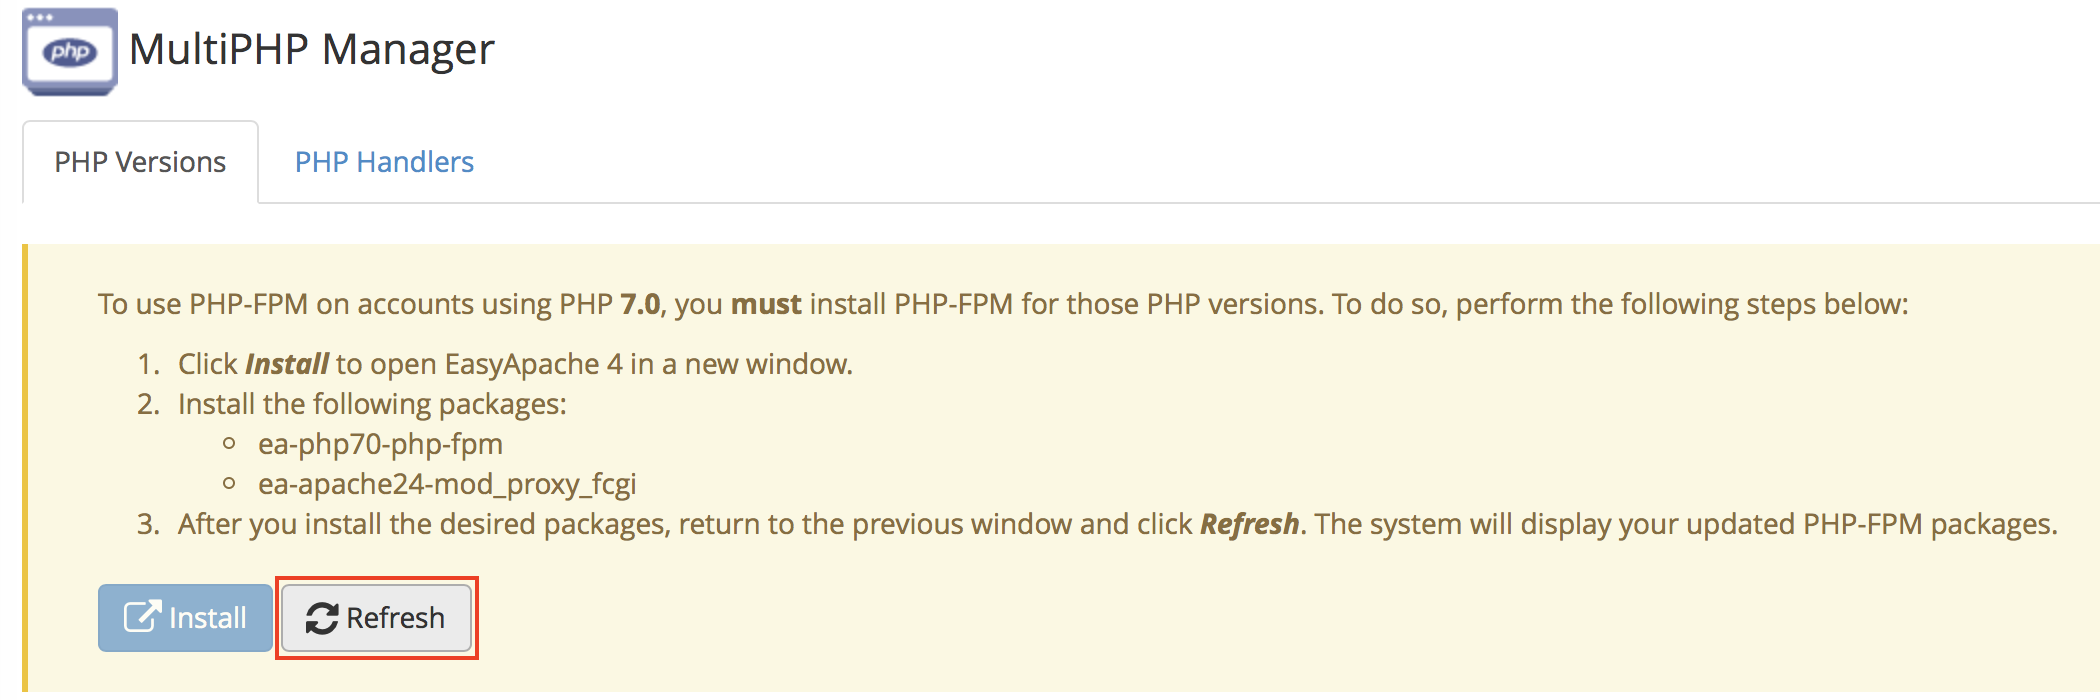
- NOTE: If these notices do not appear, you may proceed to the next step.
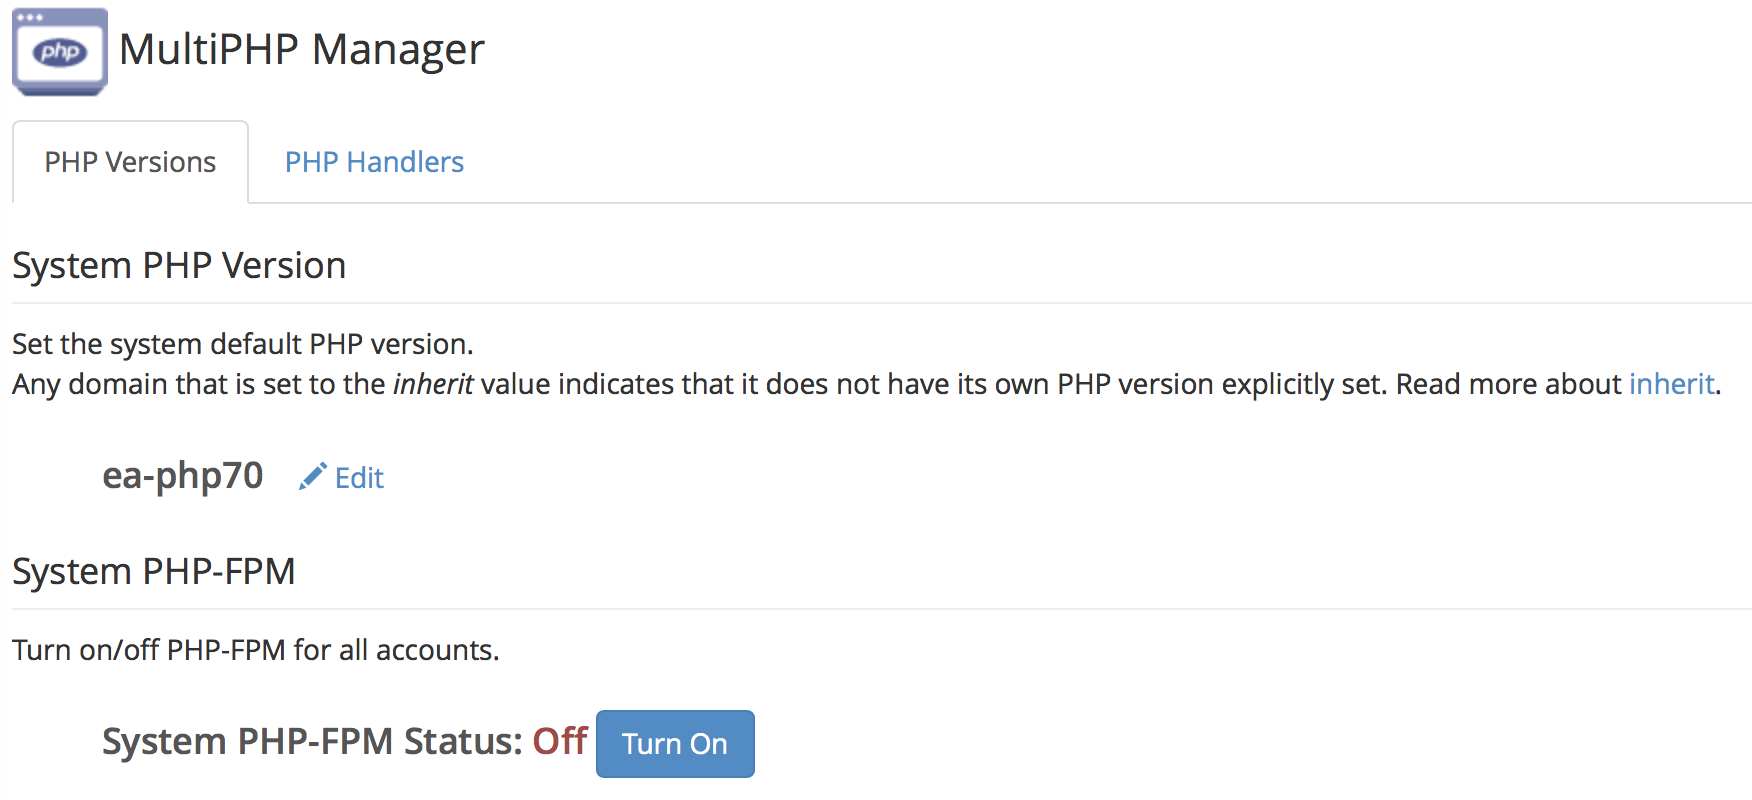
- Under the section labeled Set PHP Version per Domain find the domain you want to enable PHP-FPM for and click the checkbox to the left of it. Then, select On from the PHP-FPM drop-down menu and click the Apply button.

- A notification will briefly appear indicating that PHP-FPM settings have been applied to the selected domain(s).

Congratulations! Now you know how to enable PHP-FPM for your cPanel users’ websites.
