If you’re an advanced user, you’ll sometimes want to make adjustments to your WordPress site that aren’t possible within the default WordPress dashboard.
Platform InMotion’s file manager and database access make it easy to make changes to raw files and database tables by only offering the tools you need to complete advanced tasks. You get a cleaner interface that’s easier to navigate.
Continue reading to learn more about the file manager and database access within Platform i.
File Manager
- Log into Platform InMotion and select a project.
- Select Tools > File Manager.
- Now click Launch App.
- The File Manager will open in a new tab, displaying your website root directory.
- At the top-right you’ll have three options:
– Search for files and subdirectories in the current directory
– Upload files to the current directory using your system window manager, drag-and-drop, or the public URL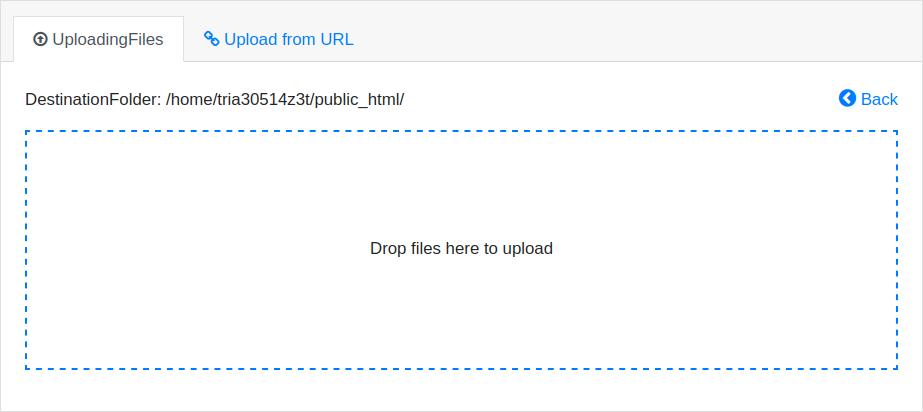
– Create a new file or folder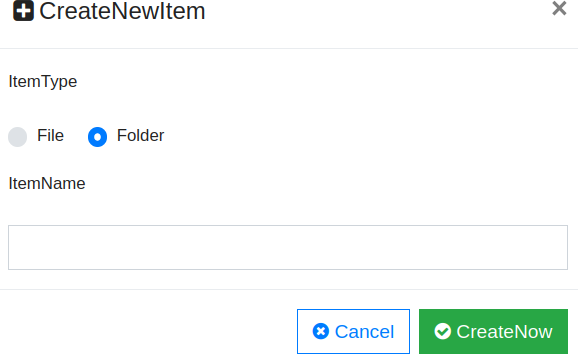
- Files and folders are listed and can be organized by alphabetical order, file size, date last modified, numeric file permissions, and owner.
- To the right of each file and directory, in the Actions column, are options to:
– Delete the file or directory
– Rename the file or directory
– Copy the file or directory to another location
– View the public file or directory URL in the browser
– Download the file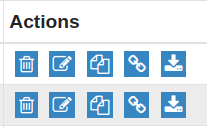
- At the bottom, you’ll see system memory and disk space stats along with buttons to manage multiple files at once including archive creation with zip or tar.

Edit a File with Platform InMotion
- Select a file name to view the raw text or edit the file.

- There are two options for editing files – Edit and AdvancedEditor.
Edit opens a basic text editor with no additional features, sufficient for quick changes.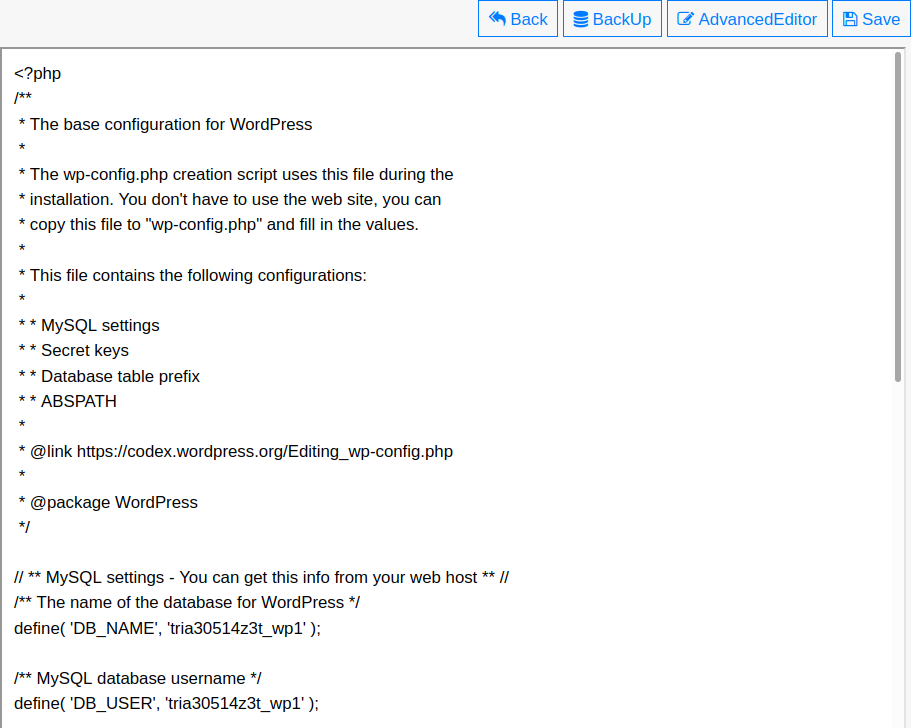
AdvancedEditor is equipped with features fit for in-depth coding:
– Full screen mode
– Search and replace
– Word wrap
– Programming language syntax highlighting
– Bright and dark color themes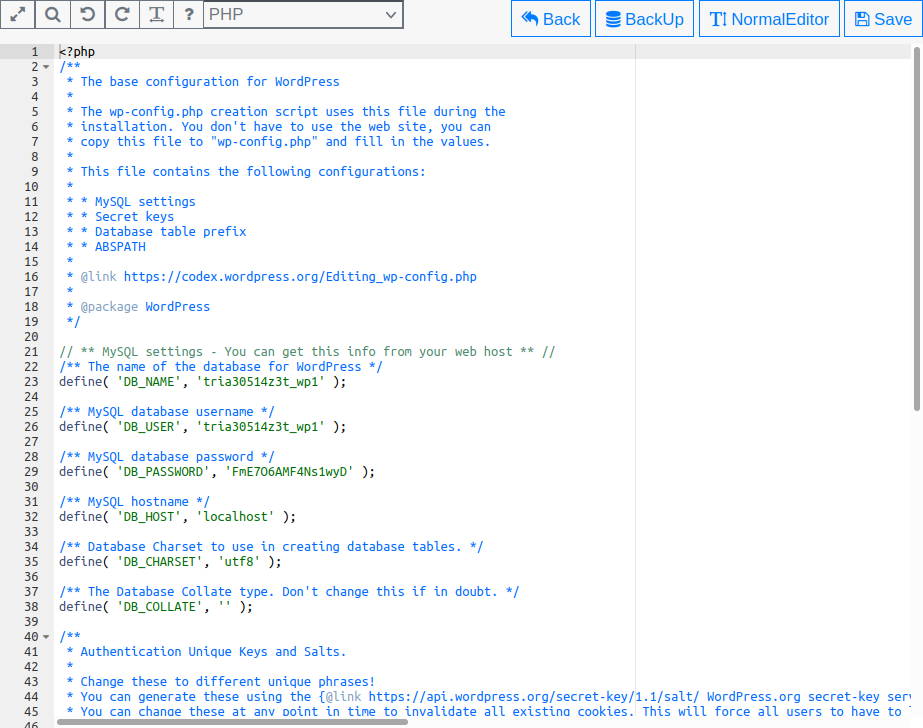
Database Access
- You can access the database from Platform i by selecting Tools > Database. Users already in the File Manager can simply select Database in the upper-right corner.
- The interface will display all tables in your WordPress database.
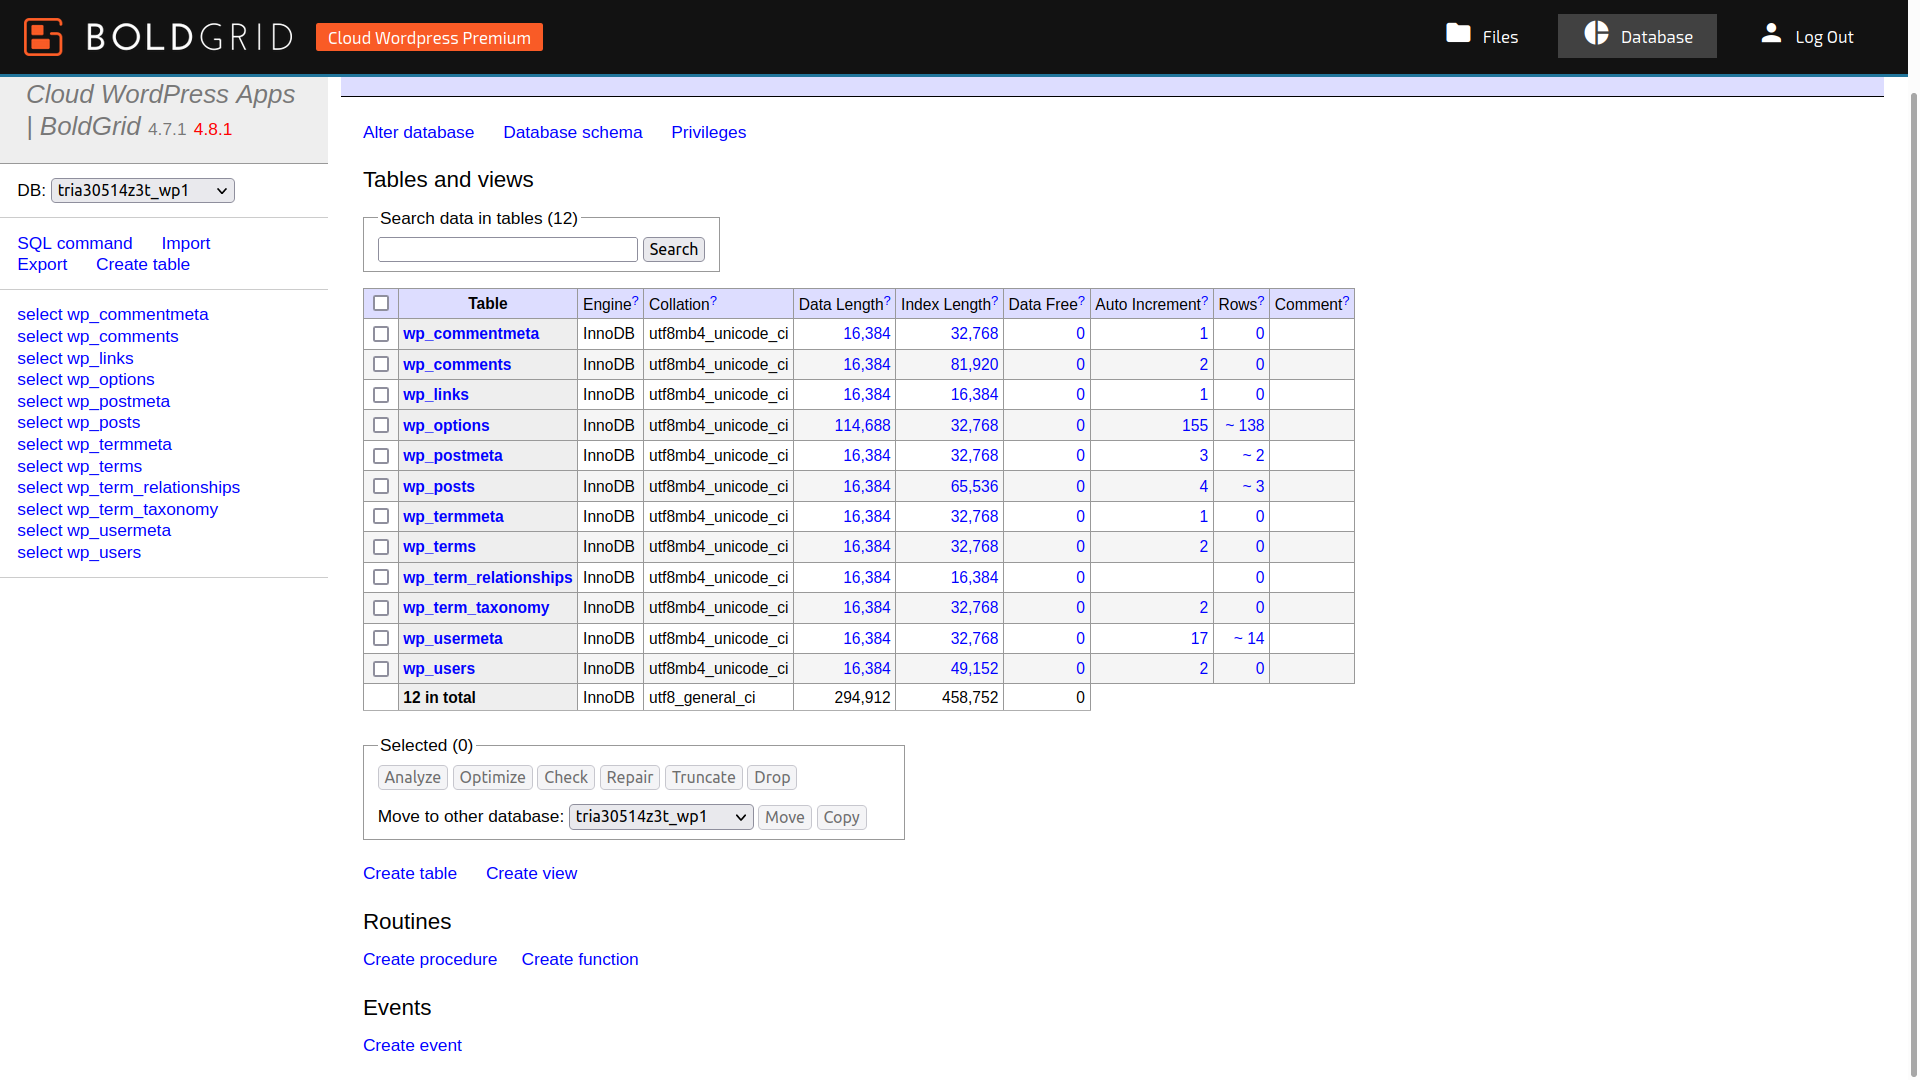
- From the top of the page you can:
– Alter the database character set
– View and export a schema showing all tables and their columns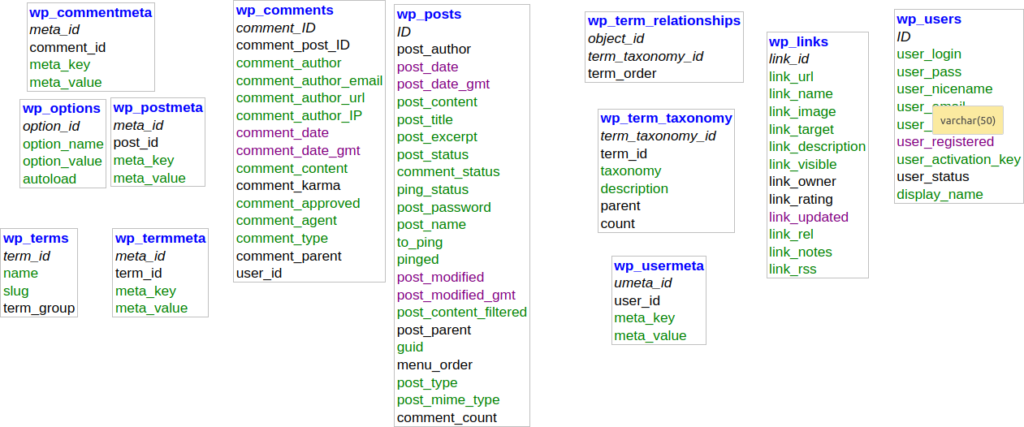
– Create a database user with remote database access
- On the left of the interface you’ll see the name of your database (username_wp#), tables within the database, and additional functions:
– “SQL command” allows you to execute MySQL commands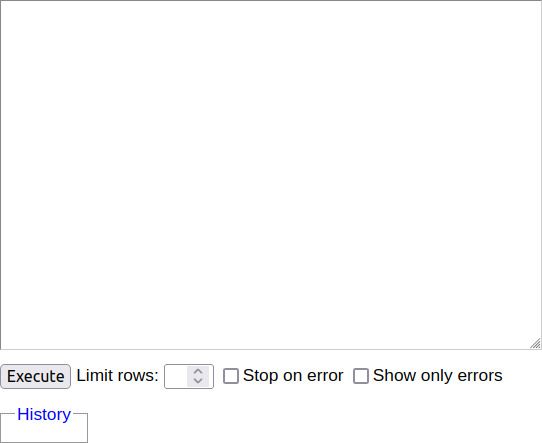
– Import SQL files from your local machine or already uploaded to the web server
– Export database tables in SQL, CSV, or TSV formats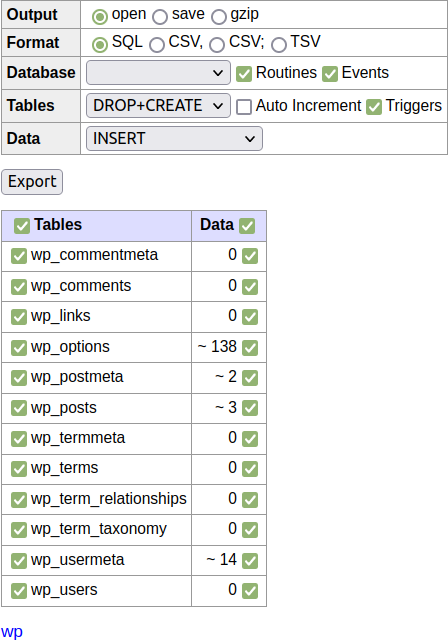
– Create a new table
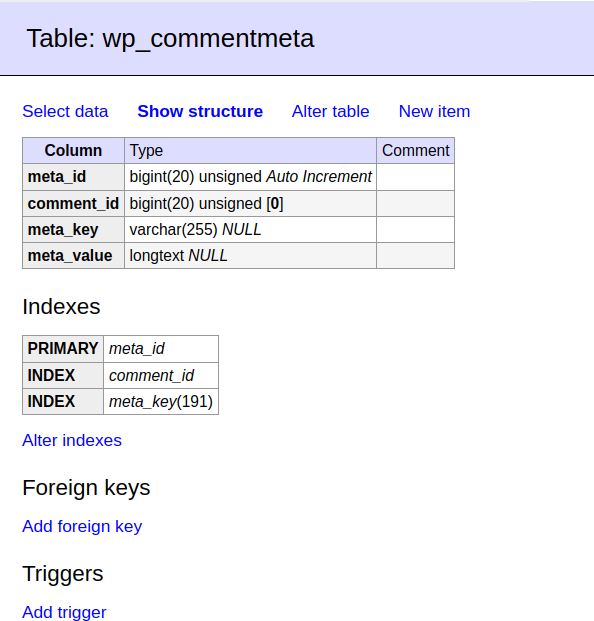
- In the main section, select a table name (e.g. “wp_commentmeta”) to view structure info including indexes, foreign keys, and triggers.
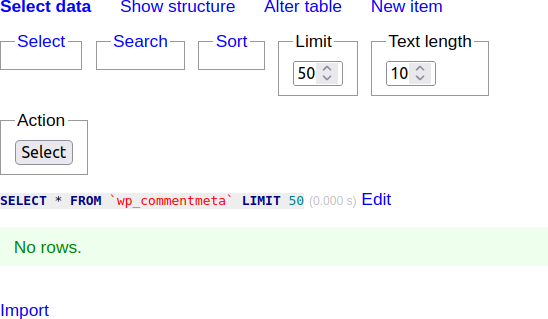
- Click Select data on the top of the page, or select on the left of the page (beside the individual table), to run basic SQL commands with the graphical interface.
- Alter table is where you’ll modify a column:
– Name
– Data type
– Length
– Data type options
– Allow “NULL”
– Allow “AUTO_INCREMENT” (AI)
– Order
– Add and remove columns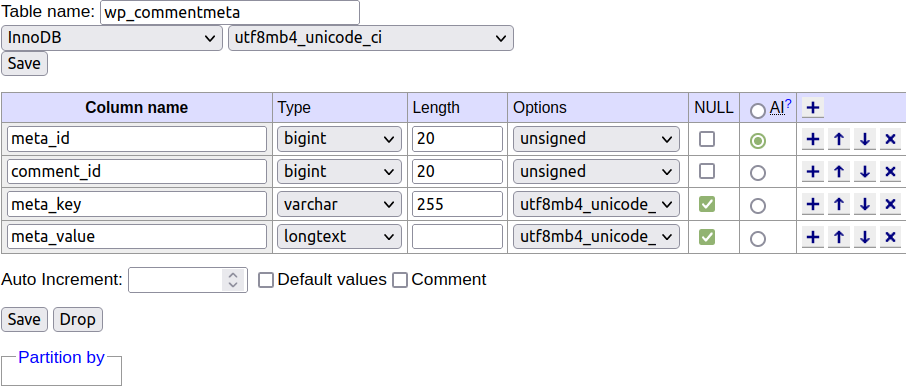
Check and Repair Database
If your WordPress site shuts down and displays “Error Establishing a Database Connection,” this is an indicator of database corruption. Fortunately, most cases can be resolved easily with a “check and repair database” function. Keep in mind that resolving the public-facing error doesn’t fix the underlying problem causing db corruption.
The fastest method, especially if you see this error often, is to configure WordPress to complete this process automatically with one extra code block in the wp-config.php file:
define (‘WP_ALLOW_REPAIR’, ‘true’);
While we recommend editing wp-config.php for this, you can repair the database manually in the database manager.
- Return to the main page to view all WordPress database tables.
- Select the top-left checkbox to select all tables.

- Select Check at the bottom. The page should refresh and state “OK” beside every table to indicate no errors.
- Select all tables again and select Repair.
- If the page refreshes to show “The storage engine for the table doesn’t support repair,” you’ll need to change the storage engine from InnoDB to MyISAM for each table to repair tables. Note which tables had the error and show “InnoDB” in the table list.
Export a backup before making further changes.
- Select SQL command on the left.
- If only one or a few tables need to be changed, you can use the code block below. Remember to update “table_name” to the table name.
ALTER TABLE table_name1 ENGINE=MyISAM; ALTER TABLE table_name2 ENGINE=MyISAM;
If all tables had the error, you can copy the selection below which includes all default WordPress tables:ALTER TABLE wp_commentmeta ENGINE=MyISAM; ALTER TABLE wp_comments ENGINE=MyISAM; ALTER TABLE wp_links ENGINE=MyISAM; ALTER TABLE wp_options ENGINE=MyISAM; ALTER TABLE wp_postmeta ENGINE=MyISAM; ALTER TABLE wp_posts ENGINE=MyISAM; ALTER TABLE wp_termmeta ENGINE=MyISAM; ALTER TABLE wp_terms ENGINE=MyISAM; ALTER TABLE wp_term_relationships ENGINE=MyISAM; ALTER TABLE wp_term_taxonomy ENGINE=MyISAM; ALTER TABLE wp_usermeta ENGINE=MyISAM; ALTER TABLE wp_users ENGINE=MyISAM;
- Execute the SQL command.
- Return to step 4.
We hope this helps. Let us know if you have any questions about Platform i tools.