Go to the Opera Mail page in order to download the client.

Install the software
Apple OS
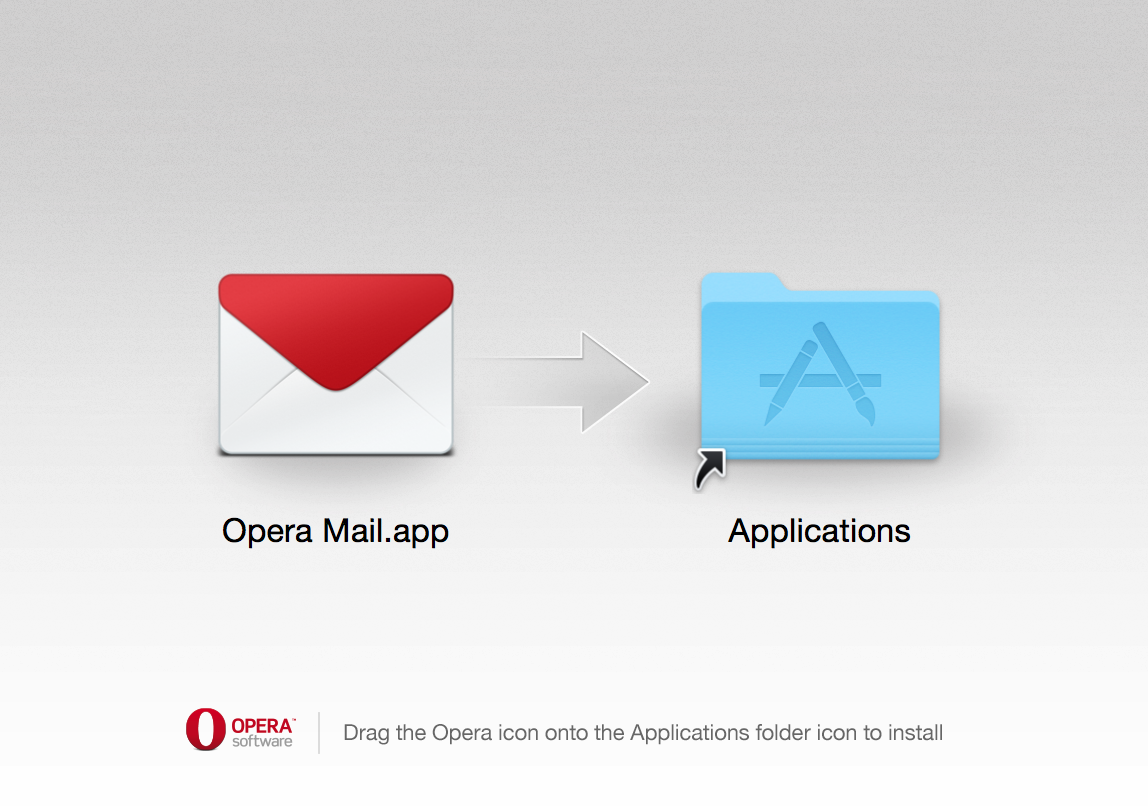
Double-click on the downloaded file (ending in the DMG extension) in order to start the installation.

You will see a window open that shows the Opera Mail icon and the Applications folder. Drag the Opera Mail icon onto the applications folder to complete the installation.
- Next, click on the spotlight search and type “Opera Mail”, then hit enter to run the application. It will warn you that this is an application from the web. You can ignore the warning and then proceed to the next part of the setup. You can also go to the Applications section and find the Opera Mail icon and launch it.
Windows OS
Double-click on the downloaded file (ending in the EXE extension) in order to start the installation.
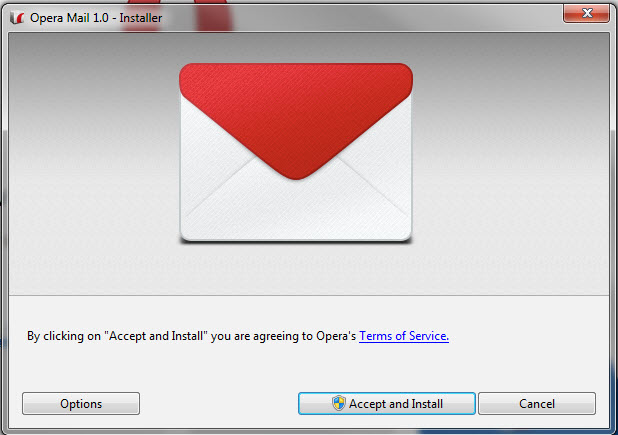
You will see a window open that shows the Opera Mail icon and a statement that asks you to agree with their Terms of Service. Click on Accept and Install to proceed or Cancel to stop the installation
It will will help to have your email settings when setting the email client. Check out the “How to find your email settings” article for help in finding these settings.
Setting up the Email account in Opera Mail
After you completed adding the software to your computer, the next section is simply setting up your email account in the Opera New Account Wizard.
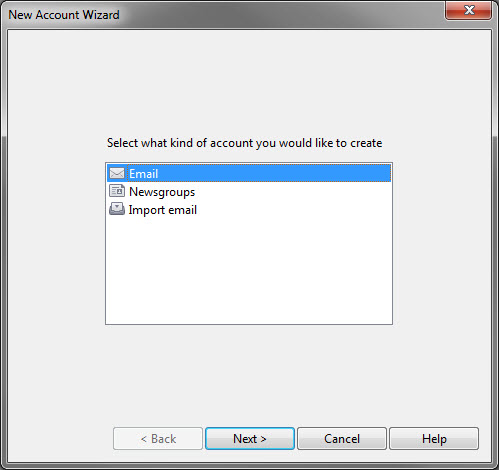
Select EMAIL, then click NEXT
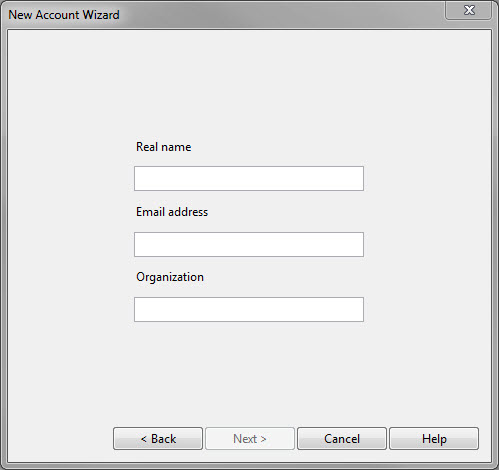
Type in Name, email address and organization into the corresponding fields
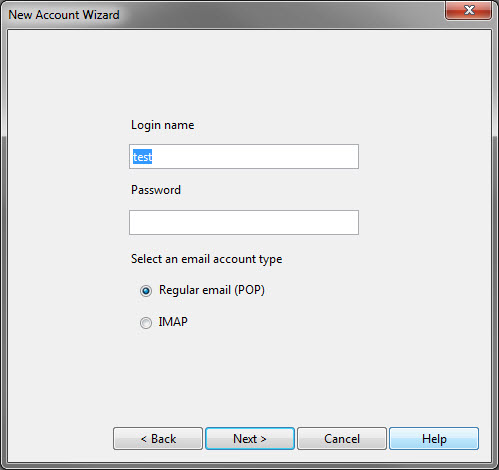
Type in your login name and password for your email account – this is the email account address for InMotion
Select the Email Account type (POP or IMAP)
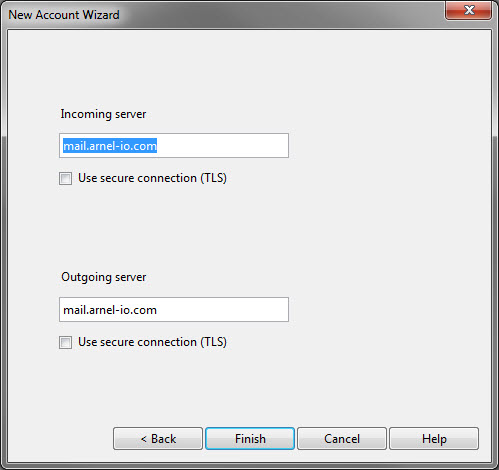
Type in Incoming Mail Server and Outgoing server
- Click on the check box labeled “Use secure connection” if you are using a using Secure connection.
- Click on FINISH to complete the setup.
Congratulations on setting up Opera Mail! Check out the image below to see the clean interface of Opera Mail in action.