Google Analytics is one of the most powerful tools at your disposal for reporting and tracking your visitors. Thankfully, adding Google Analytics to your website built with Koken is quite a simple process. In this article, we will walk you through the process of installing Google Analytics on Koken to fully track your visitors.
The Google Analytics Plugin for Koken
The easiest way to use Google Analytics with your Koken site is to use the official Google Analytics plugin that Koken provides. If you are unsure of of the process of installing a Koken plugin, you may review the previous article on installing Koken plugins. Once you have the Google Analytics plugin successfully installed, you may continue on to the next step.
Configuring Koken to us Google Analytics
Once the Google Analytics plugin is installed, you will just need to set it up. Next, we will walk you through setting up the Google Analytics plugin for Koken so that any traffic on the site will be automatically tracked.
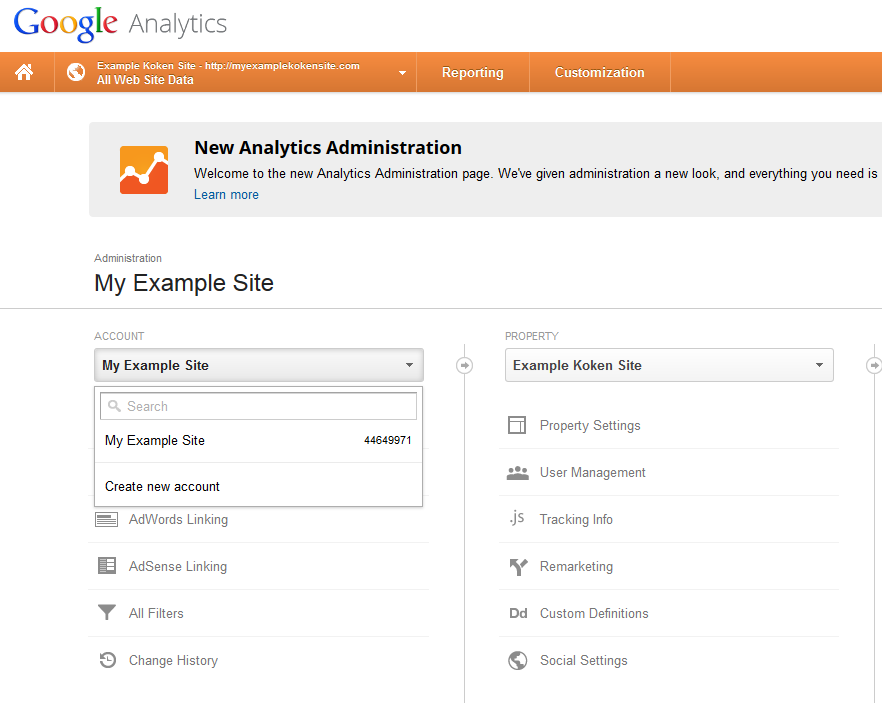
First, you will need to create a site within your Google Analytics account. If you already have an existing account, just click on Admin, then, in the site dropdown box, click on Create New Account.
If this is the first site on your Google Analytics account, you will be sent directly to the New Account screen.
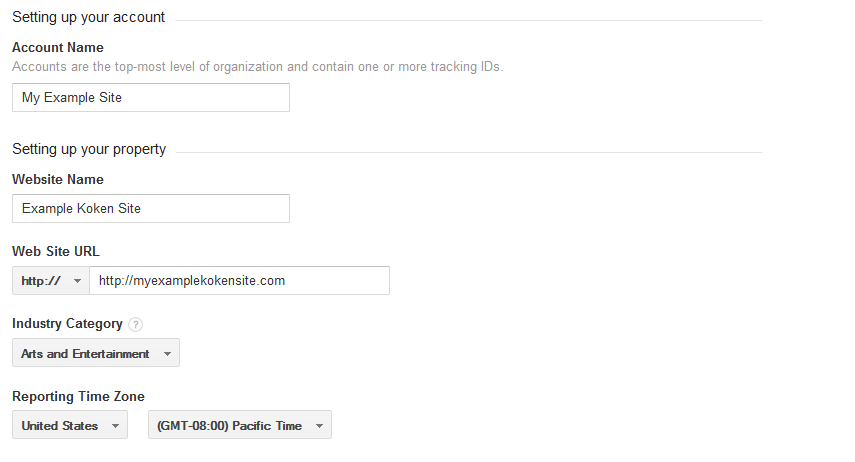
Next, you will need to create the new account. On this screen, enter any account name that you want Google Analytics to show the site under, the URL to your website, as well as the category that best firs your site. After this has been entered, scroll down to Get Tracking ID.
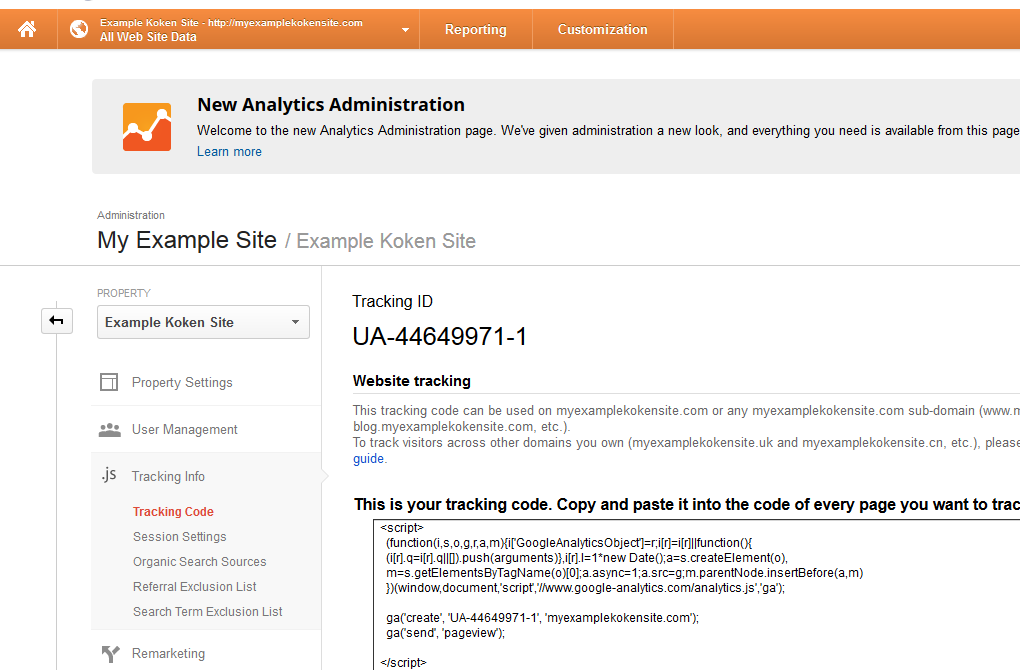
On the next screen, you will see your tracking ID. This is something that is unique to every site that you create in Google Analytics.
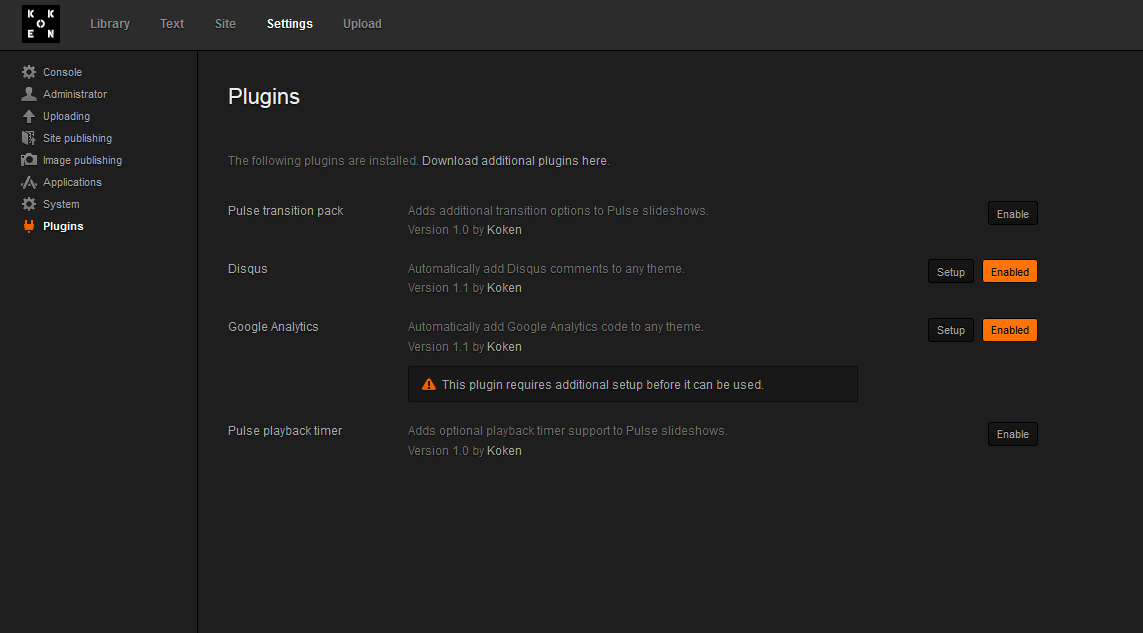
Once you have the Tracking ID for Google Analytics, its time to add it to Koken. As you have already installed the Google Analytics plugin in the previous step, go back to your Koken admin panel. Within your list of Koken plugins inside the Plugins screen under the Settings tab, you will see the Google Anaylytics plugin. To enable the Google Analytics plugin, click on Enable. It will display Enabled, but also show that it requires additional setup. To start the setup, click on Setup.
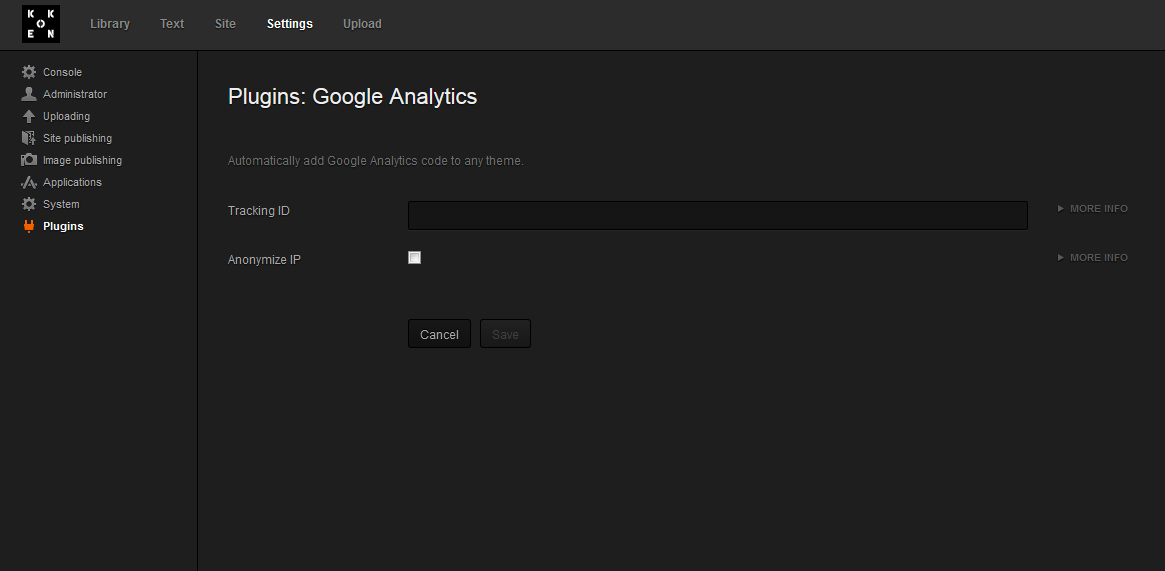
When clicking on Setup, it will take you to a page that asks you for the Tracking ID. This is the same tracking ID that you got from Google Analytics previously. Simply add your Google Analytics ID to this screen in Koken and then click on Save. After you do this, Google Analytics will be ready to track your visitors to your Koken site.


