You can easily upgrade or update your server’s version of PHP using the EasyApache 4 tool in WHM (Web Host Manager). In this tutorial we will show walk you through the update/upgrade steps. If you came here from our article on how to pass PCI compliance scans, outdated versions of PHP are a common thing that can cause your website to fail a PCI scan. So understanding how to update PHP on your own using EasyApache in WHM is great knowledge to have in order to help keep your website PCI compliant.
Upgrading PHP with EasyApache
- Log into WHM as the “root” user.
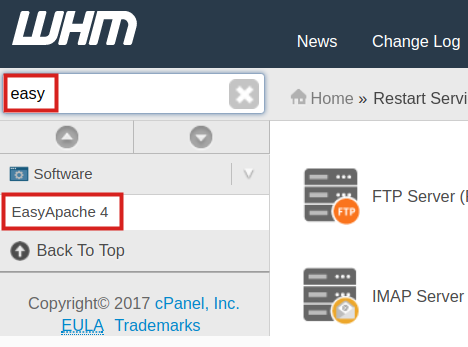
- In the search box type ‘easy’ then click the EasyApache 4 option.

- Click the Customize button next to Currently Installed Packages.

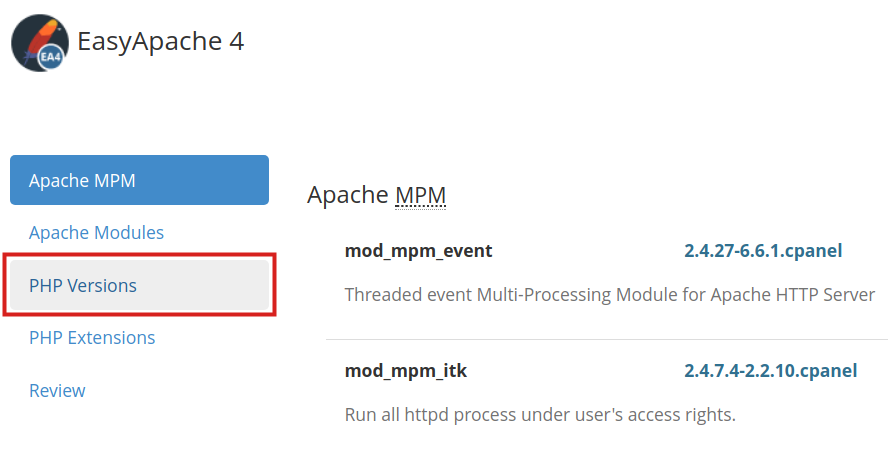
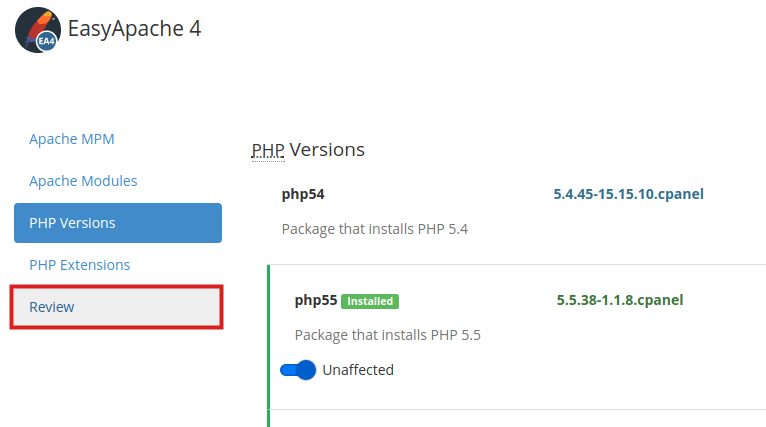
- Click the PHP Versions link.
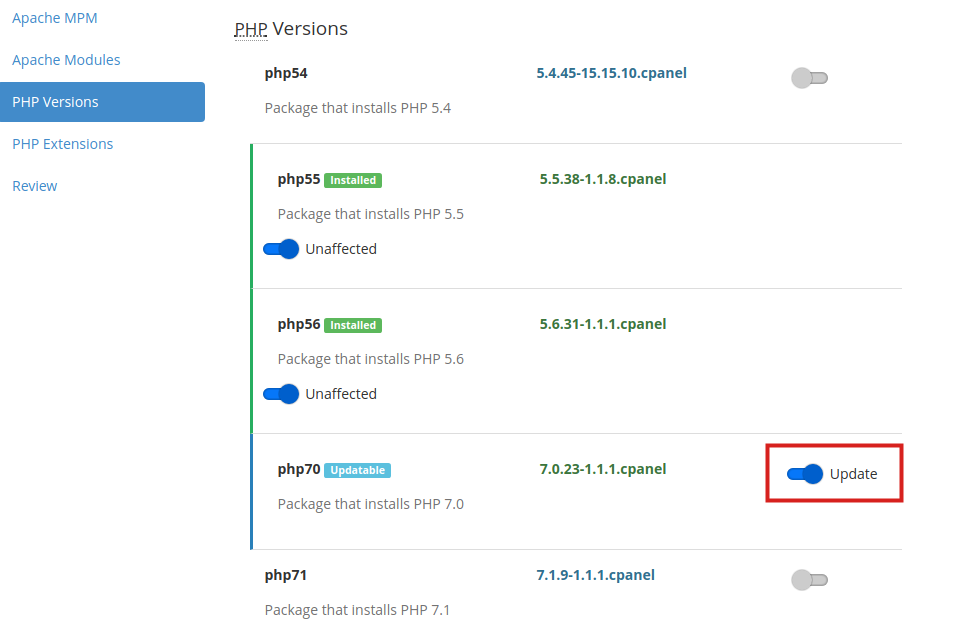
 You will then see your installed packages listed. If a PHP version is updatable it will have an Update switch already turned on.
 There is no need to adjust this setting to update that PHP version.
 - To install additional PHP versions, click the slider next to the options. In this example, I am installing PHP 7.1, but the current minimum recommended version is PHP 8.0.

- Click the Review button once you have chosen which packages to update/install.
 You will then see a message stating “Preparing selected packages for review …” This may take several minutes to complete.

- The Review page will list all the changes you are about to make. Scroll to the bottom, and click the Provision button to proceed.
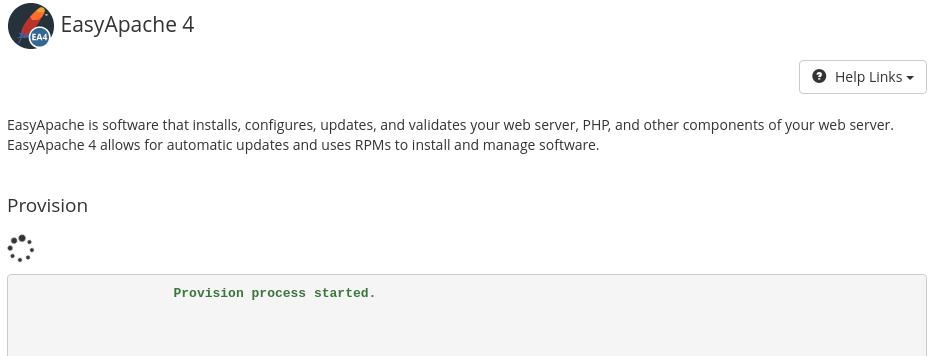
 The provision process will then begin. This may take several minutes to complete.

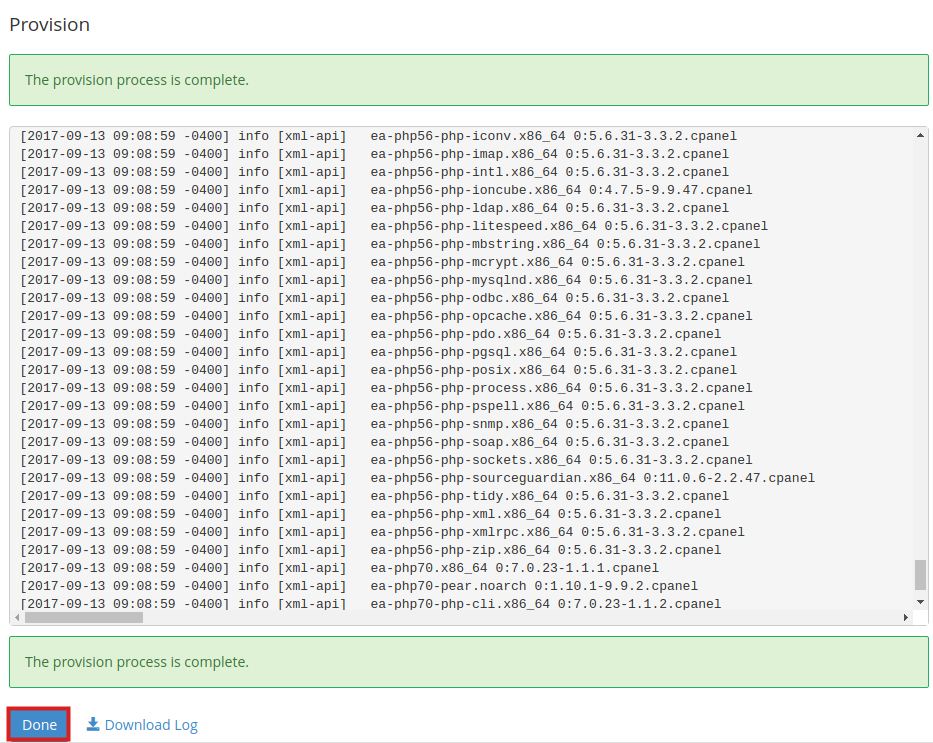
- You are finished when you see a message stating “The provision process is complete.” Click the Done button to return to the main EasyApache 4 page.

Congratulations, now you know how to update and upgrade the PHP version on your server!

 You will then see your installed packages listed. If a PHP version is updatable it will have an Update switch already turned on.
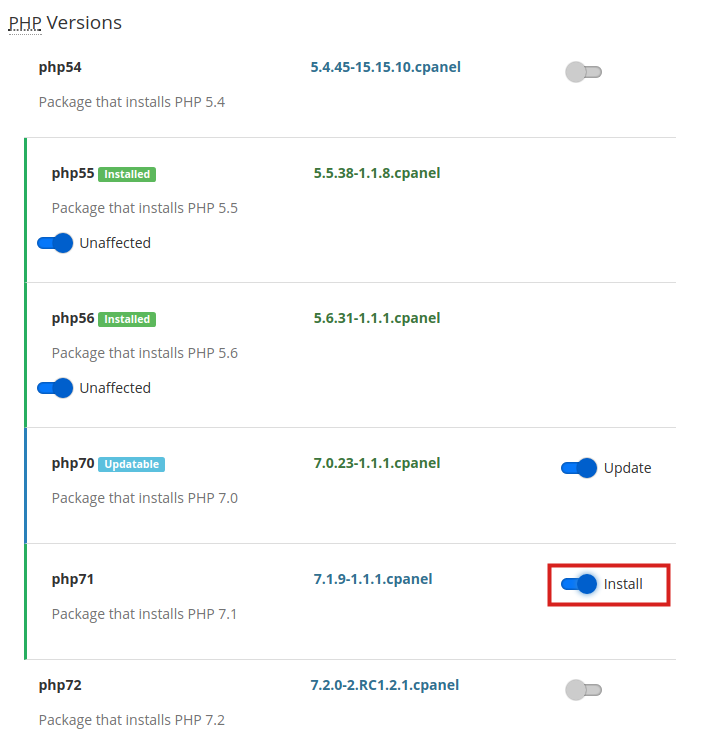
 You will then see a message stating “Preparing selected packages for review …” This may take several minutes to complete.
 The provision process will then begin. This may take several minutes to complete.
Hello! When I choose a newer PHP version, do I need to uninstall the older ones?
No, EasyApache 4 is able to maintain multiple installations/versions of PHP.
Hi, I upgrade my server php to 7.2
the problem is that my JOOMLA websites stop working,
I ve got this error:
“Database Error: The PHP `ext/mysql` extension is removed in PHP 7, cannot use the `mysql` driver. Also, this system does not support MySQLi or PDO MySQL. Cannot instantiate database driver.”
then I go back to old php 5.6
How can I solve it?, Please
Sorry for the issues with your Joomla sites not working. There should be no issues with PHP7+ using MySQL. You may need to update MySQL, but I know it works as I’m using PHP 7.2 and I have several WordPress sites that use MySQL. Try upgrading your MySQL and speak with your host’s technical support if you continue to have problems. If you’re an InMotion customer, then you can find the contact information at the bottom of the page.
I’m trying to install php 7.3 on WHM. Will this affect the existing version of php on the server?
Affect how? Can you be more specific about your concerns?
I have installed php7.3 and when i tried to change the version in cpanel it came up with an error message “Error: (XID ba7jft) The “ea-php73-php-fpm” service is not installed”. please advise.
I recommend emailing our Live Support with the steps taken to see that error.
I cannot find php version in my cpanel and i really want to upgrade it.. can you help me with that?
Check and see if you have the PHP Configuration button under the “Software” section in cPanel. There you will be able to see and switch between PHP versions.
Hi, I have a question, do you need to restart Apache after instalation? Thanks in advance
Nope, a restart is not necessary. This is thanks to the EA4 interface!
Thank you so much for this info!
We are so happy it helped! Let us know if you have any questions.
Thank you,
John-Paul