In this article, you can learn:
This article explains what Hotjar is and how you can leverage it to learn more about your users’ experience. You can also learn the steps for how to install and set up the Hotjar plugin for WordPress.
Are you ready to unleash the full power of WordPress? Be sure to check out the many features WordPress Hosting by InMotion Hosting includes and host your customized website in an environment developed for optimal performance.
What is Hotjar?
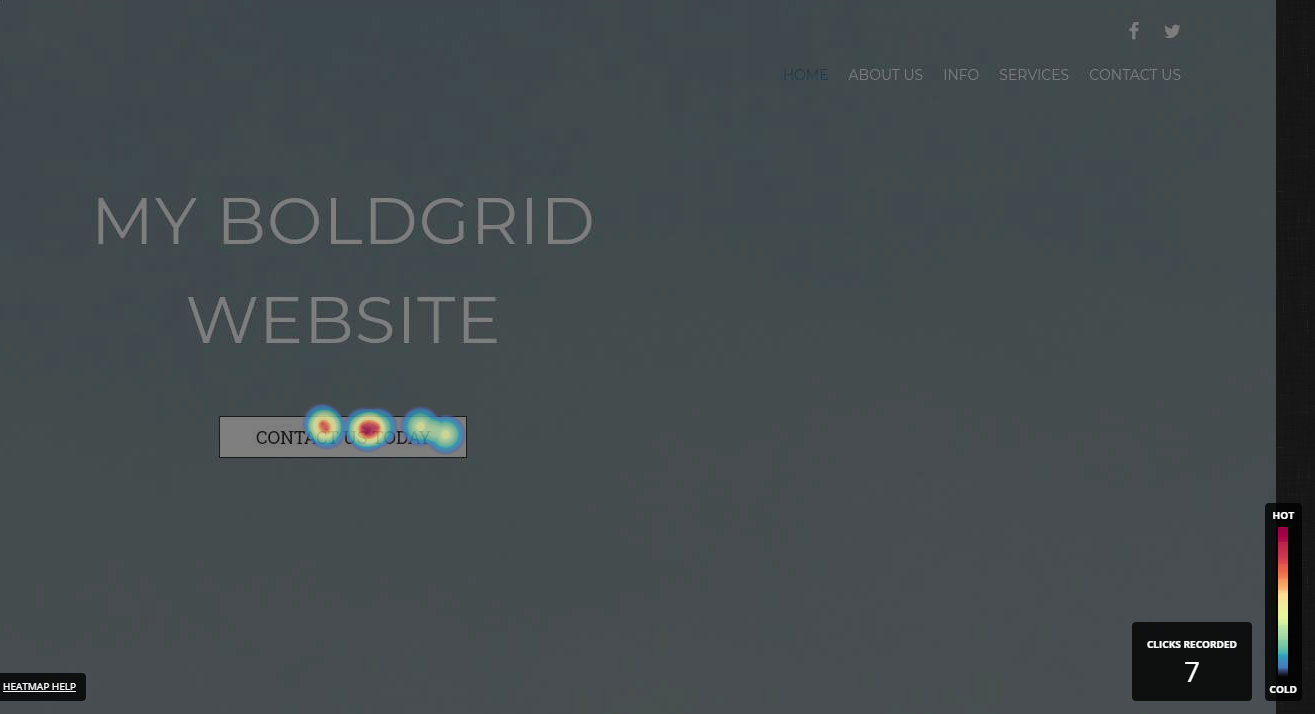
Hotjar is an analytics application. It is designed to provide insight into how users interact with your website. For instance, if you want to learn how effective your Call to Action is, you can view the heatmap for that page to see how many clicks it’s getting.
How to Install Hotjar
Hotjar can be installed quickly using the WordPress Dashboard. Follow the steps below to learn how to install Hotjar for WordPress.
- Log into your WordPress dashboard.
- Navigate to Plugins > Add New.
- In the “Search plugins…” field, enter hotjar.
- Click the Install Now button next to Hotjar By Hotjar.
- Once the installation completes, click on the Activate button.
That’s it! You just completed the installation of Hotjar. Read on to learn more about how to set up Hotjar for your WordPress website.
How to Set Up Hotjar
To set up Hotjar for WordPress, you will need your Site ID. You can obtain this from your Hotjar account. Follow the steps below to find your Site ID tracking code.
NOTICE: A Hotjar account is required; If you don’t already have one, head on over to their website to create your free account.
To obtain your Hotjar Site ID:
- Log in at the Hotjar login page.
- Click on Settings, located in the upper right.
- Click on Sites & Organizations, located under the ACCOUNT heading.
- Copy the 7-digit Site ID to the left of the website you want to add Hotjar to.
Now that you have your Hotjar Site ID, you will need to enter it into your WordPress Hotjar plugin. Follow the steps below to complete the setup.
To enter your Hotjar Site ID:
- Log into your WordPress dashboard.
- Navigate to Settings > Hotjar.
- Paste the Site ID into the Hotjar ID field.
- Click the Save Changes button.
NOTE: A successful message will appear at the top of your admin dashboard. You can click on the link to verify that Hotjar is active.
Congratulations! You now know how to install and set up Hotjar for WordPress Hosting.
