Backing up your website is necessary to ensure the operation of your website continues in the event of hacks, accidental changes, and other data loss. In this article, we will show you how to fully backup your WordPress database using iThemes Security. Upon completion of this article, you will not only be able to back up your database on demand, but also do so automatically while keeping older versions stored as well.
Enjoy fast, secure hosting perfect for your WordPress website with InMotion Hosting’s WordPress Hosting plans.
- First, login to your WordPress admin dashboard.
- This article assumes that you already have iThemes Security installed on your WordPress site. If you do not already have it installed, you may follow our article on installing iThemes Security.

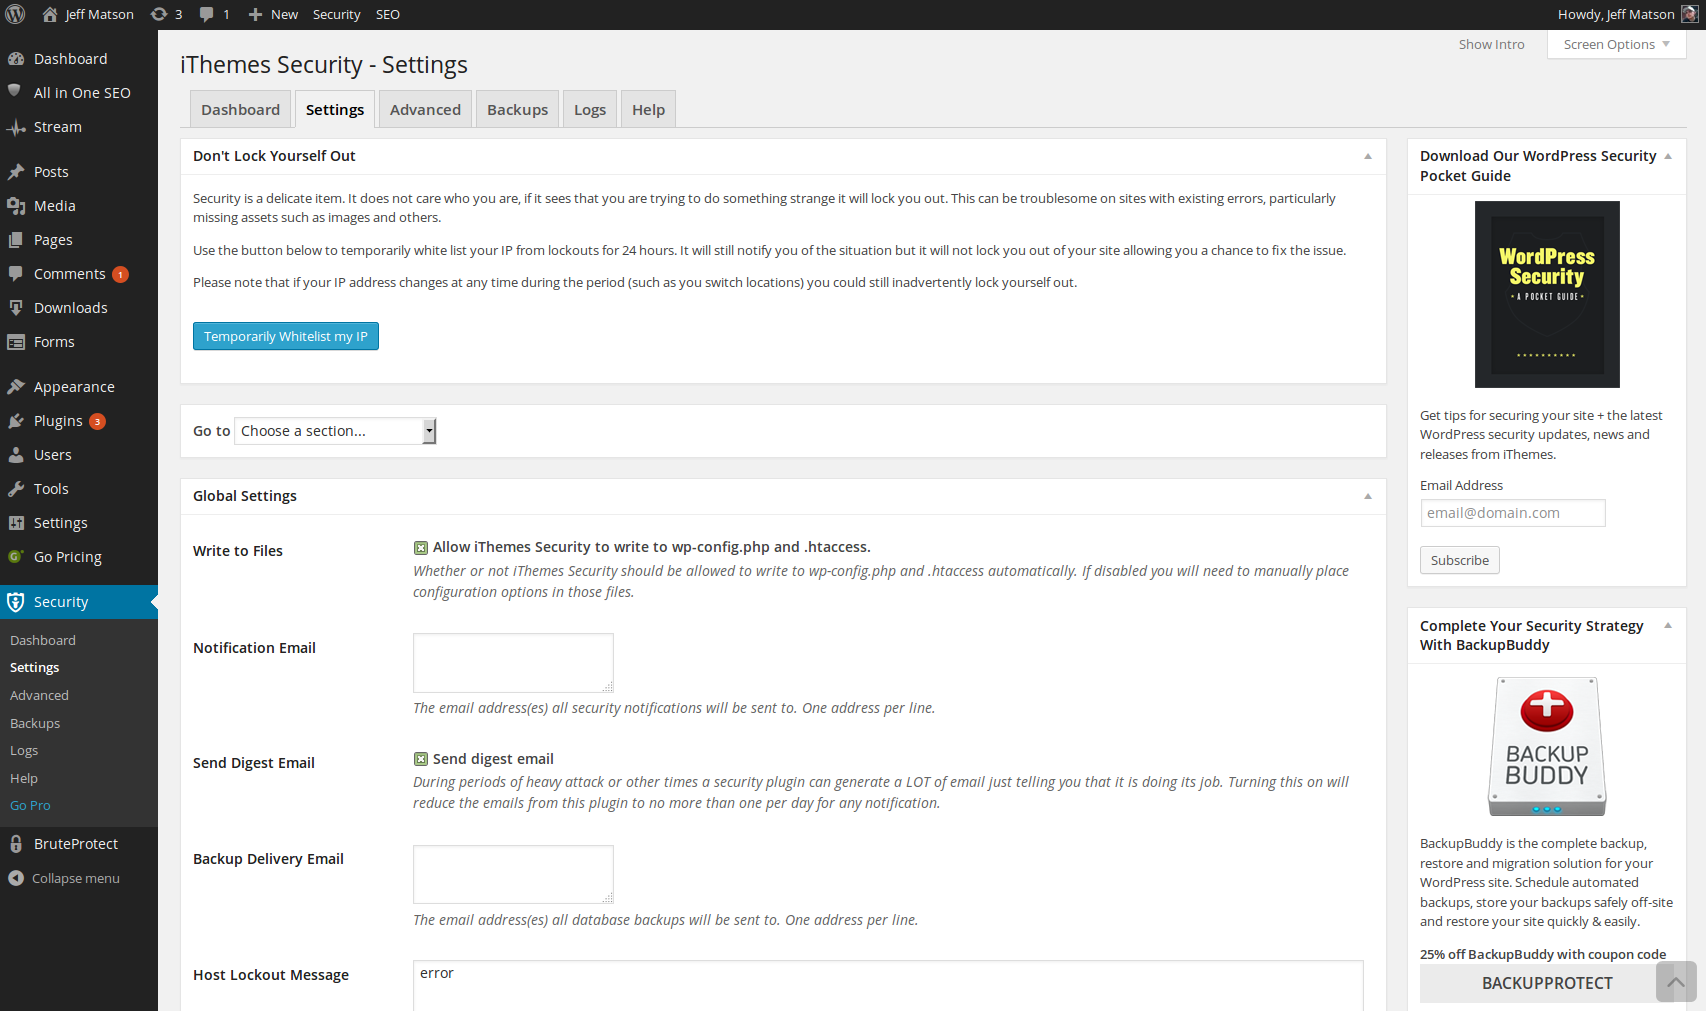
From within your WordPress admin dashboard, hover over iThemes Security on the left side menu, and click on Settings.

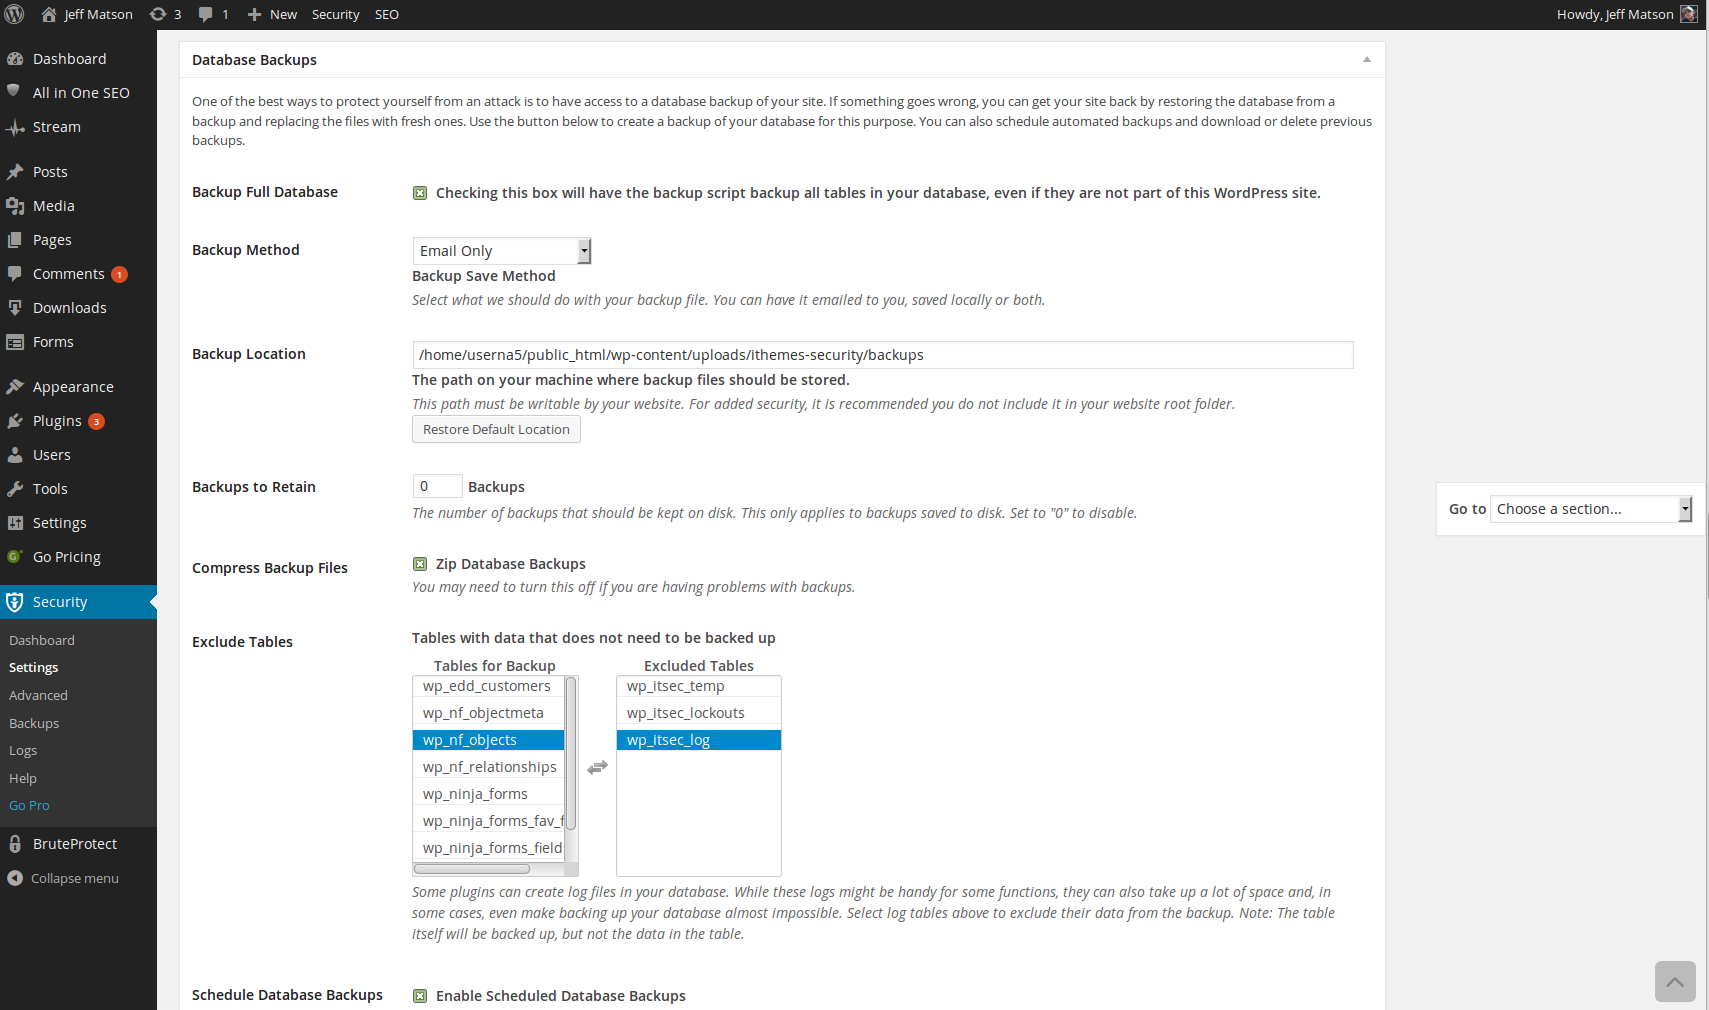
On this page, scroll down to the header labeled Database Backups.
The first option available within this section is Backup Full Database. If you want to back up the entire database and include any items that are not explicitly part of your WordPress installation, select this checkbox. Although this can potentially make your database backup a bit larger if you have other items within the database that are not part of the core WordPress tables, it is a good idea to enable this option to ensure that all items within your database are fully backed up.
The next thing you will need to configure is the backup method. Within this option, you have the ability to email a copy of the database within an attachment, save the backup locally on the server, or both. As we highly recommend that you keep backups off of the server in the event of a hack, it is a good idea to at least select the Email Only option. If you are only storing a small database backup, sometimes you may want to select the Save Locally and Email option, but keep in mind that the backups stored can potentially cause issues if you are keeping multiple large backups.
The Backup Location should already be set to the default which is perfectly fine in most occasions. Of course, if you have another location that you would rather save the backups in, feel free to change this to the absolute server path that you would like them to reside.
The Backups to Retain option will only apply if you have set the Backup Method to store backups locally on the server. If you are doing so, the Backups to Retain option will allow you to set the number of sequential backups that will be stored before overwriting with a newer copy. If you are not saving a local copy of the backups to the server, simply set this option to 0 which will disable it.
Next, check the box labeled Compress Backup Files. This will allow a smaller file size and should only be disabled if you are having issues with corruption in your backups.
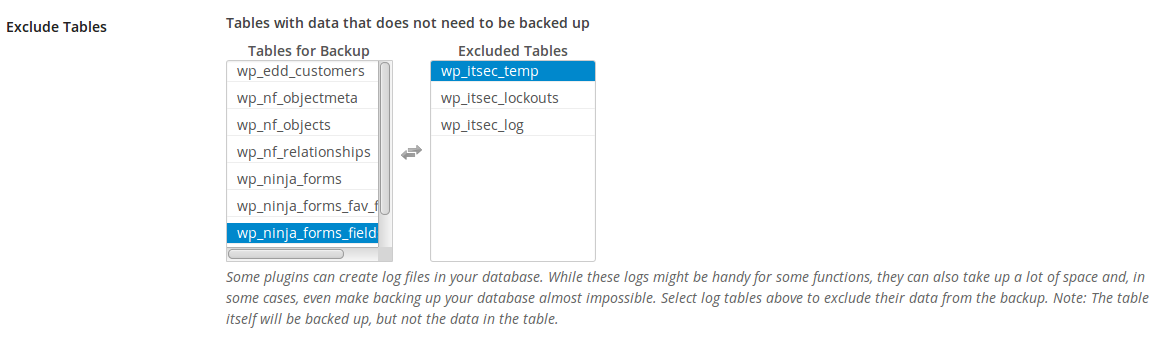
The Exclude Tables option will allow you to exclude various tables from your backups. The purpose of this is to slim down your backups by removing tables that are not needed such as logging. As a general rule of thumb, keep all tables backed up unless you know for certain that you will not need it.
Within iThemes Security, you can also schedule your backups to automatically run. To enable this, select the Schedule Database Backups checkbox.
The final option is Backup Interval. In this field, you will simply enter the number of days between backups. In this example, we have the backups running automatically every 3 days. Keep in mind that you will need to check the box next to Schedule Database Backups to automatically back up your database according to your entry in the Backup Interval field.
- Now that all of your settings are defined, be sure to click on Save All Changes to save your options.


Become a master of WordPress plugins! Protect, optimize, secure, and expand the functionality of your website easily with the help of WordPress plugins!
