---
title: "How to Create HTML Pages with the CherryTree Note-Taking Application"
description: "In this article: Organize nodes with icons, colors, and hierarchy Setup Export Node Upload Files CherryTree (version 0.38.9) is a multiple-use hierarchical note-taking application for Windows, Mac..."
url: https://www.inmotionhosting.com/support/website/create-html-pages-with-cherrytree/
date: 2019-08-30
modified: 2026-03-11
author: "InMotion Hosting Contributor"
categories: ["Website"]
type: post
lang: en
---
# How to Create HTML Pages with the CherryTree Note-Taking Application
**In this article:**
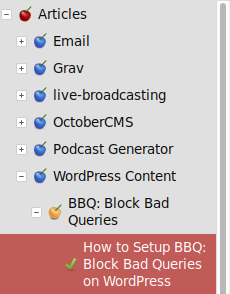*Organize nodes with icons, colors, and hierarchy*
- [Setup](#setup)
- [Export Node](#export)
- [Upload Files](#upload)
[CherryTree](https://www.giuspen.com/cherrytree/) (version 0.38.9) is a multiple-use hierarchical note-taking application for Windows, Mac (via source code), and Linux. Its primary purpose is to organize multiple documents as “nodes” for easier navigation without creating extra documents on your local system. The nodes can be organized by drag-and-drop for sorting and hierarchy. You can change the node name color, icon, and **bold** status for a more visual workflow.
CherryTree's versatility shows in the types of documents you can create, import, and export from nodes. There are three node types:
- **Rich Text** - Allows formatting without code - **bold**, *italic*, underline, ~~strikethrough~~, superscript, tables, etc. - similar to Microsoft Word, Libre Office Writer, and Google Docs
- **Plain Text** - Only allows regular text with no formatting; translates directly to a .txt file
- **Automatic Syntax Highlighting** - Highlights code brackets for a long list of programming languages including Java and Perl to easily navigate the beginning and end of coding sections - e.g. |VPS Hosting.
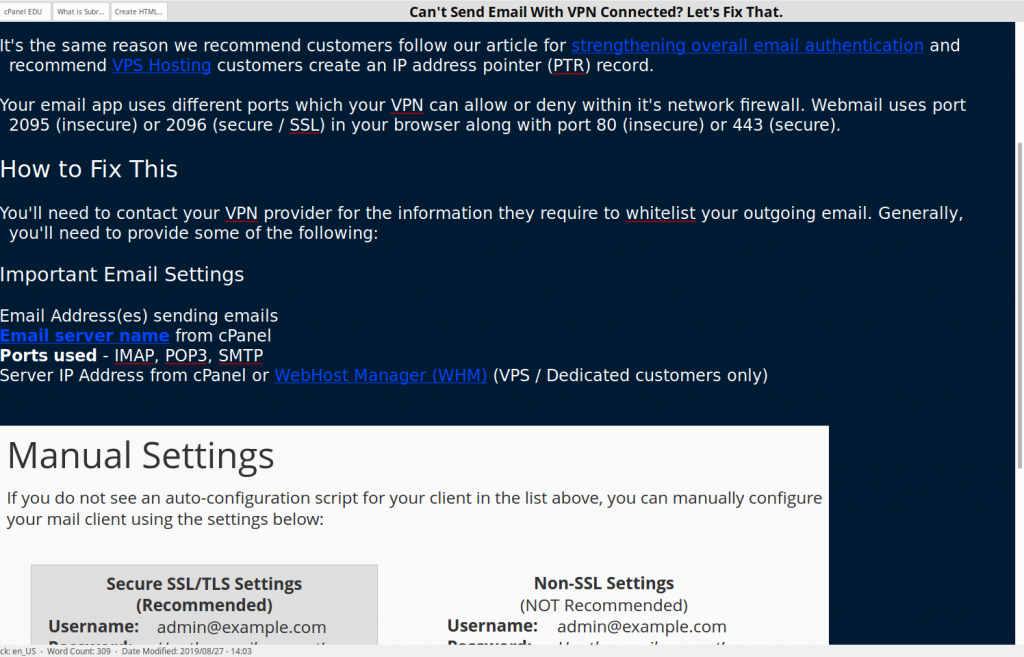
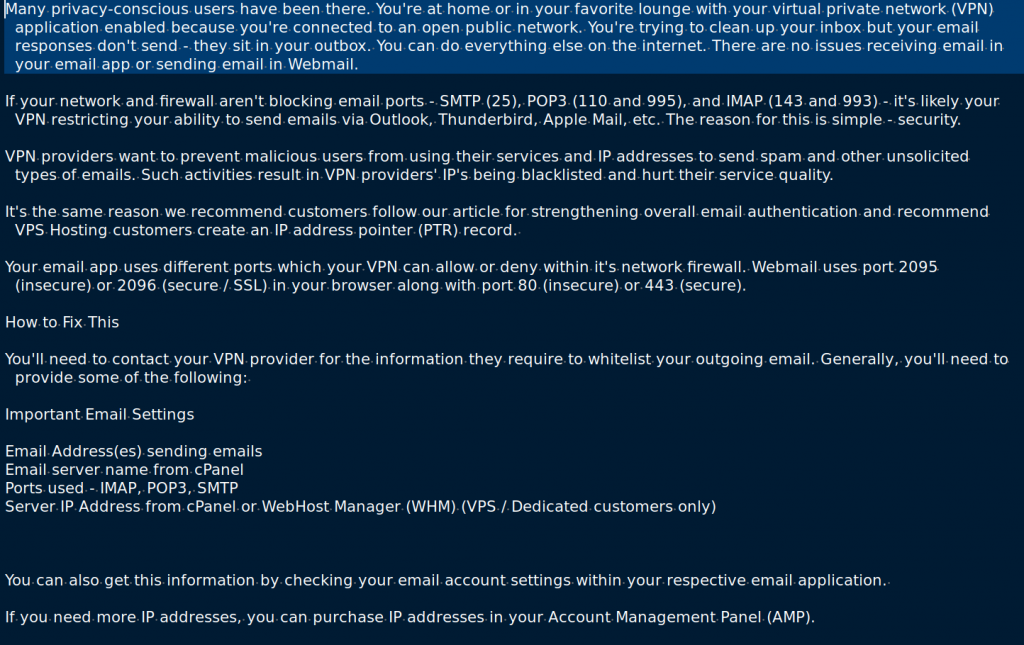
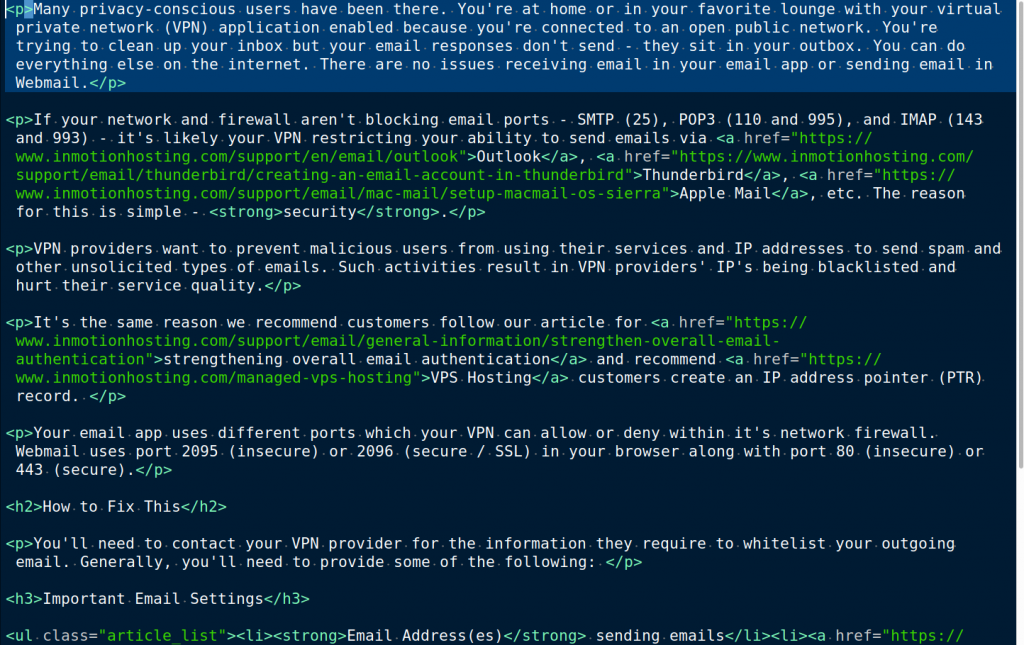
Other notable features include file protection using 7zip and the ability to import files from Gnote, KeyNote, Tuxcards, and more.
Below we'll cover how to **create an HTML page from a CherryTree node**.
## Set Up CherryTree
1. Install CherryTree at [Giuspen.com/CherryTree](https://www.giuspen.com/cherrytree/).
2. (Optional) Verify the file integrity with a sha256 checksum ([Windows, Mac](/support/security/create-checksum-locally/), [Linux](/support/security/verify-checksums-ssh/)).**Windows:**`certutil -hashfile **path-to-file/cherrytreefilesha256** ; echo **checksum-on-download-page**`For V0.38.9 - `certutil -hashfile **Documents/cherrytree_0.38.9_setup.exesha256** ; echo **ff4249aaec02fe785dce1ae7f2c3f45fa6718bfeabf4b33156639c13bbeadafb**`**Mac:**`shasum -a 256 **path-to-file/cherrytreefile** && echo **checksum-on-download-page**`**Linux**:`sha256sum **path-to-file/cherrytreefile** && echo **checksum-on-download-page**`
3. Open the program.
4. Create a **New Instance**.
5. On the left, right-click the blank column and click **New Node**.
6. Type a node name, ensure **Rich Text** is selected, and click OK. Note that your node name will become the file name of your exported node.
7. Start writing.
## Export the Node
CherryTree can export nodes to PDF, HTML, and text (.txt) files as of version 0.38.9. We're going to export to HTML.
1. Once you're done with your node, click **Export** from the top navigation bar and **Export to HTML**.
2. In the pop-up box, uncheck **Links Tree in Every Page** and click **OK**.
3. Specify a folder to save the files. Press **Open**. This will save a folder with the node name including:• **.html file** of the node name converted to [HTML](/support/website/what-is-html5/)• **styles.css** file with [CSS code](/support/website/the-benefits-of-css/) affecting the appearance of your website• **Images folder** for any images embedded in the node (created even if unused)• **EmbeddedFiles folder** for other embedded files (created even if unused)
## Upload Files
You can open the HTML file to see how the file will look when you upload it. You can upload files using [cPanel File Manager](/support/edu/cpanel/using-file-manager-in-cpanel/), [FTP](/support/website/ftp/getting-started-guide/), or [SSH](/support/server/ssh/do-you-provide-ssh-access/). Below we'll use the easiest option - cPanel File Manager.
The example will use our article “[Can't Send Email With VPN Connected? Let's Fix That](/support/email/cant-send-email-with-vpn-connected/)” with an image from “[Viewing your Email Settings in cPanel and Webmail](/support/email/view-email-settings/)”.
1. Rename the HTML file for brevity. The phrase *cant-send-email-with-vpn-connected.html* looks a lot better than *Articles--Email--Can't_Send_Email_With_VPN_Connected_Let's_Fix_That..html*. It's better [search engine optimization (SEO)](/support/website/seo/seo-getting-started-guide/) and easier to remember. Also, only use a dash “-” to separate words and ensure there's only one period within the file name - “.html” at the end.
2. (Optional) Rename the folder if you prefer to upload the entire folder via FTP. This isn't recommended as the folder format can help you organize exported nodes.
3. [Log in to cPanel](/support/edu/cpanel/how-to-log-into-cpanel/).
4. [Open the File Manager](/support/edu/cpanel/using-file-manager-in-cpanel/).
5. Navigate to the exact location you'll upload the files. Create a subfolder if it should be separate from another website. We'll use *public_html/blog*.
6. [Upload the .html and styles.css files](/support/website/how-to-upload-files-server/#file-manager).
7. If you had images, create an *images* folder where you uploaded your HTML and CSS files.
8. Open the *images* folder.
9. Upload all images to that folder.
10. Type the URL for that file path in your browser. For example:*public_html/blog = /blog/cant-send-email-with-vpn-connected.html**public_html = /cant-send-email-with-vpn-connected.html*
*Uploaded files in cPanel File Manager*
## More Tips
1. Remove the EmbeddedFiles and images folders if you don't need them.
2. [Edit the HTML file](/support/website/how-to-edit-a-file/) and remove the following so banner grabbers can't determine how your webpage was created and more easily find vulnerabilities: