In this article we’ll go over how you can copy an account from your previous host’s control panel onto your server with us. Or if you have multiple servers with us you can copy accounts between your servers this way.
We’ll be going over the steps for transferring an account from a WHM / cPanel server. While other control panels are also supported in the account copy process, because we use WHM / cPanel ourselves this type of account copy would be the least accident prone.
In order for this to work you’ll need a valid cPanel account with another host, or on another server of ours. You’ll also need that account to have SSH access to the server, and your server’s IP address with us must be allowed to connect via SSH to your previous server.
Transferring an account directly into WHM this way also will require root access on either your VPS or dedicated server.
- Log into WHM on our server.
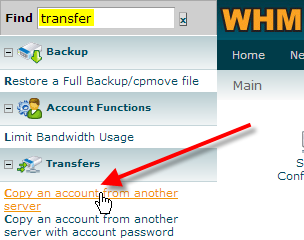
- In the top-left Find box, type in transfer, then click on Copy any account from another server.
Remote Server Info section
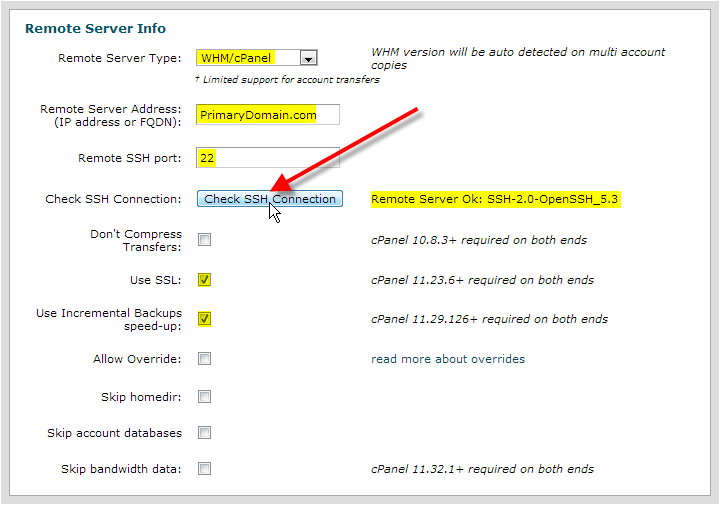
Now you’ll be presented with a drop-down list for Remote Server Type, in this example we’re going to assume your previous host was using WHM/cPanel and select that from the drop-down.
For the Remote Server Address field you’ll want to type in the current IP address of your website on the old server, or your domain name if it’s still pointed to that server.
By default the Remote SSH port should be 22, you can click on Check SSH Connection directly below this setting to ensure it’s set correctly.
If you receive an error of Connecting to Remote Server Failed this typically means that your server’s IP address with us isn’t allowed in your old server’s firewall. You’ll want to add your IP address to the firewall following these steps:
- To fix this you’ll want to login to your old server’s WHM interface.
- In the top-left Find box type in firewall, then click on the Add IP to Firewall link.
- Now in the Allow Rule field, type in the IP address of your server with us. Then click on Add Rule / Restart.
Once you establish a SSH connection successfully you should get a message like:
Remote Server Ok: SSH-2.0-OpenSSH_5.3We would recommend leaving the Don’t Compress Transfers option disabled. Use SSL should be enabled if possible, as well as Use Incremental Backups speed-up options.
Account Info section
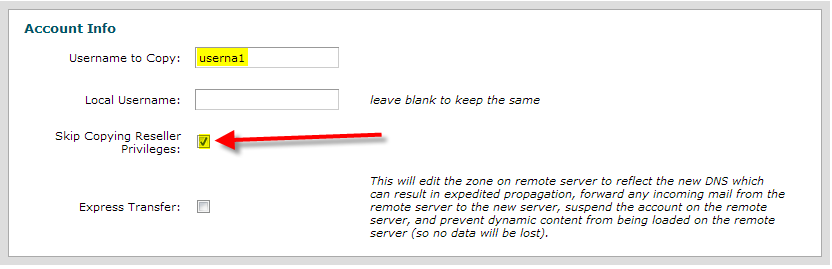
In this section for the Username to Copy field, type in the cPanel username from your old server.
For the Local Username field, you can leave this blank to use the same username, or enter a new one if you’d like. Note that you might need to update your code to reflect this new username.
We’d recommend enabling Skip Copying Reseller Privileges unless you’re familiar with the privileges you might be bringing over from the old server.
In most cases you’d want to leave the Express Transfer option disabled. That way you can manually test the account after the transfer and verify things are working 100% correctly before updating your domain’s DNS to point to the new server.
Authentication section
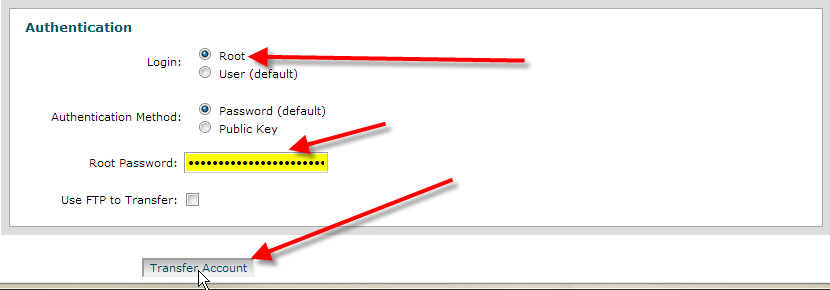
In this section for Login, select Root
Then you can choose either option for Authentication Method and enter in either the Root password or public key.
Finally click on the Transfer Account button at the bottom of the page to begin the transfer.
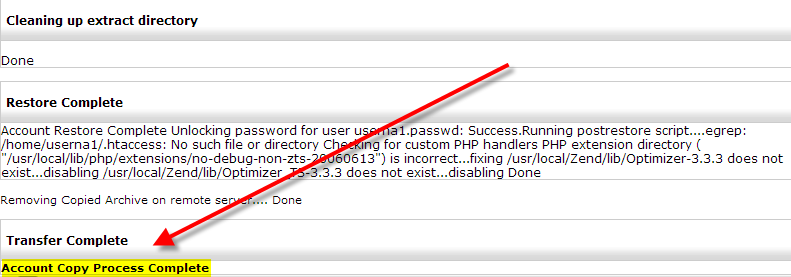
- While the transfer is running the WHM window will scroll down with where it is in the tranfer process.
DO NOT close your web-browser while the transfer is taking process.
When the transfer is done you should see an Account Copy Process Complete message at the bottom.
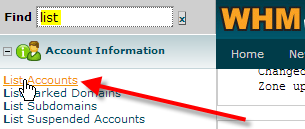
- Now still in WHM, up in the top-left Find box, type in list, then click on List Accounts.
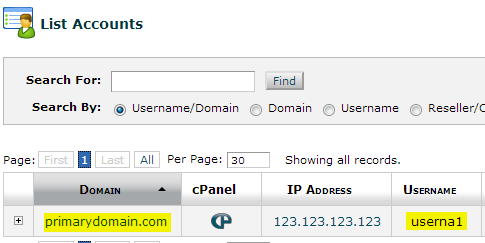
- You should now see the account that we copied over userna1 on your server:


Now that you’ve successfully copied over your account from an old server to your new server, you’ll want to be sure to check it on the new server using the temporary URL, or by modifying your local hosts file.
Once you’ve verified that everything seems to be properly copied over you’ll want to update your domain’s name servers to point to us so that when people try to access your domain name the new IP address of your new server is where they’re getting directed to.