While Discord already has a large number of popular communities for a wide variety of interests, you may decide that you want to create your own server. Fortunately, Discord allows users to create their own servers at no cost, making it easier than ever for you to establish your own online community. Even though the server creation process is relatively simple, we will outline the process below to make sure you get your community started on the right track.
In this article we will cover:
Make the most of your Dedicated Hosting experience by creating a Discord community for your users!
Creating a Discord Server
- Log into your Discord account.
- Once logged into your Discord account, on the homepage, click the + icon.
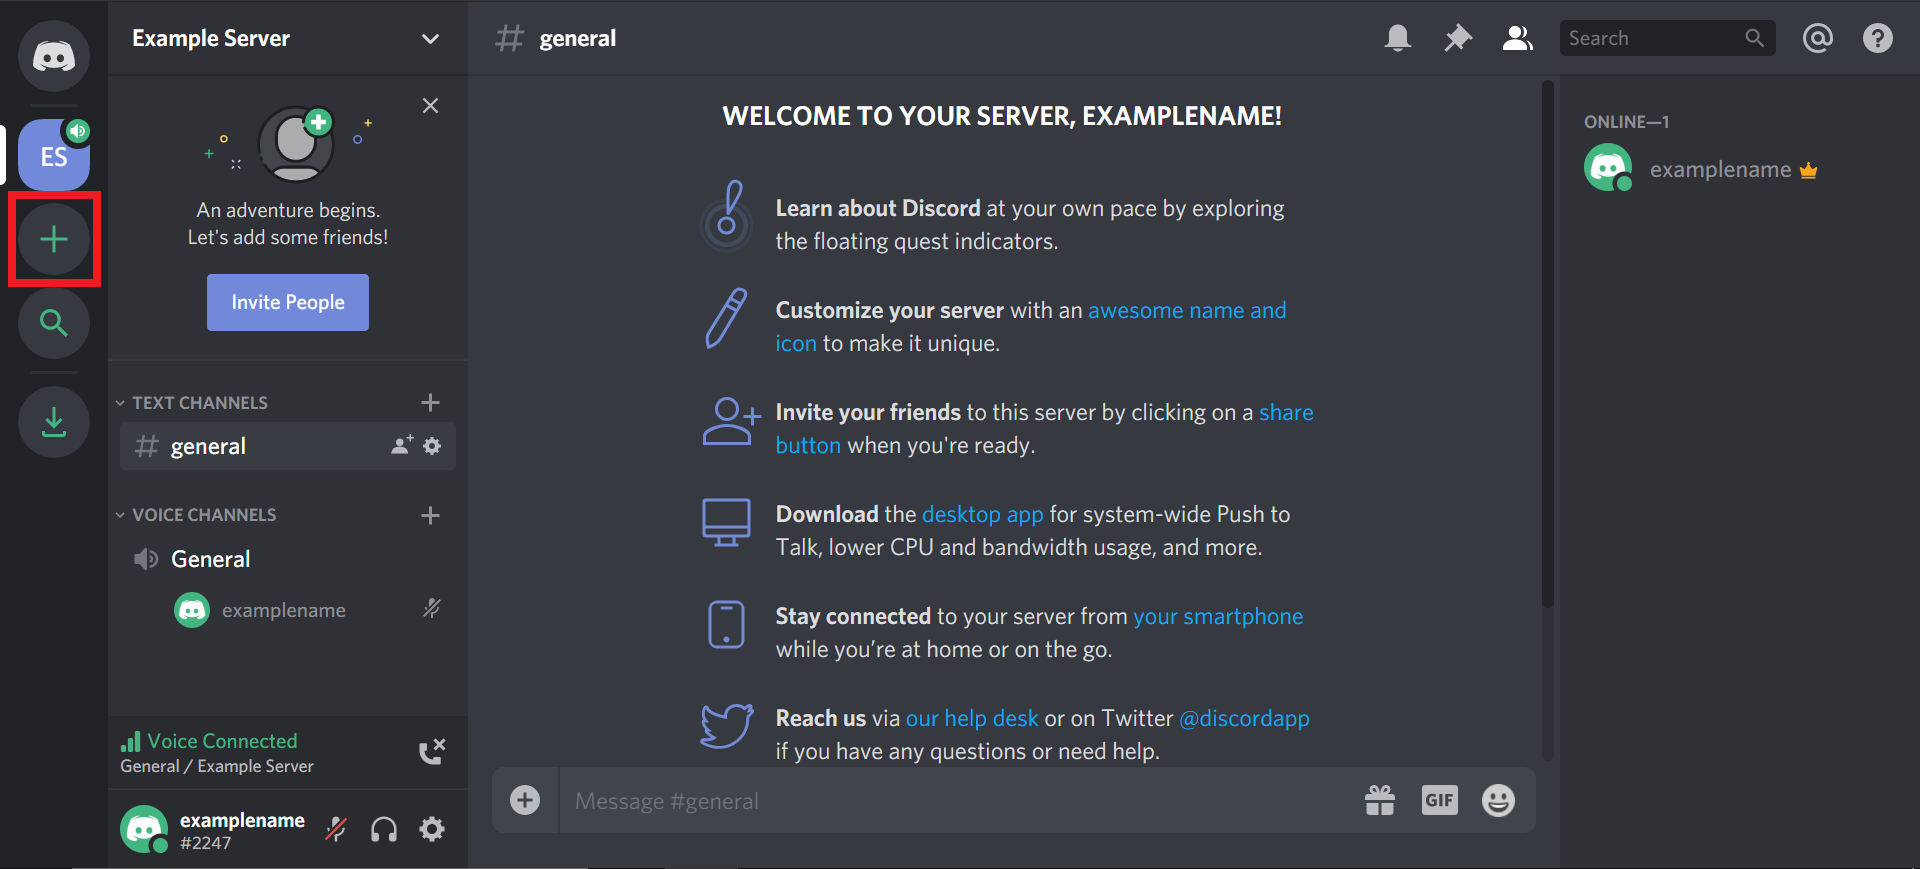
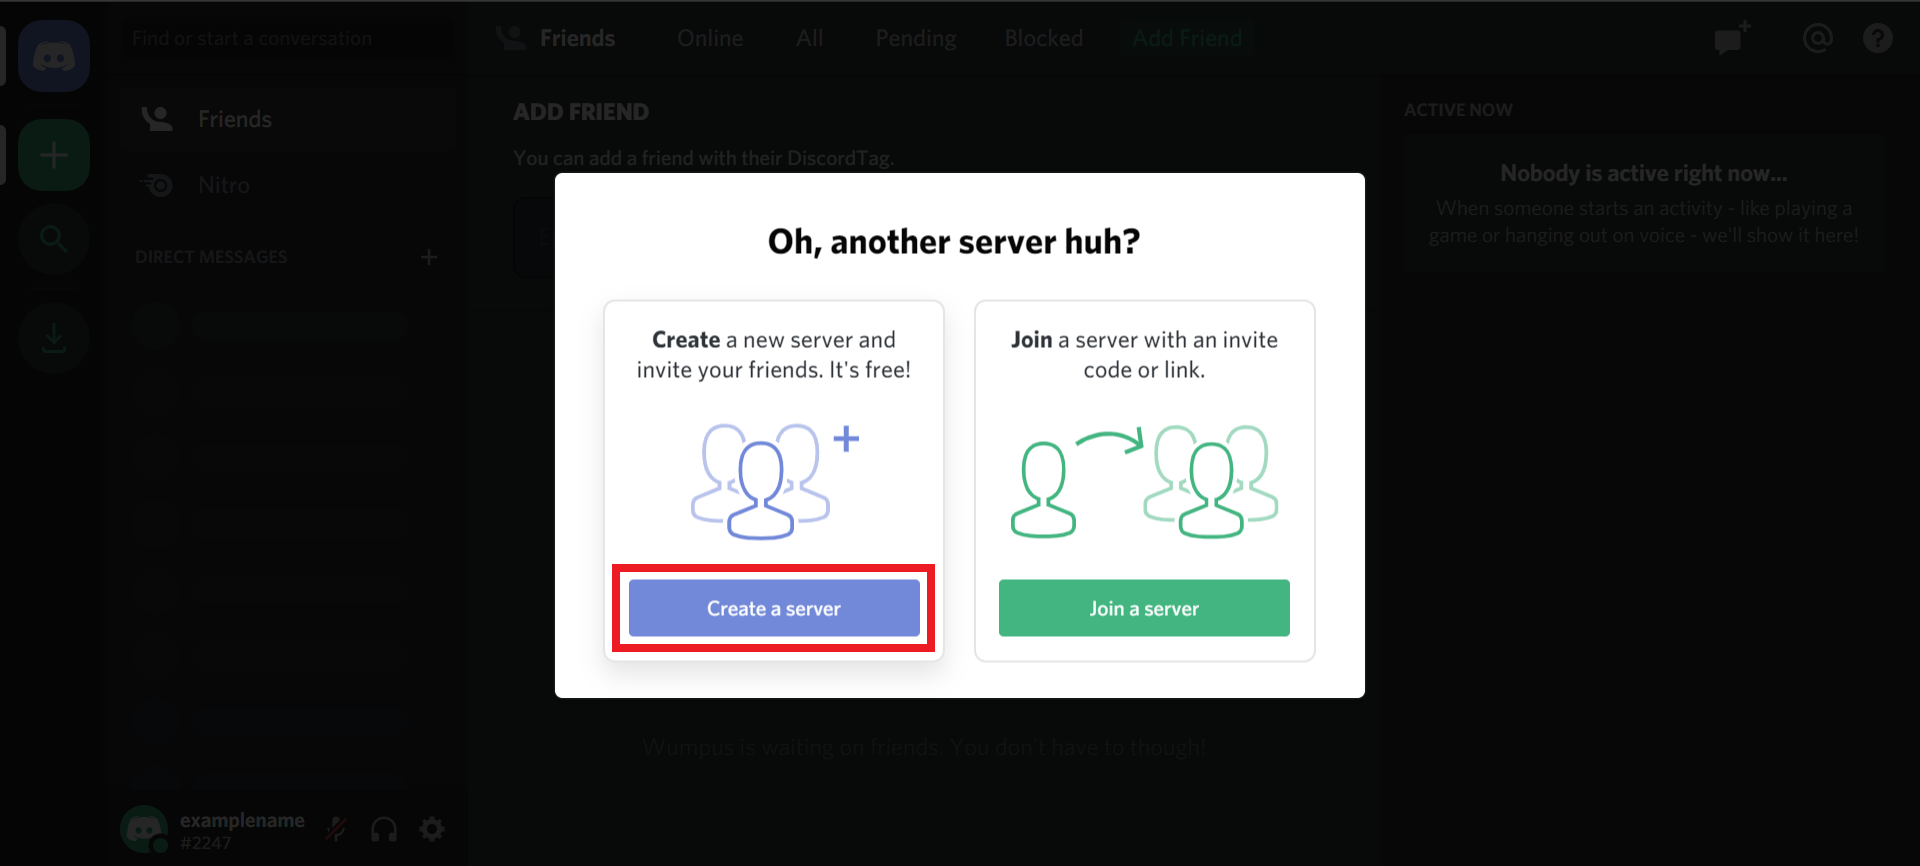
- A popup will appear asking if you want to create or join a server. Click Create a server.
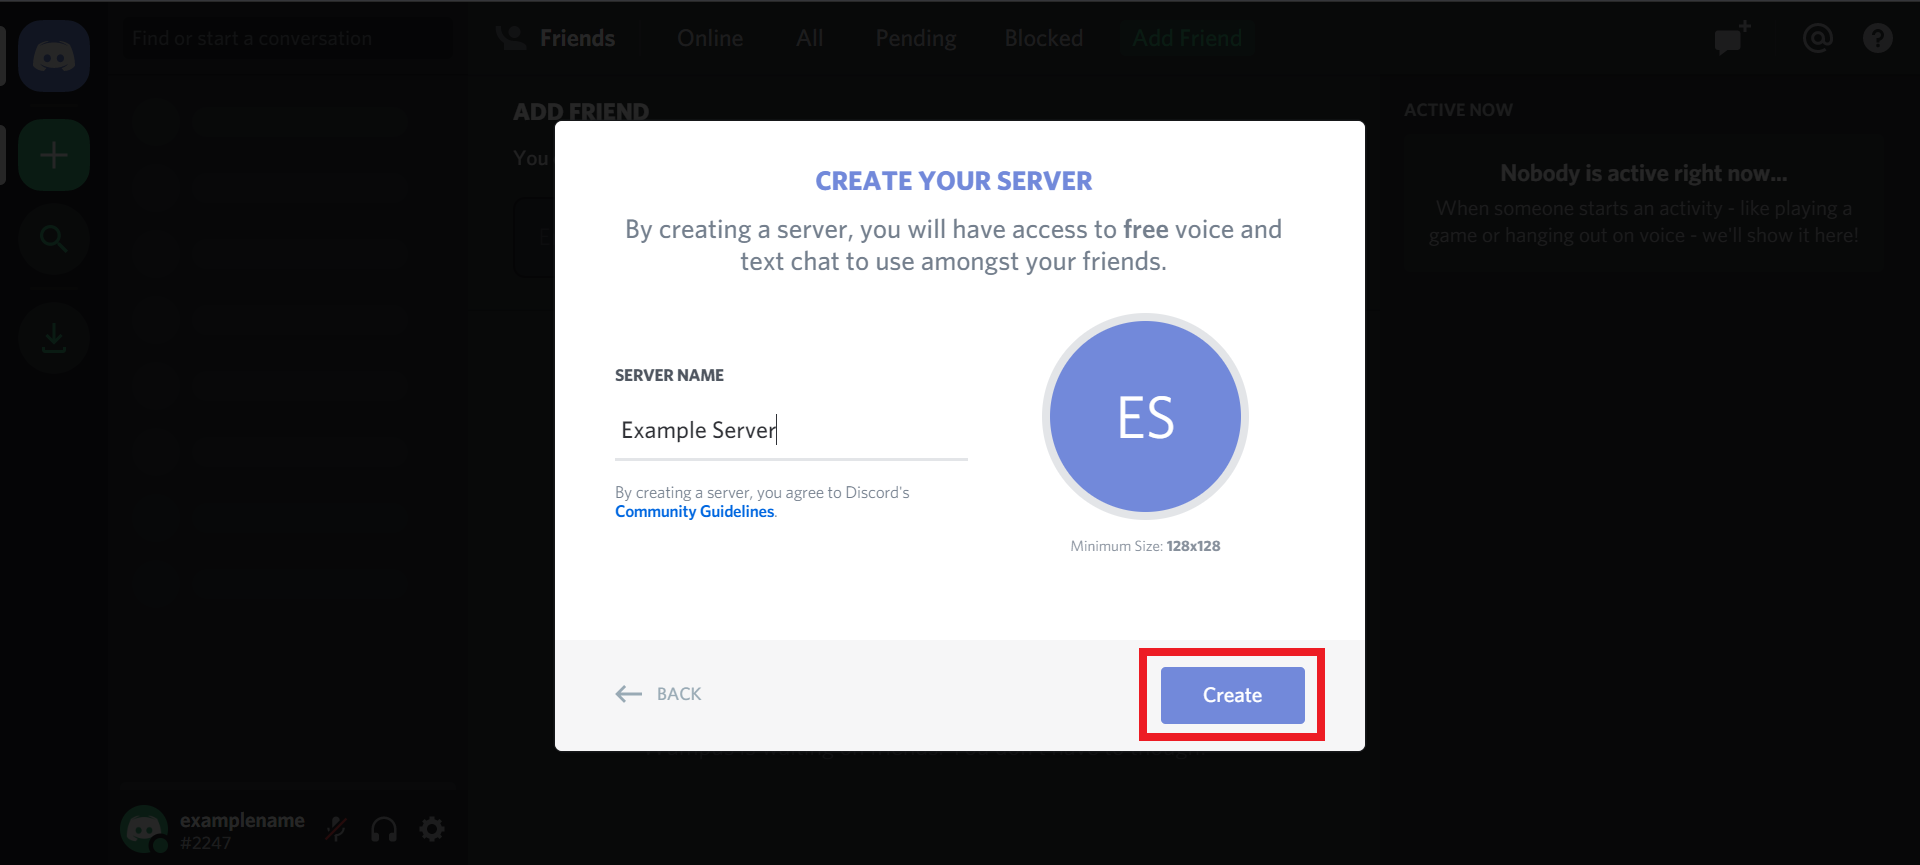
- Another popup will appear, asking for you to input your server name. Make this name something descriptive and easy to remember. By default, the server icon will be the initials of the Server Name. You can click on this icon to change it before creating the server.
- Once you’ve chosen your server name and icon, click Create.
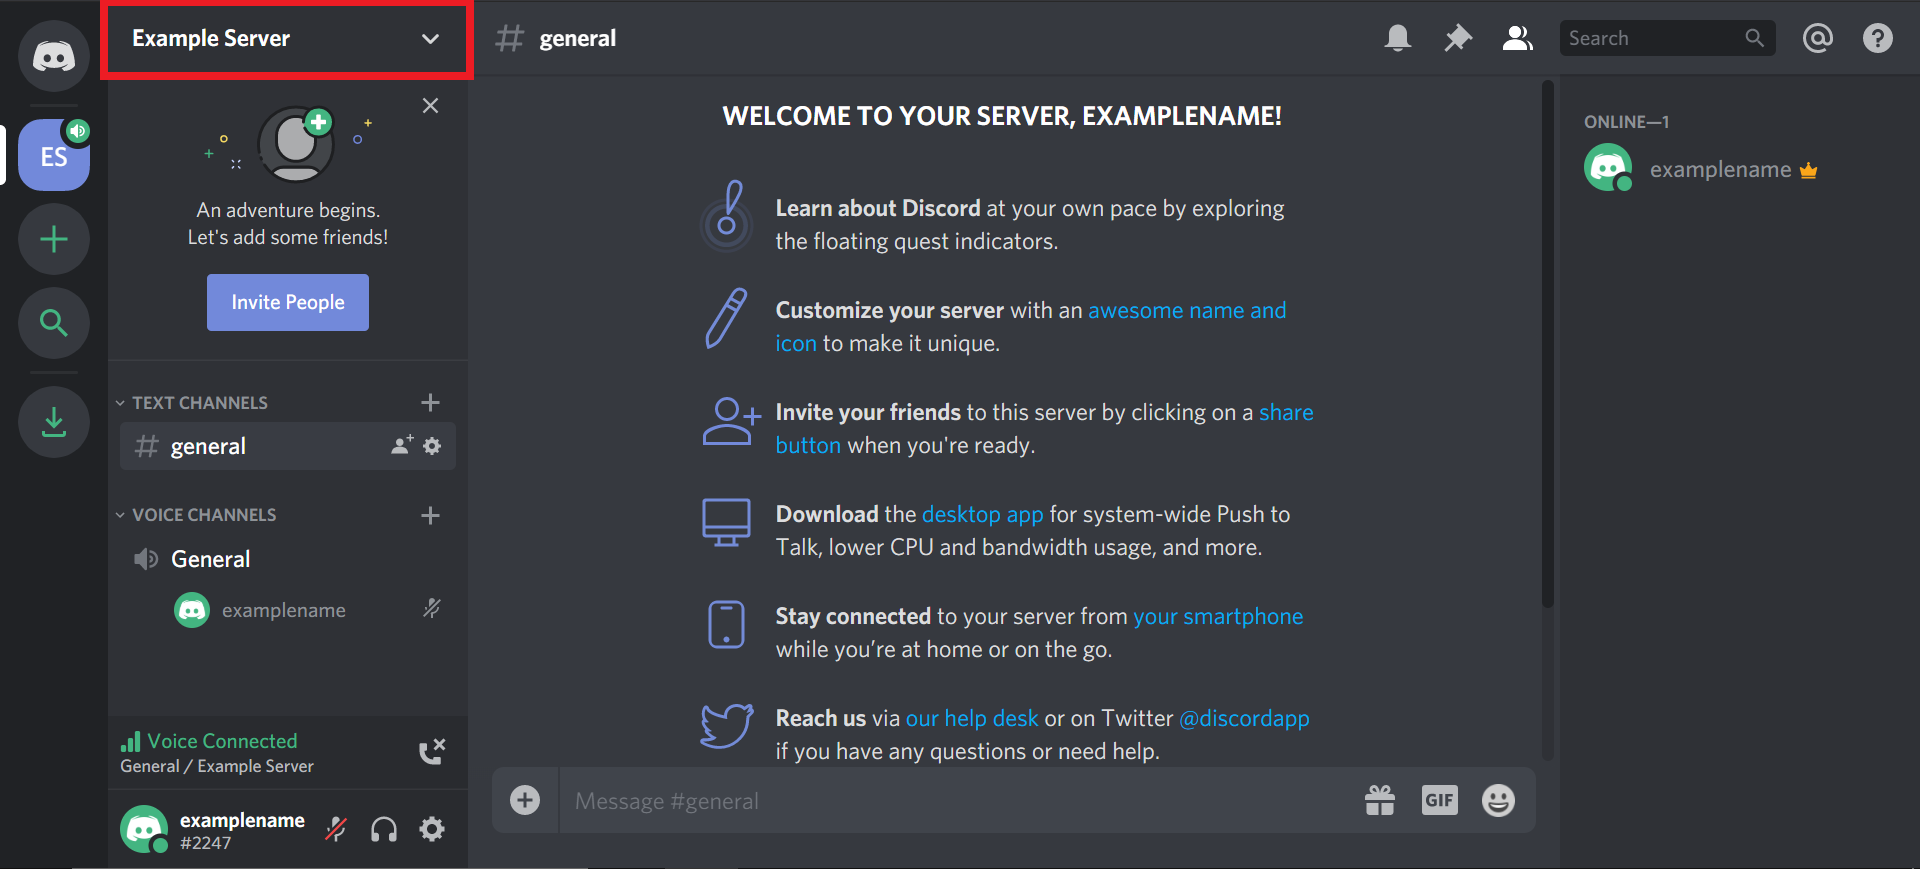
- You will then be taken to the homepage of your new server. A popup will appear with an invite link that you can use to invite other users to your server. For now, click the X to skip this.
Once you’re back on the server homepage, you can get to work customizing it to suit your needs.
Creating a Discord Channel
Now that you have a server set up, you will likely want to create different channels to facilitate conversations between your various users. This will help to keep the server organized and make it easier for visitors to use your server.
- To create a channel, click on the server name.
- From the drop-down menu, select Create Channel.

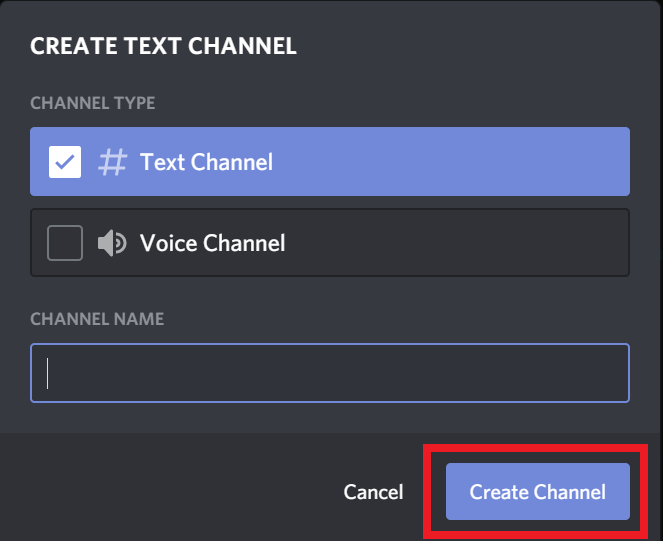
- Then a popup will appear, giving you the option to create a text channel or a voice channel as well as set a name for the channel. Select which type of channel you want to create and enter the channel name.
- Next, click Create Channel to finish creating the channel. The channel will then appear on the left side of your homepage.
Accessing Server Overview
At some point, you may want to modify the server. While the customization options are extensive, the Server Overview page is vital to the maintenance of your new Discord server.
- To access the Server Overview page, click on the server name.
- On the dropdown menu, click Server Settings.

- On the next page, select Server Overview from the left column.
- From this page you can modify the following options:
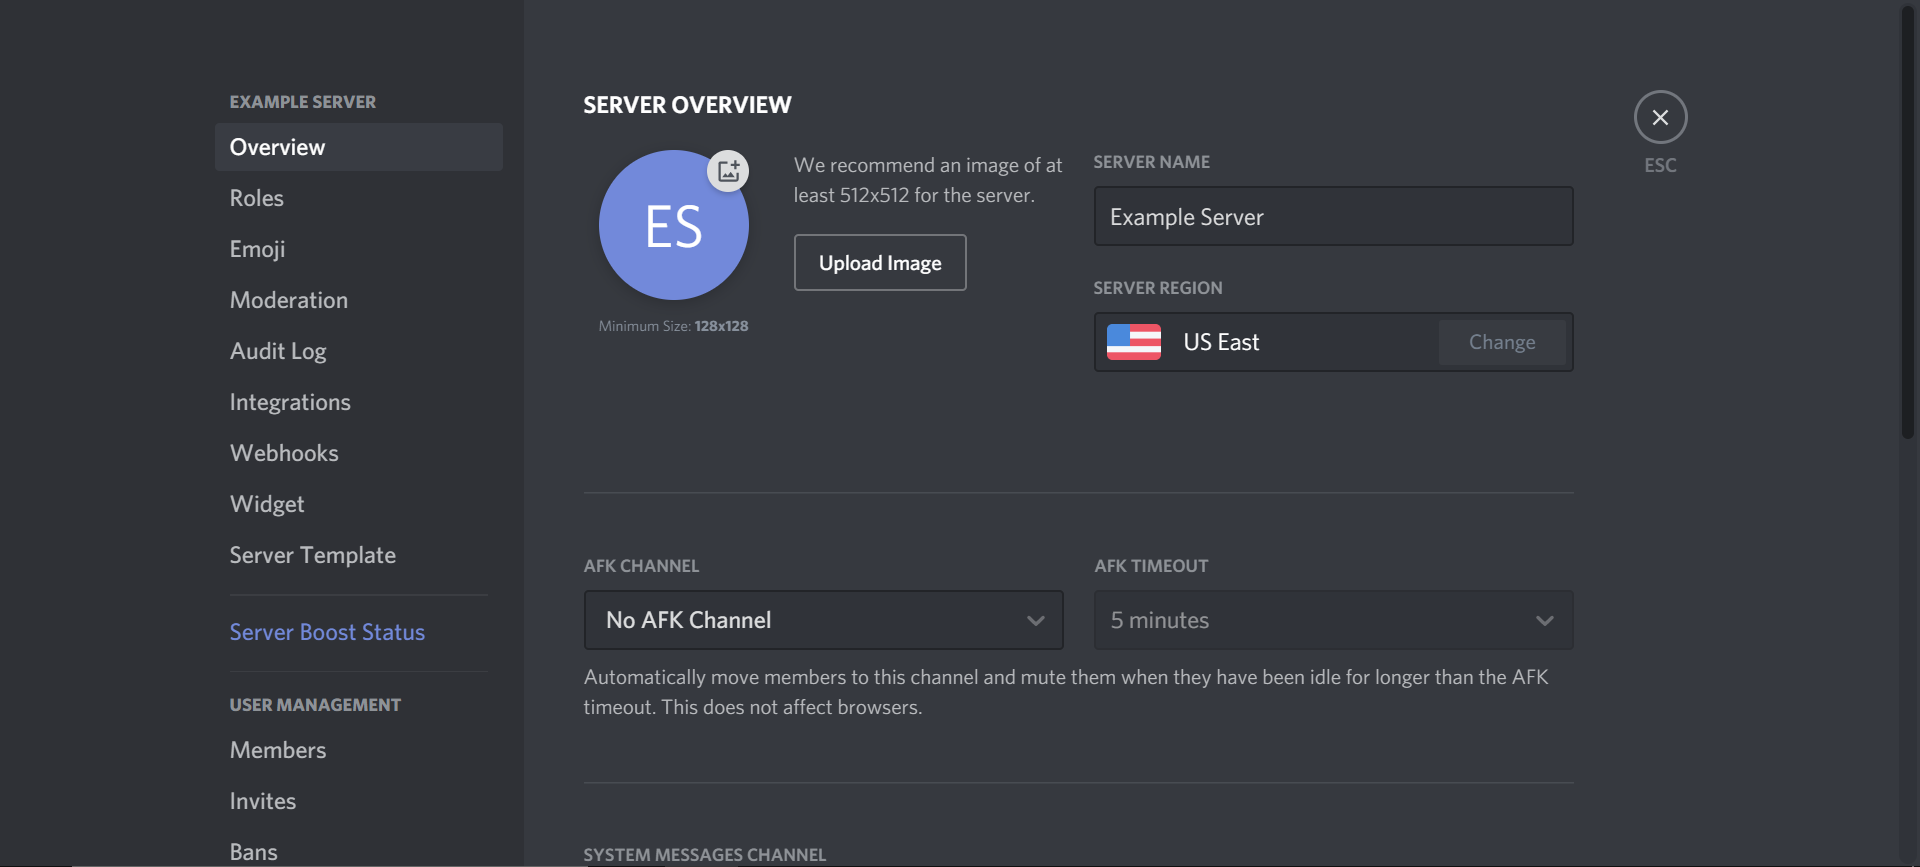
Server Name: This field allows you to modify the name of your server.
Server Region: This option allows you to designate your server region. For best performance, this will be set to a region closest to the majority of your users.
Upload Image: This allows you to upload an image that will be used as the server icon.
AFK Channel: This allows you to designate a channel as an “Away From Keyboard (AFK) Channel” where users will be placed after a certain amount of time of inactivity. This helps to ensure that your active channels are not clogged with inactive users.
AFK Timeout: This allows you to modify how much time must elapse before an inactive user is moved to the AFK Channel.
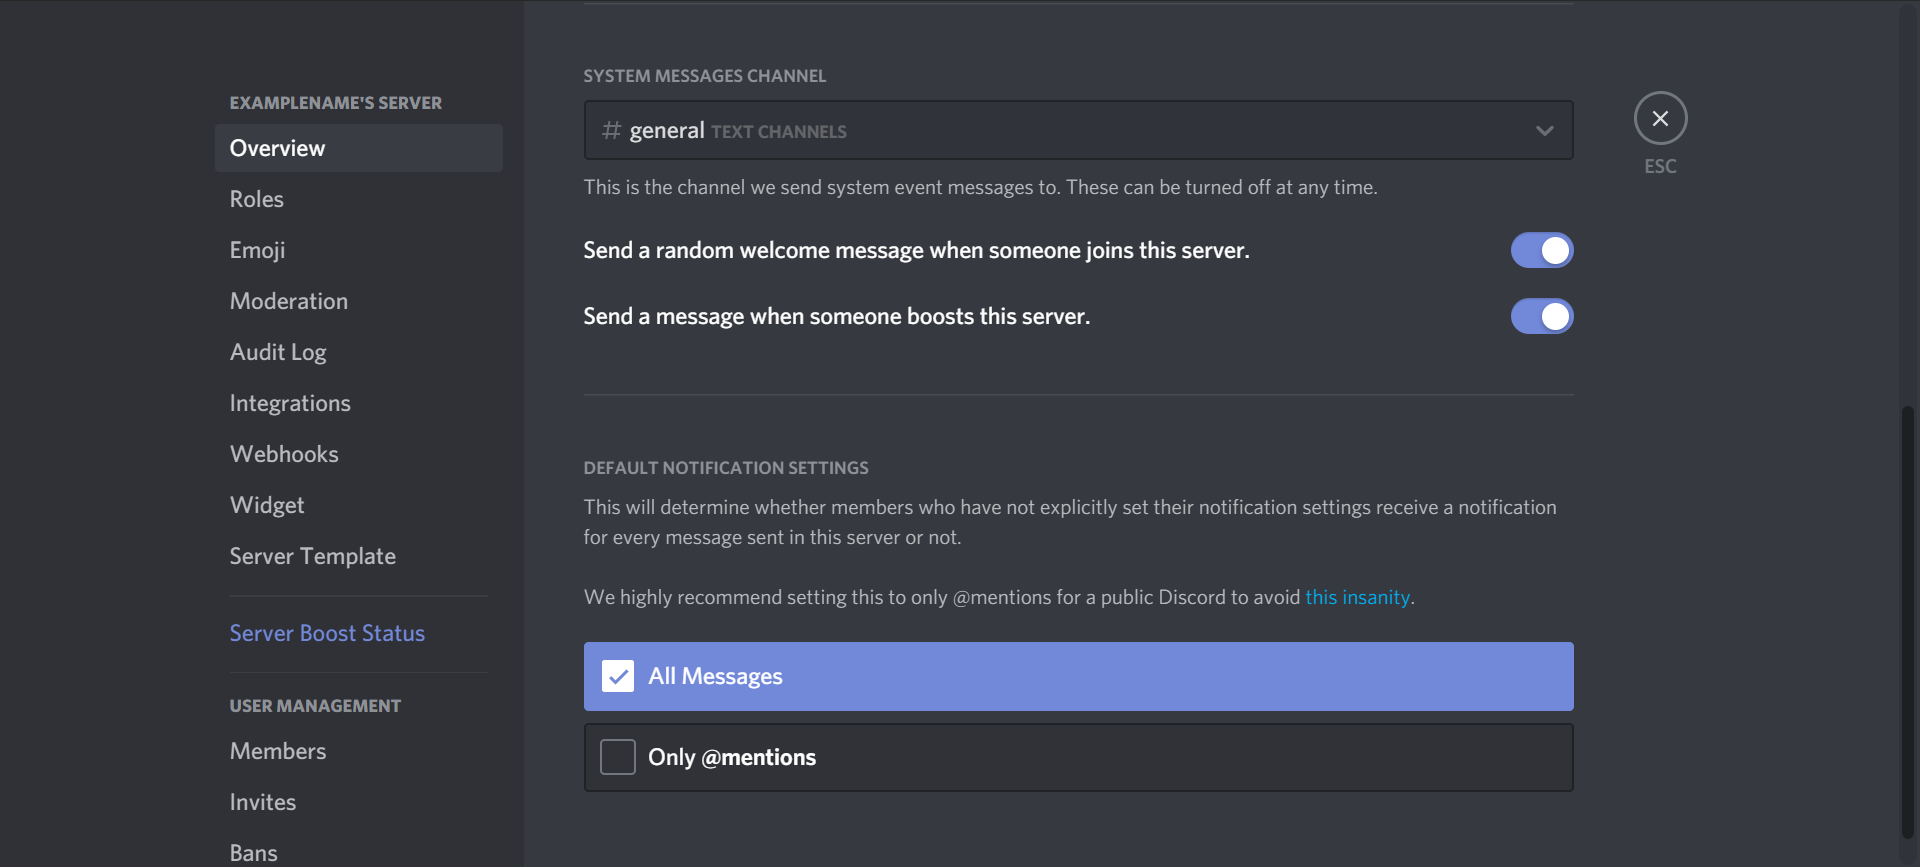
System Messages Channel: This dropdown menu allows you to select which channel will display system messages.
Default Notification Settings: This option allows you to set the default notification settings for new users.
While there are many more ways to customize your Discord server, following these instructions will allow you to get started with Discord and start building your community quickly.