The cover image for a product is the main image of a product. This is the first image that will show on the product’s page, and it is also the image that will display in other areas of your site where products are highlighted.
Changing the main image, or cover image for a product in PrestaShop 1.5 is very simple. It is in the same section of the dashboard where you can add an image. We’ll show you how to change the cover image for a product in this tutorial.
To change the cover image for a product in PrestaShop 1.5:
- Log into your PrestaShop 1.5
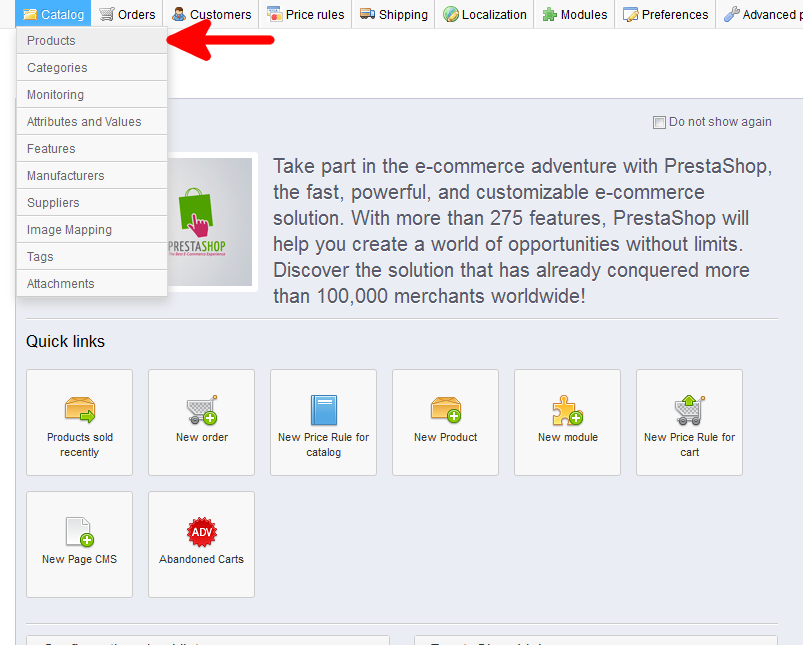
- Using the top menu bar, hover over the Catalog tab and click on the Product selection.
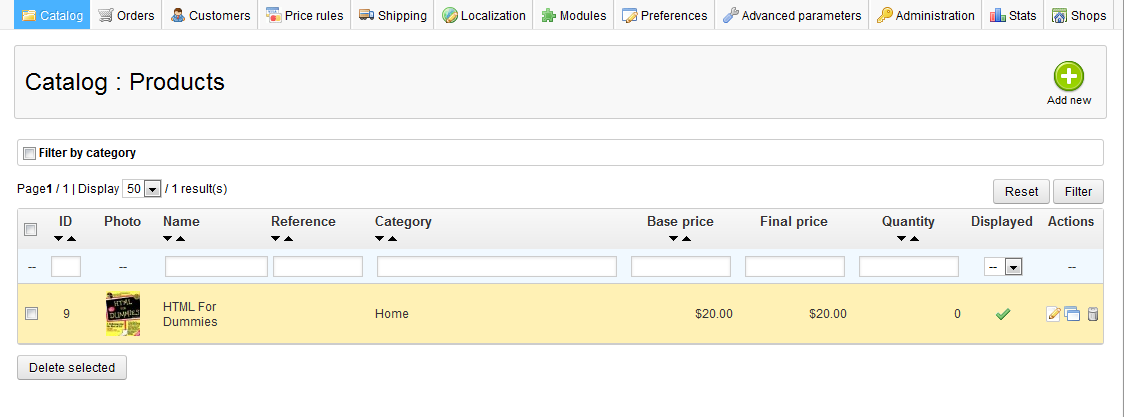
- You are now on the Catalog: Products list page. From here, select the Edit icon (it looks like paper and pencil) on the right for the product you want to edit.

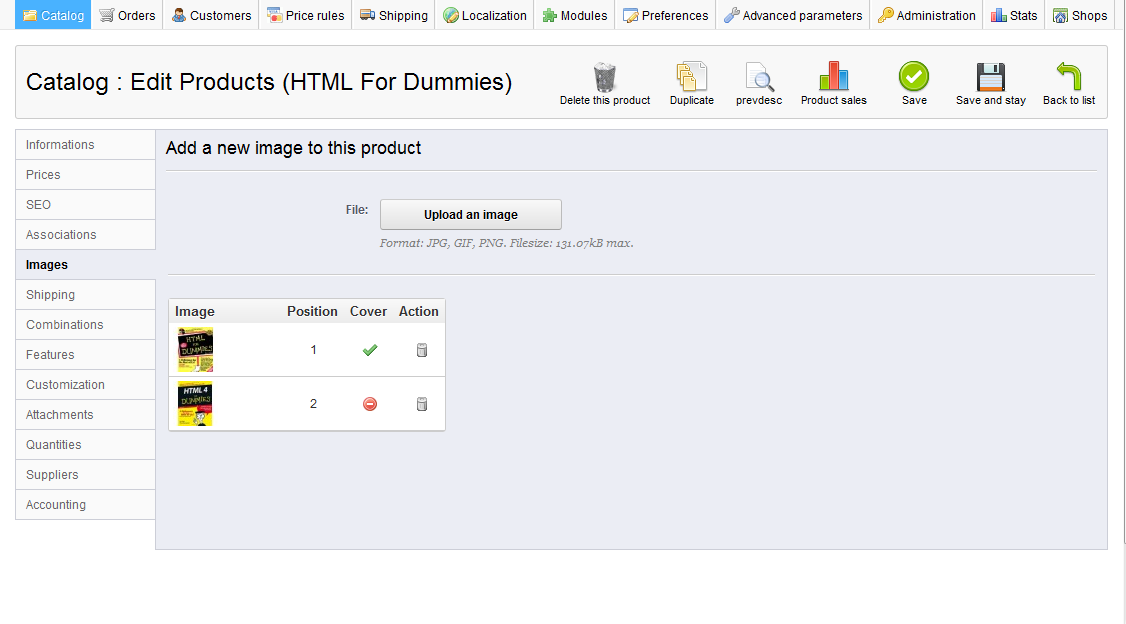
- You are now on the Catalog : Edit Products page. From here click on the Images tab on the left sidebar.
- Find the list of images at the bottom. You will notice that one image has a green check under the Cover column. That is the one that is currently selected to display on the product list. To change the cover image, find the red circle in the Cover column next to the image you want to be the new main image and click it. It will automatically become the new cover, or main image. Click on the green Save button in the upper right corner.
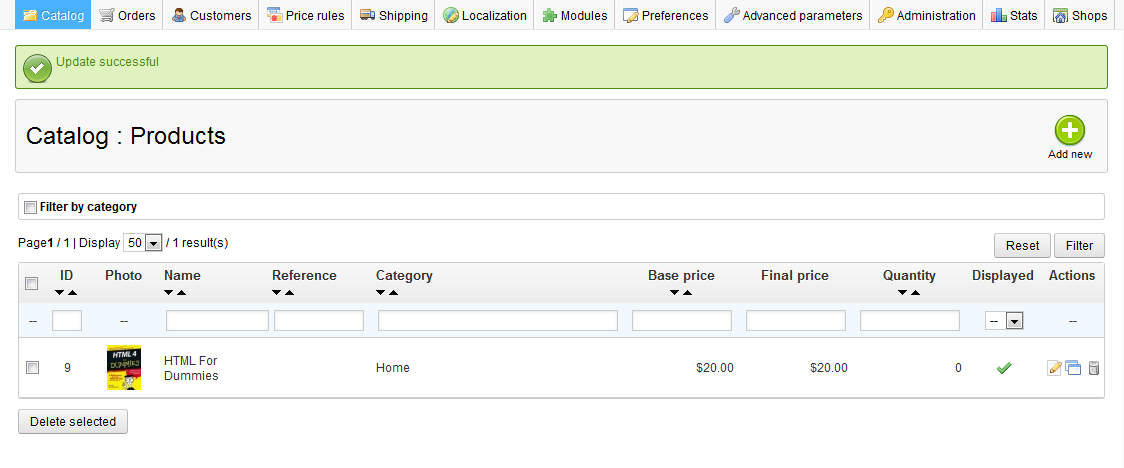
Your new main, or cover image now displays in the product list.
Before After