With online streaming becoming increasingly popular, there are now many options when it comes to streaming software. Streaming software typically involves “capturing” the contents of your computer screen and then broadcasting it to a streaming server. One of the most popular ways to do this is with Open Broadcaster Software (OBS), a free and open-source streaming and recording platform. In this article, we will outline how to install OBS and connect to your streaming server.
Topics Include:
Create a custom streaming server with one of our Dedicated Hosting plans and start streaming with OBS today!
Install OBS
- To install OBS, you will first need to go obsproject.com.
- On the homepage, select the operating system that your computer uses.
- The download should start in your browser automatically. Once that is done, run the file to begin the installation process.
- Click through the prompts to complete the installation process. When the installation has finished, launch OBS.
Connecting To Your Streaming Server
With OBS open on your desktop, you will now need to connect to your streaming server.
- On the lower right hand corner of the OBS window, click on “Settings”.
- In the Settings menu, click on Stream.
- The drop down menu on the Stream page will allow you to specify which service you are using to stream. If you are using a dedicated streaming server, you will want to select Custom. If you are using a service such as Twitch, you will want to select that option from the menu and connect your Twitch account to OBS.
- Selecting Custom will allow you to input a server IP and a stream key. The server IP will simply be the IP address of your server.
*Depending on which software you are using on your streaming server, you may need to use a specific port and stream key.* - Once you have entered the correct information, click Apply to confirm the changes.
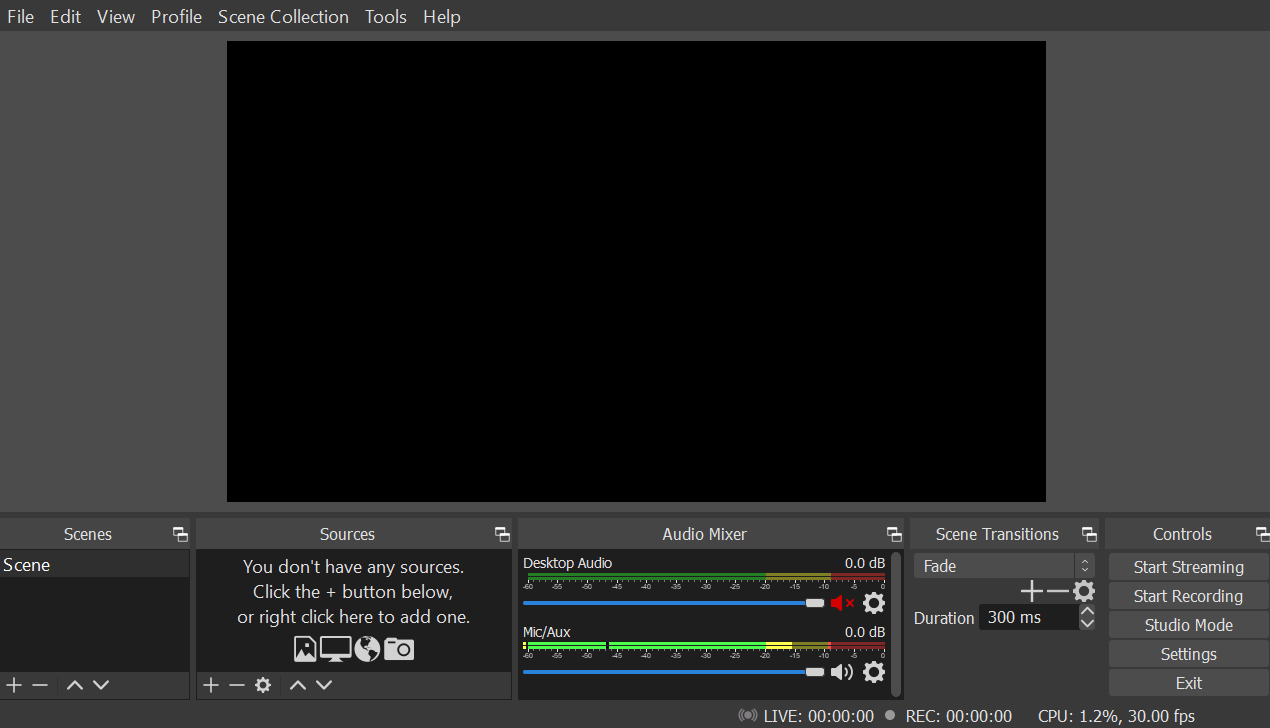
Capturing with OBS
- Now that you have connected to your streaming server, you will next need to add a Capture Source. In this example, we will use OBS to capture the computer desktop screen.
- To add a source, click the + sign under the Sources box. From the menu, select Display Capture. This will add the desktop display as a source for capturing. You should see your desktop displayed in the OBS preview window. This means you are now successfully capturing your desktop screen.
- Once you have started capturing your screen. You can press Start Streaming in the bottom right-hand corner to begin broadcasting your screen capture to your streaming server. If the stream is working, you will see the timer next to Live start to tick along. This represents how long your stream has been active. Once you are done streaming, you can click Stop Streaming to stop broadcasting your screen capture.
Congratulations, you are now set up for streaming with OBS!