
Platform InMotion’s managed WordPress plans include a set number of playground environments. The number of playground environments that you have depends on your specific plan, but you can always add on more if necessary. In this guide, we’ll explain what Playground Sites are and how to use them.
- What Are Playground Sites?
- Creating a New Playground Site
- How to Manage a Playground Site
- How to Delete an Environment
- Purchase Additional Playground Environments
What Are Playground Sites?
Playgrounds are temporary WordPress websites that are hosted in a shared environment. When they are created, they come with WordPress pre-installed on a randomly-generated URL. Although you cannot use SSH access with Playgrounds, you can use the File & Databased Manager available in Platform InMotion.
Each Project can have multiple Playground environments that can be used to build separate WordPress sites. For example, you could have a Project called “John’s eCommerce site” and within that project there could be 3 separate Playground site environments.
Playgrounds don’t have as much performance or customization available as the UltraStack VPS, but they can be quite useful as a part of your workflow. Playgrounds can be used to try new plugins or themes, test new updates to WordPress, collaborate on new designs, or host a copy of your production environment. Playgrounds are meant for temporary, non-production use.
Creating a New Playground Environment
- Login to Platform InMotion.
- Roll your mouse over the project you want to manage and click on its card.
- Scroll to the Playground Sites section and click Add Playground.
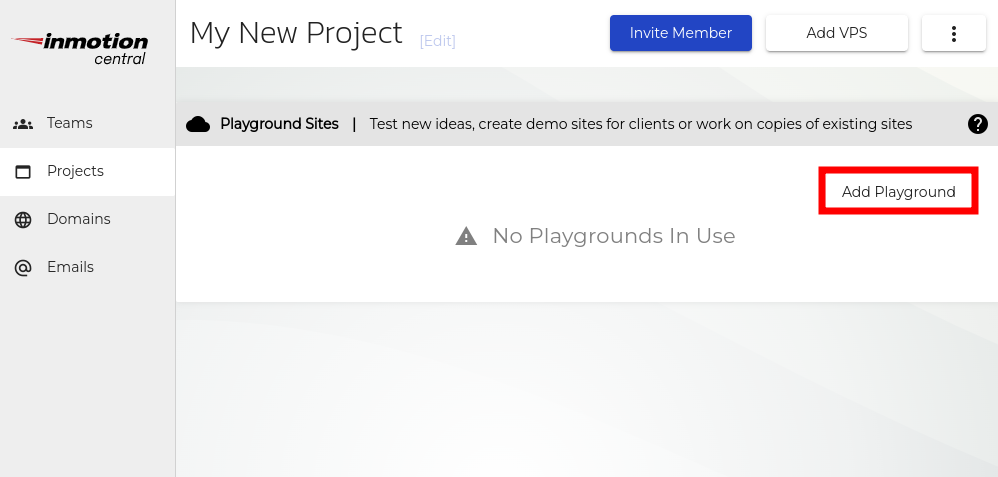
- After a moment, your new Playground will be visible in the list.
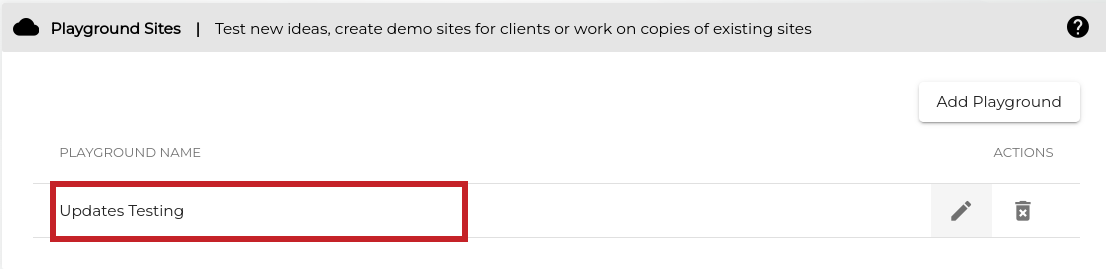
- Click the pencil icon to Edit the Playground Name if desired.
- Click on the Playground Name to manage your new Playground.
How to Manage Your Playground Site
- Log in to Platform InMotion.
- Click on the Project you’d like to manage.
- Click on the Playground Name from the list of Playground Sites.
- From the Playground dashboard, you can manage your plugins and theme, log into the WordPress Dashboard, and more.
How to Delete an Playground Site
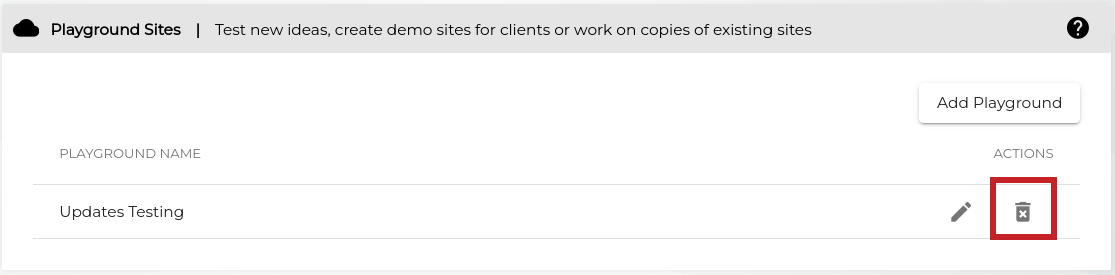
- Select the Project you’d like to manage and scroll to the Playground Sites card.
- Click the trash can icon to proceed with the Delete action.
- You will see a confirmation message asking if you want to permanently delete the environment. Enter the name of the environment and the Delete button will light up.
- Click the Delete button. You are finished when you see a “Delete Successful” message.
Purchase Additional Playground Sites
When you run out of available playground environments for a team or project, you can purchase them in packs of 5, 10, and 15 inside of Platform InMotion.
- If you run out of playgrounds, you’ll be prompted to purchase additional ones when you click Add Playground in your project.
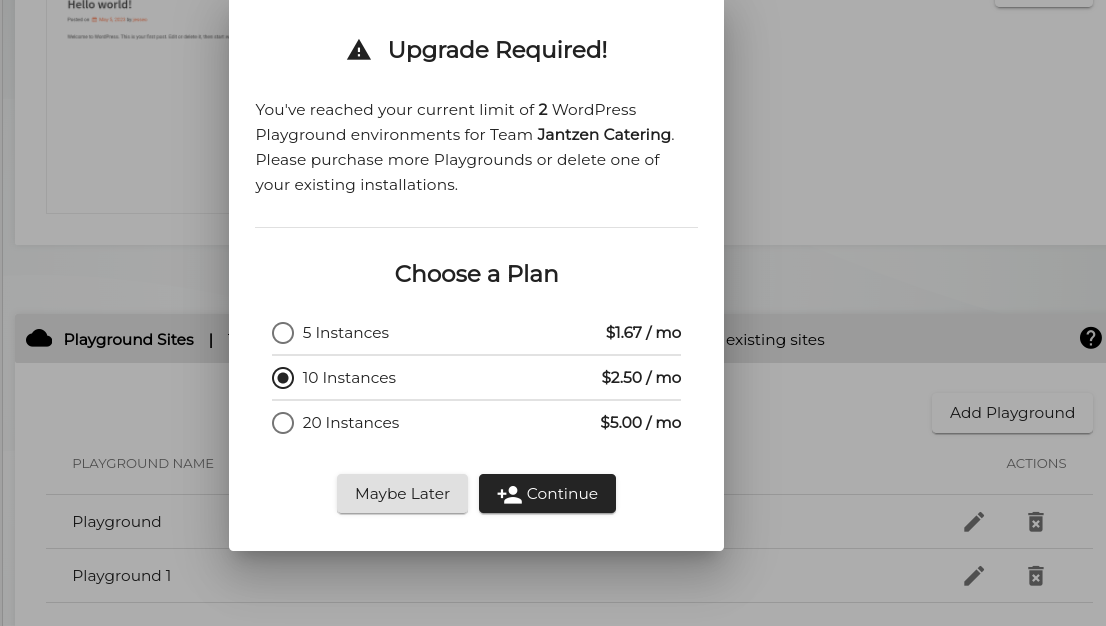
- You can then select how many playground environment instances you want to purchase. Options are 5, 10, and 20 instances.
- Click the Continue button.
- You will then be taken to a checkout page. If you already have a credit card in your account you can select it, or enter your a new billing address and credit card details.
- Select your renewal period, options are Yearly or Monthly.
- Agree to the terms of service, and click Submit Order. You are finished when you see a “Purchase Complete” message. You can scroll down to view the invoice or click the My Purchases link to view all of your receipts.
Congratulations, now you know how to use Playground Environments with Platform InMotion.