Using receipts with Sprout Invoices is important because it provides a way to track the expenses that are accumulated in the life of a project. Expenses for services, supplies or other random costs are kept organized through Sprout Invoices using projects.
Each expense can generate an invoice for a project with paper receipts digitized and attached to each expense entry. Using digitized copies of receipts helps to provide a clearer understanding of the expenses of a project while minimizing the possibility of losing a receipt and retaining an annoying paper trail.
What’s the difference between a receipt and an invoice? A receipt is the record of a transaction – generally a payment or refund. An invoice is a request for payment that can be paid in a period of time and may include other stipulations for payment. Receipts are also issued at the time of the transaction. An invoice is typically issued after goods or services have been rendered but before payment has been received.
Adding Expenses to a Project
Before you can add an expense to a project, the project must exist. You can learn how to create projects by going to How to Create a Project in Sprout Invoices.
- Log in to the WordPress Dashboard, then go to Invoices in the main menu.
- This will open the submenu for Sprout Invoices and you will see Projects. Click on Projects to see the projects that have been created.
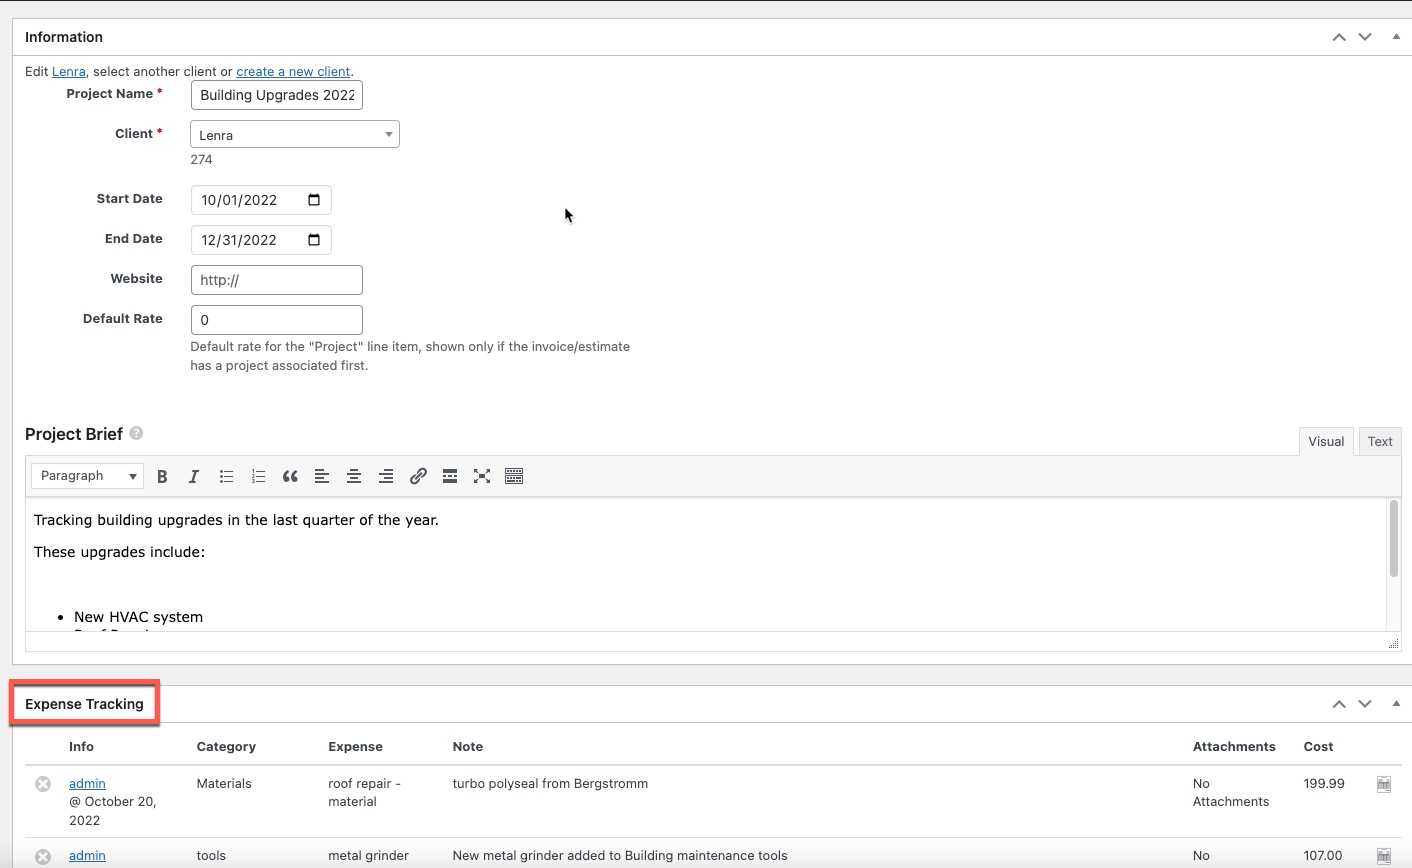
- Click on the project where you want to add the expense. Scroll down the project until you find Expense Tracking.

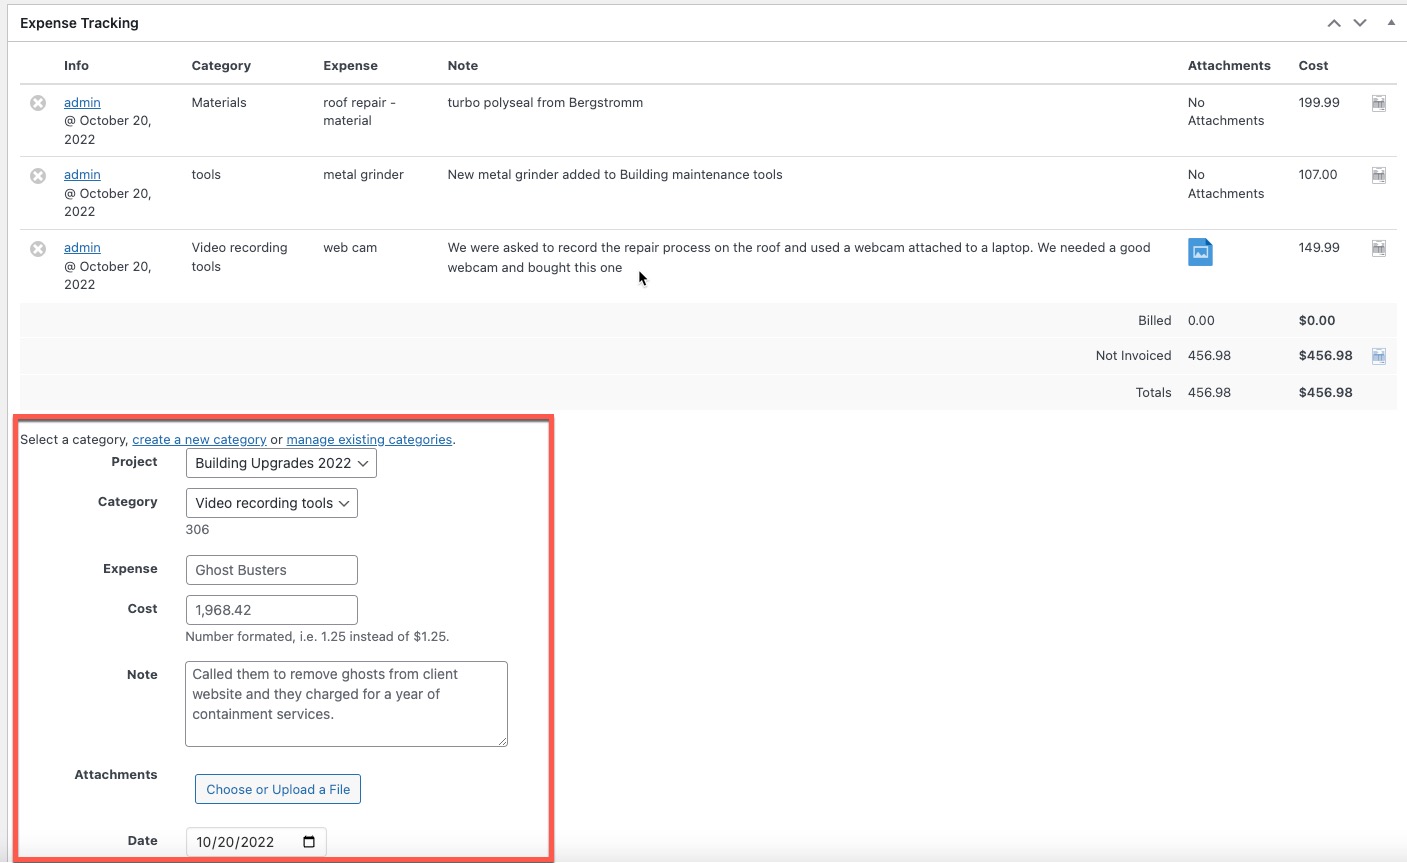
- In the Expense Tracking section, you will see the added expenses in a table at the top. The area for entering expenses will be immediately below it.

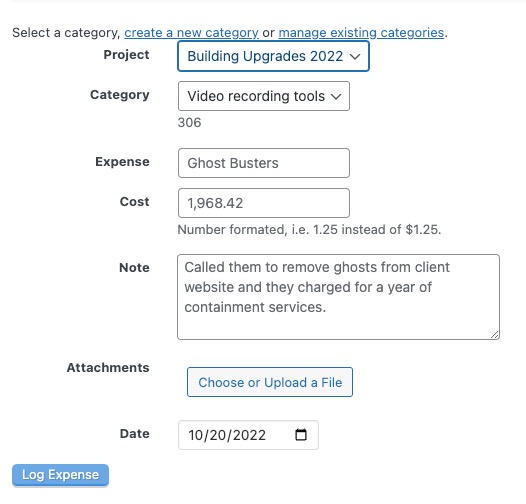
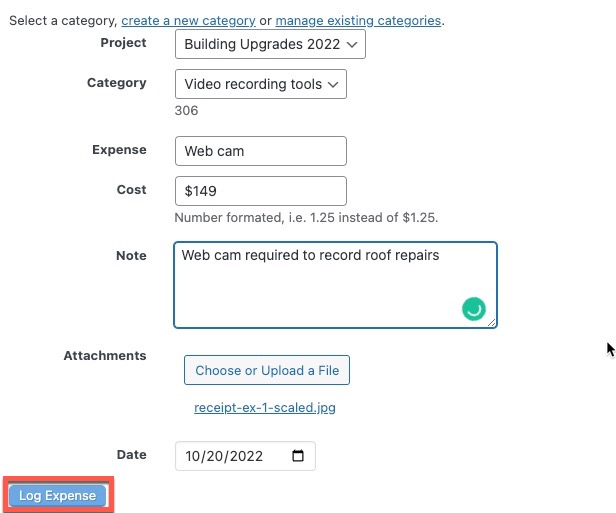
Expenses can be categorized. To create a new category, click on the link labeled Create New Category at the top of the expense entry section. There is also a Manage Existing Categories link that will let you remove or add categories. Add a category if needed, then enter your expense.
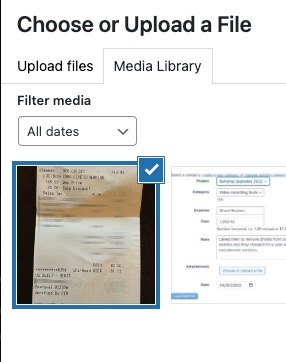
Note the filler text in the fields. When you click in the field, the filler text will remain until you enter your own data. - Note that expense entry includes a category, cost, note field, attachments, and date. Use the Attachments option to add a digital copy of the receipt for the expense. With the availability of smartphones to take high-quality photos make sure that copies of the receipt are made to add to the project in Sprout Invoices. To add the receipt, click on Choose or Upload a File.

- When all of the fields have been filled with relevant information for the expense, click on the button labeled Log Expense.

When the expense is added, you will see the information added in the table at the top.

Generating Invoices from Expenses
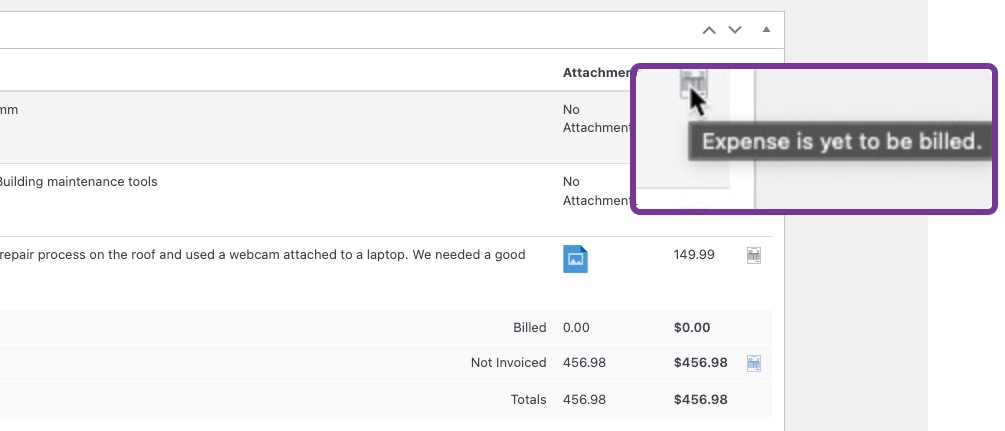
Expenses can also be used to generate invoices for your customer. When you look at the table of expenses in your project, you can hover over the icon at the end of the table to see the status of that expense.
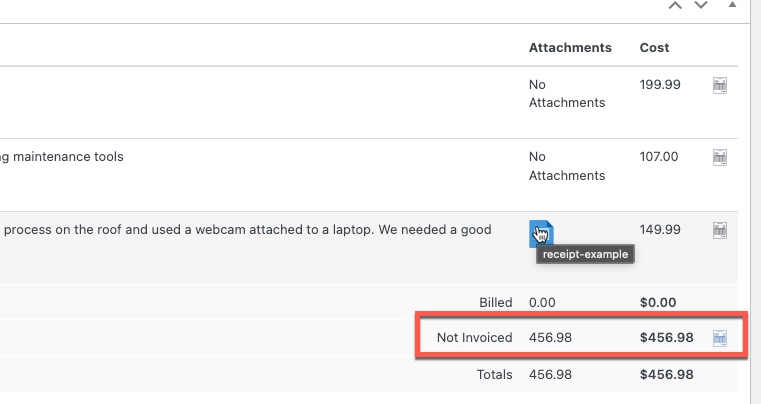
The invoice that can be generated from the expenses will be a summary of the expenses that have not been invoiced. In the screenshot, you can see the line labeled Not Invoiced and a blue icon to the right of the subtotal.
To generate a new invoice covering these expenses, simply click on the blue icon and the invoice will be created.
Using Sprout Invoices to track expenses and store receipts will help you keep accurate records of your projects. You can also generate invoices for your expenses to help keep your project costs transparent and paid in a timely manner.
