Reseller Advantage is end of life and no longer part of our product offerings. However, if you're a Reseller Advantage customer, the below information should still assist you with your account. Interested in reselling? Consider our brand new Reseller Hosting plans powered by NVMe SSD.
In this tutorial we will show you how to add Authorize.net as a payment gateway. This will allow you to process payments using their popular service.
**Note: You will need an Authorize.net account to complete this guide
Adding Authorize.net
- Log into WHMCS.
 Roll your mouse over Setup, then Payments and click the Payment Gateways option.
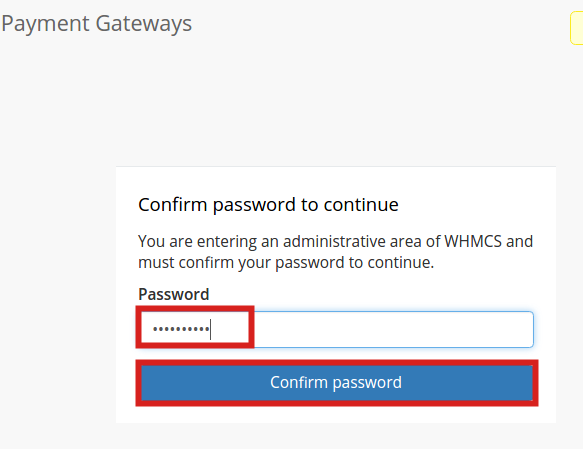 Enter your WHMCS password and click Confirm password to access the Payment Gateways page.
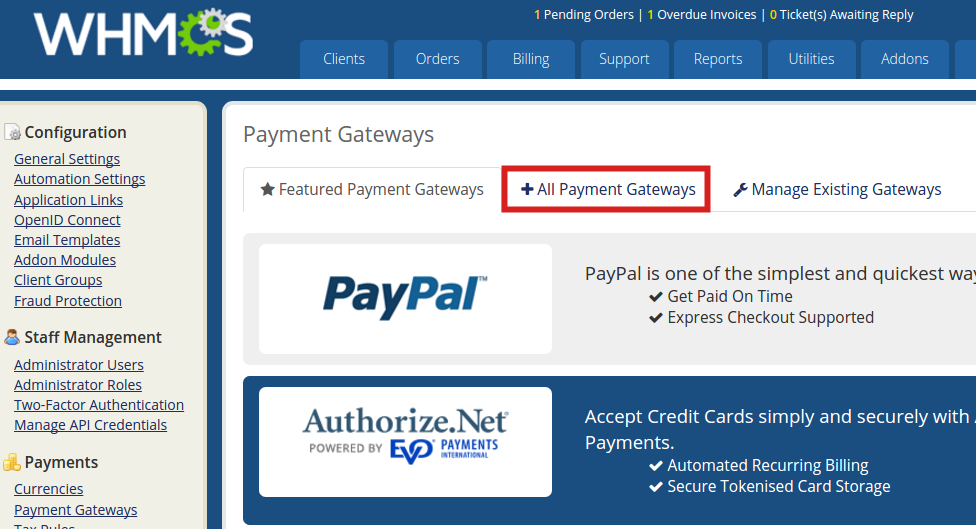 Click the All Payment Gateways tab on the Payment Gateways page.
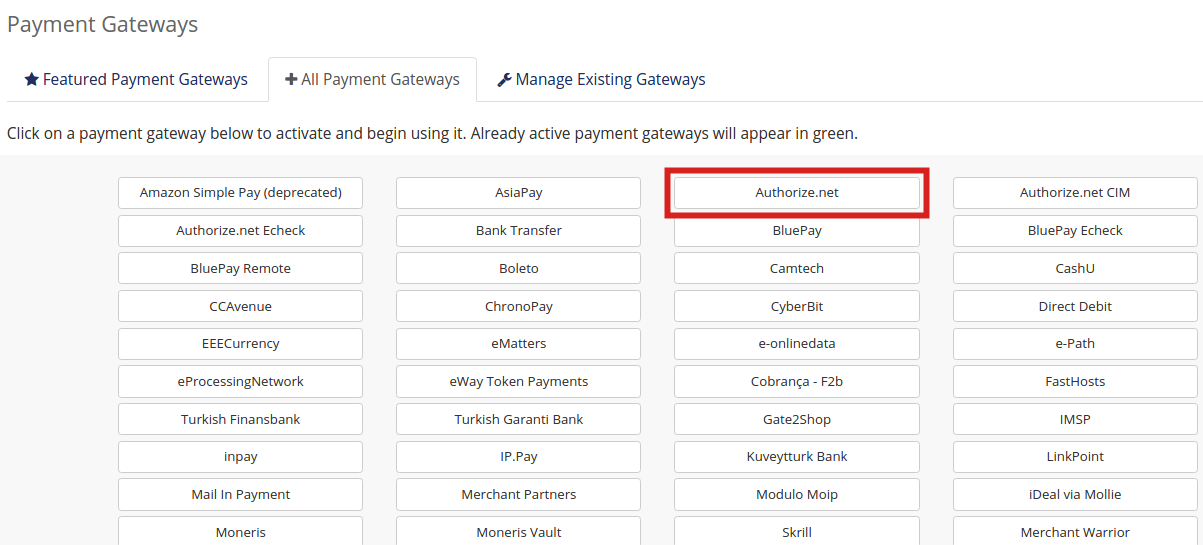 Click the Authorize.net button.
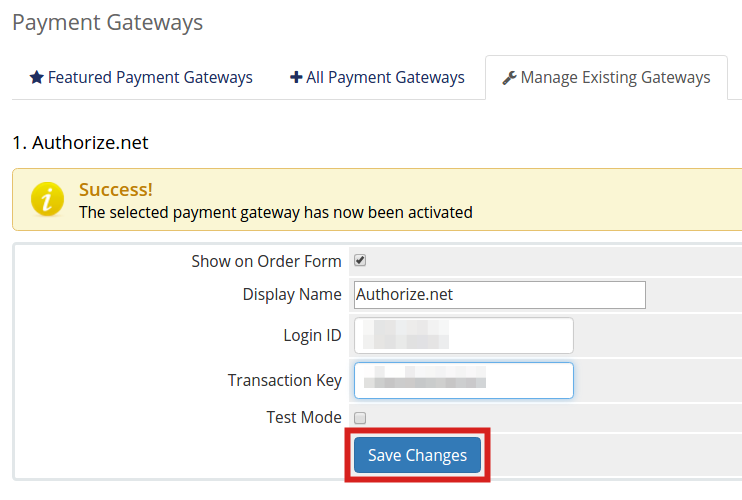 You will see a “Success! The selected payment gateway has now been activated” message. Enter your Authorize.net Login ID and Transaction Key, then click the Save Changes button.


Congratulations, now you know how to setup your Reseller account to accept payments via Authorize.net!