Before we tackle the question of disabling the cPanel in a Dedicated Hosting Server, we need to explain the basic model of the web service solution. The acronym, LAMP, is given to the model and it stands for Linux operating system, Apache HTTP Server, MySQL relational database management system, and the PHP programming language. It is often described as a “web stack” or “LAMP stack.” cPanel was written to provide an interface for the typical web server user.
In the process of doing this, the Linux operating system (CENTOS) and the other components of the LAMP stack have been modified to work with cPanel to provide a user-friendly interface. By their own documentation, once cPanel is installed, it is not easily removed.
Can cPanel be Disabled from a Dedicated Hosting server?
The quick answer is, “yes”. However removing cPanel and using the existing Apache, MySQL, and PHP services will only cause problems. This is because the existing components of the LAMP stack were tailored to work specifically with cPanel. It is definitely possible to use other operating systems or to use a version of CENTOS that does not have any cPanel dependencies.
You would need to contact our Managed Hosting team for assistance with that process. The server would need to be re-installed with the other operating system. This change can also be made with VPS servers upon request.
Be aware that using different operating systems or customizing the server in this way will limit the available support options for the dedicated server account. Servers modified in this way can be provided hardware support, but if there are issues with the software, then technical support would only be able to restart the server.
Enabling or Disabling the Features of cPanel
cPanel features can also be enabled or disabled through the Web Host Manager (WHM). You will need to have root access to a VPS or Dedicated Hosting account in order to make these changes.
Steps to Enable or Disable cPanel Features
- Log in to WHM as Root.
- Click in the search field in the top left corner and type Feature.
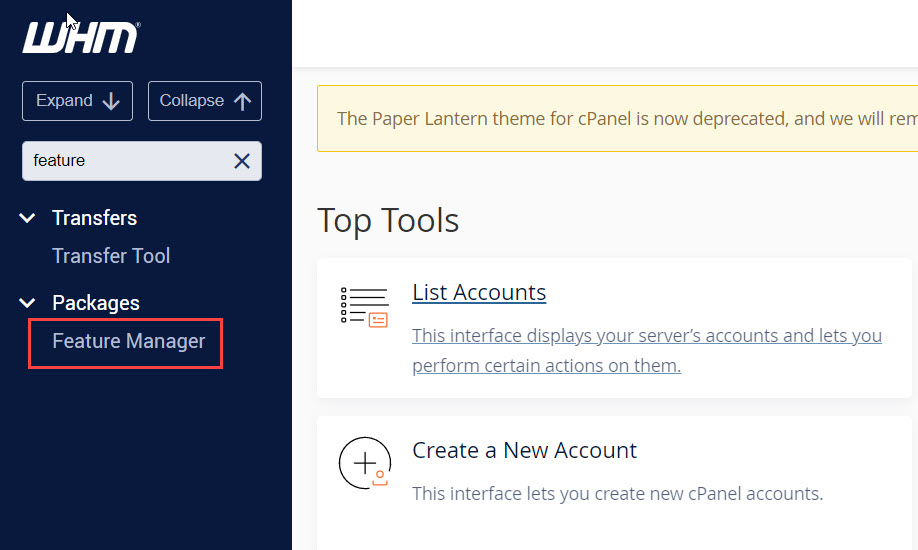
- Click on Feature Manager and you will be taken to the Feature Manager page. There are 3 default feature lists. You can create a new one, or edit one of the existing ones.
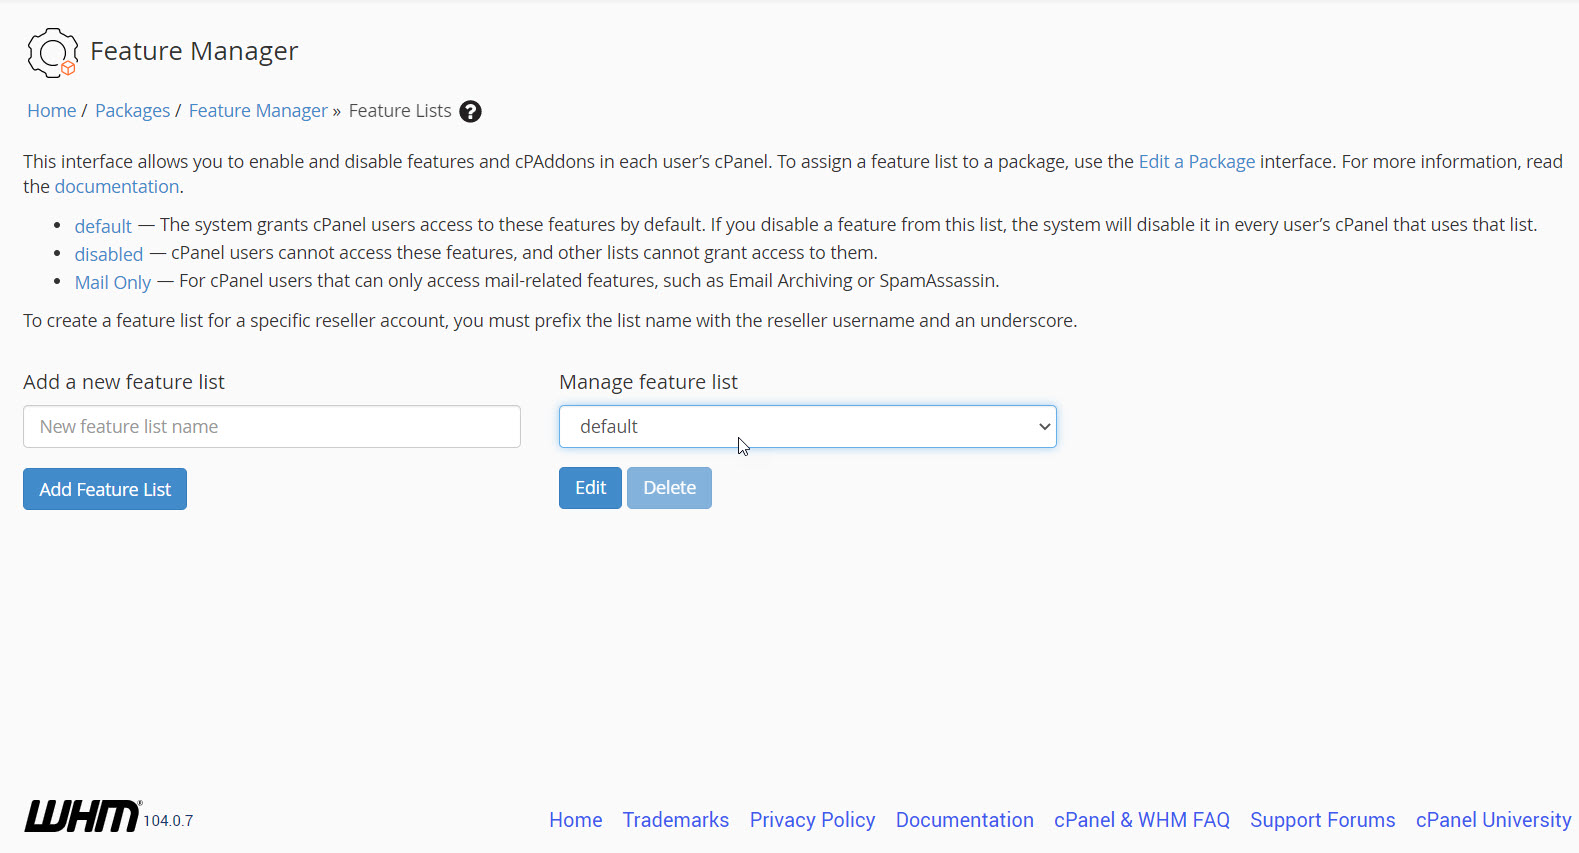
- The Add option is on the left and the Edit option is on the right. You can select a feature list to edit by clicking on the drop-down arrow. Once you have selected a feature list, you can click on Edit. This is an example of the feature list that you’ll see:
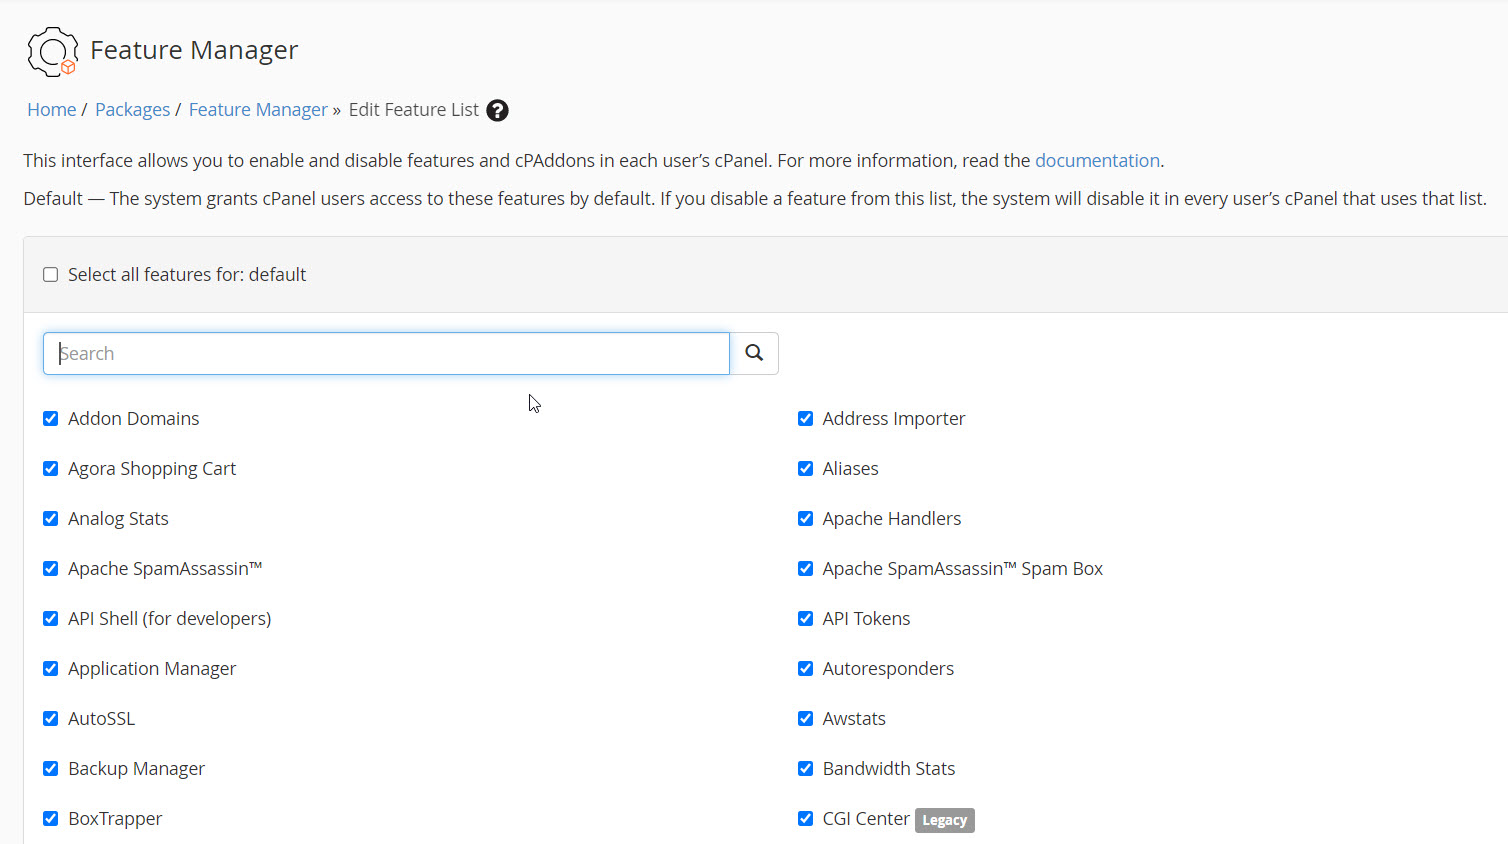
Here you can enable or disable a feature by clicking on the checkbox. - Once you’re done editing or adding a feature list, scroll all the way down and click on the blue SAVE button.
Please see our knowledge base to learn more about Dedicated Hosting with InMotion Hosting.
Scale your business with high-performance dedicated hosting. Choose from Managed Dedicated Servers powered by cPanel, or select a Bare Metal Server for complete server control via the command line.
![]() DDoS Protection
DDoS Protection ![]() 99.99% Uptime
99.99% Uptime ![]() Software RAID
Software RAID ![]() New Customer Discounts
New Customer Discounts