After enabling BoxTrapper you may want to configure your BoxTrapper settings. This includes adding forwarding addresses, enabling automatic whitelisting, and setting how long to keep logs and messages in queue among other settings. This ensures you are getting the most out of your Boxtrapper tool and valid emails are not being blocked.
Configure BoxTrapper
- Log into your cPanel.
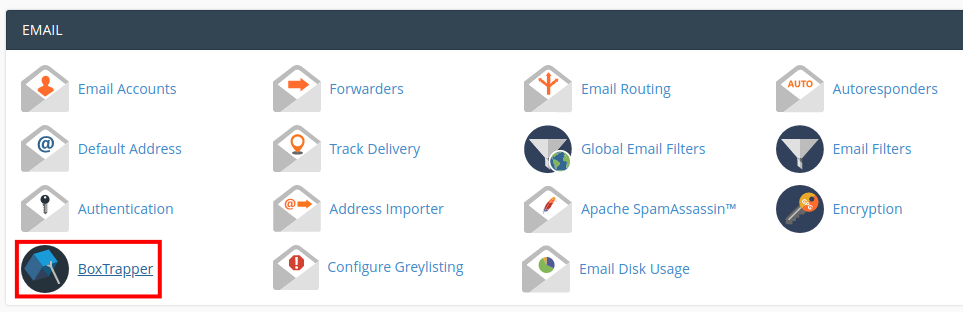 Click the BoxTrapper link in the Email section.
 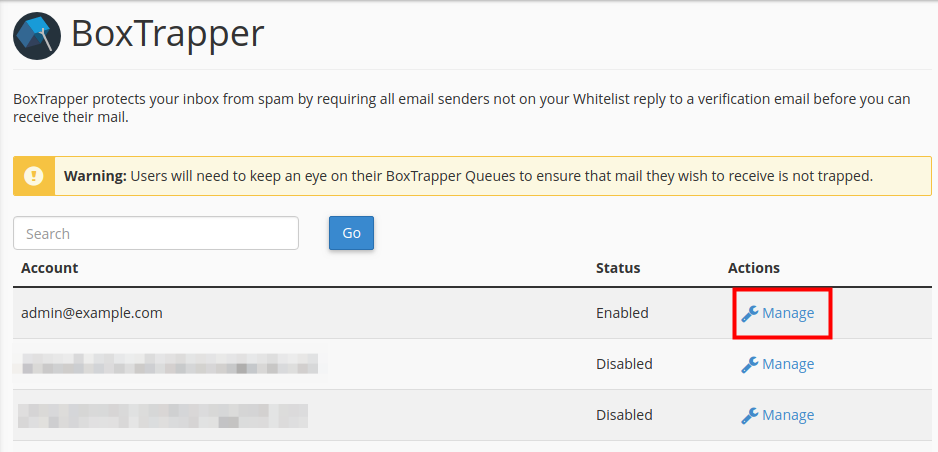 You will see all of your email accounts listed. Click the Manage button next to the address you want to configure.
 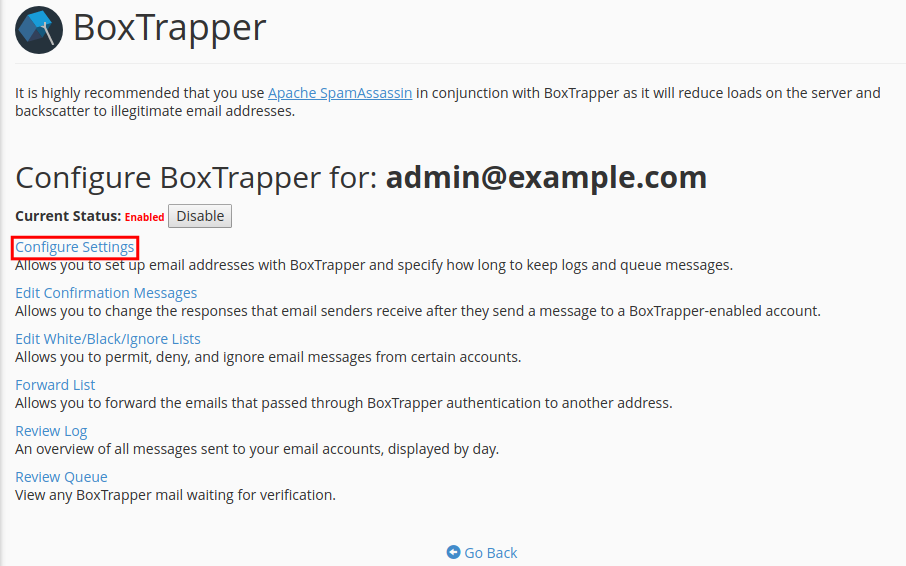 Click the Configure Settings link on the BoxTrappper configuration page.
 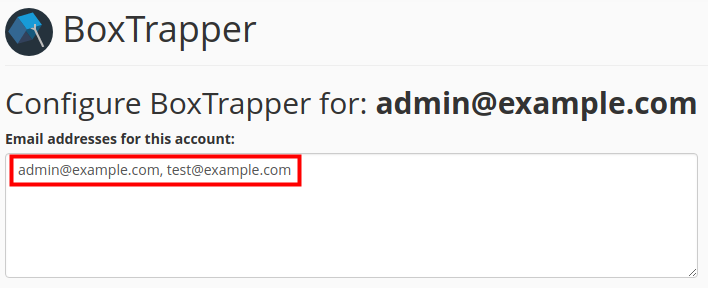 In the “Email addresses for this account” section enter any addresses that forward to this address. Separate them with a comma.
  Enter your name in the “Your Name” section.
  Next enter “The number of days that you wish to keep logs and messages in the queue.” The default setting is 15 days.
  Set the “Minimum Apache SpamAssassin Spam Score required to bypass BoxTrapper.”When BoxTrapper receives an email with a spam score that is lower than the Minimum SpamAssassin Spam Score required to bypass BoxTrapper value, it automatically delivers the message. The default value for this option is -2.5 as per cPanel.
 Check the box if you want to “Enable Automatic Whitelisting.”This will cause BoxTrapper to whitelist any email address you send to.
 Select if you want to “Automatically whitelist the To and From lines from whitelisted senders (whitelist by association).”
  Click the Save button.
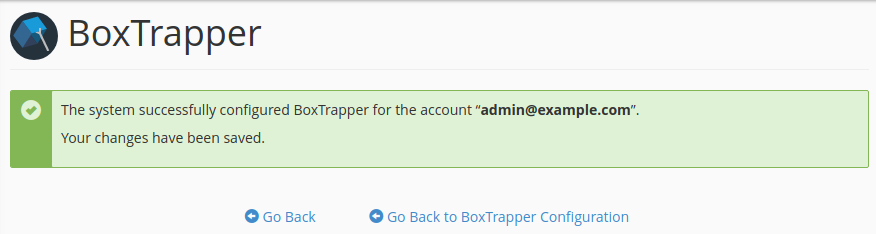 You are finished when you see a message stating “The system successfully configured BoxTrapper for the account… Your changes have been saved.”


Congratulations, now you know how to configure your BoxTrapper settings in cPanel!