Workflow File format Image size Watermarking Uploading
The most important thing that you as a photographer are going to want out of a website is its ability to showcase your images. The main problem is that the image produced by modern digital cameras are very large. This is important because, the larger the file, the longer it will take to load on a website. Speed is king in the world of the internet. Images can be the main factor in making your website a wonder to behold, or an experience not worth waiting for.
The following article is a primer for photographers new to creating websites. It discusses some of the concerns that a photographer will face when showing their digitized images on a website. We will explain the steps involved in moving images from a camera to a computer, and then to a website.
What do you need to do in order to get your images from your camera to the website?
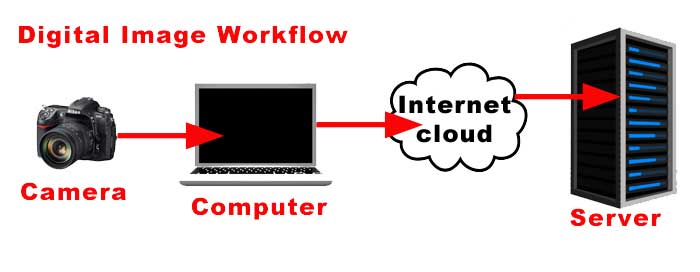
Develop a workflow that brings the images from the camera to the computer. A workflow is simply a sequence of events that you use to accomplish a task. Like any business, time is a crucial factor in photography. If you have a well-planned routine for moving your images to your website, then you will save yourself a lot of time and frustration. Let’s consider the cases that you may face in moving your images from camera to computer:
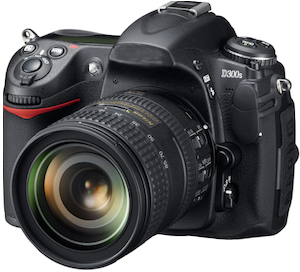
If you’re using a digital camera:
- You can connect the computer directly to the camera using a specific cable
- You can connect the camera directly to the computer via a wireless network
- Obtain the pictures from the memory card in your digital camera
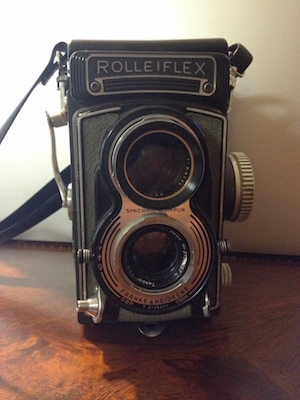
If you’re using a film camera:
- Develop your film
- Digitize the photograph with a scanner or through a service
I know we have skipped many things like selecting the pictures, working with a scanner to digitize photos, touching up images for display on the web, etc. The exact process of getting the picture to your computer can widely vary based on the equipment that you have available. However, the goal is to identify how to get your image in a digital format that you can use on the web. The overall workflow that you develop will include the physical process of moving the images, the naming and sizing of the images, watermarking your images, and uploading them to your website.
Digital File Formats
Another major factor that you will need to plan is the format of the image file that you are using. There are many file formats that can be used, but the main formats we will focus upon are RAW, JPEG, and PNG.
RAW file formats
The RAW file format is often called the digital negative. This format is not suited for displaying an image on the web. It is often a very large file because it contains as much information as the digital camera can place into an image. This image information allows photographers to make wide changes to the image if necessary. Like film negatives, you can produce different images such as enlargements or specifically color-processed images using the RAW file.
If you are photographer who is shooting with RAW, make sure that you convert the images to either a JPEG or PNG format before you finalize the image for your website. For information on RAW images, check out Adobe Photoshop help/ Camera Raw. This reference will give you a more in-depth and technical explanation of the format. It also provides a link to a utility that can convert the raw format if you need software to do that for you.
JPEG
JPEG stands for Joint Photographers Expert Group and is a compressed file format that was first released in 1992. The codec has been updated many times and is suitable for use with large images. The format is considered lossy because when the image is processed, there is some loss of information in the process. However, as this format was originally created for photographic images, it is the most widely used format to display photos.
PNG
PNG or Portable Network Graphic is one of the newer standards in graphic formats. It is a popular format as it supports a lossless data compression where image data is preserved instead of lost when an image is compressed into a smaller size.
When you are determining the format for the images you want to use, you should compare the images on the best display that you have available and then pick the one that best works for you. You will not be able to use the RAW format on the website. However, if you have the images available in RAW, don’t delete them. You can use the RAW images as backups as they can provide you different digital images (of the same image) for later use.
Image sizes and Naming Conventions
Once you have settled on a file format, you will need to decide on the image size or sizes that you will use in your website. It may be more than one size depending on how you want to display the image in the website. This will take some advance planning for your website. If you know the size(s) that you will use, the script for the conversion will be easier to create. Image sizes can also be set directly in the camera or digital scanner. Images that are optimized for website use, load much faster on your web server. The faster your images load, the better your website performance. This results in a more enjoyable experience for your website viewers.
A naming convention is a pre-determined format for the name of the image that you are developing for your website. If you are regularly dealing with hundreds (if not thousands) of photographs, then having a naming convention will help save your sanity. Your digital camera typically already creates a naming convention for you. You may see it like this:
DSC_001
DSC_002
Or you might see:
IMG-001
IMG-002
IMG-003
Some digital cameras even allow you to change the naming and numbering options in the camera. You should use a naming convention that will help you to quickly identify and move your images as needed. If you’re dealing with a few relative images, then naming the images with a new unique name will not be a problem.
Watermarking your images
One of the main concerns that photographers have are the security of their images on the web. The main way to make sure that your images are identified is to use a watermark. One of the common practices is to make an easily identifiable logo and then also embed another less visible mark somewhere in the image. If you do add a watermark, make sure that it is consistent and identifiable.
cPanel also provides the option of using hotlink protection with cPanel. This allows you to restrict people from linking to images from another website.
A good rule of thumb for images on the internet is, “If you publish it on the internet then anyone who can see it can copy it.” So, if you don’t want a specific image to be copied, then use a smaller or altered version that is watermarked.
Application/scripts for Image Processing
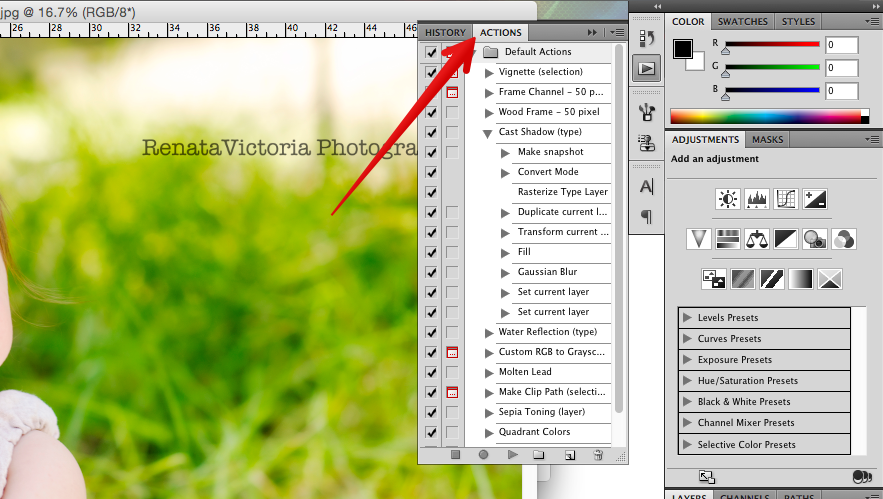
Automated scripts are invaluable tools when used for image processing. Scripts can save time and effort when working with large numbers of images. A graphics program like GIMP is an example of a program where scripts can be created. Other graphics programs, such as Adobe Photoshop make it easy to automate the process of naming, sizing, and even watermarking your images by providing a simple graphical interface to record your actions.
InMotion Hosting servers also provide a graphic tool called ImageMagick. This tool can be used to script image changes directly in your website. However, it is in your best interest to process your images before they are placed on the website. Keeping any image processing off of the web server helps to optimize the performance of the web server.
Image Backups
Once you have completed processing your images, you should take a little time to create a backup of the final images. If you’re shooting in RAW, make sure that your backups include the RAW files. It is highly recommended that you use either a backup service for your backups or at least a separate hard drive. As time passes you will find that storing and backing up your pictures will consume a large amount of storage space. If you’re working in film, make sure that you save the final negatives and the initial scanned pictures.
Uploading your Images
The final step in your image processing workflow will be uploading the images to the website. The final image location may vary depending on how the website was constructed or the application used for the website. If your website was constructed using WordPress (version 3.5.1 and up), there is a very convenient option that allows you to select multiple media files and then simply drag-and-drop them into the media library.
If you are working with only a few images, you can use the cPanel File Manager to move the images onto the server. You can also use your favorite FTP client to move large numbers of files into the correct directory on your web server.
We hope that this article helps you understand the workflow involved in processing your images for your website. Creating a well thought out plan for your website images will not only benefit your initial website, but any changes that you make to your website (or other websites) in the future.