In this article, we will introduce you to the Unobtrusive Design Studio WordPress theme by Template Monster and teach you how to fully configure it on your WordPress site. This theme is excellent for any design portfolio and is extremely extensive.
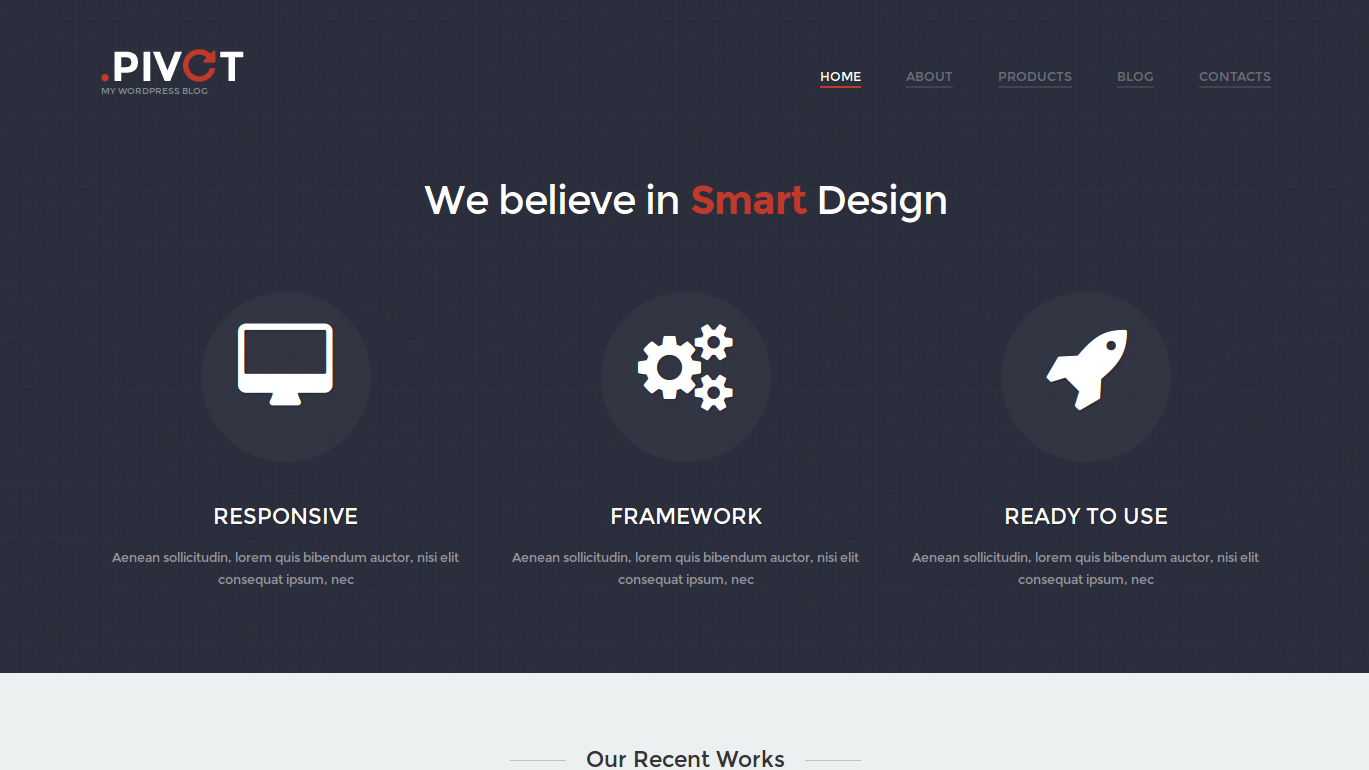
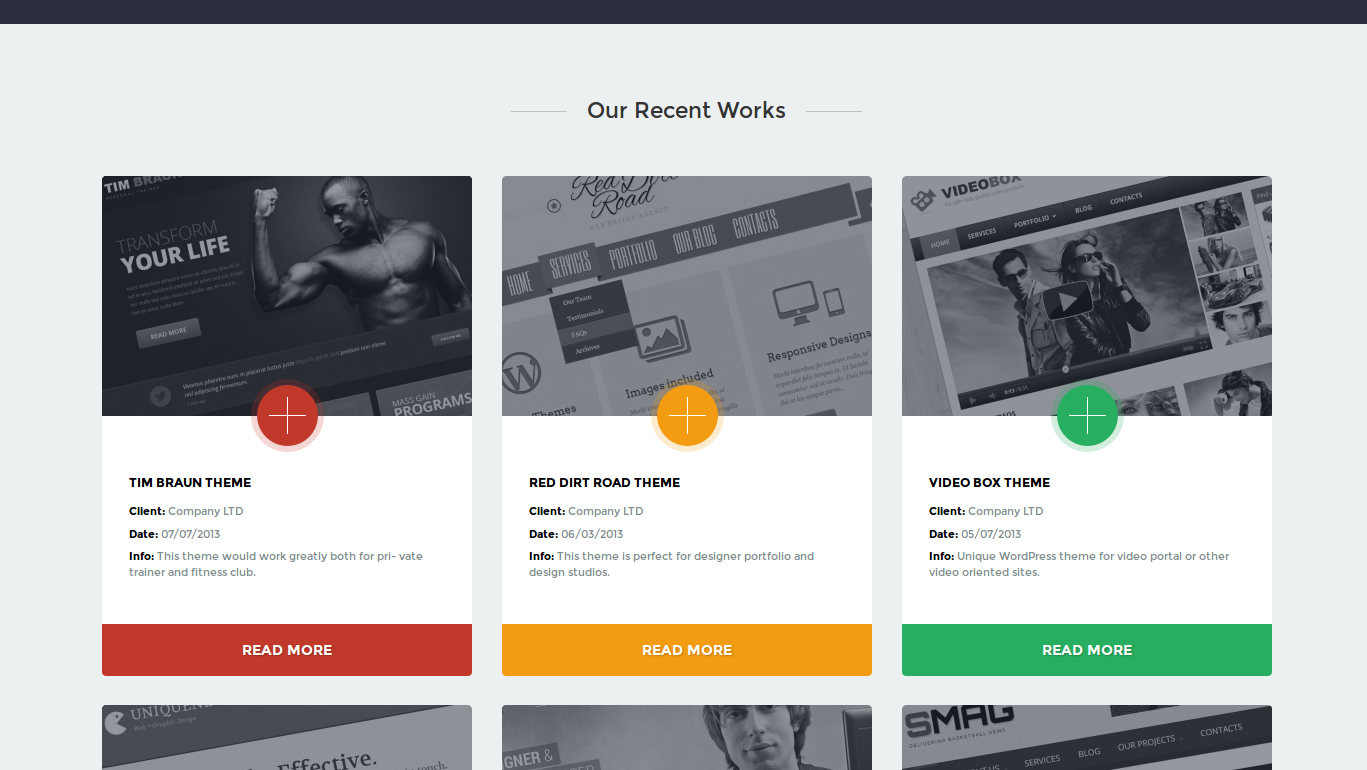
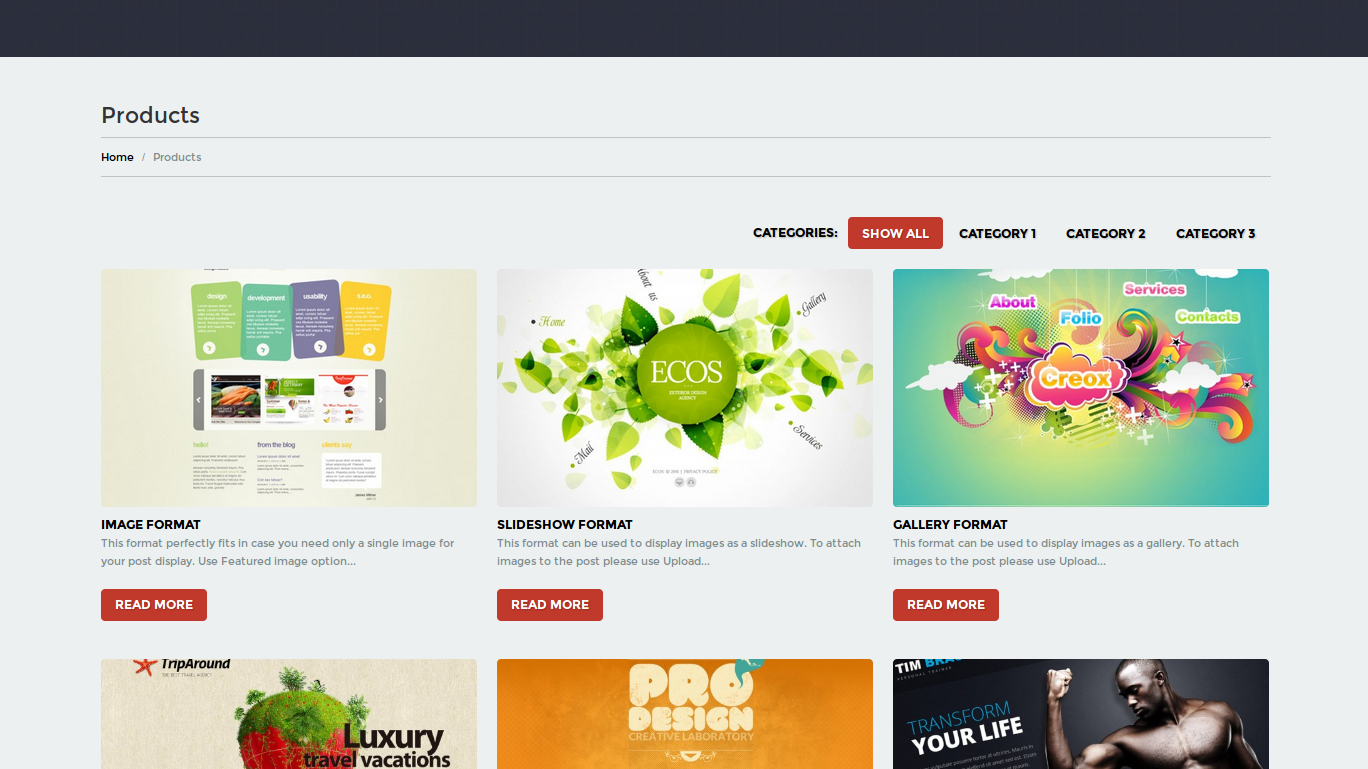
What it looks like
Downloading and installing the Unobtrusive Design Studio theme
- First, you will need to purchase and download your theme file from Template Monster. If you have not already purchased your theme from them, you may do so on the Unobtrusive Design Studio product page.
- Next, you will need to unzip the file that you downloaded. Be sure to extract it into a location that you can remember such as your Desktop as we will be going back to this location throughout the installation process. To extract the file on Windows, simply double-click on the zip file and press Extract.
- After all of the files are extracted you will have several folders listed. The folder that we will be using is the theme folder. The folder structure inside it will be something like this:
 manual_installsample_dataCherryFramework.ziptheme47002.zip
 - Now that you have your theme files available to you and ready to work with, log into your WordPress dashboard.
Once in your WordPress dashboard, look over to the left menu bard and click on Appearance, then Themes.

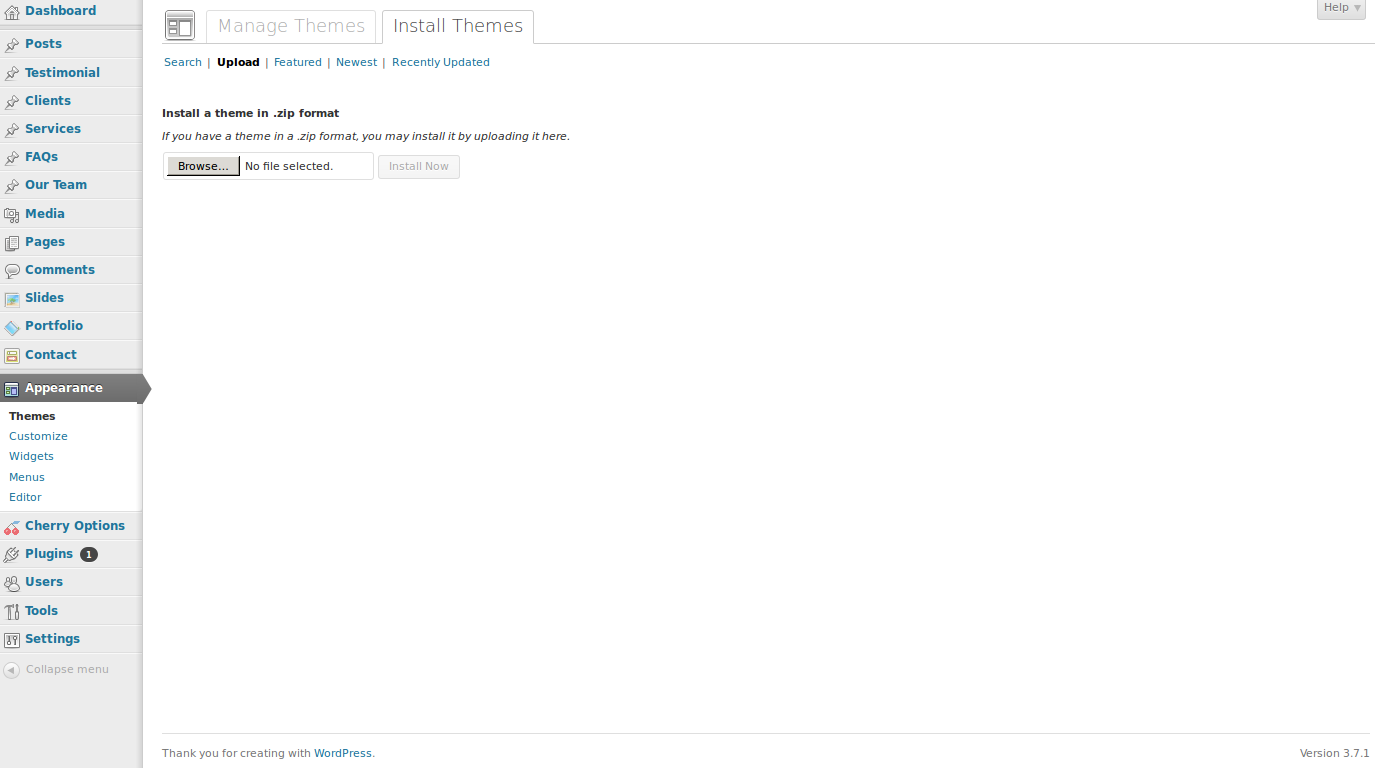
Now that you are in the Themes page, click on Install Themes, then Upload. On this page, you will see a button that says “Browse…”. Click on that, and navigate to your folder that you extracted the theme files to previously, then to the theme folder. From here, select the CherryFramework.zip file. WordPress will then handle the installation of the Cherry Framework, which is required to install your main theme.
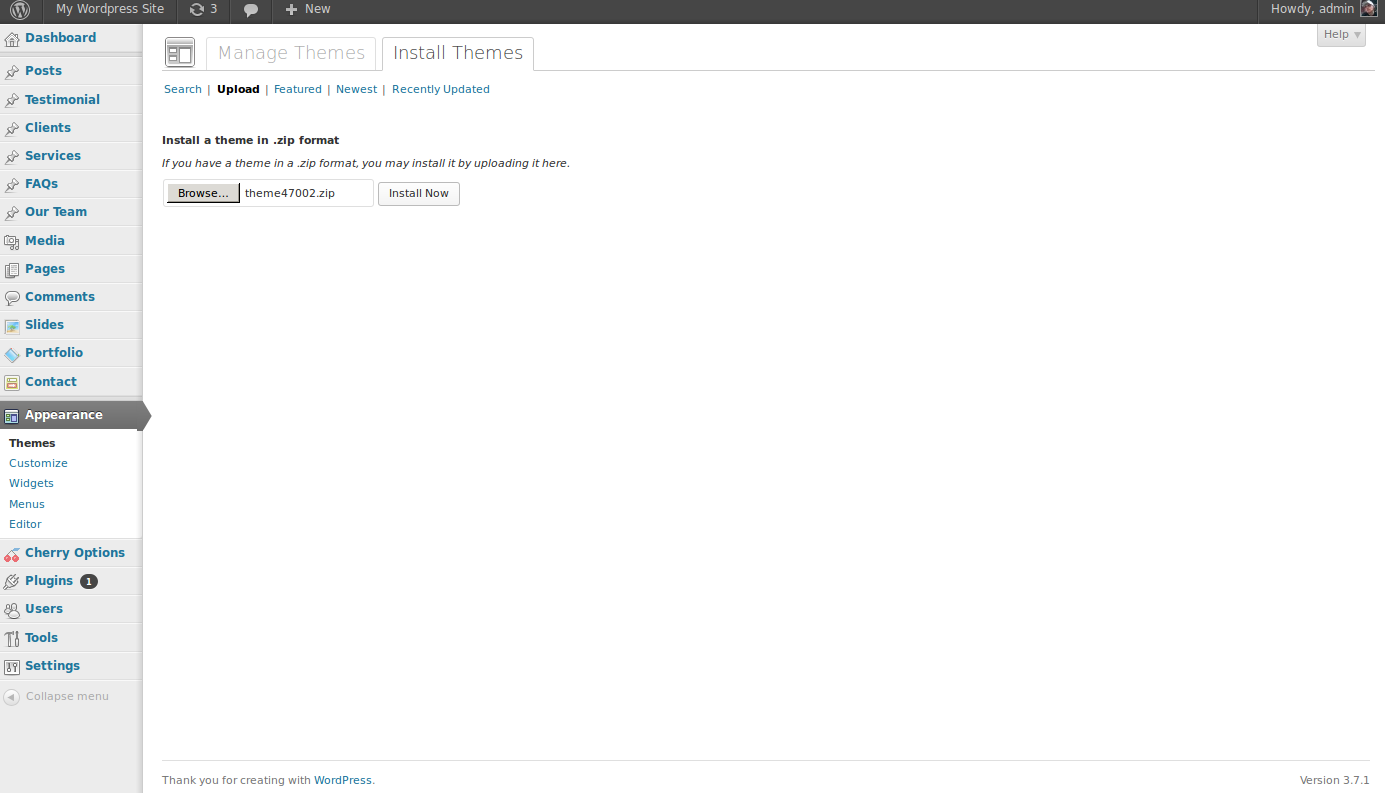
Once the Cherry Framework is installed, you may then begin installing the Unobtrusive Design Studio theme. Performing the same actions as you did in the previous steps, install the theme47002.zip file.
- Now that you have installed the second zip file, the theme files are all installed and ready to configure.


Installing the Unobtrusive Design Studio theme sample data
To complete your installation and generate a fully working site based on the Unobtrusive Design Studio template, you will want to install the sample data in which you can simply modify what you need to. In the next steps, you will walk you through the process of installing that sample data.
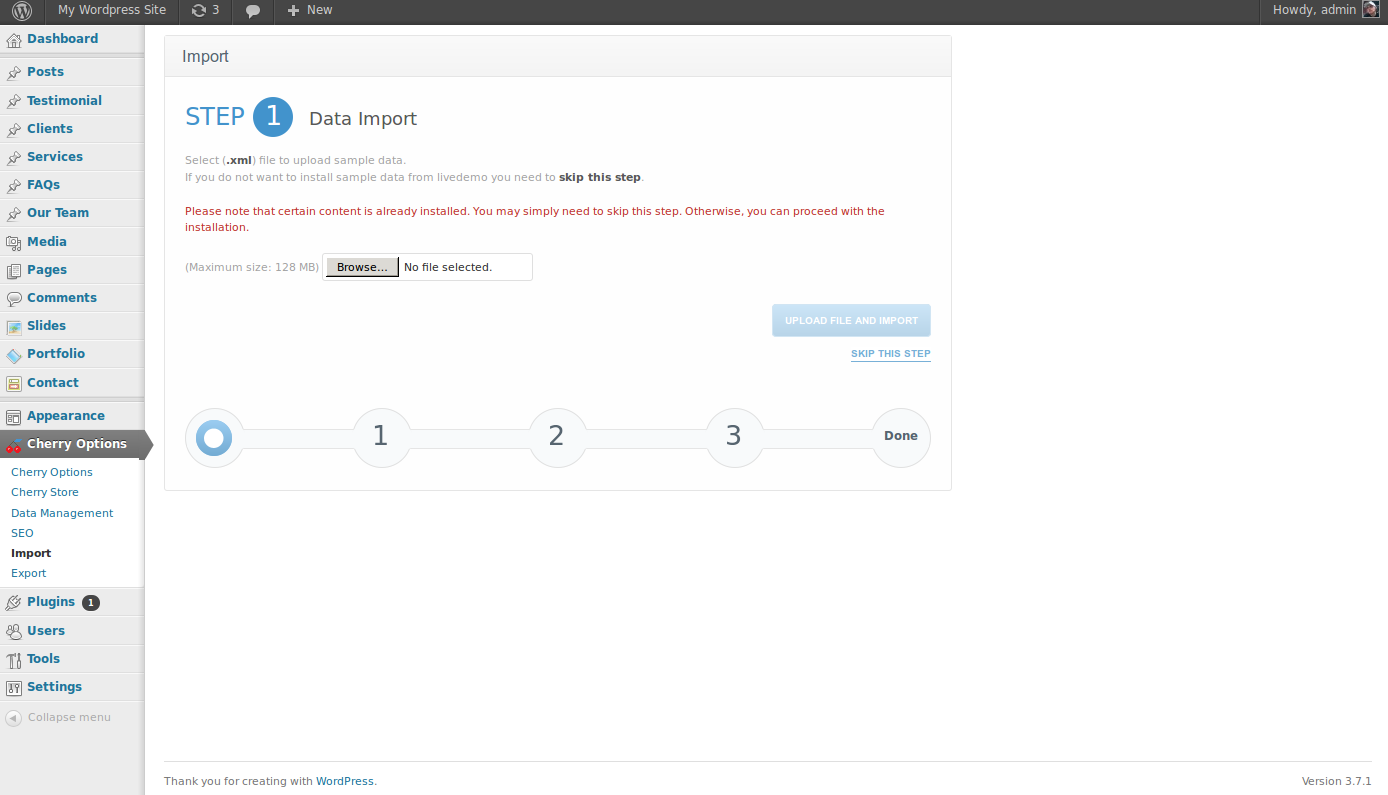
On your WordPress dashboard, click on Cherry Options, then Import.
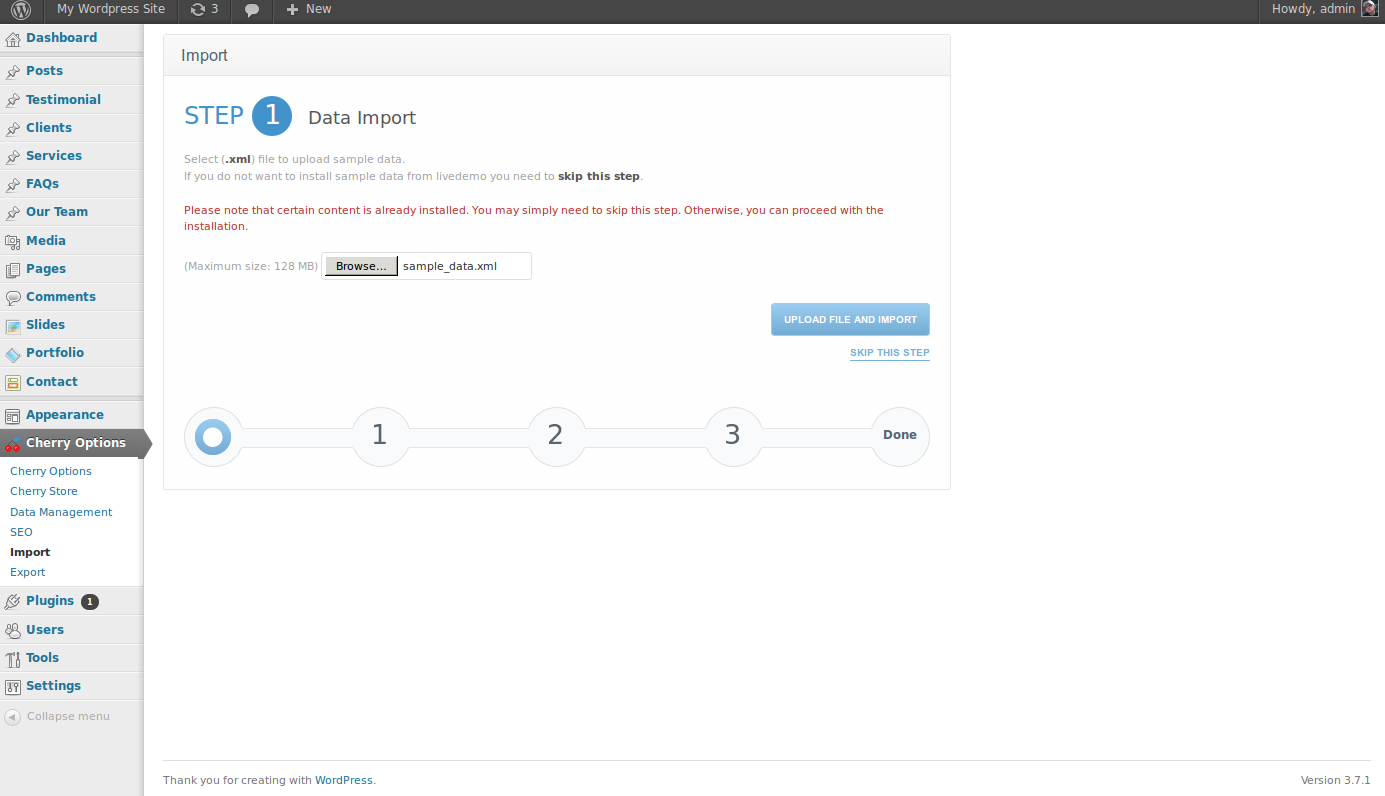
On the Import page, click Browse…, then go to the location that you previously extracted the theme content to. Within this folder, you will see another folder labeled sample_data. Inside this folder, there is a file called sample_data.xml. Select that file and click on Upload file and import.

After your sample data file has been imported, you will then select the author that the content is associated with. Typically, you will just select your administrative user.

As the theme uses various widgets to display your data, you will need to upload the widget information as well. This is a file labeled widgets.json and is located within the same folder as the sample data that you previously imported.
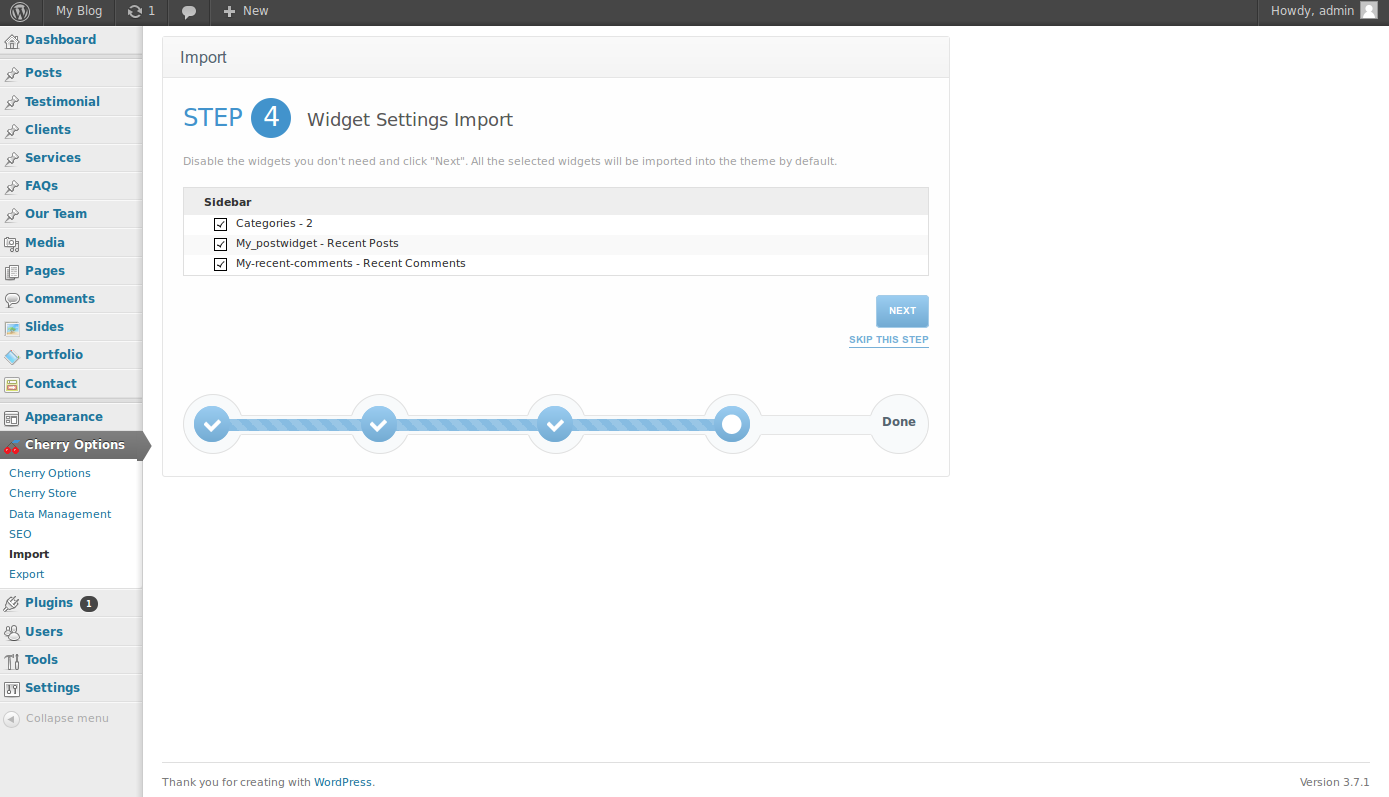
After uploading your widgets.json file, you will be prompted with various widgets to import. Most will leave all of the boxes checked, but if you do not want a particular widget to appear, you may deselect it here.
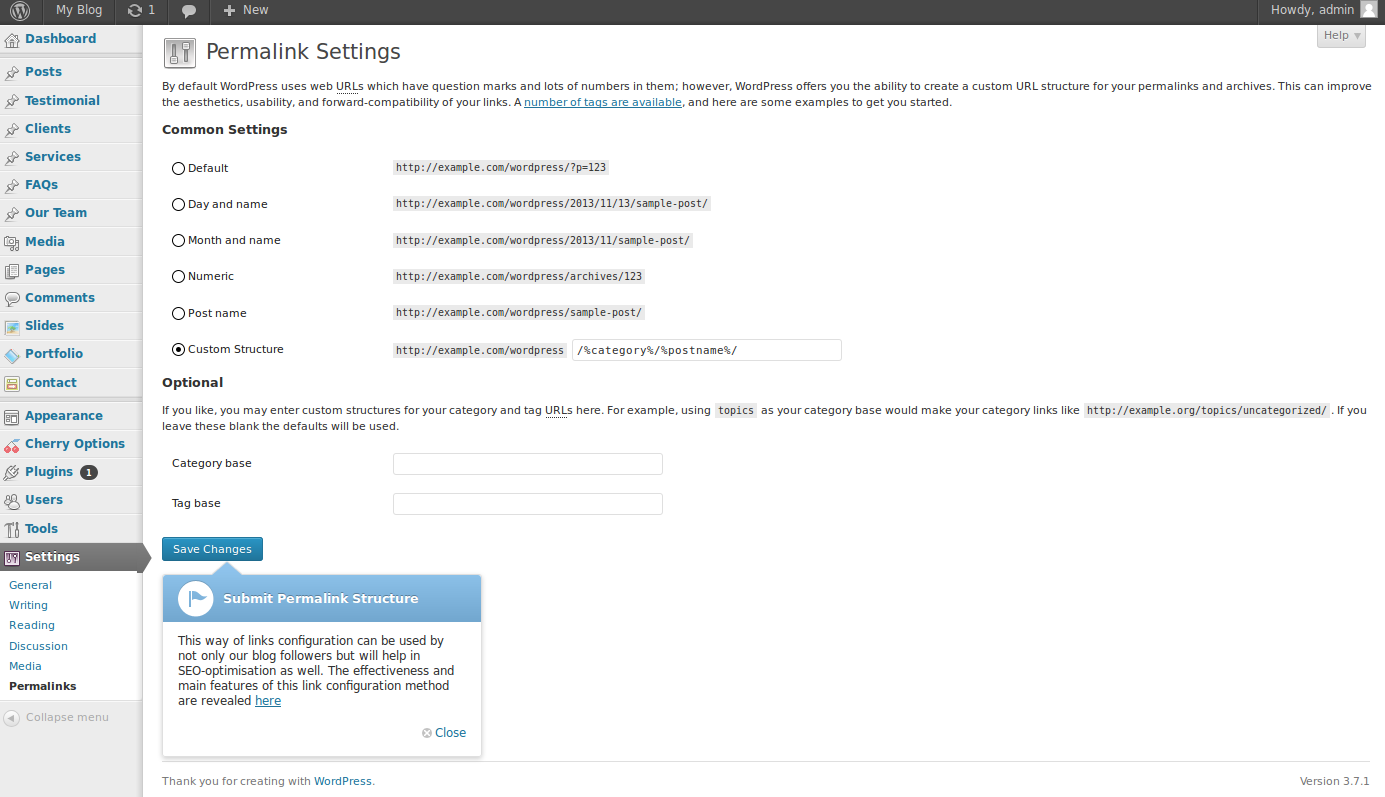
Finally, you will be shown your permalink settings. By default, cherry will set them to a custom structure showing your category, then postname in the URL. For most, this is what you want but you can always change it depending on your individual preferences. Then, click Save Changes


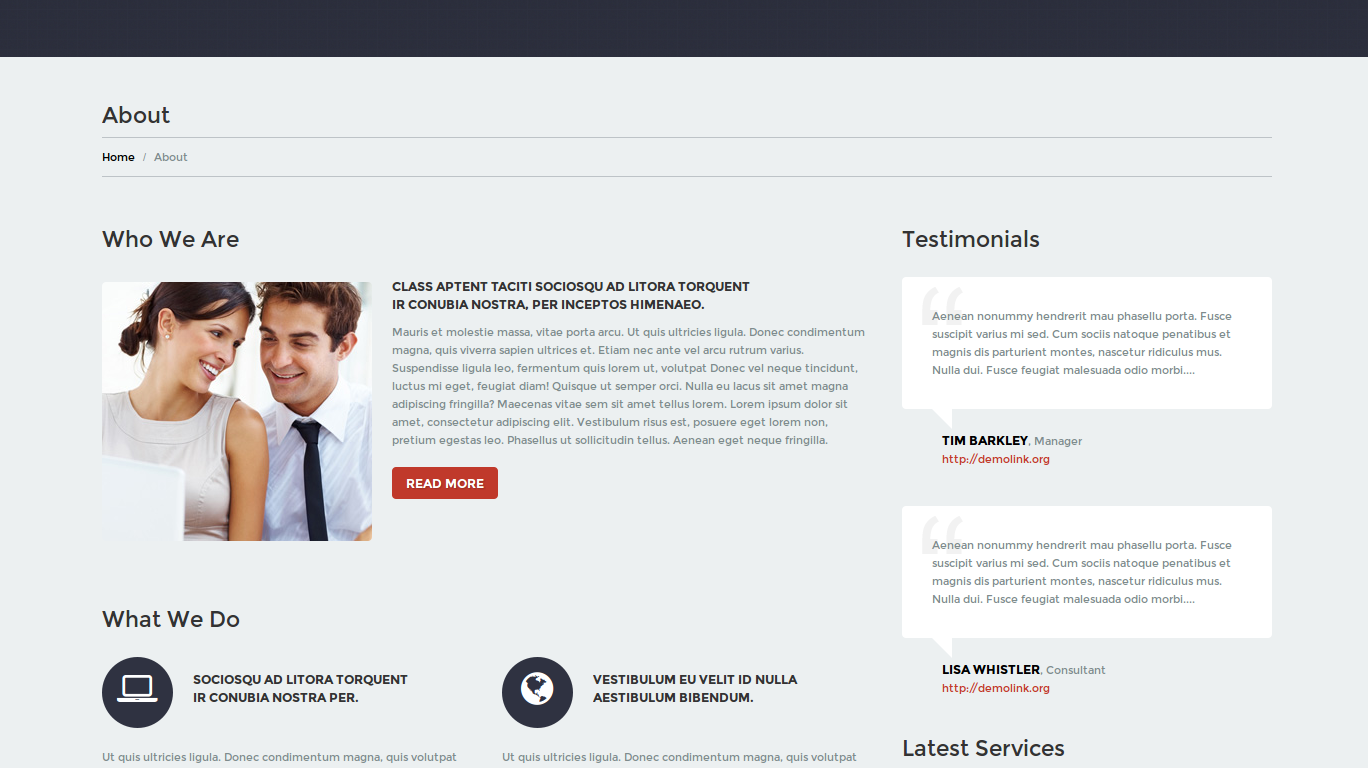
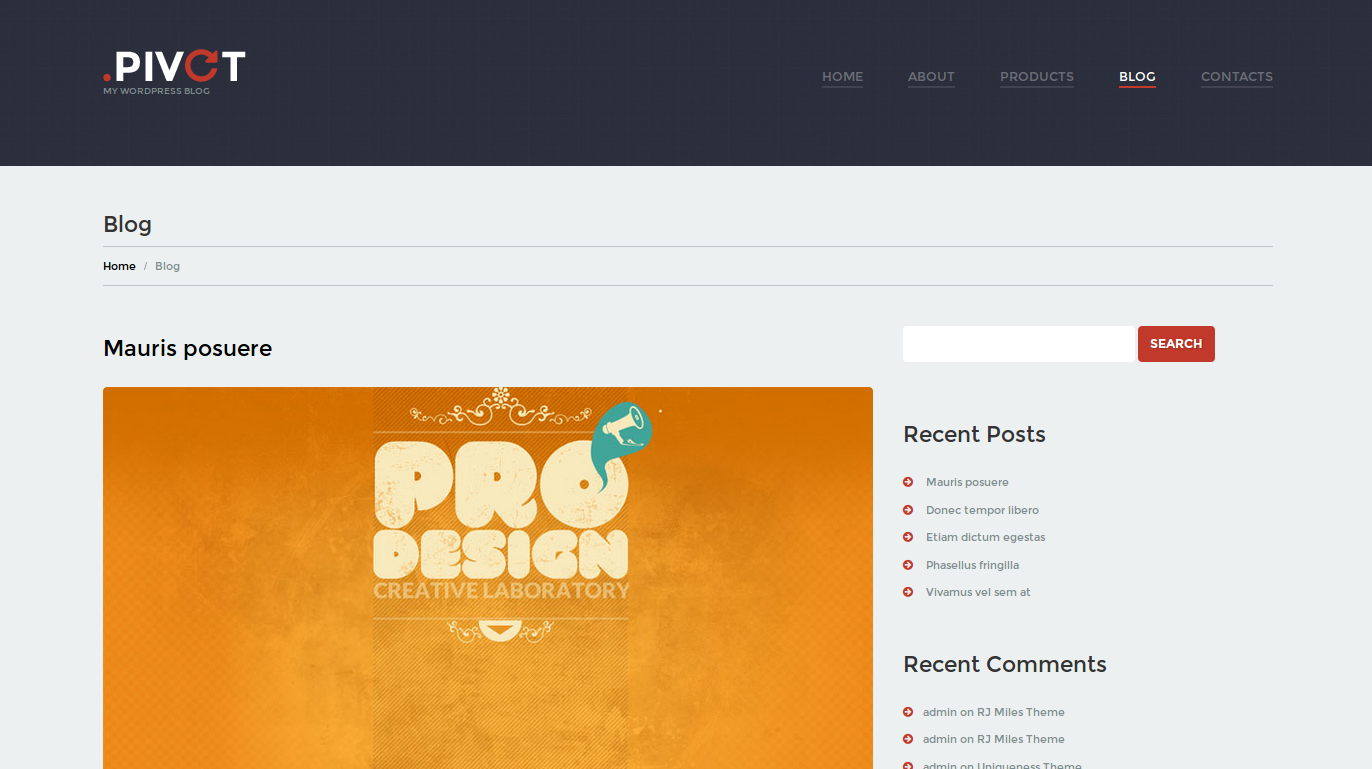
Editing the default home page of the Unobtrusive Design Studio theme
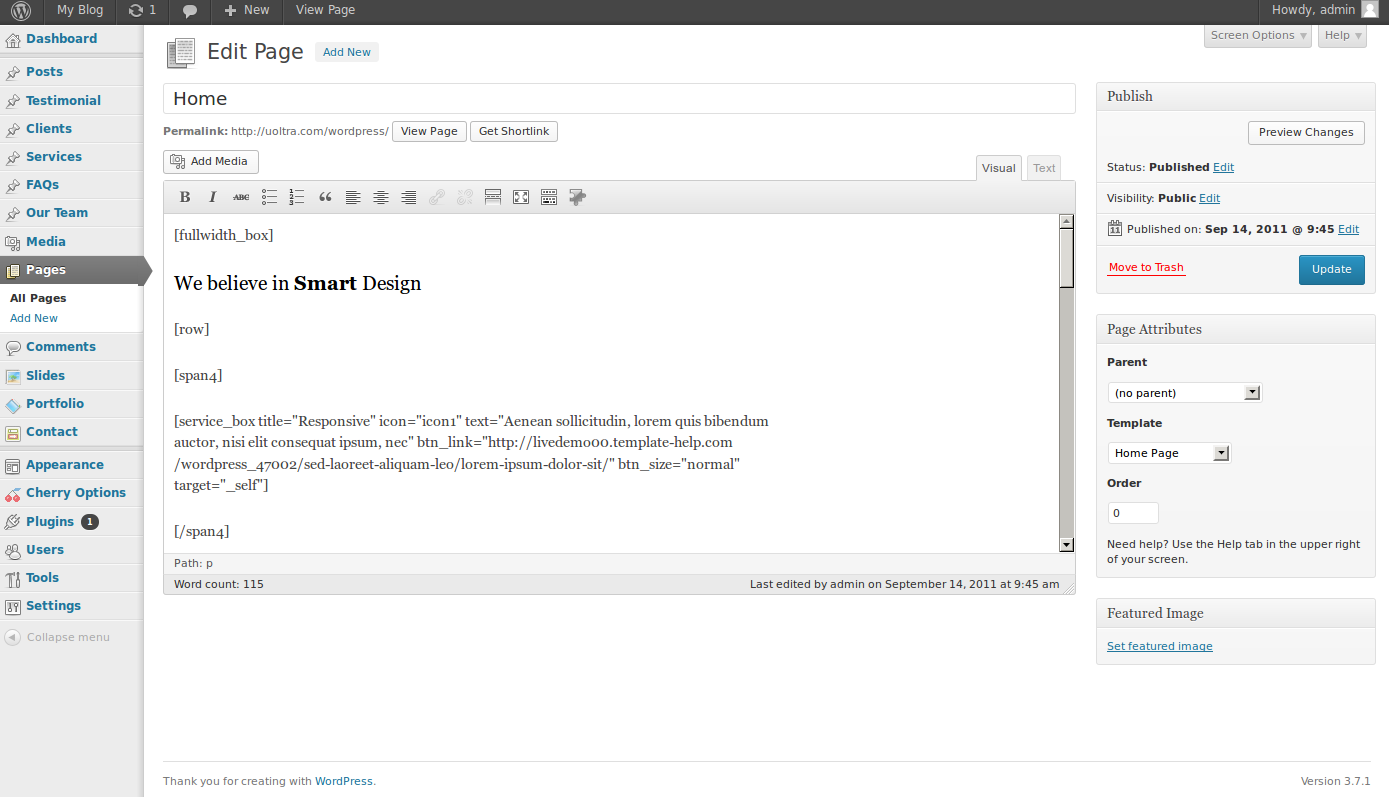
To edit your home page, you may visit the Pages section in your WordPress dashboard, then click on Home. Here, you will see various content listed within the home page. Be sure to back up any information before editing in case something goes wrong in the process.
Inside this page, you will see several box titles. Each box title determines what specific block will be edited. As you can see, you can change the images, links, and various other information here.
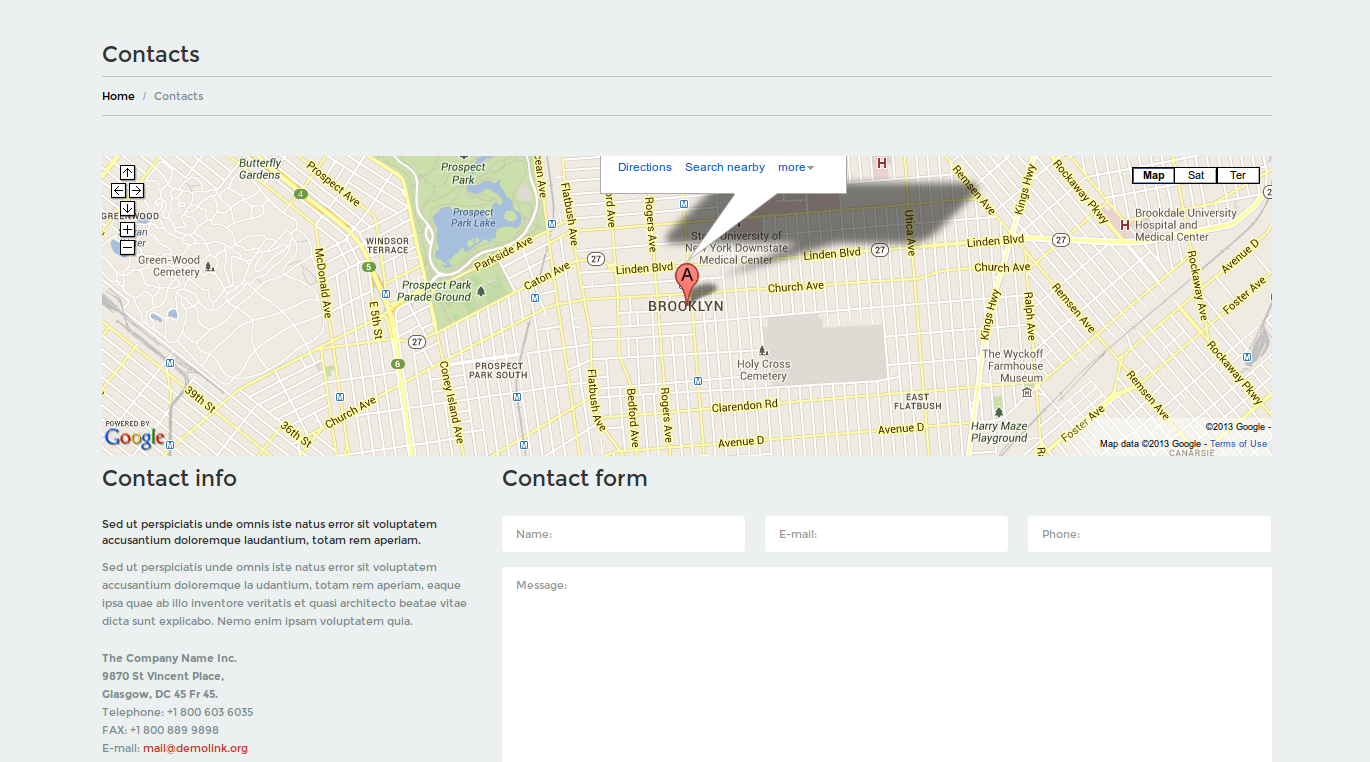
Editing your contact page
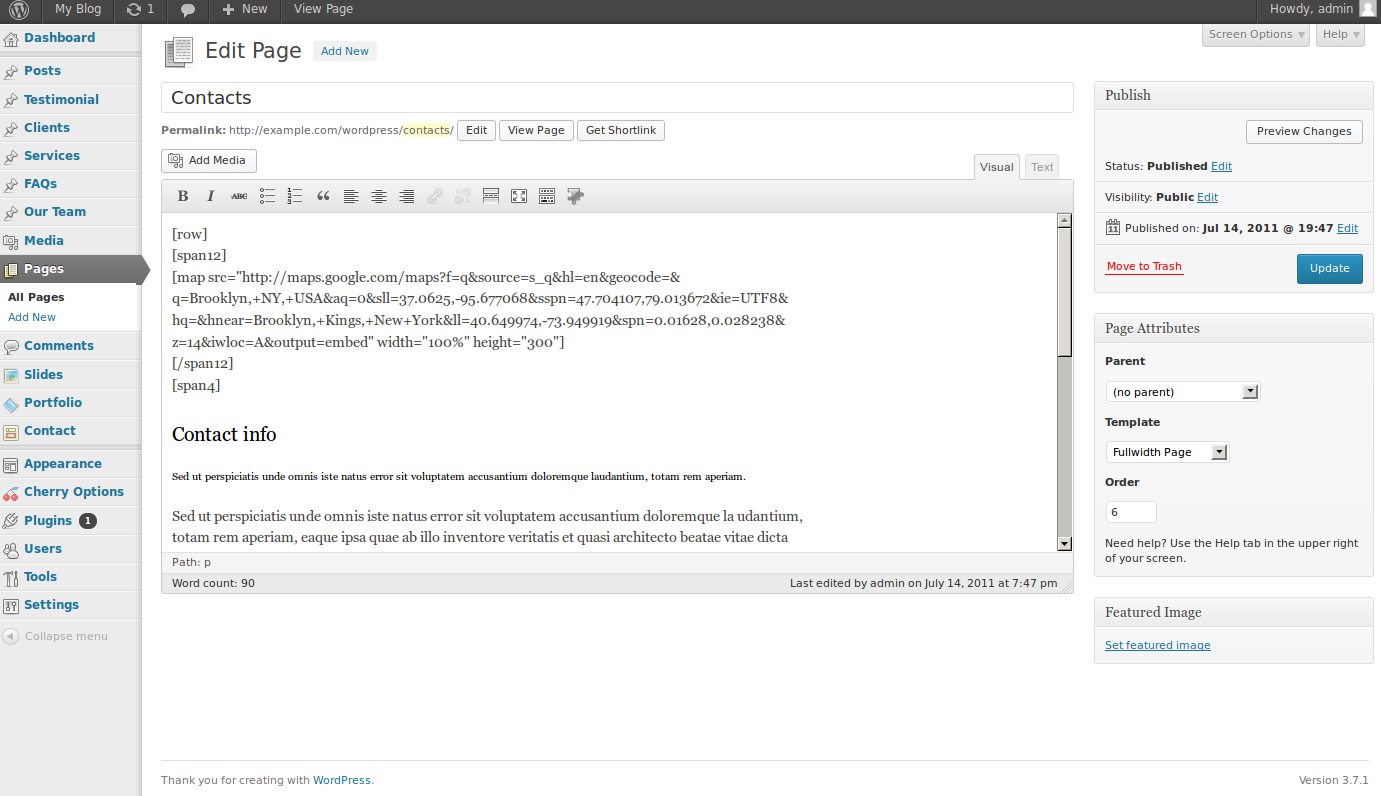
If you click on Pages, then click on Contacts, you will see the the default template there in which you can change the address, a Google Maps location display, as well as the shortcode to insert your content form.
Editing your contact form
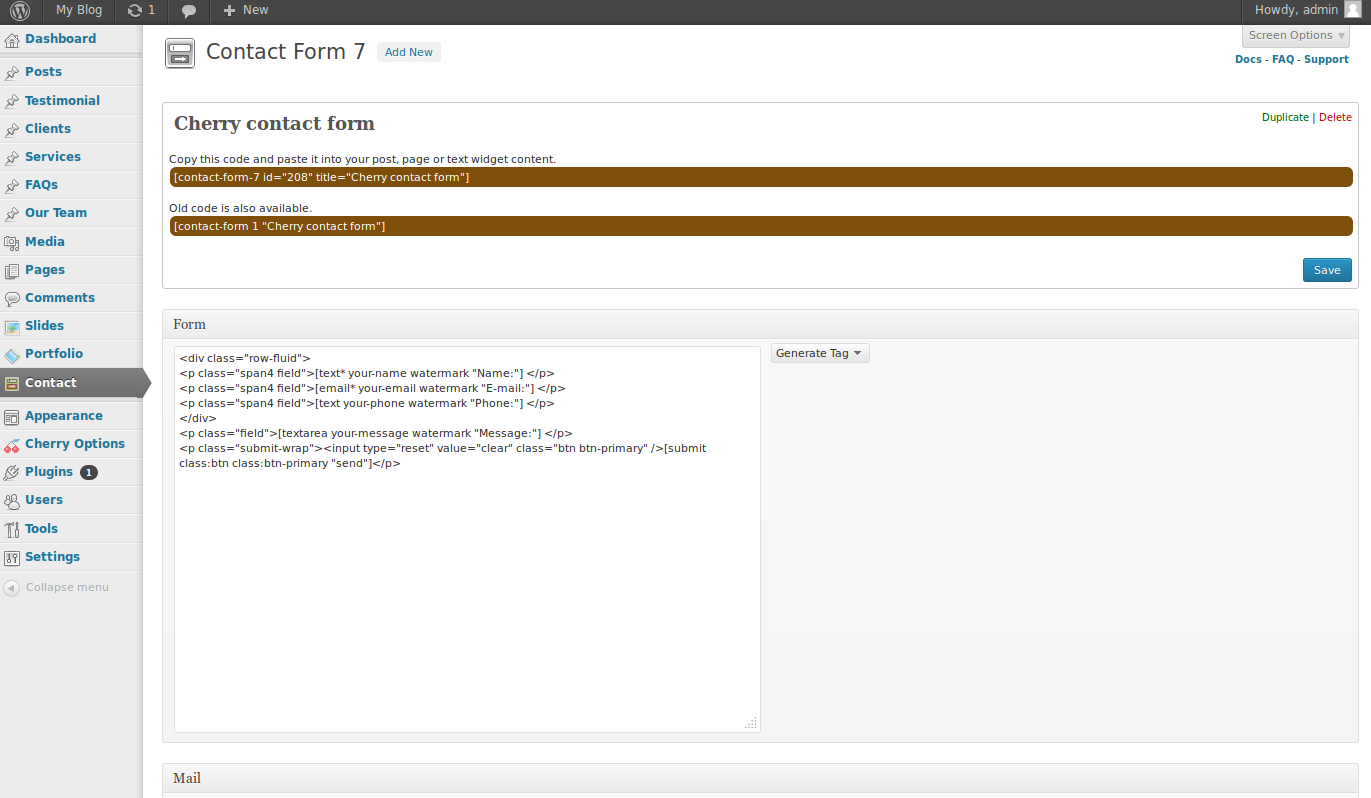
As you may have noticed when you installed the Cherry Framework, this theme uses Contact Form 7 to manage your contact forms. To edit your contact form, you will click on Contact on the left menu bar of the WordPress dashboard. Then, you will see any contact forms that you have previously defined. If you have multiple contact forms, track back over to the Contacts page to locate the specific form that is defined in your Contacts page.
For more information on using Contact Form 7, you may check the official Contact Form 7 documentation.
Changing social media links
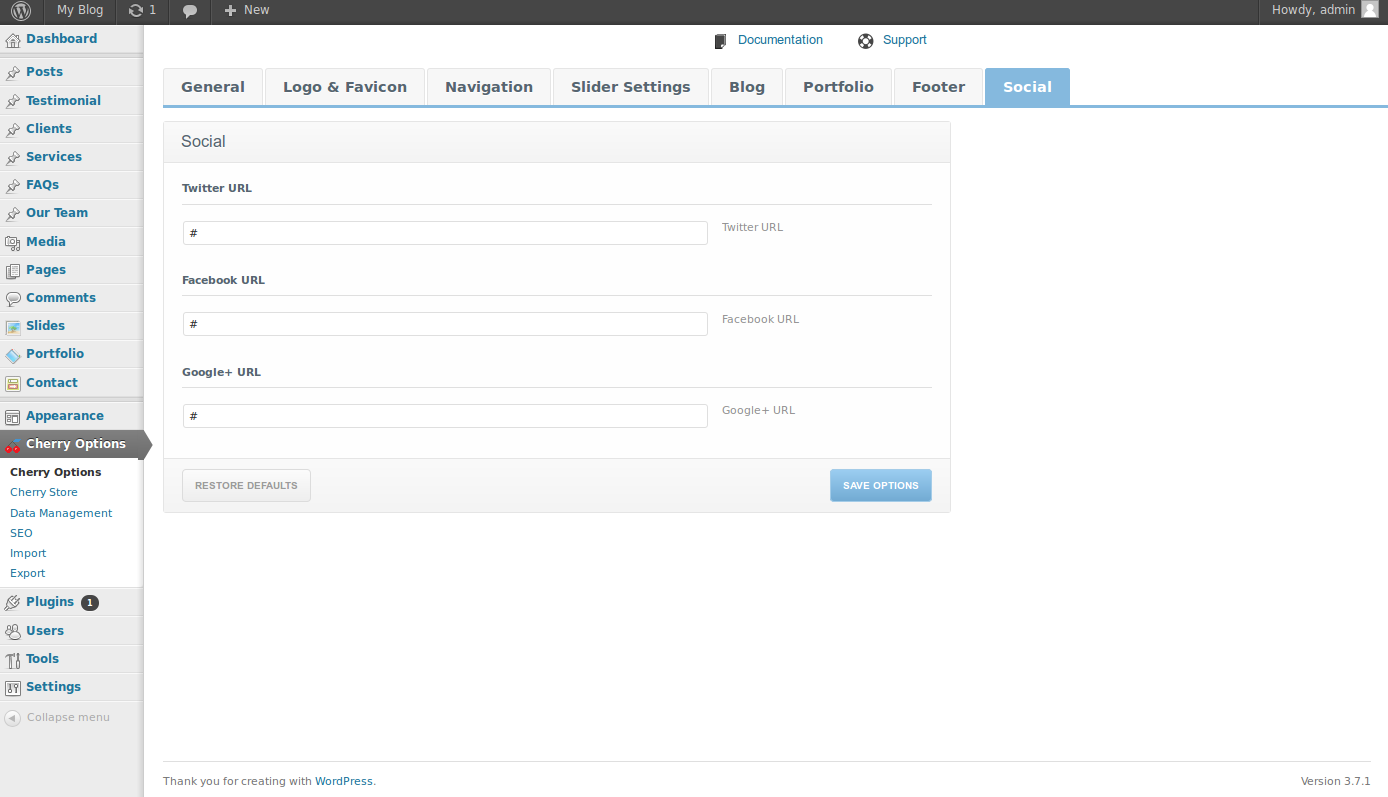
Changing the social media links in the Unobtrusive Design Studio theme is quite simple. To do so, click on Cherry Options within the left side menu on the WordPress dashboard, then click on Social. From here, you will be able to edit any of your social media profiles defined there.
Changing font styling
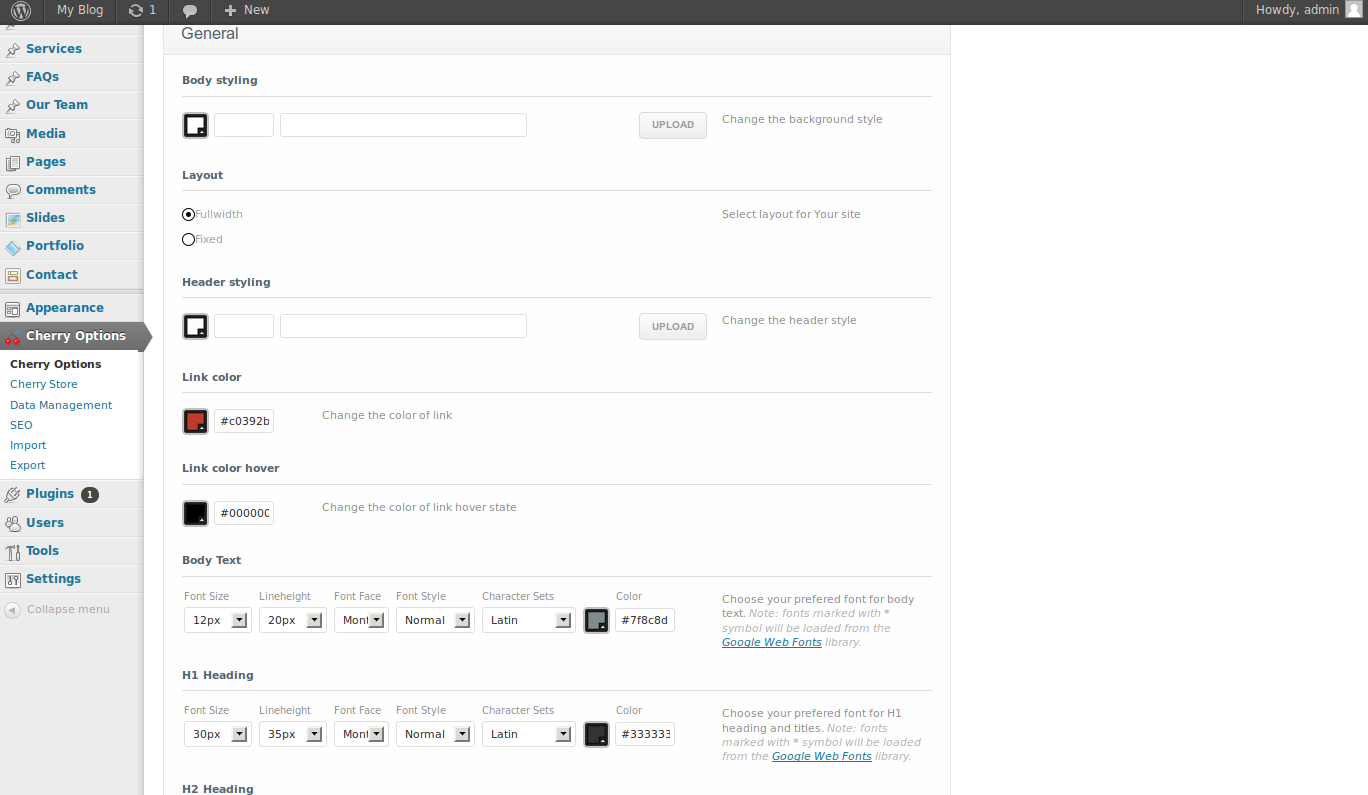
As this theme is based on the Cherry Framework, you may easily change any font colors, sizes, and and styles from right within the WordPress dashboard. To do so, click on Cherry Options, then the General tab. Here you will see various options available to you in changing the styling for the Cherry Framework, which will then take effect within your theme as well.
Changing your logo
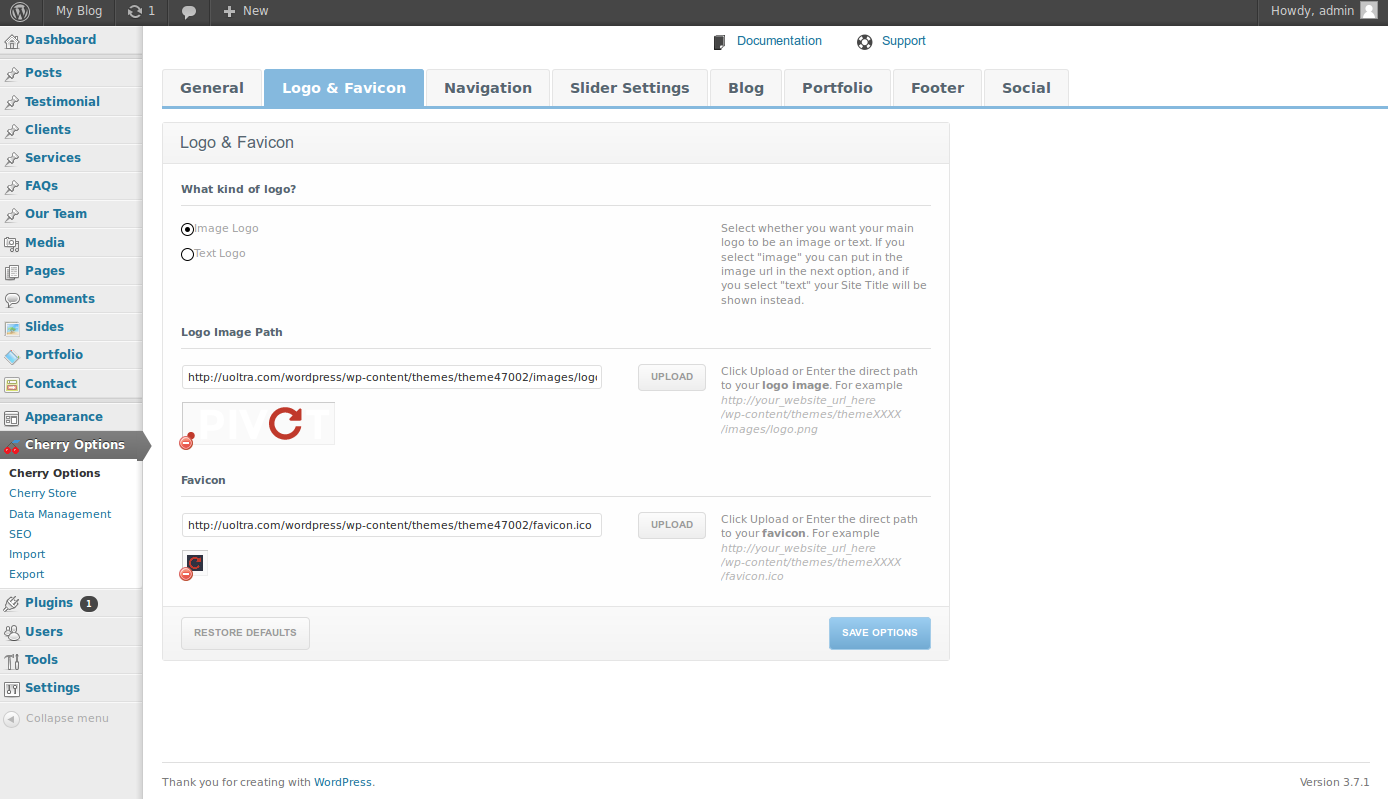
Your logo and favicon may also be changed from directly within the Cherry Framework. To do so, click on Cherry Options, then on Logo and Favicon. Here, you will be able to upload a new logo or favicon to your WordPress site.
Learn more about the power of WordPress Themes and how they can simplify your website building and maintenance.
